Introduction
When it comes to keeping your PC cool and preventing overheating, installing fans in your PC case is crucial. Efficient airflow is essential for maintaining optimal performance and extending the lifespan of your components.
In this guide, we will walk you through the step-by-step process of putting fans in your PC case. Whether you’re a seasoned PC builder or a newbie looking to improve your cooling setup, this article will provide you with the necessary information and guidance.
Before we dive into the installation process, it’s important to understand the importance of proper airflow within your PC case. Without adequate cooling, your components can get dangerously hot, leading to performance issues, system instability, and even permanent damage.
Installing fans in strategic locations can help circulate cool air into and hot air out of the case, creating a balanced and efficient airflow. By doing so, you can enjoy lower temperatures, reduced noise levels, and enhanced overall performance of your PC.
Now that we’ve established the significance of installing fans in your PC case, let’s take a closer look at the step-by-step process to ensure that you get the best results.
Step 1: Gather the necessary tools and equipment
Before you start installing fans in your PC case, it’s important to gather all the necessary tools and equipment to ensure a smooth and hassle-free installation process. Here are the items you will need:
- Screwdriver: A Phillips or flathead screwdriver will be required to remove or tighten the screws on your PC case.
- Case fans: You will need to purchase case fans that are compatible with your PC case. Consider factors such as size, airflow, noise level, and RGB lighting options when selecting the fans.
- Mounting screws: Most case fans come with mounting screws included, but it’s always good to have some extra screws on hand, just in case.
- Fan splitter or PWM hub (optional): If your motherboard has limited fan headers, you may need a fan splitter or PWM hub to connect multiple fans to a single header.
Make sure to check the specifications and compatibility requirements of your PC case and motherboard before purchasing the fans and any additional equipment. This will ensure that everything fits together properly.
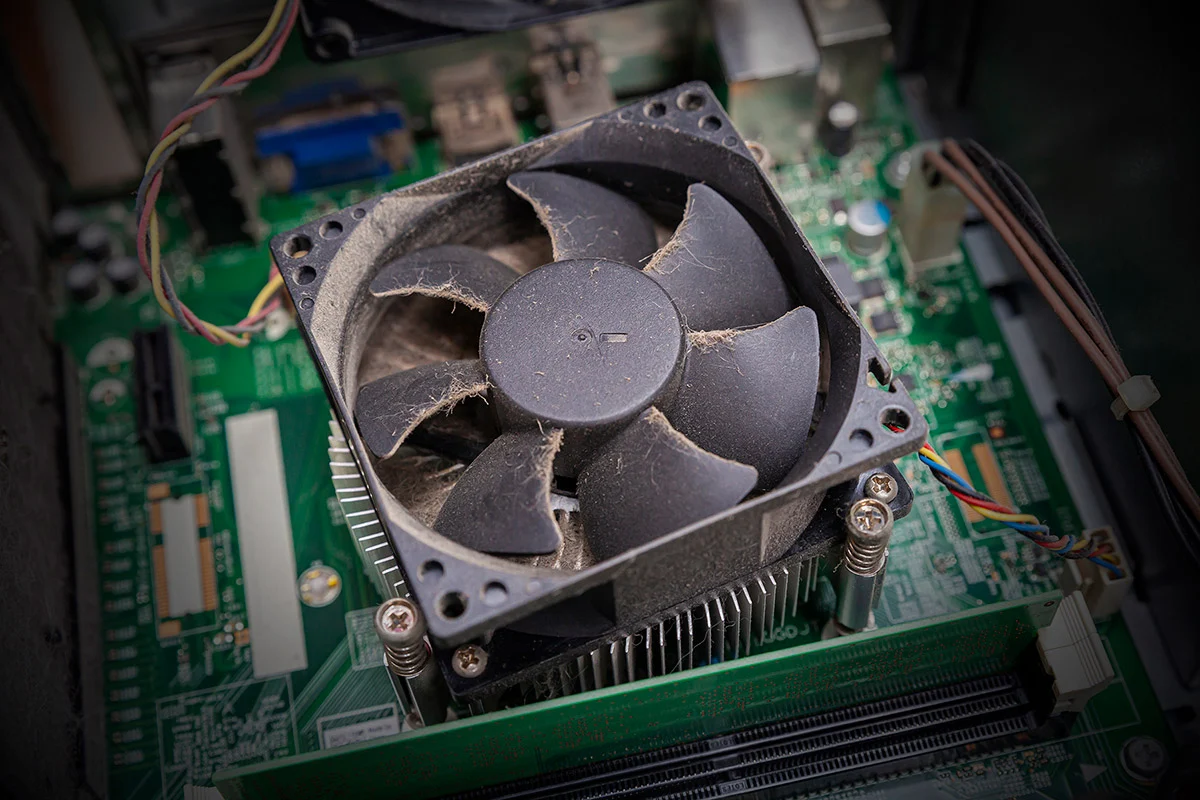
Additionally, you may want to gather some cleaning supplies such as compressed air or a soft brush to clean the interior of your PC case before installing the fans. This will help remove any dust or debris that could interfere with the cooling performance.
By having all these tools and equipment ready before you begin, you can streamline the installation process and avoid any unnecessary delays or frustrations.
Step 2: Determine the airflow requirements
Before installing fans in your PC case, it’s important to determine the airflow requirements of your system. This will ensure that you install the right number and size of fans to achieve optimal cooling.
Start by assessing the current airflow in your PC case. Are your components running hotter than desired? Do you notice excessive dust buildup? These are signs that your current cooling setup may not be adequate.
Consider factors such as the number and type of components in your PC, the level of overclocking (if any), and the ambient temperature of your environment. These factors will help you determine how much airflow is needed to keep your system running cool and stable.
Generally, a balanced airflow setup involves intaking cool air from the front or bottom of the case and exhausting hot air out from the rear or top. The goal is to create a steady flow of air that moves across your components, effectively dissipating heat.
If your PC case already has pre-installed fans, take note of their location and airflow direction. This will help you determine whether you need additional fans and where they should be installed.
It’s also worth noting that different components may require different levels of cooling. High-performance graphics cards and CPUs, for example, may generate more heat and need dedicated cooling solutions.
By understanding your system’s airflow requirements, you can make informed decisions when selecting and installing fans to ensure optimal cooling performance. This will help safeguard the longevity and reliability of your PC components.
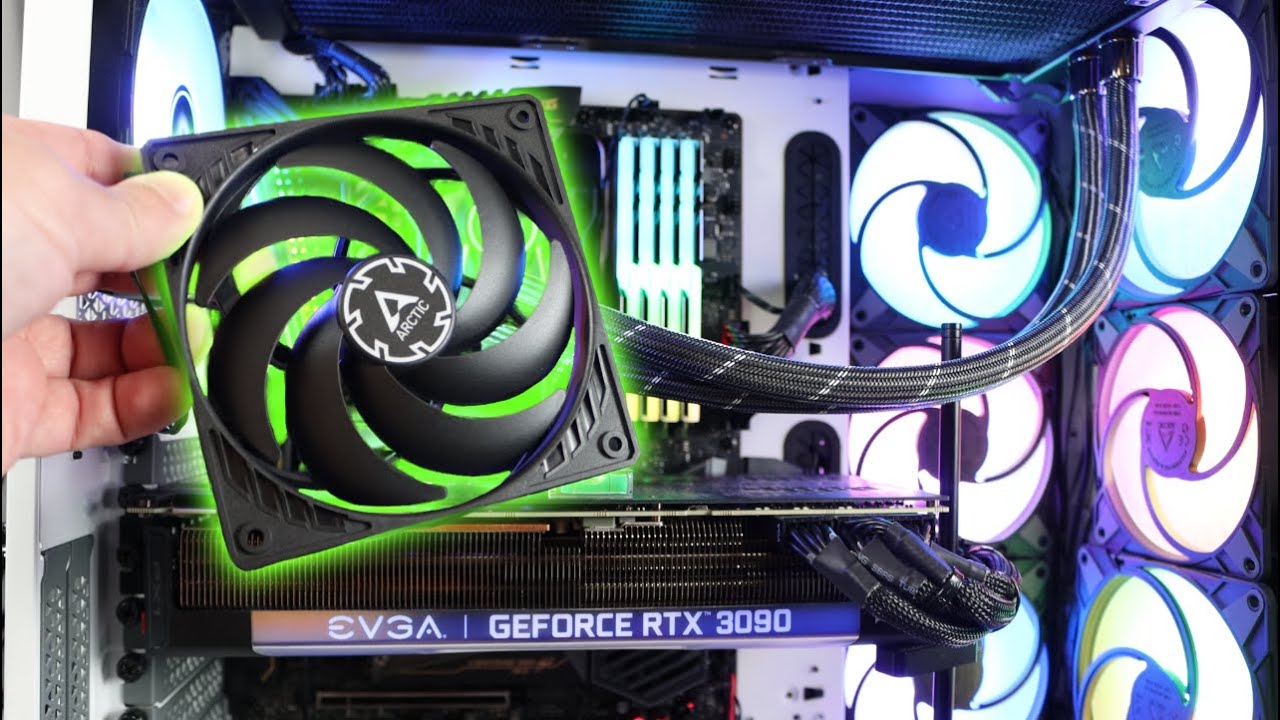
Step 3: Choose the appropriate case fans
Choosing the right case fans is crucial for effective cooling and maintaining optimal system performance. Here are some factors to consider when selecting the appropriate fans for your PC:
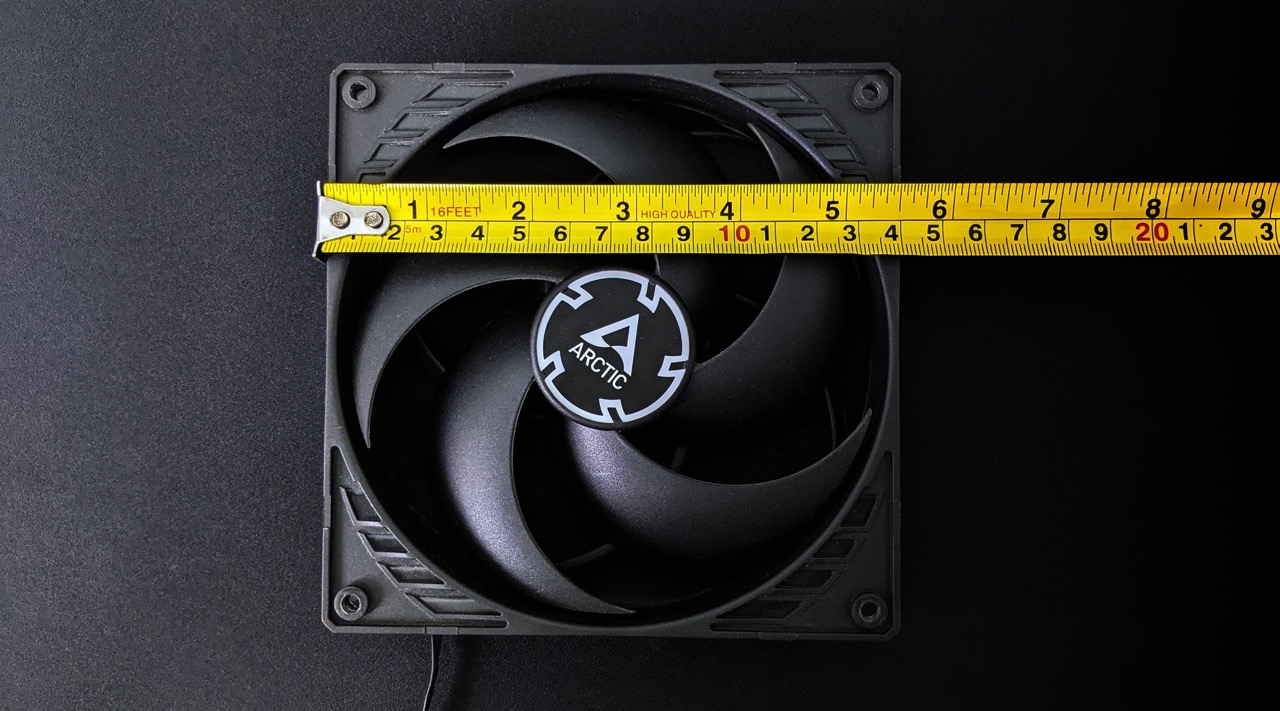
- Size: Case fans come in various sizes, typically ranging from 80mm to 140mm. Ensure that the fan size is compatible with your PC case and that you have enough mounting space available.
- Airflow and static pressure: Consider the airflow and static pressure ratings of the fans. Airflow refers to the amount of air the fan can move, while static pressure is the force with which it can push air through obstructions, such as cooling fins or filters. Choose fans with higher airflow and static pressure for better cooling performance.
- Noise level: Fans produce noise while operating. Look for fans that have low noise levels, measured in decibels (dB). It’s recommended to choose fans with a noise level of 25dB or lower for a quieter system.
- RPM (revolutions per minute): The fan’s RPM indicates how fast the blades rotate. Higher RPM typically results in increased airflow but also generates more noise. Consider the balance between RPM and noise level to ensure a suitable cooling solution for your needs.
- RGB lighting: If you’re interested in aesthetics, consider fans with RGB lighting features. These fans can add a visually appealing touch to your PC setup, allowing you to customize the lighting effects according to your preference.
It’s also essential to check the compatibility of the fans with your motherboard. Make sure your motherboard has enough fan headers or consider using a fan splitter or PWM hub to connect multiple fans if needed.
Additionally, conducting thorough research and reading customer reviews can provide valuable insights into the performance and reliability of different fan models. Look for brands known for their quality and longevity.
By considering these factors and understanding your specific cooling requirements, you can choose case fans that meet your needs and provide efficient cooling for your PC.
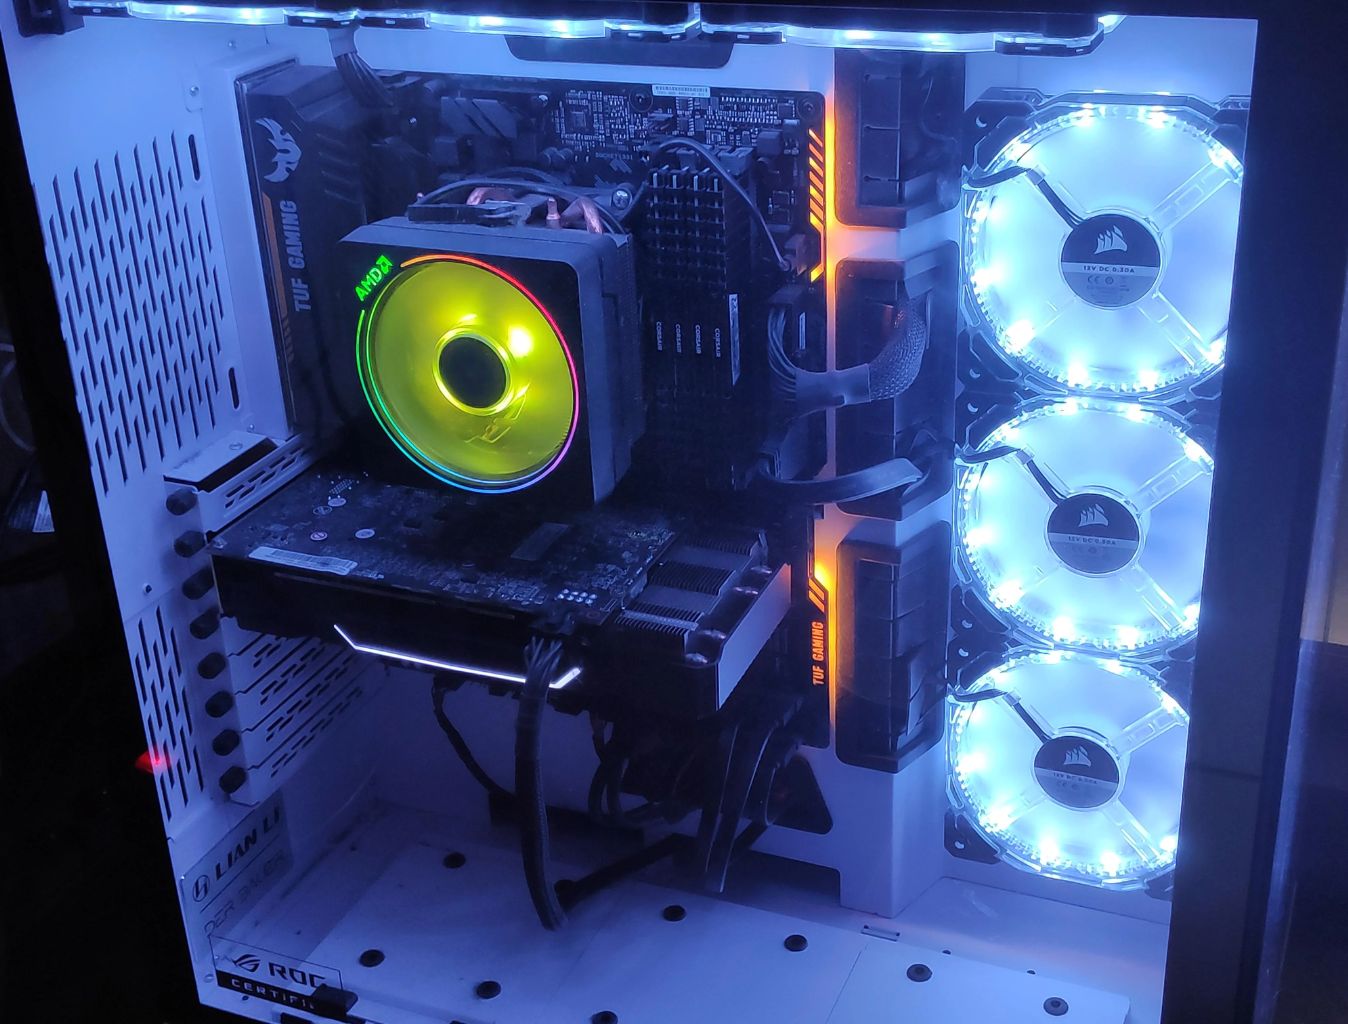
Step 4: Identify fan installation locations
Before you start installing fans in your PC case, it’s important to identify the optimal locations for their placement. Proper fan placement is key to achieving efficient airflow and maximizing cooling performance. Here are some common fan installation locations to consider:
- Front panel: The front panel of your PC case is a popular location for intake fans. Mounting fans here allows them to draw in cool air from outside the case, which then flows over your components.
- Top panel: Installing fans on the top panel can aid in the extraction of hot air. This helps create a directional airflow and prevents heat from accumulating in the upper portion of the case.
- Rear panel: The rear panel is often used for exhaust fans. These fans push hot air out of the case, ensuring that it doesn’t recirculate and negatively impact the cooling efficiency.
- Side panel: Some PC cases offer fan mounts on the side panel. This location can be beneficial for targeting additional airflow directly towards specific components, such as the graphics card or CPU.
- Bottom panel: In cases with a bottom-mounted power supply unit (PSU) and ventilation, installing a fan here can assist in drawing cool air from underneath the case.
It’s important to note that not all PC cases support fan installation in every location mentioned above. Refer to your case’s specifications or user manual to determine the available mounting points.
Additionally, pay attention to the direction of airflow for each fan. In general, front and bottom fans should intake cool air, while rear and top fans should exhaust hot air. This ensures a smooth and efficient airflow path through your PC case.
Consider the number and size of fans you plan to install and how they will work together to create a balanced airflow system. It’s crucial to maintain a proper ratio between intake and exhaust fans to prevent negative pressure (excessive intake) or positive pressure (insufficient exhaust), which can affect cooling efficiency.
By identifying the optimal fan installation locations and ensuring a balanced airflow setup, you can make the most of your cooling solution and keep your PC running at optimal temperatures.
Step 5: Prepare the PC case for fan installation
Before you can start installing fans in your PC case, it’s important to prepare the case itself. This involves a few essential steps to ensure a smooth and successful installation process. Here’s what you need to do:
- Power off your PC and unplug it from the power source. This will prevent any potential electrical accidents during the installation process.
- Open the PC case by removing the side panel. Most cases have screws or latches on the rear side that need to be loosened or undone to access the interior. Refer to your case’s manual for specific instructions.
- Clean the interior of the case. Use compressed air or a soft brush to remove any dust, debris, or obstructions that may hinder the cooling performance. Cleaning the case beforehand will help optimize airflow and prevent any blockages.
- Identify the fan installation locations within the case. Refer to the previous step to determine the optimal positions for installing fans based on intake and exhaust airflow.
- If your case has any front covers or dust filters in the intended fan locations, remove them carefully. This will ensure unobstructed airflow and prevent dust buildup on the fans.
- Check for fan mounting points and screw holes on the case. Most cases have predefined locations for fan installation, indicated by labels or markings. These points will help you align and secure the fans properly.
By properly preparing your PC case for fan installation, you can ensure a clean and well-optimized environment for effective cooling. Taking the time to clean and assess the interior will help maximize the benefits of the new fans and maintain optimal system performance in the long run.
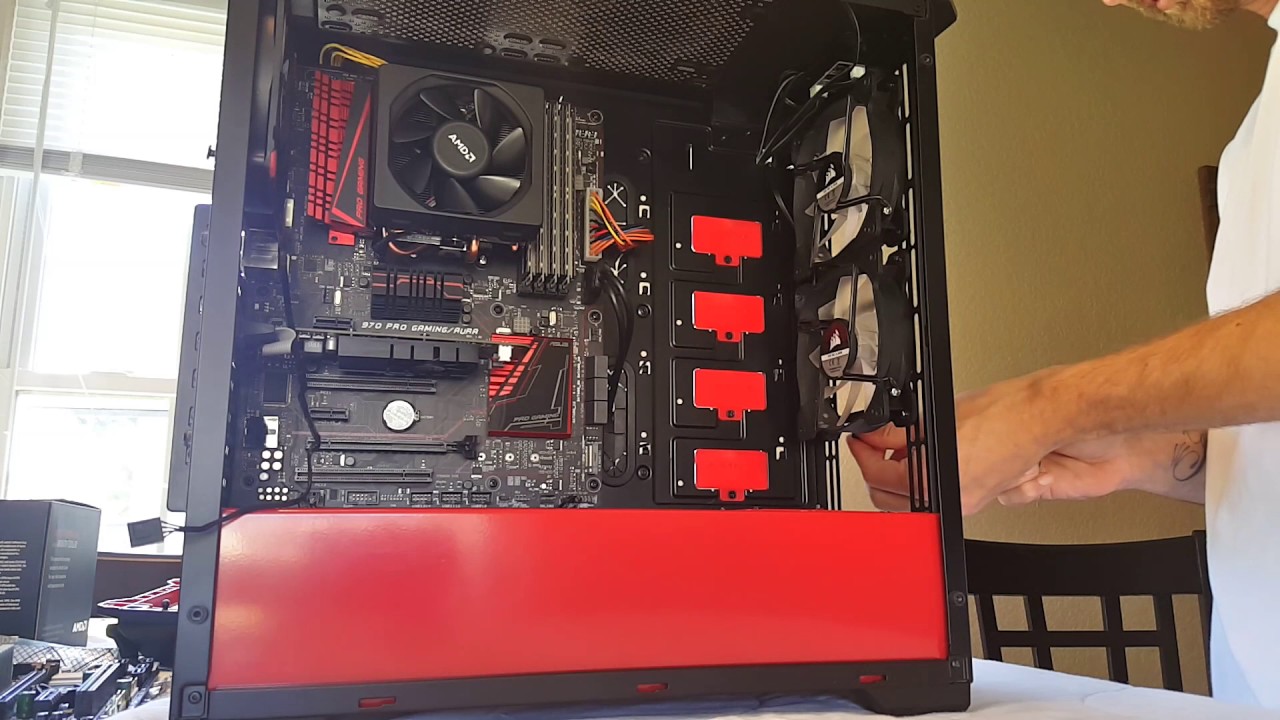
Step 6: Install the fans into the case
Now that you have prepared your PC case, it’s time to install the fans. Follow these steps to ensure a proper and secure installation:
- Take one of the fans and align its screw holes with the mounting points on the case. Make sure the fan’s direction is correct, with the airflow arrows pointing towards the desired airflow path.
- Using the screws provided with the fans or any extra screws you gathered, start by loosely attaching the corners of the fan to the case. This will allow for adjustments during the installation process.
- Once the fan is loosely attached, tighten the screws in a diagonal or star pattern. This ensures that the fan is evenly secured and prevents any warping or strain on the case or fan frame.
- Repeat this process for each fan that you are installing in the case, following the proper fan placement determined in earlier steps.
- Double-check the alignment and tightness of all fan screws to ensure a secure installation. Loose fans can cause unnecessary vibrations or noise.
If you are installing fans with RGB lighting features, refer to the fan manufacturer’s instructions to connect and control the lighting. Some fans require separate power connections or a compatible RGB controller.
Once all the fans are securely installed, take a final look at the overall airflow setup. Ensure that the fans are placed in a balanced configuration, with a proper intake and exhaust ratio.
Remember, the specific installation process may vary depending on your PC case and the type of fans you are using. Always refer to the case and fan manufacturer’s instructions for any specific guidelines or recommendations.
By properly installing the fans in your PC case, you can optimize airflow and enhance cooling performance, allowing your components to operate at their best and ensuring a longer lifespan for your PC.
Step 7: Connect the fan cables to the motherboard
After installing the fans in your PC case, the next step is to connect the fan cables to the motherboard. This allows the motherboard to control the fan speed and monitor their operation. Follow these steps to ensure a proper connection:
- Locate the fan headers on your motherboard. These are usually situated near the CPU socket or along the edges of the motherboard. The number of headers may vary depending on your motherboard model.
- Match the fan cables to the corresponding fan headers. Most fan cables are labeled or color-coded for easy identification. Connect each fan cable to its respective header, ensuring a secure and snug fit.
- If you are using a fan splitter or PWM hub to connect multiple fans to a single fan header, connect the splitter or hub to the fan header first. Then, connect each fan cable to the corresponding port on the splitter or hub.
- Double-check the connections to make sure they are properly seated. Loose connections can result in fans not receiving power or malfunctioning.
- If your motherboard has software or BIOS controls for fan speed, you can adjust the fan settings to your desired preferences. This allows you to optimize cooling performance and minimize noise levels.
It’s important to note that some high-performance fans may require additional power connections. In such cases, consult the fan manufacturer’s instructions for specific power cable connections.
Once all the fan cables are connected, close the PC case by reattaching the side panel. Ensure that all cables are neatly organized and not obstructing the airflow within the case.
By properly connecting the fan cables to the motherboard, you enable control and monitoring of the fans, allowing for efficient cooling management and the ability to adjust fan performance as needed.
Step 8: Set up fan speed control (if applicable)
For optimal cooling and noise management, it’s important to set up fan speed control on your PC. Depending on your motherboard and fan setup, there are several methods you can use to control the speed of your fans:
- BIOS settings: Many motherboards provide fan control options in the BIOS. Access the BIOS settings by pressing a specific key during system startup (usually Del, F2, or F12). Within the BIOS, look for the fan control settings and adjust the fan curves or preset profiles to regulate fan speed based on temperature.
- Motherboard software: Some motherboard manufacturers offer dedicated software that allows you to control fan speed and monitor system temperatures. Install the software provided by your motherboard manufacturer and explore the available options for fan speed control.
- Third-party software: There are various third-party software applications available that allow you to control fan speed. These applications often provide more advanced features and customization options than the built-in BIOS or motherboard software. Examples include SpeedFan, MSI Afterburner, and HWiNFO.
- Hardware fan controllers: If you prefer a physical control solution, you can invest in a dedicated hardware fan controller. These devices connect to the motherboard or power supply and allow direct control over fan speed using knobs or buttons.
When setting up fan speed control, consider your desired balance between cooling performance and noise levels. Lower fan speeds result in quieter operation but may impact cooling performance, while higher fan speeds provide better cooling at the cost of increased noise.
Experiment with different fan profiles or curves to find the optimal balance for your needs. Monitor the system temperatures under different loads and adjust the fan speed accordingly to keep the components within acceptable temperature ranges.
It’s worth noting that not all motherboards or fans support fan speed control. In such cases, the fans may operate at a fixed speed determined by their design. Check the specifications of your motherboard and fans to ensure compatibility and availability of fan speed control options.
By setting up proper fan speed control, you can maintain efficient cooling while keeping noise levels in check, ensuring a balanced and comfortable computing experience.
Step 9: Test the fans and monitor temperatures
After installing and setting up your fans, it’s important to test their performance and monitor the temperatures of your PC components. This step ensures that the fans are functioning correctly and that your system stays within acceptable temperature ranges. Follow these steps to test and monitor your fans:
- Power on your PC and let it run for a while to allow the fans to start operating. Make sure to keep an eye on the fans to ensure that they are spinning properly.
- Use software applications like HWMonitor, Core Temp, or SpeedFan to monitor the temperatures of your CPU, graphics card, and other critical components. These applications provide real-time temperature readings and can help you identify any abnormalities or potential overheating issues.
- Run a stress test on your PC to put your components under heavy load. This could be achieved through a program like Prime95 for CPU stress testing or FurMark for GPU stress testing. Monitor the temperatures during the stress test to see how well your cooling system handles the increased heat output.
- Observe the temperatures during different workloads, such as gaming or intensive tasks. Ideally, the temperatures should remain stable and within the safe operating limits recommended by the component manufacturers.
- If you notice excessively high temperatures or overheating, consider adjusting the fan speed profiles or increasing the fan speeds manually to improve cooling performance. Also, double-check that the fans are properly installed and the airflow direction is correct.
- Listen for any unusual noises coming from the fans. Vibrations, grinding sounds, or rattling noises may indicate a problem with the fan’s bearings or improper installation. In such cases, it’s important to address the issue promptly to avoid potential damage or system instability.
Regularly monitoring the temperatures of your PC components ensures that your cooling system is functioning effectively. If you notice any significant or concerning temperature fluctuations, it may be necessary to reevaluate your cooling setup or seek professional assistance.
By testing the fans and monitoring temperatures regularly, you can identify and address any cooling issues before they cause any damage or performance degradation to your PC.
Conclusion
Installing fans in your PC case is essential for maintaining optimal cooling and preserving the longevity of your components. With the step-by-step guide provided, you now have a better understanding of the process involved in putting fans in your PC case.
By gathering the necessary tools and equipment, determining the airflow requirements, choosing appropriate case fans, identifying fan installation locations, preparing the PC case, and connecting the fan cables to the motherboard, you have successfully completed the crucial steps of the installation process.
Setting up fan speed control and testing the fans, while monitoring temperatures, allows you to optimize cooling efficiency and ensure that your system remains within safe operating limits.
Remember, each PC case and fan setup is unique, so it’s important to refer to the specific instructions provided by your case and fan manufacturers. Additionally, regularly clean your PC case and fans to prevent dust buildup and maintain optimal airflow.
With a properly installed and configured cooling system, you can enjoy improved performance, reduced component temperatures, and an overall longer lifespan for your PC. Follow the steps outlined in this guide, tailor them to your specific needs, and enjoy a cool and efficient computing experience.