Introduction
Welcome to our guide on how to replace the front fan in a Raidmax PC case. Raidmax is known for producing high-quality computer cases that provide excellent airflow for optimal cooling. Over time, it’s not uncommon for a front fan to become worn out or start malfunctioning, requiring replacement. Fortunately, with a few simple steps, you can easily remove the old front fan and install a new one to keep your system running cool and efficiently.
In this guide, we will walk you through the process of removing the front fan from your Raidmax PC case and installing a new one. Before we begin, it’s important to note that each case model may have slight variations in terms of design and fastening mechanisms. However, the general steps provided here should apply to most Raidmax cases with front fan replacement needs.
It’s always a good idea to have a replacement fan ready before starting the process, ensuring a smooth and uninterrupted experience. Additionally, make sure to carefully read and follow the instructions provided with the replacement fan to ensure proper installation.
Please note that while replacing the fan itself is a relatively straightforward process, it’s essential to take precautions to ensure safety and avoid any potential damage to your PC components. We recommend adhering to proper electrostatic discharge (ESD) precautions, such as grounding yourself by touching a metal object before handling any internal components.
Now that we’ve covered the basics, let’s move on to the overview of Raidmax PC cases, which will help you familiarize yourself with the structure and components of these cases before diving into the fan replacement process.
Overview of Raidmax PC Case
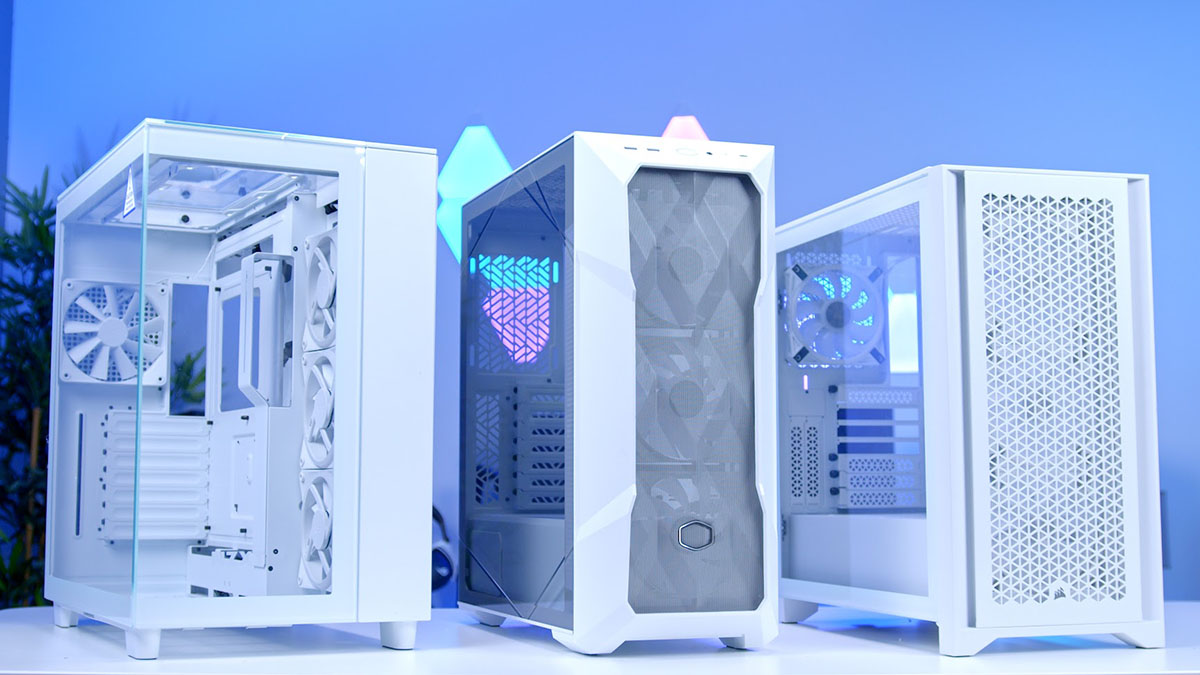
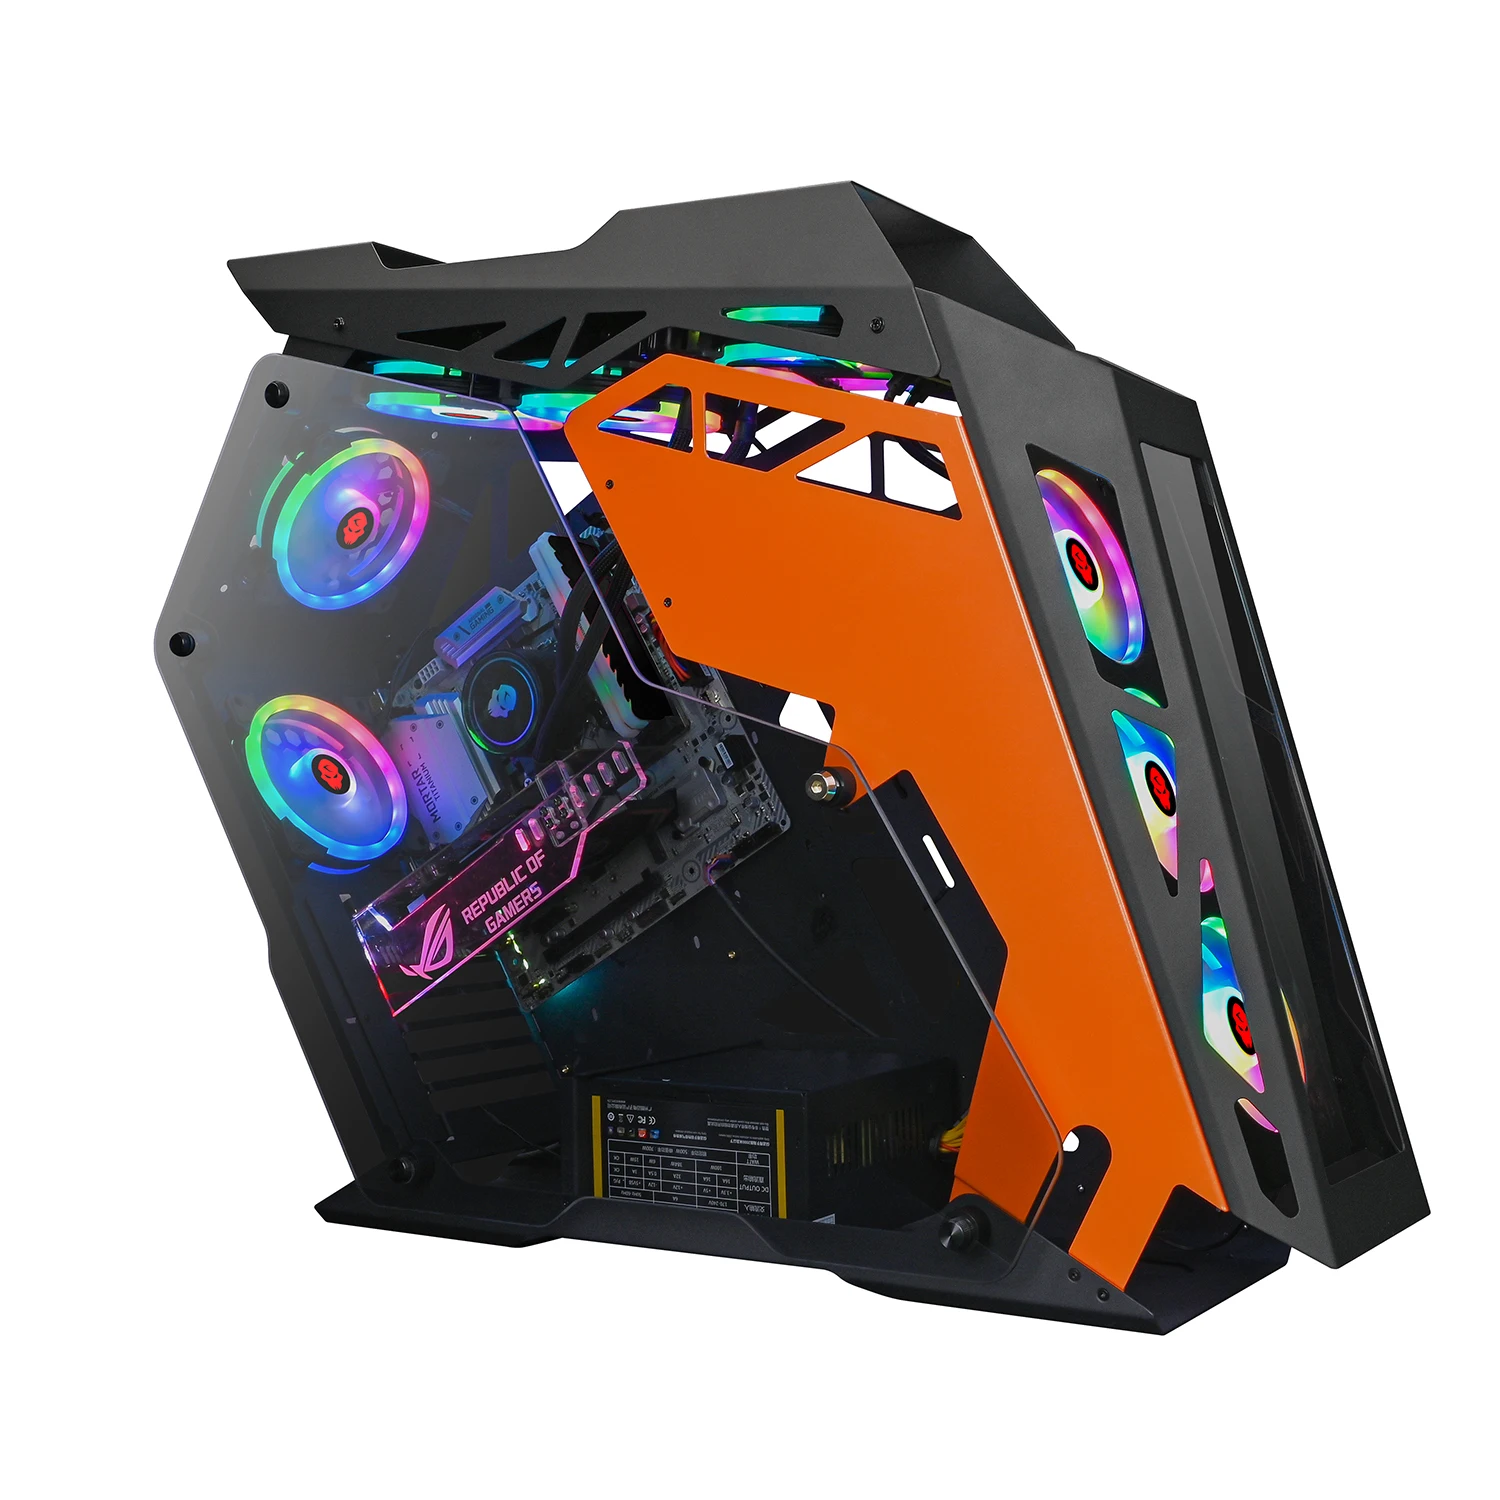
Raidmax PC cases are renowned for their sturdy construction, sleek designs, and efficient cooling capabilities. They offer a range of options to suit the needs of different users, from gaming enthusiasts to professionals seeking reliable and visually appealing cases.
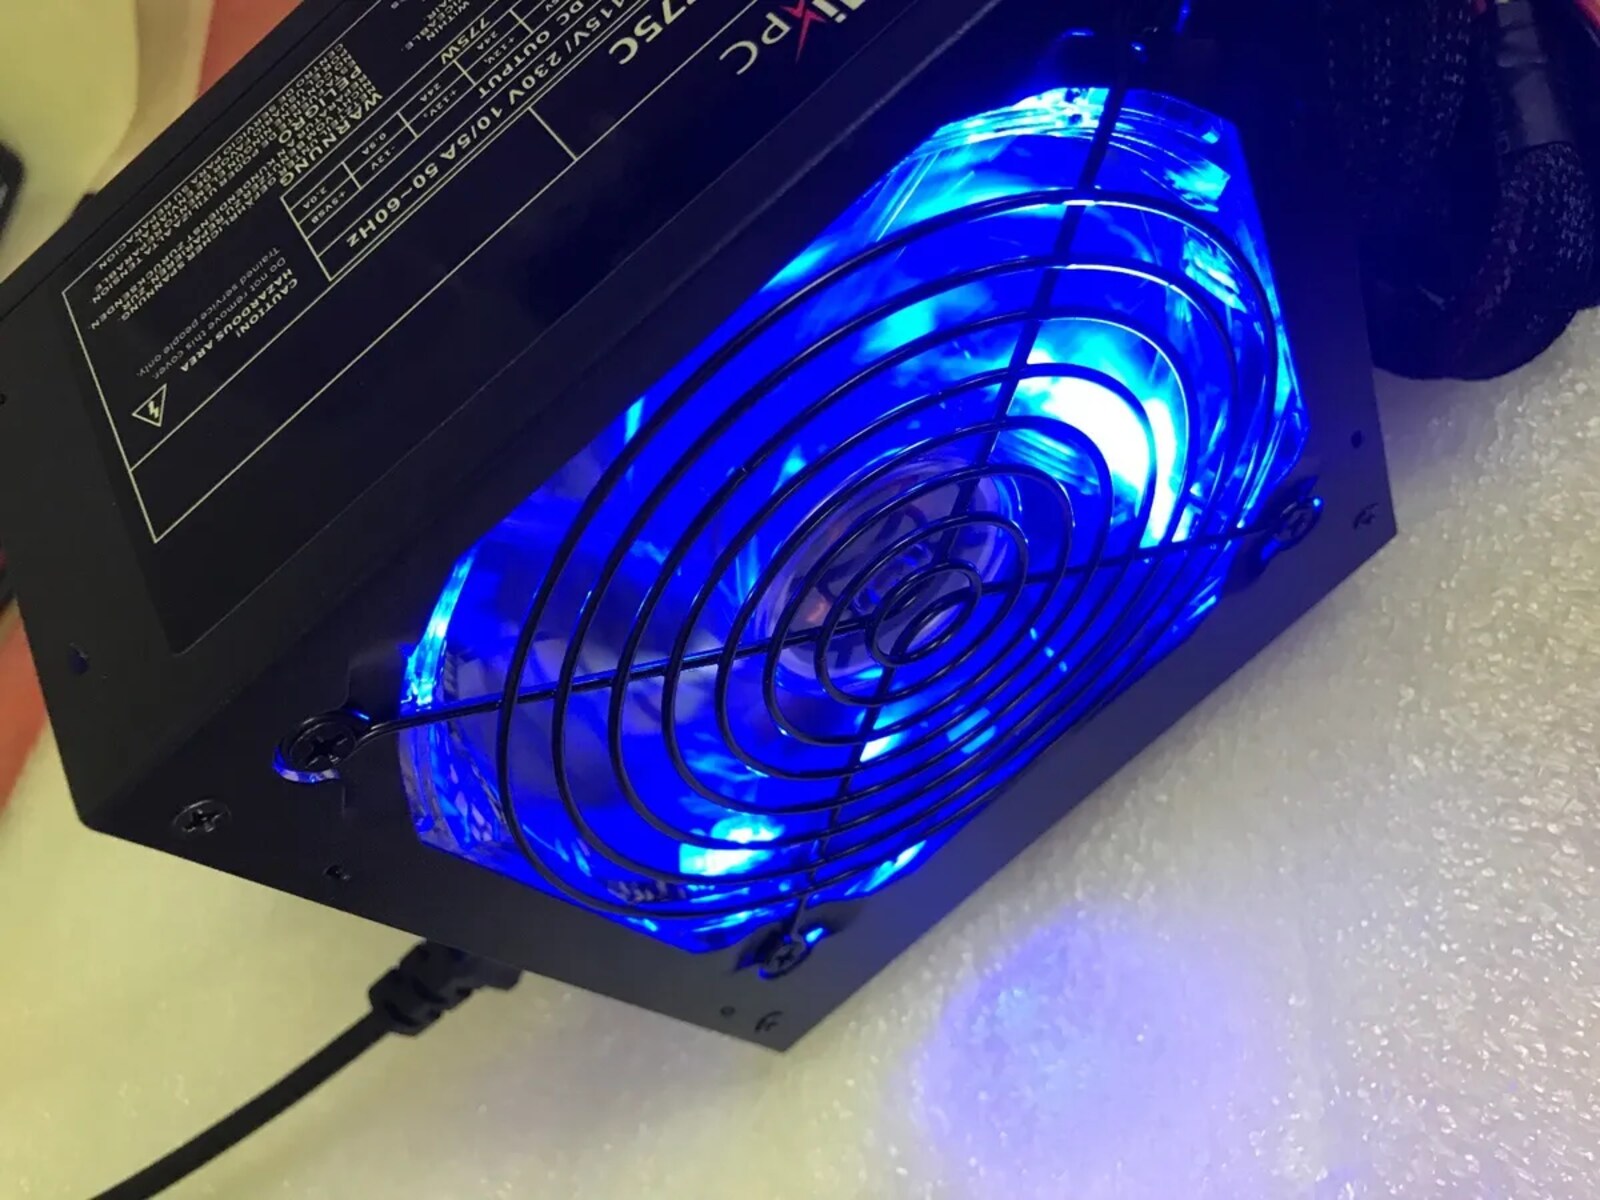
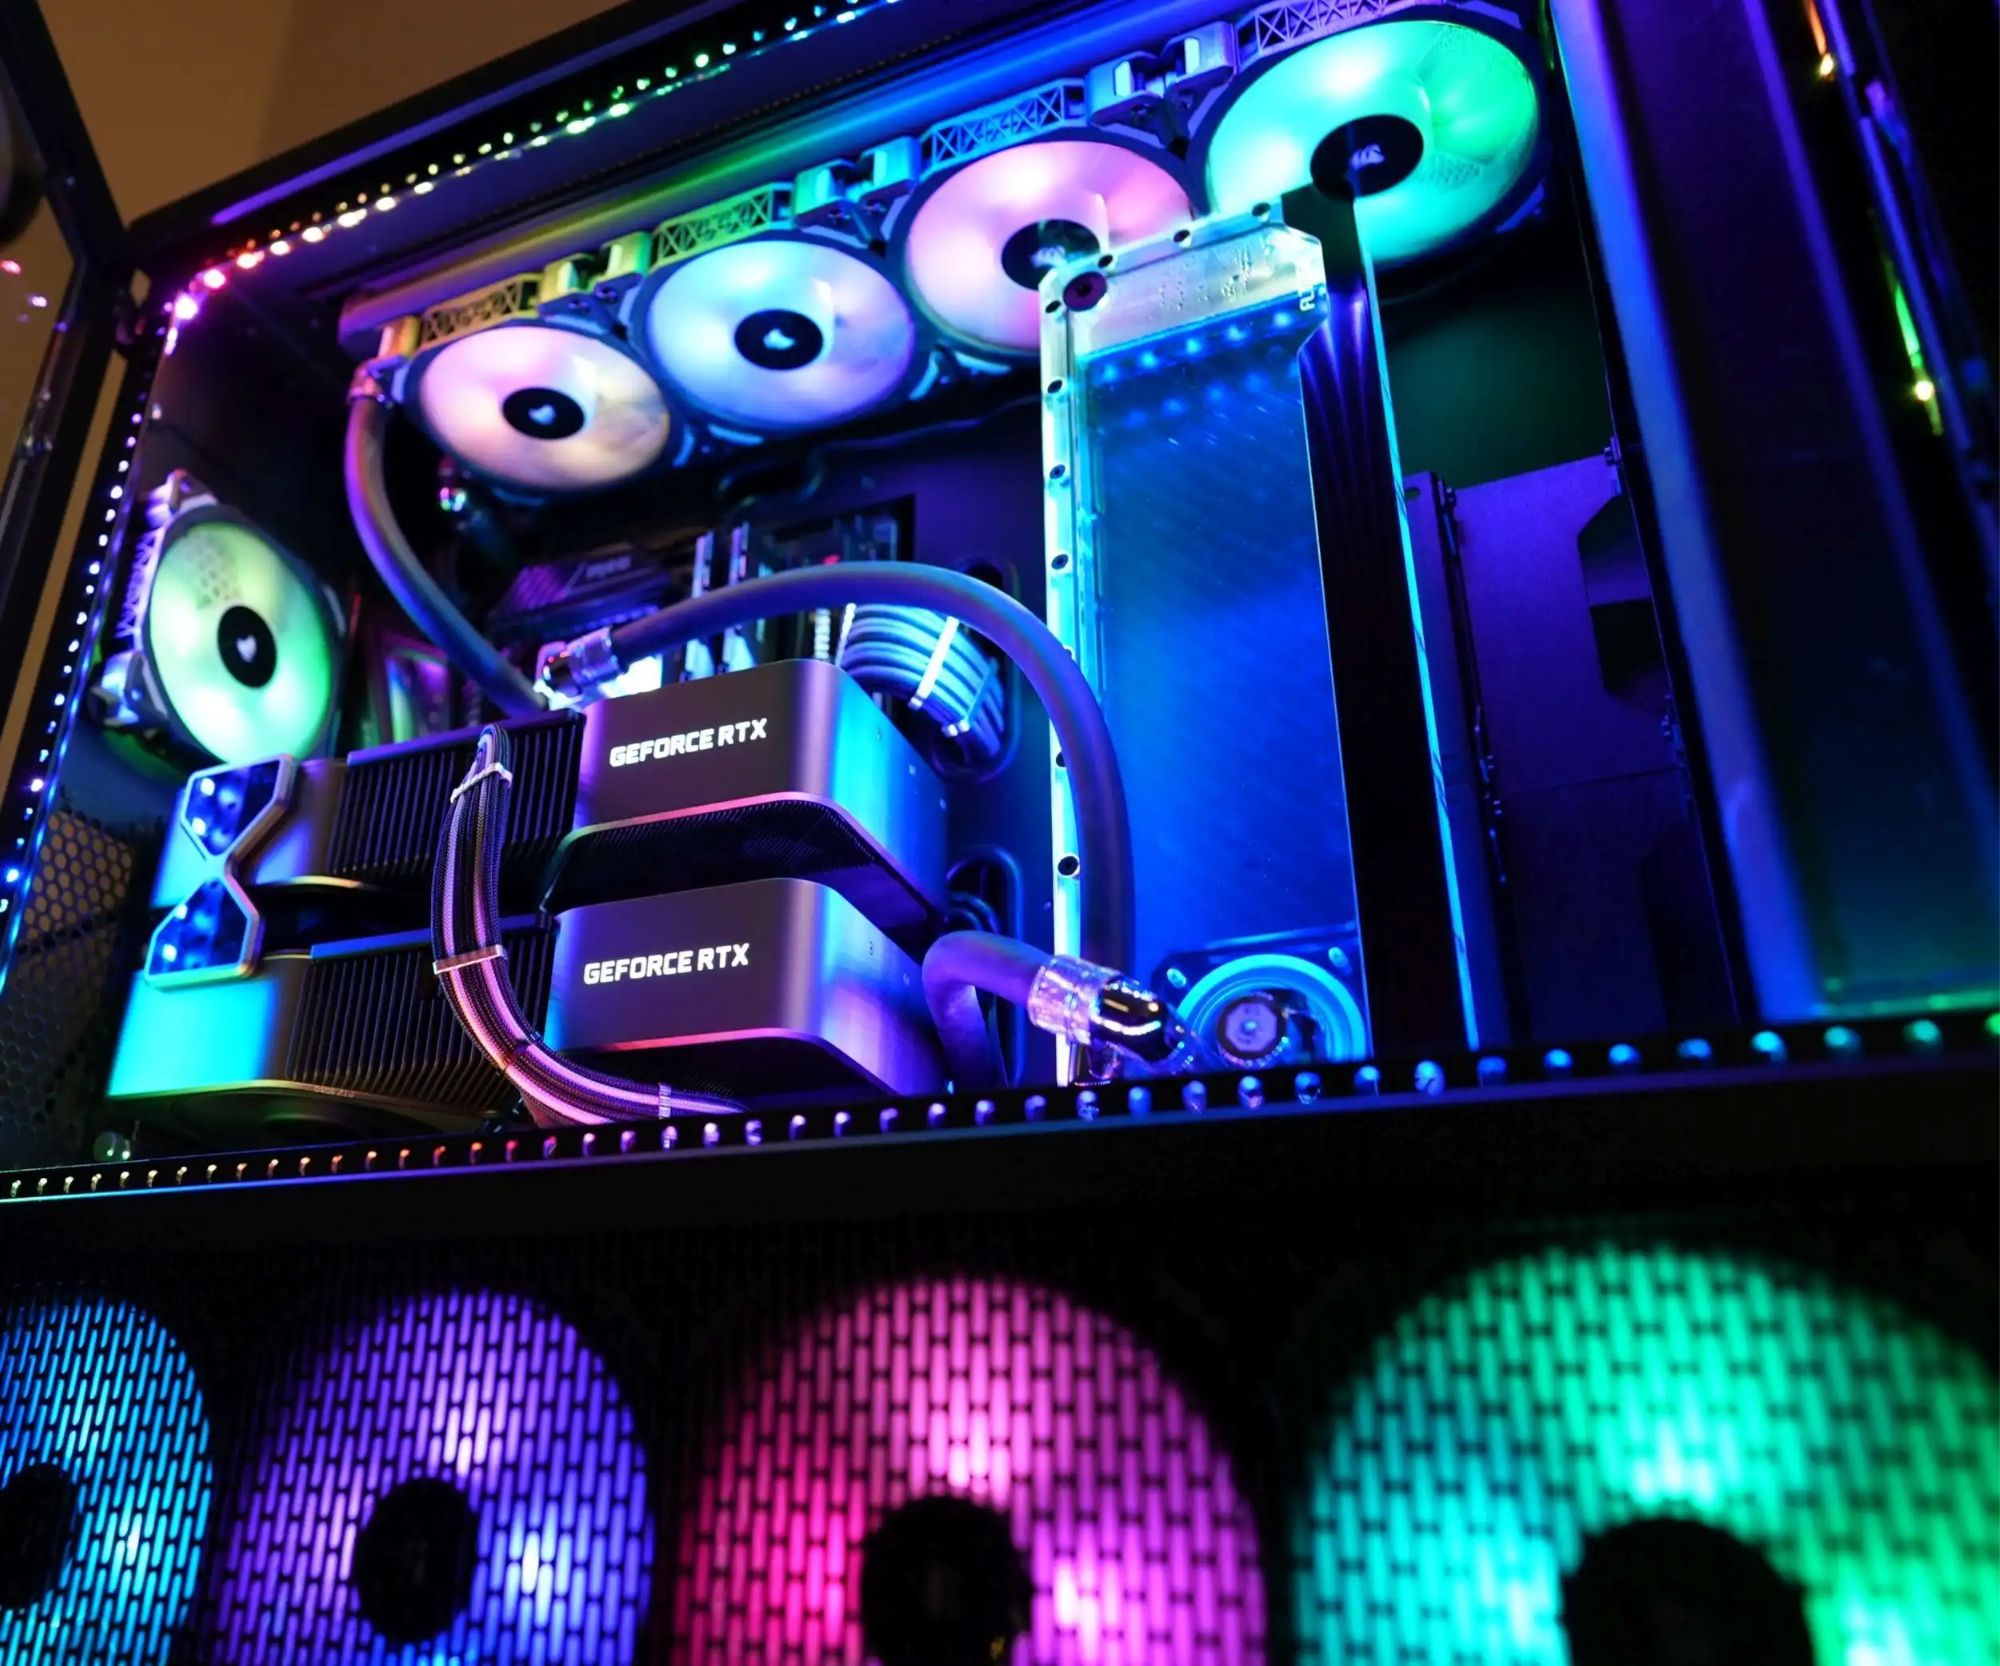
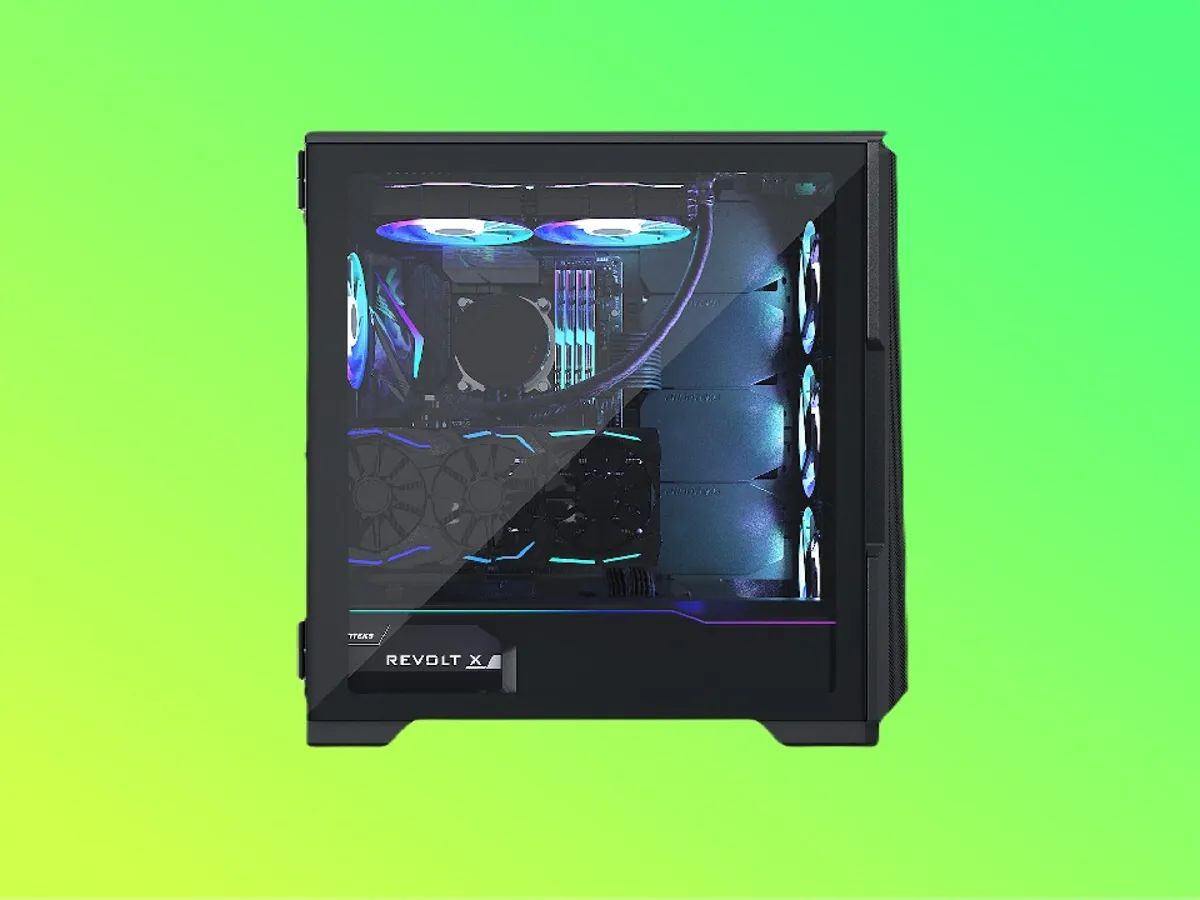
One notable feature of Raidmax cases is their emphasis on optimal airflow. These cases often incorporate strategically placed vents, mesh panels, and fan mounts to maximize the circulation of cool air and dissipate heat effectively. The front fan, typically located behind the front panel, plays a crucial role in pulling cool air into the case. It helps cool down the components, including the processor, graphics card, and hard drives.
Additionally, Raidmax cases are designed with user convenience in mind. They often include tool-less mechanisms for easy installation and removal of components. This feature eliminates the need for screwdrivers and allows for quick and hassle-free upgrades or modifications.
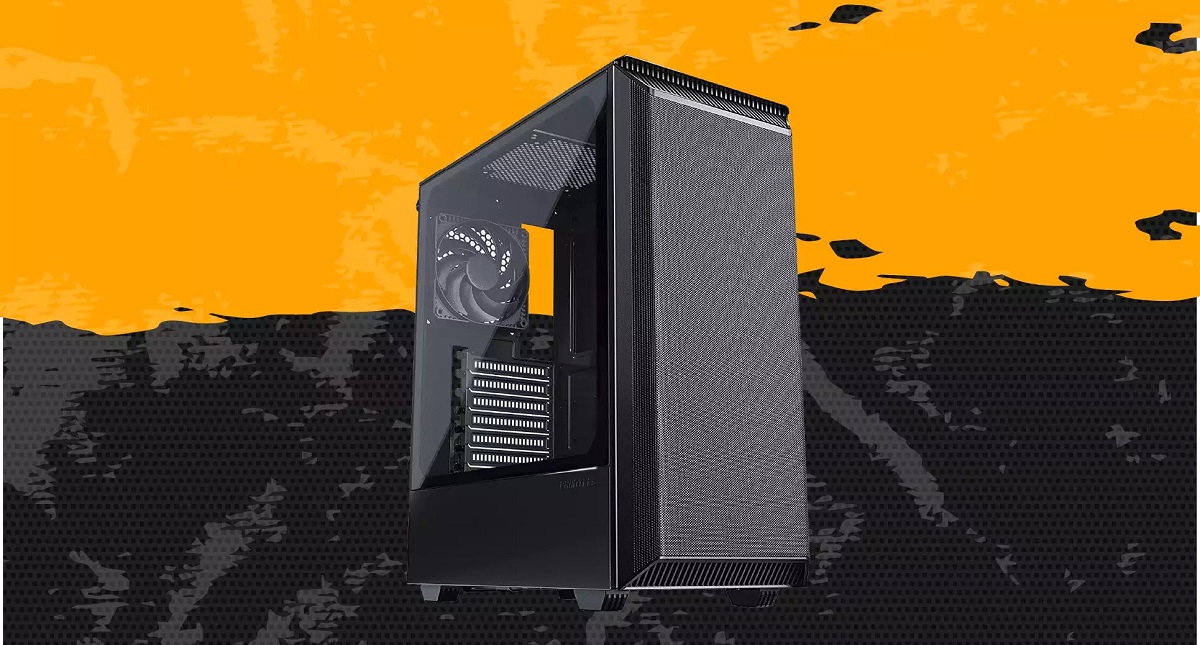
Furthermore, Raidmax PC cases come in various sizes and form factors, catering to different motherboard sizes, such as ATX, Micro-ATX, and Mini-ITX. This versatility ensures compatibility with a wide range of hardware configurations, accommodating high-performance gaming setups or compact and space-efficient builds.
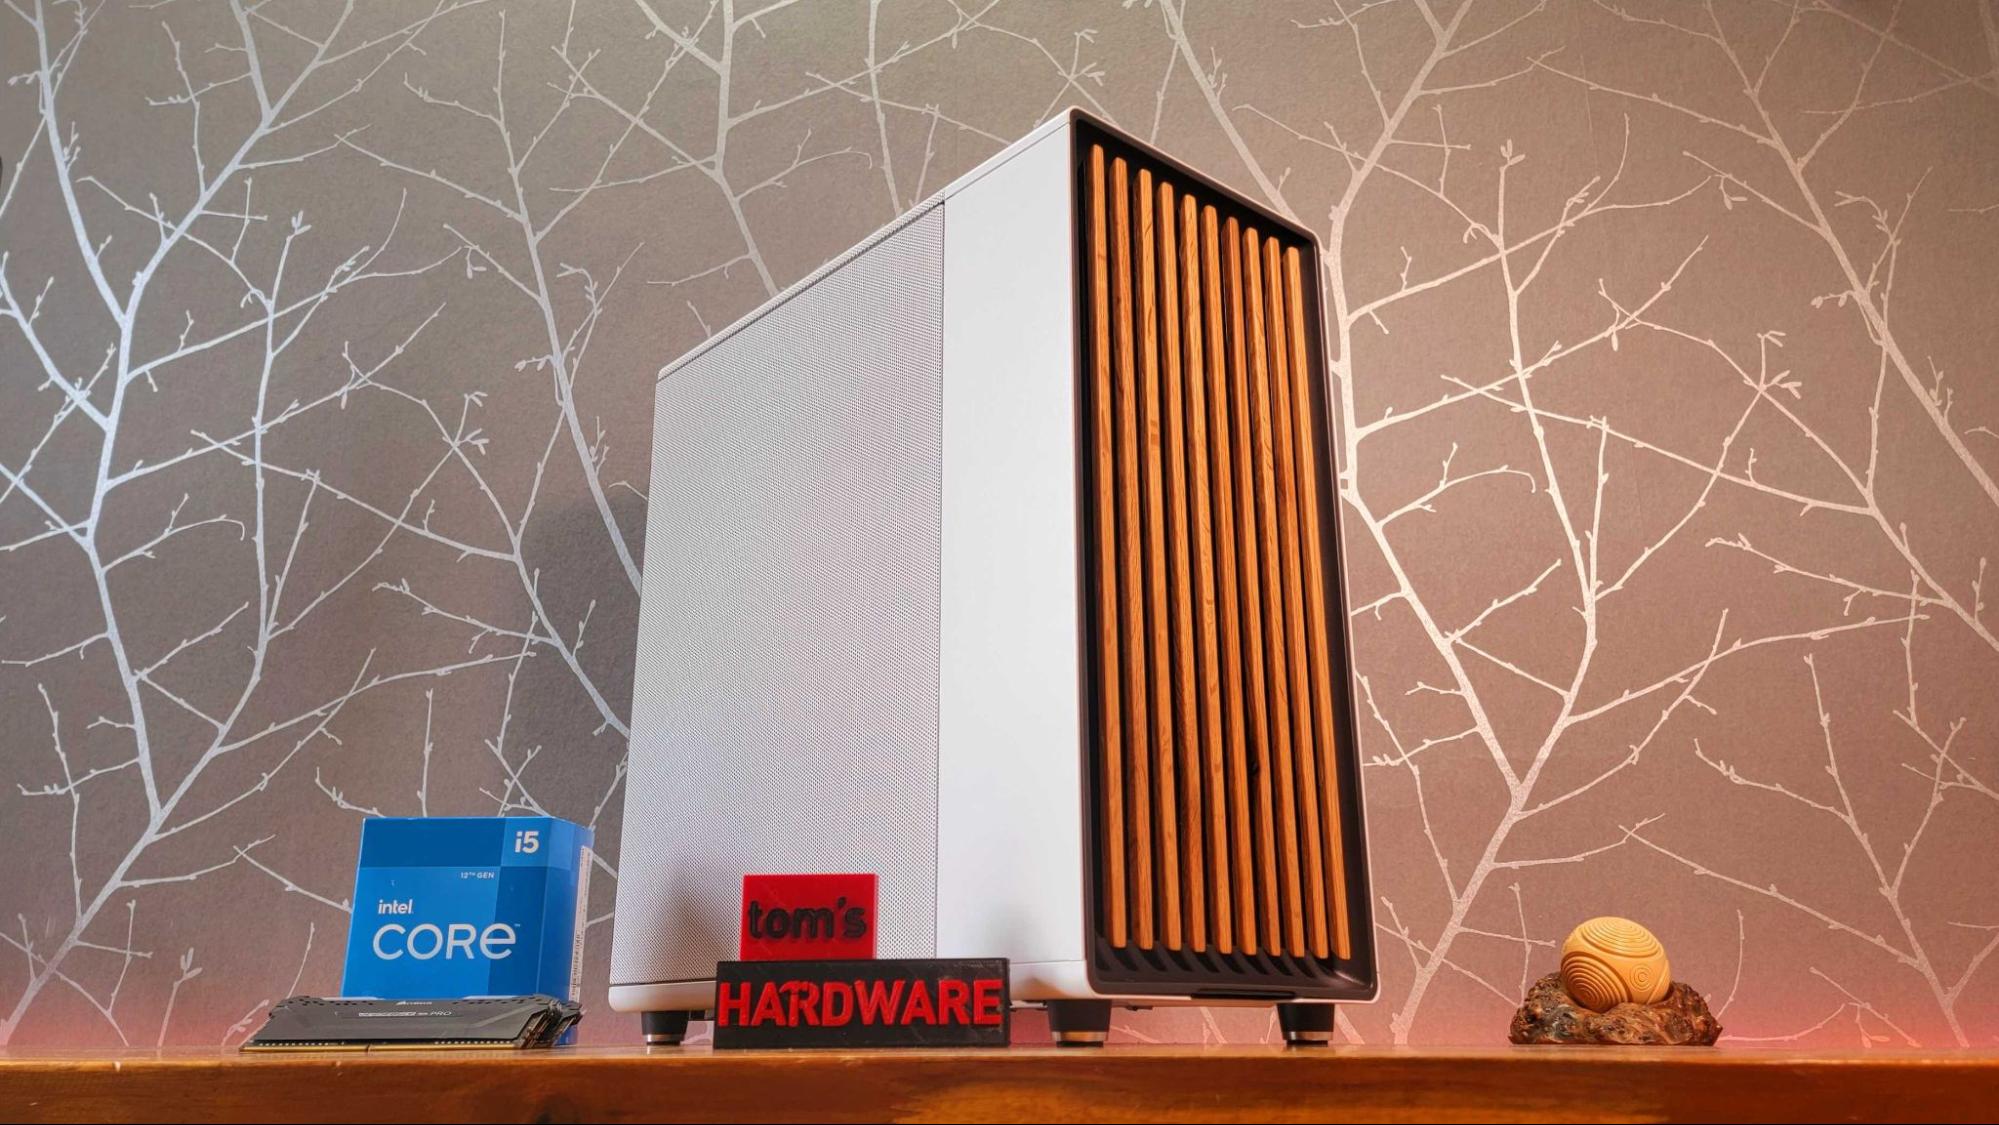
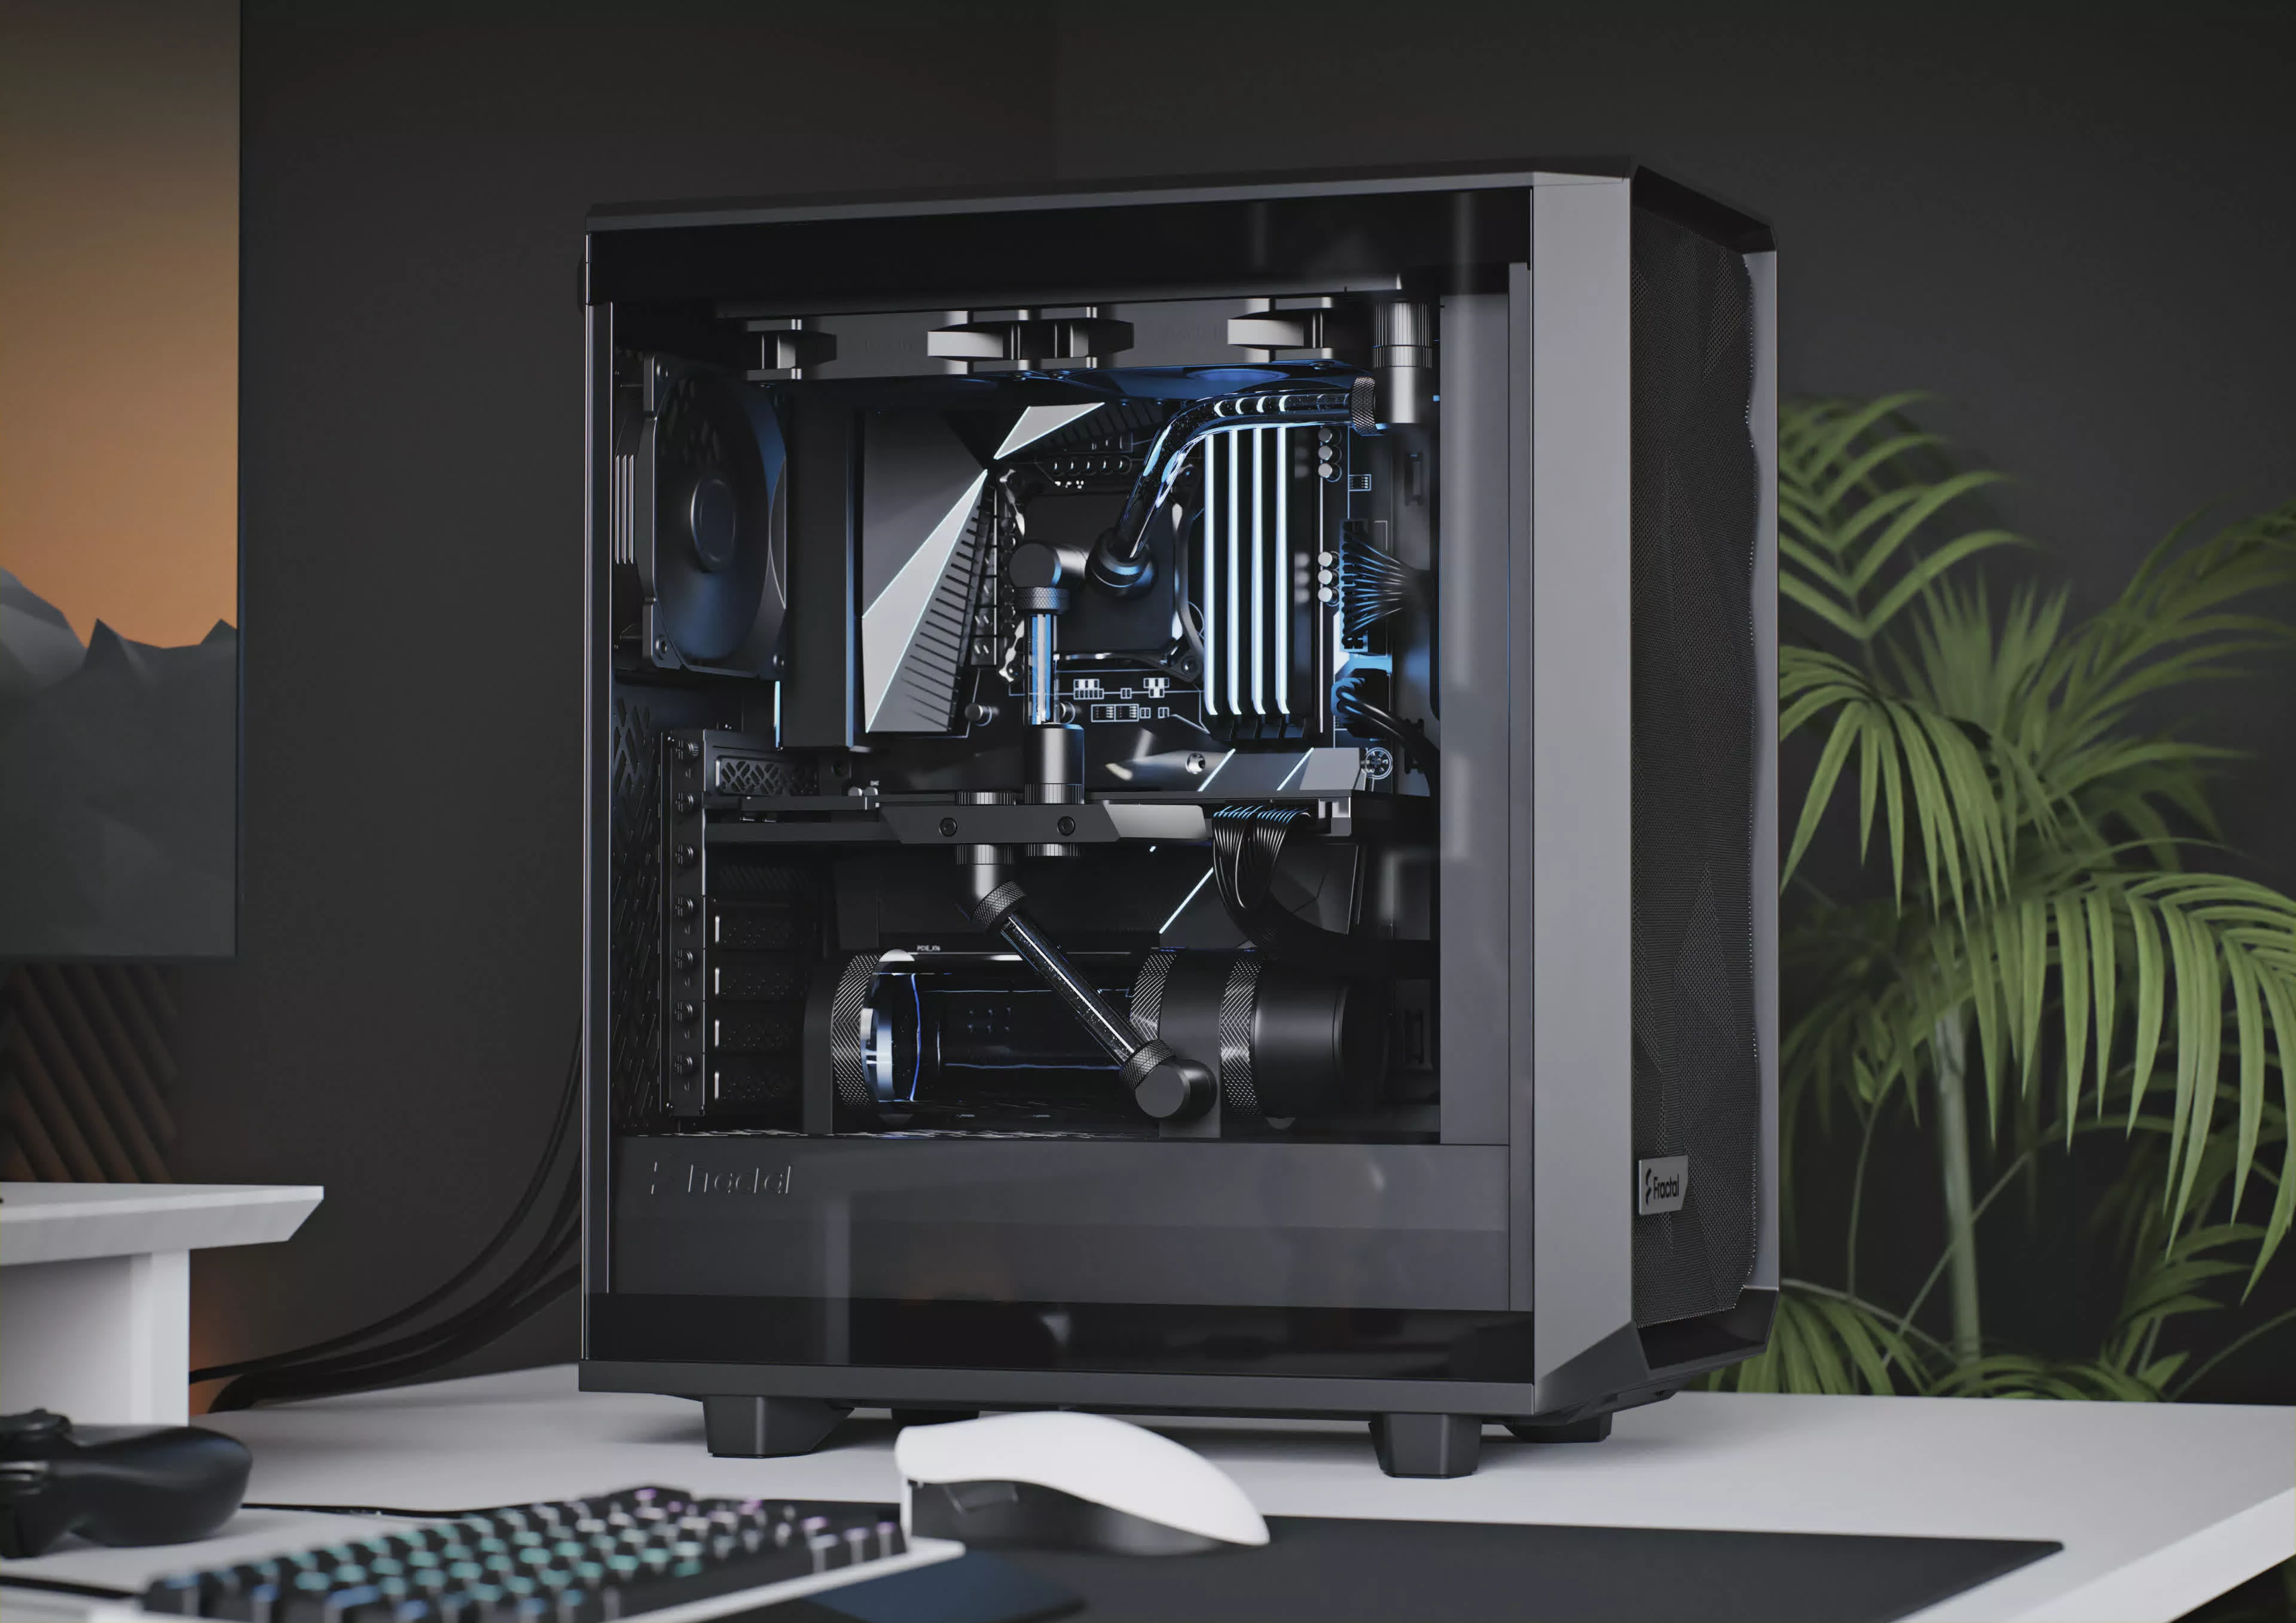
Another aspect that sets Raidmax cases apart is their aesthetic appeal. The cases feature stylish and modern designs, incorporating sleek lines, LED lighting accents, and tempered glass side panels to showcase the internal components. Whether you prefer a minimalist design or a more aggressive and futuristic look, Raidmax offers options that suit various aesthetics.
Overall, Raidmax PC cases provide a well-rounded package of functionality, durability, and visual appeal. By understanding the structure and components of these cases, you’ll be better prepared to navigate the fan replacement process smoothly. In the next section, we’ll guide you through the steps to remove the side panel, allowing access to the front fan for replacement.
Steps to Remove the Side Panel
Before we can access and replace the front fan of your Raidmax PC case, we need to remove the side panel to gain entry to the internal components. Follow these steps to safely remove the side panel:
- Power off your PC: Ensure that your computer is completely powered off and unplugged from the power source. This will prevent any electrical accidents or damage to your system.
- Locate the screws or fasteners: Look for the screws or fasteners that secure the side panel to the case. These are typically located on the backside of the case and may be thumb screws or standard screws.
- Unscrew or unfasten the side panel: Using a screwdriver or your fingers, loosen and remove the screws or unfasten the fasteners holding the side panel in place. Set them aside in a safe place, as you will need them when reattaching the side panel later.
- Gently slide off the side panel: Once the screws or fasteners are removed, gently slide the side panel towards the rear of the case. Be careful not to apply too much force or put strain on any internal components.
- Store the side panel safely: Find a secure location to store the removed side panel, ensuring it is kept in a clean and safe environment to avoid any damage or scratches.
Now that you have successfully removed the side panel, you have access to the inner components of your Raidmax PC case. In the next section, we will guide you on how to locate the front fan within the case, which is the next step towards replacing it with a new one.
Locating the Front Fan
Now that the side panel has been removed from your Raidmax PC case, it’s time to locate the front fan. The front fan is responsible for drawing cool air into the case and directing it towards the internal components to keep them at optimal temperatures. To find the front fan, follow these steps:
- Inspect the front panel: Take a look at the front panel of your Raidmax case. You will typically find the front fan located behind it. Look for any ventilation holes or mesh sections that indicate the presence of the fan.
- Identify the fan mounting points: Locate the mounting points or brackets of the front fan. These are where the fan is attached to the case. They will typically be positioned towards the edges of the front panel.
- Observe the wiring: Look for the fan’s wiring, which should be connected to the motherboard or a fan controller. This will help confirm that you have located the correct fan.
It’s essential to familiarize yourself with the location of the front fan to ensure smooth removal and replacement. Take a moment to inspect the fan and its mounting points, as this will help you navigate the next steps of the process more efficiently.
In the next section, we will discuss the necessary preparations you should make before proceeding with the removal and replacement of the front fan. These preparations will help ensure a smooth and successful fan replacement process.
Preparing for Fan Replacement
Before you begin removing the front fan from your Raidmax PC case, it’s crucial to make some necessary preparations to ensure a smooth fan replacement process. By taking these steps, you’ll create an organized and safe environment for working on your computer:
- Gather the necessary tools: Make sure you have all the tools you’ll need for the fan replacement, such as a screwdriver, cable ties, and a grounding strap or wristband. Having these tools readily available will save time and prevent any mishaps during the process.
- Ensure proper ventilation: Since you will be working with the cooling system of your PC, it’s vital to have adequate ventilation in your workspace. Good airflow will help keep your components cool and prevent any overheating issues during the fan replacement process.
- Disconnect the power supply: Before touching any internal components, ensure that your PC is completely powered off and unplugged from the power source. This step is crucial for your safety and to prevent any potential damage to your equipment.
- Ground yourself: To avoid damaging delicate computer components with static electricity, wear a grounding strap or use a grounding wristband. Alternatively, you can touch a metal object with a continuous connection to the ground to discharge any static electricity before handling the internal components.
- Read the manual: Carefully read the instructions provided with your replacement fan. Each fan model may have specific installation requirements, and familiarizing yourself with the manufacturer’s recommendations will ensure a seamless installation process.
- Organize your workspace: Clear any clutter from your workspace and have a clean, flat surface to work on. This will help prevent accidental damage to your PC components and ensure a smooth and organized replacement process.
By taking these preparatory steps, you’ll be better equipped to safely and effectively replace the front fan in your Raidmax PC case. In the next section, we will guide you through the process of removing the front panel, which will provide access to the fan for replacement.
Removing the Front Panel
Now that you have made the necessary preparations, it’s time to remove the front panel of your Raidmax PC case to gain access to the front fan. Follow these steps to safely remove the front panel:
- Locate the retention clips or screws: Examine the edges of the front panel for retention clips, screws, or any other fastening mechanisms that secure it to the case.
- Release the retention clips or remove the screws: Depending on the design of your Raidmax case, gently press or release the retention clips to unlock the front panel. If your case uses screws, use a screwdriver to remove them.
- Gently pull away the front panel: With the retention clips released or screws removed, carefully pull the front panel away from the case. It may require a slight amount of force, but be cautious to avoid causing any damage to the panel or the internal components.
- Set aside the front panel: Once the front panel is removed, safely place it in an area where it won’t get damaged. This will allow you easy access to the front fan.
It’s important to note that the removal process may vary slightly depending on the specific model of your Raidmax case. If you encounter any resistance or are unsure about removing the front panel, consult your case’s manual or seek assistance from Raidmax customer support.
Now that you have successfully removed the front panel, the front fan is now accessible. In the next section, we will guide you through removing the front fan itself to prepare for the installation of a new one.
Removing the Front Fan
With the front panel of your Raidmax PC case removed, you now have easy access to the front fan. To replace the front fan, follow these steps to safely remove it:
- Locate the fan mounting points: Look for the mounting points or screws that secure the front fan to the case. These are typically located towards the corners of the fan.
- Unplug the fan cable: Locate the cable connecting the fan to the motherboard or fan controller. Gently unplug the cable by sliding the connector out of the socket, taking care not to damage the pins or the connector itself.
- Remove the mounting screws or brackets: Using a screwdriver or your fingers, loosen and remove the screws or unfasten the brackets holding the front fan in place. Set them aside in a safe place, as you may need them for the installation of the new fan.
- Gently remove the front fan: Once the mounting screws or brackets are removed, carefully lift the front fan out of its position. Be cautious not to apply excessive force and avoid putting strain on any nearby components.
When removing the front fan, it’s essential to handle it with care to avoid damage. Take note of any specific instructions provided in the fan’s manual or documentation to ensure proper handling during the removal process.
Now that the front fan has been successfully removed from your Raidmax PC case, you can proceed to the next section, which covers the steps for installing the new front fan.
Installing the New Front Fan
Now that you have removed the old front fan, it’s time to install the new one in your Raidmax PC case. Follow these steps to safely and effectively install the new front fan:
- Prepare the new fan: Remove the new front fan from its packaging and make sure all the necessary accessories, such as mounting screws or brackets, are included.
- Align the fan with the mounting points: Position the new fan in the front panel, aligning it with the mounting points or brackets. Ensure that the fan is facing the correct direction, with the airflow directing towards the internal components of the case.
- Secure the fan with mounting screws or brackets: Using the screws or brackets provided, fasten the new front fan to the mounting points. Start by loosely securing the screws or fasteners and then tighten them gradually in a diagonal pattern to ensure even pressure.
- Connect the fan cable: Locate the fan header on your motherboard or fan controller and connect the cable from the new fan to this header. Make sure the connection is secure and that the cable is not obstructing any other components.
- Test the fan: Before reassembling the case, it’s a good idea to power on your PC and ensure that the newly installed front fan is functioning properly. Listen for any unusual noises and check if the fan blades are spinning smoothly.
It’s important to note that the installation process may vary depending on the specific model and design of your Raidmax case and the new fan you are installing. Refer to the instructions provided with the fan for any additional steps or precautions specific to your setup.
Once you have successfully installed the new front fan and confirmed its functionality, you are ready to proceed to the next section, where we will guide you on reattaching the front panel to the case.
Reattaching the Front Panel
With the new front fan securely installed in your Raidmax PC case, it’s time to reattach the front panel. Follow these steps to properly reattach the front panel:
- Align the front panel: Carefully align the front panel with the corresponding slots or hooks on the case. Ensure that any cables or wires connected to the front panel are properly routed and do not get trapped or pinched between the panel and the case.
- Slide the front panel into place: Gently slide the front panel back into its original position, ensuring that it fits snugly against the case. Use light pressure, avoiding any excessive force that may cause damage to the panel or the case.
- Secure the front panel: Once the front panel is in position, reinsert the retention clips or fasten the screws that hold it in place. Make sure the front panel is stable and properly aligned with the rest of the case.
- Double-check connections: Take a moment to verify that all cables and connections, such as those for USB ports or audio jacks, are properly aligned and secure. Reseat any cables if necessary.
- Test the front panel: Power on your PC and check if the front panel buttons, LEDs, and ports are functioning correctly. Ensure that the front fan is spinning and that the airflow is properly directed.
With the front panel successfully reattached, your Raidmax PC case is now ready to provide optimal cooling and airflow with the newly installed front fan. Take a moment to appreciate your work, and if everything is functioning as expected, you can proceed to reassemble any other components you may have removed during the fan replacement process.
In the next section, we will conclude this guide with some final thoughts and reminders to ensure the ongoing performance and longevity of your PC case and front fan.
Conclusion
Congratulations! You have successfully replaced the front fan in your Raidmax PC case. By following the steps outlined in this guide, you’ve ensured optimal airflow and cooling for your PC’s internal components, which are crucial for maintaining system performance and longevity.
Remember, the front fan plays a crucial role in drawing cool air into the case and directing it towards the components, keeping them at optimal temperatures. Periodically checking and replacing fans as needed will help prevent overheating issues and ensure the smooth operation of your PC.
When replacing the front fan, it’s essential to make necessary preparations, handle the components with care, and follow the manufacturer’s instructions. Take your time and ensure proper connections and securing of the fan to avoid any issues.
Additionally, while this guide specifically focuses on Raidmax PC cases, the general principles and steps provided can be applied to other case models as well. However, always refer to the specific instructions and recommendations provided by the manufacturer to ensure compatibility and proper installation.
We hope this guide has been helpful in assisting you with the front fan replacement process. Remember to keep your PC case clean and free of dust regularly, as this will further aid in the cooling efficiency and overall performance of your system. If you encounter any issues or have further questions, don’t hesitate to reach out to Raidmax customer support for assistance.
Thank you for choosing Raidmax and happy computing!