Introduction
When turning on your PC, you may have noticed an annoying vibration noise coming from the case. This unpleasant sound can be a source of frustration, especially if you’re an individual who values a quiet and peaceful computing experience. Fortunately, there are several causes for this vibration noise that can be addressed, allowing you to enjoy a noise-free PC.
Understanding the root causes of PC case vibration noise is crucial for effective troubleshooting. Loose components, unbalanced fans, mechanical hard drive vibrations, faulty power supply units (PSU), and improper case installation are all potential culprits. By identifying and addressing these issues, you can significantly reduce or even eliminate the vibration noise altogether.
In the following sections, we will explore each of these causes in detail, providing insights into why they occur and how to resolve them. By following the recommended solutions, you will be able to enjoy a quieter and more enjoyable computing experience.
Without further ado, let’s dive into the causes of PC case vibration noise and how you can fix them to regain a peaceful and noise-free computing environment.
Causes of PC Case Vibration Noise
Experiencing vibration noise when turning on your PC can be frustrating. Understanding the causes behind this issue is essential for effectively troubleshooting and resolving it. Here are the most common reasons why your PC case may be producing vibration noise:
1. Loose Components: Loose screws, connectors, or cables inside your PC can create vibration when the system is powered on. This can result from improper assembly, movement during transportation, or general wear and tear. The vibrating components can generate noise as they make contact with other parts of the case.
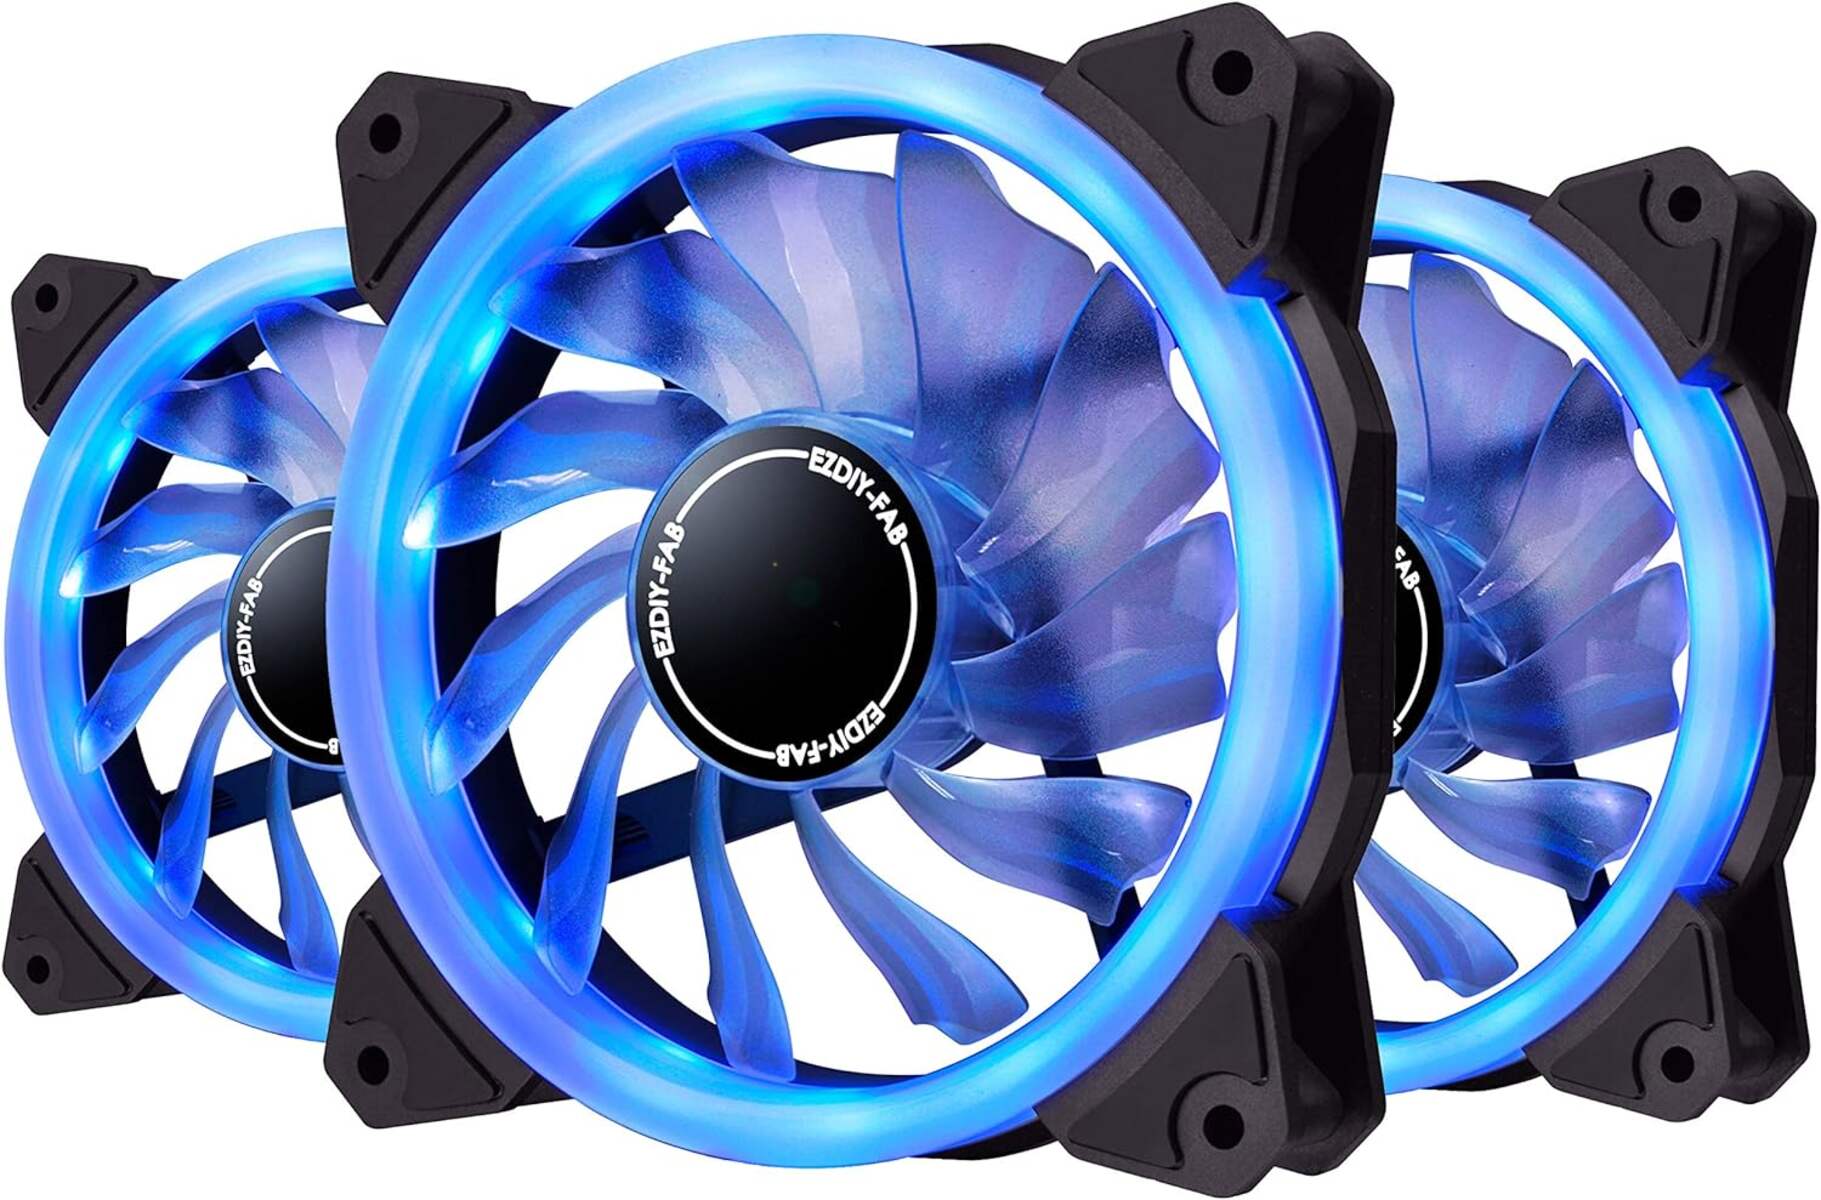
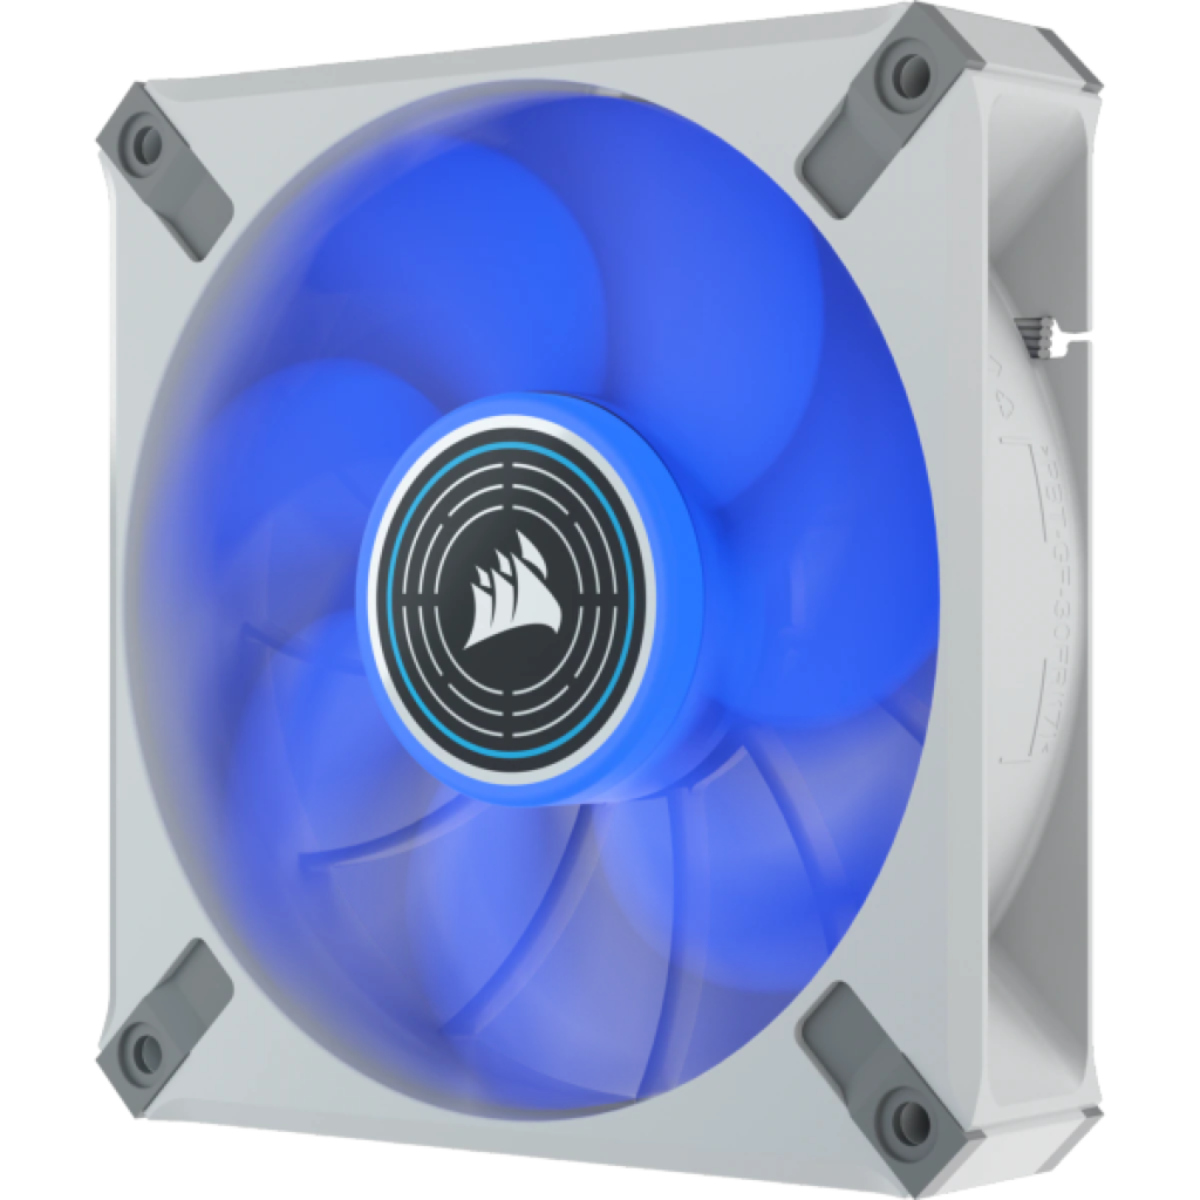
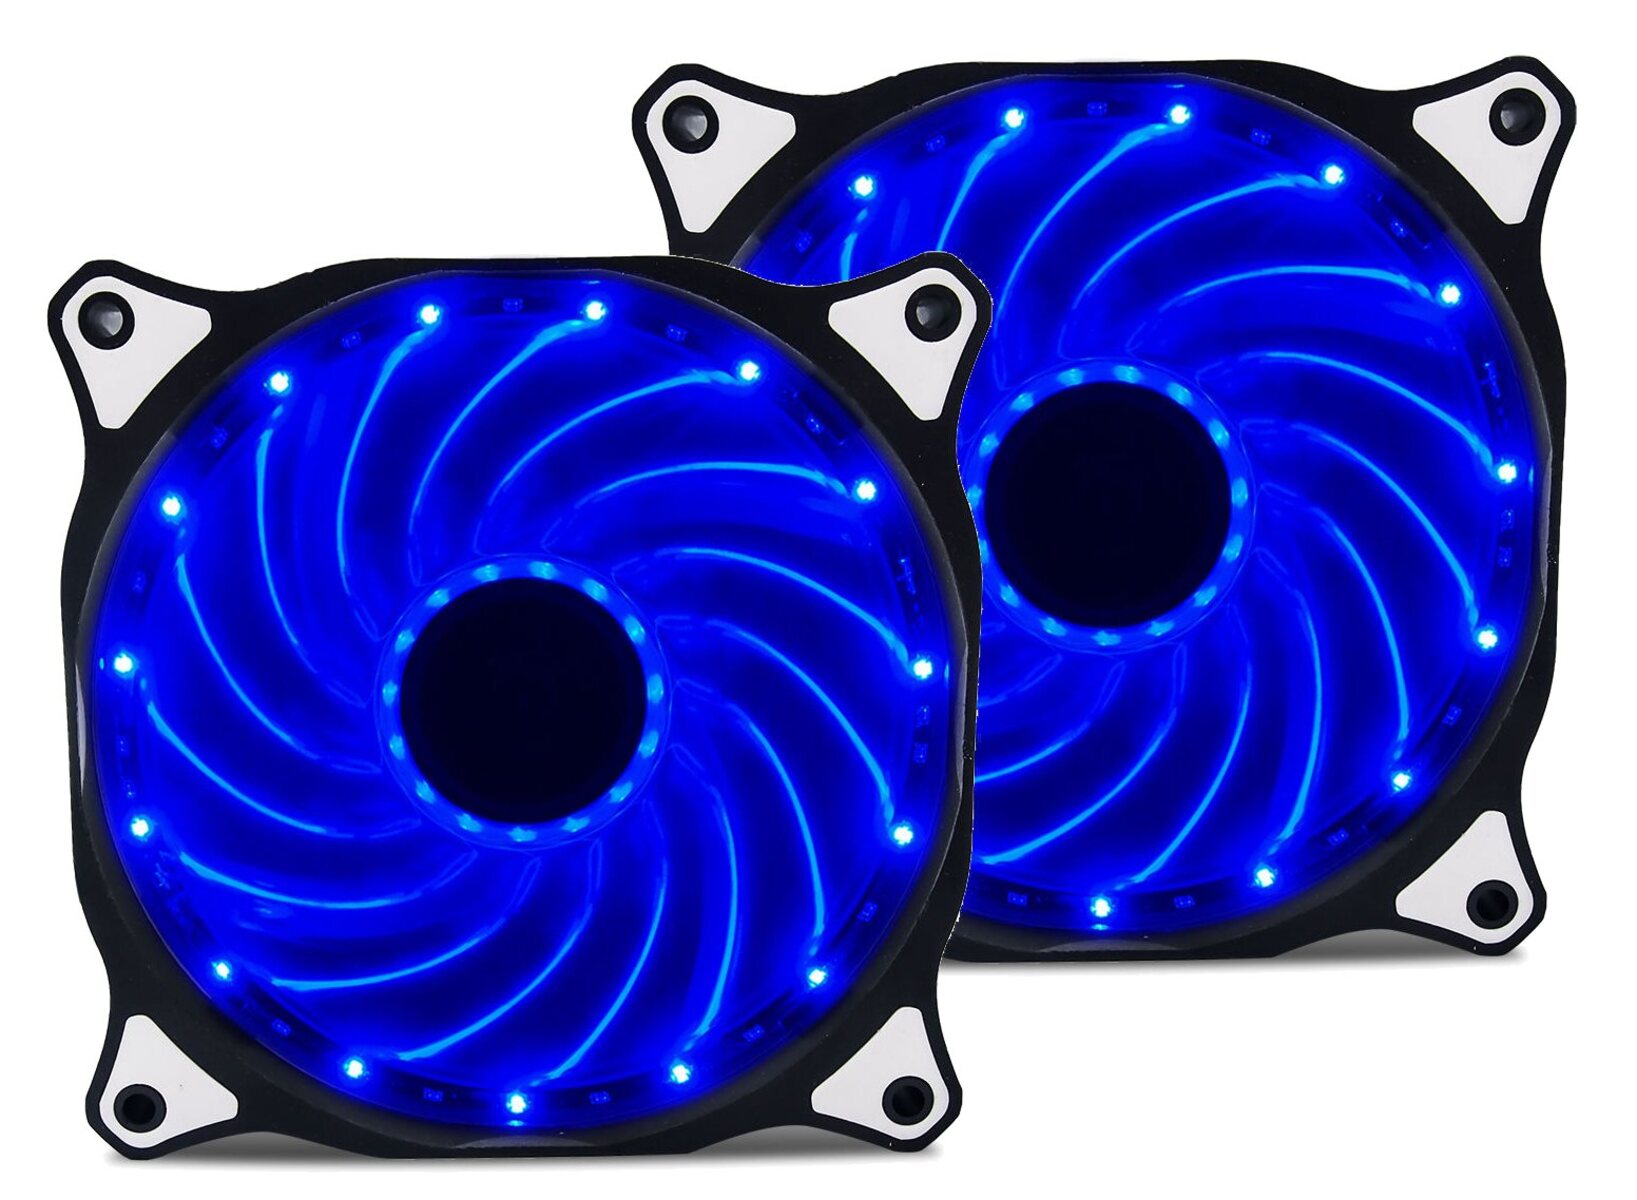
2. Unbalanced Fans: Fans are vital for cooling your PC, but if they are not properly balanced, they can cause vibrations. When a fan’s blades are imbalanced, it can result in an uneven rotation, leading to vibrations that are transmitted to the case and produce noise. This imbalance can be caused by accumulated dust or physical damage to the fan.
3. Mechanical Hard Drive Vibrations: Hard disk drives (HDDs) contain moving parts that can generate vibrations, especially if they are old or not properly aligned. These vibrations can reverberate throughout the case, resulting in audible noise. Solid-state drives (SSDs) are not susceptible to this issue, as they do not contain any moving parts.
4. Faulty Power Supply Unit (PSU): A faulty PSU can also be a source of vibration noise. Issues like worn-out bearings, loose components, or improper grounding can cause the PSU fan or internal components to vibrate, leading to noise. It’s important to ensure your PSU is in good working condition to avoid this problem.
5. Improper Case Installation: If the PC case is not installed correctly, it can cause vibrations and noise. This can happen when the case isn’t securely fastened, allowing it to rattle against the surface it’s placed on. Additionally, if the case feet or rubber grommets that isolate the components from the case are missing or damaged, vibrations can be transmitted more easily.
By addressing these causes of PC case vibration noise, you can significantly reduce or eliminate the unwanted noise. In the next section, we will discuss practical solutions to fix these issues, allowing for a quieter computing experience.
Loose Components
One of the common causes of PC case vibration noise is loose components. Over time, as your PC is used and moved around, screws, connectors, and cables inside the case can become loose. When the system is powered on, these loose components can create vibrations that result in noise. Here’s how you can address this issue:
1. Check for Loose Screws: Carefully inspect all the screws inside your PC case. Ensure that they are tightened securely. Pay particular attention to the screws holding the motherboard, graphics card, and power supply in place. Use a screwdriver to tighten any loose screws gently. Be cautious not to overtighten, as it can damage components.
2. Secure Connectors and Cables: Inspect the connectors and cables attached to your motherboard, graphics card, and other components. Make sure they are firmly and securely plugged in. If any connectors or cables appear loose, unplug them, and reconnect them properly. Additionally, consider using zip ties or cable management clips to secure cables and prevent them from moving around.
3. Remove Excess Vibrating Items: Some loose items inside the case, such as loose screws, unused brackets, or loose cable ties, can act as sources of vibration. Remove or reposition these items to minimize their movement and vibration. Check the inside of your case, paying attention to any components, cables, or accessories that may be loose.
By tightening loose screws, securing connectors and cables, and removing excess vibrating items, you can significantly reduce the vibration noise caused by loose components. If the noise persists, move on to the next section to troubleshoot another potential cause.
Unbalanced Fans
Unbalanced fans can be a major contributor to PC case vibration noise. When the blades of a fan are not properly balanced, it can result in uneven rotation and create vibrations that are transmitted to the case, causing irritating noise. Here are some steps to balance your fans and minimize vibration noise:
1. Clean the Fan Blades: Dust accumulation on the fan blades can cause an imbalance and lead to vibrations. Turn off your computer and unplug it from the power source. Use compressed air or a soft brush to clean the fan blades thoroughly. Removing the dust will help restore the balance and reduce vibration.
2. Use Fan Balancing Clips: Some fans come with balancing clips that attach to the blades and help achieve proper balance. Consult your fan’s manufacturer instructions to see if balancing clips are provided and how to use them. Attach the clips according to the manufacturer’s guidelines and see if it improves the fan’s balance and reduces vibrations.
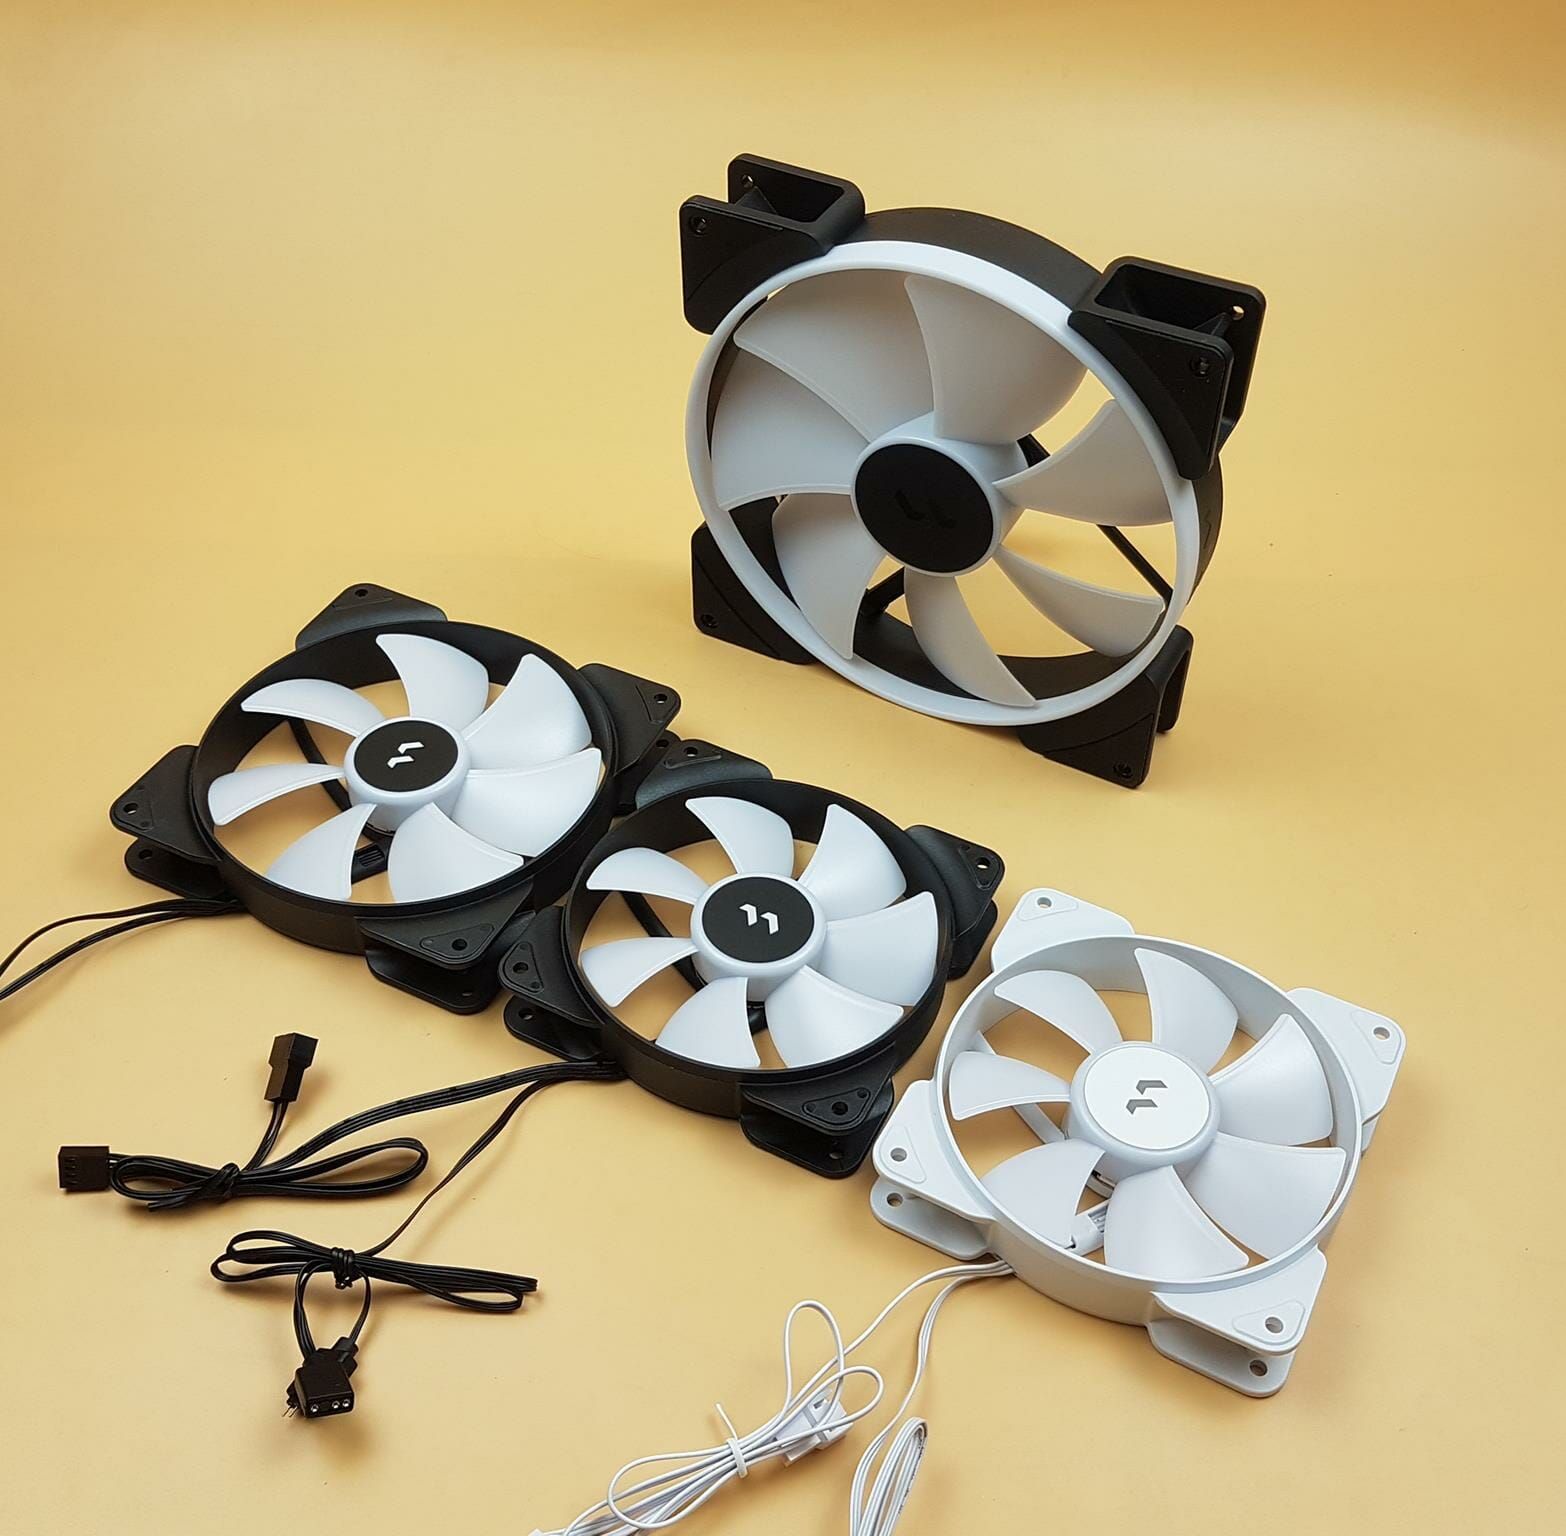
3. Replace Damaged or Worn-out Fans: If a fan is physically damaged or has worn-out bearings, it may cause excessive vibration and noise. In such cases, it is recommended to replace the fan. Select a high-quality fan that is compatible with your case and offers reliable performance. Make sure to follow the installation instructions provided by the manufacturer.
4. Consider Rubber Fan Mounts: Rubber fan mounts or anti-vibration pads can help reduce vibration transmission from the fan to the case. These mounts absorb the vibrations and prevent them from being transferred, resulting in a quieter operation. Install the rubber mounts between the fan and the case or use rubber screws to secure the fan in place.
By cleaning the fan blades, using balancing clips if available, replacing damaged fans, and utilizing rubber fan mounts, you can effectively balance your fans and minimize vibration noise. If the noise persists, proceed to the next section to identify and address another potential cause.
Mechanical Hard Drive Vibrations
Mechanical hard drives (HDDs) can generate vibrations due to their moving parts, which can contribute to PC case vibration noise. These vibrations occur when the spinning disks inside the HDD and the read/write head are not properly aligned or when the drive is old and worn out. Here are a few steps you can take to address mechanical hard drive vibrations:
1. Verify Hard Drive Placement: Ensure that your hard drive is securely and properly mounted in the drive bay. Loose or improperly installed hard drives can lead to increased vibrations. Double-check the screws and brackets holding the hard drive in place. If necessary, tighten them to minimize any movement or rattling.
2. Use Anti-Vibration Mounts: To minimize vibration transfer from the hard drive to the case, consider using anti-vibration mounts or rubber grommets specifically designed for hard drives. These mounts absorb the vibrations, preventing them from reverberating throughout the case. Install them between your hard drive and the drive bay or use an anti-vibration mounting bracket.
3. Upgrade to Solid-State Drive (SSD): Unlike mechanical hard drives, solid-state drives (SSDs) do not have any moving parts, eliminating the issue of mechanical vibrations. Consider upgrading to an SSD, which not only provides faster performance but also helps eliminate the vibration noise associated with HDDs.
4. Relocate or Isolate the Hard Drive: If the vibrations from the hard drive are still causing noise, you can try relocating the hard drive to a different position inside the case. Alternatively, you can use materials like foam or rubber padding to create a cushioned barrier between the hard drive and the case. This can help absorb vibrations and reduce noise transmission.
By verifying the proper placement of your hard drive, using anti-vibration mounts, upgrading to an SSD, or relocating and isolating the hard drive, you can effectively address mechanical hard drive vibrations and minimize the associated noise. If the noise persists, move on to the next section to troubleshoot another potential cause.
Faulty Power Supply Unit (PSU)
A faulty power supply unit (PSU) can be another culprit behind PC case vibration noise. Issues such as worn-out bearings, loose components, or improper grounding can cause the PSU fan or internal components to vibrate, resulting in noise. Here are steps to check and address PSU-related vibration noise:
1. Check Fan and Ventilation: Start by inspecting the PSU fan. Ensure that it is clean and free from dust or debris. Use compressed air or a soft brush to remove any buildup. Additionally, check if the fan blades are intact and not bent. A damaged or obstructed fan can cause vibrations. Also, verify that the PSU has proper ventilation and is not overheating.
2. Replace Worn-out Fan: If the PSU fan is making noise or exhibiting signs of wear, consider replacing it. Many PSU fans are standard sizes and can be easily replaced. Ensure that the replacement fan matches the power requirements and size specifications of your PSU. Follow the manufacturer’s instructions for safe installation.
3. Tighten Loose Components: Loose components within the PSU can cause vibrations. Carefully open the PSU (if you are comfortable doing so) and check for any loose screws or components. If you find any, gently tighten them using a screwdriver. Be cautious while working inside the PSU and avoid touching any exposed electrical components.
4. Test Grounding and Electrical Connections: Improper grounding or loose electrical connections can cause PSU vibrations. Ensure that the PSU is properly grounded and securely connected to the motherboard and other components. Check for any loose or damaged cables and re-seat them if necessary. Consider using a multimeter to verify proper voltage and continuity.
5. Consult a Professional: If you are unsure or uncomfortable working with the PSU, it is advisable to seek assistance from a professional. They will have the expertise and specialized tools required to diagnose and resolve PSU-related vibration noise effectively.
By checking and cleaning the PSU fan, replacing a worn-out fan, tightening loose components, testing grounding and electrical connections, or seeking professional help if needed, you can address PSU-related vibration noise and enjoy a quieter computing experience. If the noise persists, move on to the next section to troubleshoot another potential cause.
Improper Case Installation
Improper case installation can also be a cause of PC case vibration noise. When the case is not installed correctly, it can create gaps or rattling that result in vibrations and noise. Here are some steps to ensure proper case installation and minimize vibration noise:
1. Securely Fasten the Case: Double-check that all screws securing the case panels are tightened properly. Loose or missing screws can cause the case to vibrate and produce noise. Use a screwdriver to ensure that all screws are securely fastened, focusing on the ones holding the side panels, front panel, and top panel in place.
2. Inspect Case Feet and Rubber Grommets: The case feet and rubber grommets play a crucial role in isolating the components from the case and reducing vibrations. Check if any of the case feet are missing or damaged. Replace them if necessary. Similarly, examine the rubber grommets that hold the drives or other components, making sure they are intact and properly installed.
3. Check for Proper Alignment: Ensure that the components inside the case, such as the motherboard and graphics card, are aligned correctly. Misalignment can create additional stress and vibrations. Gently reposition any misaligned components, making sure they fit securely and evenly into their respective slots or mounting points.
4. Eliminate Contact Points: Verify that there are no components or cables coming into contact with any part of the case that could cause vibrations. Check for any loose cables that might be touching fan blades or other moving parts. Routinely organize and secure cables using zip ties or cable management solutions to prevent them from interfering with the components or generating vibrations.
5. Place the Case on a Stable Surface: Make sure that the case is placed on a stable and level surface. Unstable surfaces can contribute to vibrations and noise. Consider using a vibration-damping pad or placing the case on an anti-vibration mat to further minimize vibrations.
By securely fastening the case, inspecting case feet and rubber grommets, checking for proper alignment, eliminating contact points, and placing the case on a stable surface, you can ensure proper case installation and significantly reduce vibration noise. If the noise persists, further troubleshooting may be required.
How to Fix PC Case Vibration Noise
Experiencing PC case vibration noise when turning on your computer can be frustrating. However, there are steps you can take to address and fix this issue. By following these solutions, you can enjoy a quieter and more pleasant computing experience. Here’s how to fix PC case vibration noise:
1. Tighten Loose Components: Check for any loose screws, connectors, or cables inside your PC case. Gently tighten them with a screwdriver, ensuring they are securely fastened. Pay special attention to screws holding the motherboard, graphics card, and power supply in place. This will minimize vibrations caused by loose components making contact with other parts of the case.
2. Balance Fans Properly: Clean the fan blades to remove dust and debris that can cause an imbalance. If available, use fan balancing clips according to the manufacturer’s instructions. Consider replacing damaged or worn-out fans. Additionally, use rubber fan mounts or anti-vibration pads to absorb vibrations and reduce noise transmission from unbalanced fans.
3. Address Mechanical Hard Drive Vibrations: Verify that your hard drive is securely mounted in the drive bay. Consider using anti-vibration mounts or rubber grommets to minimize vibration transfer from the hard drive to the case. Alternatively, upgrading to a solid-state drive (SSD) eliminates mechanical vibrations associated with traditional hard disk drives (HDDs).
4. Check and Replace Faulty PSU: Inspect the PSU fan for dust accumulation and ensure it has proper ventilation. Replace a worn-out or damaged fan and tighten any loose components inside the PSU. Verify proper grounding and electrical connections to minimize vibrations caused by a faulty PSU.
5. Reinstall the Case Correctly: Double-check that all case screws are tightened securely and that case feet and rubber grommets are in good condition. Ensure proper alignment of components and eliminate any contact points between components and the case. Place the case on a stable surface to prevent additional vibrations.
By implementing these fixes, you can address the causes of PC case vibration noise and enjoy a quieter and more enjoyable computing experience. Remember to test for noise reduction after each step to identify any remaining sources of vibration. With patience and attention to detail, you can achieve a noise-free PC setup.
Tighten Loose Components
One of the most common causes of PC case vibration noise is loose components. Over time, as your PC is used and moved around, screws, connectors, and cables inside the case can become loose. When the system is powered on, these loose components can create vibrations, resulting in noise.
To address this issue, follow these steps to tighten loose components and minimize vibration noise:
1. Carefully inspect all the screws inside your PC case. Ensure that they are tightened securely. Pay particular attention to the screws holding the motherboard, graphics card, and power supply in place. Oftentimes, these screws can become loose due to constant vibrations generated by the components.
Use a screwdriver to gently tighten any loose screws. Be cautious not to overtighten, as this can damage the components or strip the screw holes in the case.
2. Once you have tightened the screws, check the connectors and cables inside the case. These can also become loose over time, especially if the PC has been moved around or if the cables have been frequently plugged and unplugged.
Inspect each connector and cable to ensure that they are securely plugged in. If any connectors or cables appear loose, unplug them, and reconnect them properly. Make sure they are firmly seated in their respective sockets.
3. Consider using zip ties or cable management clips to secure cables and prevent them from moving around inside the case. This will help minimize any vibrations caused by loose or dangling cables.
Organize your cables and bind them together using zip ties or clips, making sure they are neatly tucked away and not obstructing the airflow of the components.
4. Additionally, check the inside of your case for any other loose items that may be causing the vibration noise. Loose screws, unused brackets, or loose cable ties can also act as sources of vibration. Remove or reposition these items to minimize their movement and vibration.
By tightening loose screws, securing connectors and cables, and removing any excess vibrating items, you can significantly reduce the vibration noise caused by loose components inside your PC case. If the noise persists, it may be necessary to investigate other potential causes, such as unbalanced fans or mechanical hard drive vibrations, which will be discussed in the subsequent sections.
Balance Fans Properly
Fans play a crucial role in keeping your PC cool, but unbalanced fans can contribute to vibration noise in the PC case. When the blades of a fan are not properly balanced, it can result in uneven rotation, leading to vibrations that are transmitted to the case and produce noise. To address this issue and minimize vibration noise, follow these steps to balance your fans properly:
1. Start by cleaning the fan blades to remove any dust or debris. Dust accumulation can cause an imbalance and lead to vibrations. Turn off your computer, unplug it from the power source, and use compressed air or a soft brush to clean the fan blades thoroughly. Be careful not to damage any components while cleaning.
2. Some fans come with balancing clips supplied by the manufacturer. These clips attach to the blades and help achieve proper balance. Consult your fan’s manufacturer instructions or online resources to see if balancing clips are provided and how to use them.
Follow the instructions provided and attach the balancing clips to the blades according to the recommended positions and weights. This helps distribute the weight evenly and minimize any imbalance that may contribute to vibrations.
3. If your fan doesn’t come with balancing clips or if using them doesn’t solve the issue, it may be necessary to replace the fan. Over time, fans can suffer from wear and tear, including damage to the blades or bearings, which can lead to imbalance and vibrations.
Consider replacing the fan with a high-quality alternative that matches the specifications of your case and offers reliable performance. Look for fans that are specifically designed to minimize vibrations and noise. Follow the manufacturer’s instructions to safely install the new fan.
4. Another option to reduce vibration noise is to use rubber fan mounts or anti-vibration pads. These mounts and pads absorb vibrations, minimizing their transmission from the fan to the case.
Install rubber mounts between the fan and the case or use rubber screws to secure the fan in place. This helps isolate the fan’s vibrations from the case, resulting in a quieter operation.
By cleaning the fan blades, using balancing clips if available, replacing damaged or worn-out fans, and utilizing rubber fan mounts or anti-vibration pads, you can effectively balance your fans and minimize vibration noise. If the noise persists, it may be necessary to investigate other potential causes, such as mechanical hard drive vibrations, which will be discussed in the subsequent sections.
Address Mechanical Hard Drive Vibrations
Mechanical hard drives (HDDs) contain moving parts that can generate vibrations, especially if they are old or not properly aligned. These vibrations can reverberate throughout the PC case and result in audible noise. To address mechanical hard drive vibrations and minimize the associated noise, follow these steps:
1. Verify the placement of your hard drive within the drive bay. Ensure that it is securely mounted and properly aligned. Loose or misaligned hard drives can lead to increased vibrations and noise. Double-check the screws and brackets holding the hard drive in place and tighten them as necessary.
2. Consider using anti-vibration mounts or rubber grommets specifically designed for hard drives. These accessories act as buffers and help minimize vibration transfer from the hard drive to the case. Install them between your hard drive and the drive bay, or use an anti-vibration mounting bracket if available.
3. If you continue to experience significant vibrations and noise from the hard drive, it may be worth considering an upgrade to a solid-state drive (SSD). Unlike traditional mechanical hard drives, SSDs do not contain any moving parts. As a result, they are not susceptible to mechanical vibrations.
By replacing your mechanical hard drive with an SSD, not only will you eliminate the vibrations and noise associated with HDDs, but you’ll also benefit from faster data access and improved system responsiveness.
4. If you prefer to stick with a mechanical hard drive, but still want to reduce vibrations, you can try relocating or isolating the hard drive. Experiment with positioning the hard drive in different spots within the case to find the configuration that minimizes vibrations.
Additionally, you can use materials such as foam or rubber padding to create a cushioned barrier between the hard drive and the case. This helps absorb vibrations and reduces noise transmission.
By verifying the proper placement of your hard drive, using anti-vibration mounts or rubber grommets, considering an upgrade to an SSD, or experimenting with relocation and isolation techniques, you can effectively address mechanical hard drive vibrations and minimize the associated noise. If the noise persists, it may be necessary to investigate other potential causes, such as a faulty power supply unit (PSU), which will be discussed in the subsequent section.
Check and Replace Faulty PSU
A faulty power supply unit (PSU) can be a source of vibration noise in your PC case. Issues like worn-out bearings, loose components, or improper grounding can cause the PSU fan or internal components to vibrate, resulting in noise. To address this problem, follow these steps to check and replace a faulty PSU:
1. Begin by inspecting the PSU fan for any dust accumulation. Dust can hinder proper airflow and cause the fan to work harder, leading to increased vibrations. Turn off your computer, unplug it from the power source, and clean the PSU fan using compressed air or a soft brush. Be careful when cleaning, avoiding direct contact with any internal components.
2. Ensure that the PSU has proper ventilation. It should be positioned in a well-ventilated area within the case, away from obstructions. Make sure that the PSU fan is not obstructed by cables or any other objects. Good airflow can help prevent excessive heat buildup and minimize vibrations.
3. If you notice that the PSU fan is making noise or exhibiting signs of wear, it may be necessary to replace the fan. The fan’s bearings can deteriorate over time, leading to increased vibrations and noise. Consult the PSU manufacturer’s documentation or website for information on compatible replacement fans.
4. Check for any loose components inside the PSU. Loose screws or connectors can cause vibrations. If you feel comfortable doing so, carefully open the PSU (if it is not under warranty) and inspect for any loose screws or components. Gently tighten any loose screws using a screwdriver. Be cautious while working inside the PSU and avoid touching any exposed electrical components.
5. Verify that the PSU is properly grounded and securely connected to the motherboard and other components. Loose or improper grounding can cause vibrations and noise. Check for any loose or damaged cables and re-seat them if necessary. Consider using a multimeter to test the PSU’s voltage output and continuity.
6. If you are uncertain or uncomfortable working with the PSU, it is advisable to seek assistance from a professional technician. They will have the expertise and specialized tools required to diagnose and resolve PSU-related vibration noise effectively.
By inspecting the PSU fan and ventilation, replacing a worn-out fan if necessary, tightening loose components, verifying proper grounding and electrical connections, or seeking professional help if needed, you can address PSU-related vibration noise and enjoy a quieter computing experience. If the noise persists, it may be necessary to investigate other potential causes, such as improper case installation, which will be discussed in the subsequent section.
Reinstall the Case Correctly
Improper case installation can contribute to PC case vibration noise. When the case is not installed correctly, it can create gaps or rattling that result in vibrations and noise. To address this issue and ensure proper case installation, follow these steps:
1. Start by double-checking that all case screws are tightened securely. Loose or missing screws can allow the case to vibrate and produce noise. Use a screwdriver to ensure that all screws, particularly those holding the side panels, front panel, and top panel, are tightened properly. Be careful not to overtighten, as this can strip the screw holes or damage the case.
2. Inspect the case feet and rubber grommets. Case feet provide stability and help reduce vibrations. Ensure that all case feet are present and in good condition. If any feet are missing or damaged, replace them with appropriate replacements.
3. Rubber grommets play a crucial role in isolating components from the case, reducing vibrations. Check that the rubber grommets holding the drives or other components are intact and properly installed. Replace any damaged or missing rubber grommets to ensure proper insulation.
4. Verify that the components inside the case, such as the motherboard and graphics card, are aligned correctly. Misalignment can create additional stress and vibrations. Gently reposition any misaligned components, making sure they fit securely and evenly into their respective slots or mounting points.
5. Eliminate any contact points between the components and the case that could cause vibrations. Check for any loose cables that might be touching fan blades or other moving parts. Routinely organize and secure cables using zip ties or cable management solutions to prevent them from interfering with the components or generating vibrations.
6. Place the case on a stable and level surface. Unstable surfaces can contribute to vibrations and noise. Ensure that the case is placed on a stable desk or surface that can support its weight. Consider using a vibration-damping pad or placing the case on an anti-vibration mat to further minimize vibrations.
By securely fastening the case, inspecting case feet and rubber grommets, checking for proper alignment, eliminating contact points, and placing the case on a stable surface, you can ensure proper case installation and significantly reduce vibration noise. If the noise persists, it may be necessary to investigate other potential causes or seek assistance from a professional.
Conclusion
Experiencing PC case vibration noise when turning on your computer can be both annoying and frustrating. However, by understanding the causes behind this issue and implementing the appropriate fixes, you can significantly reduce or even eliminate the unwanted noise.
Loose components, unbalanced fans, mechanical hard drive vibrations, faulty power supply units (PSUs), and improper case installation are the main culprits of PC case vibration noise. By addressing these factors, you can minimize the vibrations that lead to the noise and enjoy a quieter computing experience.
Tightening loose components, balancing fans properly, addressing mechanical hard drive vibrations, checking and replacing faulty PSUs, and reinstalling the case correctly are the steps you can take to fix PC case vibration noise. These solutions range from simple adjustments to potential hardware replacements, depending on the underlying cause.
Remember, troubleshooting PC case vibration noise may require some patience and trial and error. It’s important to test for noise reduction after each solution to identify any remaining sources of vibration.
If you find that the noise persists after implementing these fixes, it’s recommended to seek assistance from a professional technician. They have the expertise and tools required to diagnose and resolve complex issues related to vibration noise.
By diligently applying the suggested fixes and continually maintaining your PC, you can create a quiet and enjoyable computing environment, free from the disturbances of PC case vibration noise.