Introduction
Opening the side panel of a PC case is a task that often comes up when performing maintenance or upgrades on your computer. Whether you need to clean out dust, install new hardware, or troubleshoot an issue, knowing how to open the PC case side panel is a fundamental skill for any computer user.
In this guide, we will walk you through the necessary steps to safely and easily open the side panel of your PC case. We will discuss the tools you will need, the common types of fastening mechanisms, and provide tips for dealing with stubborn cases. By following these instructions, you will be able to access the inner components of your computer and perform the necessary tasks swiftly and efficiently.
Before we dive into the step-by-step process, it is essential to stress the importance of safety. Make sure to power off your computer and unplug it from the electrical outlet before attempting to open the case. This will prevent any potential damage to the internal components and minimize the risk of electrical shocks.
Now, let’s gather the necessary tools and get started on opening the PC case side panel.
Tools Needed
Before you begin, it’s important to have the right tools on hand to open your PC case side panel. Though the specific tools required may vary depending on the type of case you have, here are the most commonly used tools:
- Screwdriver: A Phillips screwdriver or a flat-head screwdriver, depending on the type of screws used to secure the side panel.
- Thumb screws: Some cases feature thumb screws, which can be easily turned with your fingers, eliminating the need for a screwdriver.
- Latches: Certain cases utilize latches instead of screws. These latches can be released by pressing or sliding them, allowing you to remove the side panel.
These basic tools should be sufficient for opening most PC case side panels. However, it’s worth noting that some cases may have specific requirements or use different fastening mechanisms. In such cases, referring to the user manual or checking the manufacturer’s website for specific instructions can be helpful.
Additionally, it’s a good idea to have a clean, static-free work area where you can place the side panel once it’s removed. This will prevent any accidental damage or contamination of the internal components.
Now that you have gathered the necessary tools, let’s proceed to the step-by-step process of opening the PC case side panel.
Step 1: Power Off and Unplug the PC
Before opening the side panel of your PC case, it is crucial to power off your computer and unplug it from the electrical outlet. This step ensures your safety and prevents any potential damage to the internal components of your computer.
To power off your computer, click on the “Start” button in the bottom left corner of the screen, then select “Shut Down” or “Power Off.” Allow your computer to shut down completely before proceeding to unplug it.
Next, locate the power cable connected to the back of your computer and gently pull it out of the electrical outlet. It’s important to make sure the computer is not connected to any power source to avoid the risk of electric shock.
Additionally, it is advisable to press the power button on your computer once it’s unplugged to discharge any residual electrical charge. This step helps further ensure your safety during the process of opening the side panel.
Once the computer is powered off and unplugged, you can safely proceed to the next step of opening the PC case side panel.
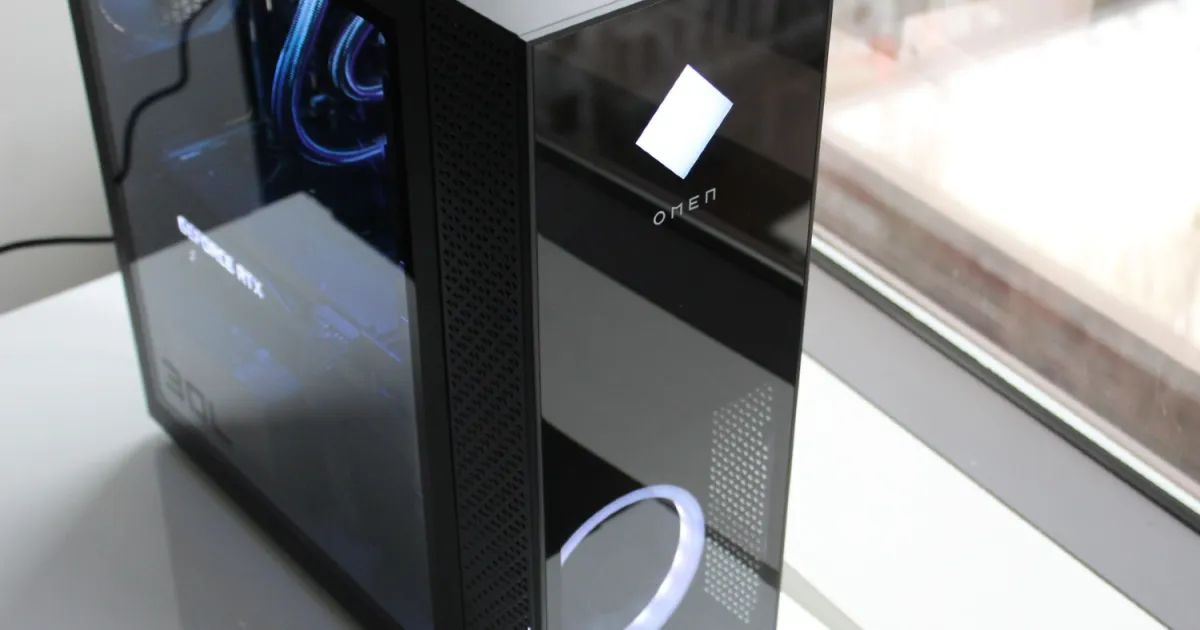
Step 2: Locate the Case Side Panel
After ensuring your computer is powered off and unplugged, the next step is to locate the side panel of your PC case. The side panel is typically located on one of the sides of the case and may vary in design depending on the manufacturer and model of your computer.
Most commonly, PC cases have a left-side panel that needs to be opened, but there are cases with right-side panels as well. To determine which side panel needs to be opened, you can look for any markings or indicators on the case itself. These markings may include labels such as “Side Panel” or “Access Panel,” or they may simply consist of screws or latches visible on one side.
If you’re unable to find any clear indicators, you can also refer to the user manual or search for the specific model of your PC case online to locate the side panel. Manufacturer websites often provide manuals or guides with detailed instructions for opening the case.
Additionally, pay attention to the overall design of your PC case. Some cases have side panels that are easily identifiable as they may have a windowed section or ventilation ports. These design elements can offer visual clues as to where the side panel is located.
Once you have located the side panel, you are ready to move on to the next step and identify the fastening mechanism used to secure it.
Step 3: Identify the Fastening Mechanism
After locating the side panel of your PC case, the next step is to identify the fastening mechanism that holds it in place. Different PC case models use various types of fasteners, and understanding the specific mechanism used will help you remove the side panel effortlessly.
The most common fastening mechanisms found in PC cases are screws and latches:
- Screws: The majority of PC cases use screws to secure the side panel. These screws are usually located along the edges of the panel and can be either Phillips-head or flat-head screws. Take note of the number and position of the screws, as this will guide you when removing the side panel.
- Latches: Some PC cases feature latches instead of screws. These latches can be found at strategic points on the side panel and are designed to hold it in place. To remove the side panel secured by latches, you may need to press, slide, or lift the latch mechanism to disengage it.
To identify the fastening mechanism used in your PC case, inspect the sides of the panel and look for visible screws or latch mechanisms. In some cases, the manufacturer may have labeled or indicated the type of fasteners near the panel.
If you are unsure about the fastening mechanism or require additional guidance, referring to the user manual or searching for the specific PC case model online can provide detailed instructions or even video tutorials.
Once you have identified the fastening mechanism, you can proceed to the next step and learn how to remove the screws or release the latches to open the side panel.
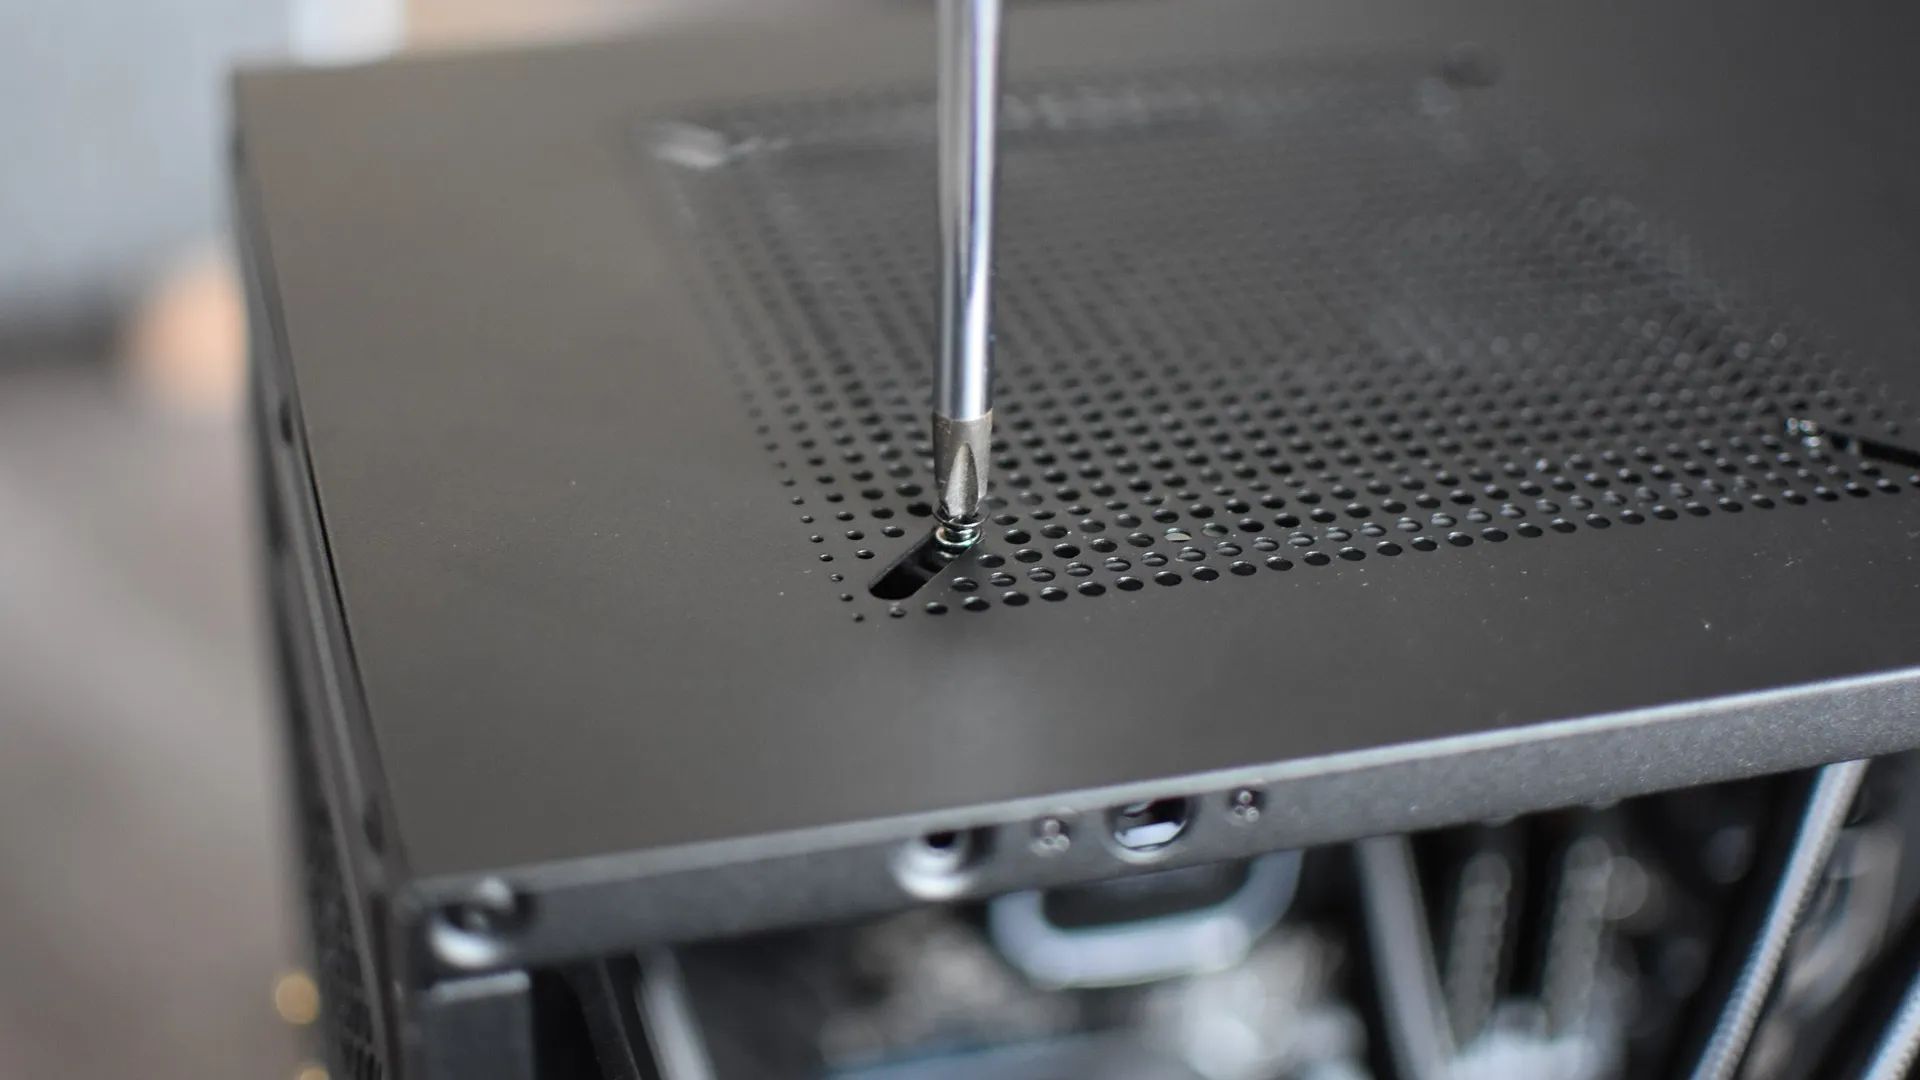
Step 4: Removing Fastening Mechanism (Screws or Latches)
Now that you have identified the fastening mechanism securing the side panel of your PC case, it’s time to proceed with removing the screws or releasing the latches. The method you use will depend on the type of fasteners present in your case.
If your case uses screws to secure the side panel, follow these steps:
- Use a screwdriver appropriate for the type of screws, either Phillips-head or flat-head.
- Align the screwdriver with the screw head and apply gentle pressure to loosen the screw.
- Once the screw is loose, continue turning it counterclockwise until it is completely unscrewed.
- Repeat this process for all screws securing the side panel.
If your case features latches instead of screws, follow these steps:
- Locate the latch mechanism on the side panel.
- Depending on the latch design, you may need to press, slide, or lift the latch to release it.
- Once the latch is released, gently pull or slide the side panel away from the case.
It’s important to exercise caution when removing screws or releasing latches to prevent any accidental damage to the case or internal components. Take your time and be careful not to exert excessive force.
Remember to keep track of any screws you remove and place them in a safe location, such as a small container or magnetic tray, so that they don’t get misplaced or lost.
With the fastening mechanism successfully removed, let’s move on to the next step and learn how to slide or swivel the panel off.
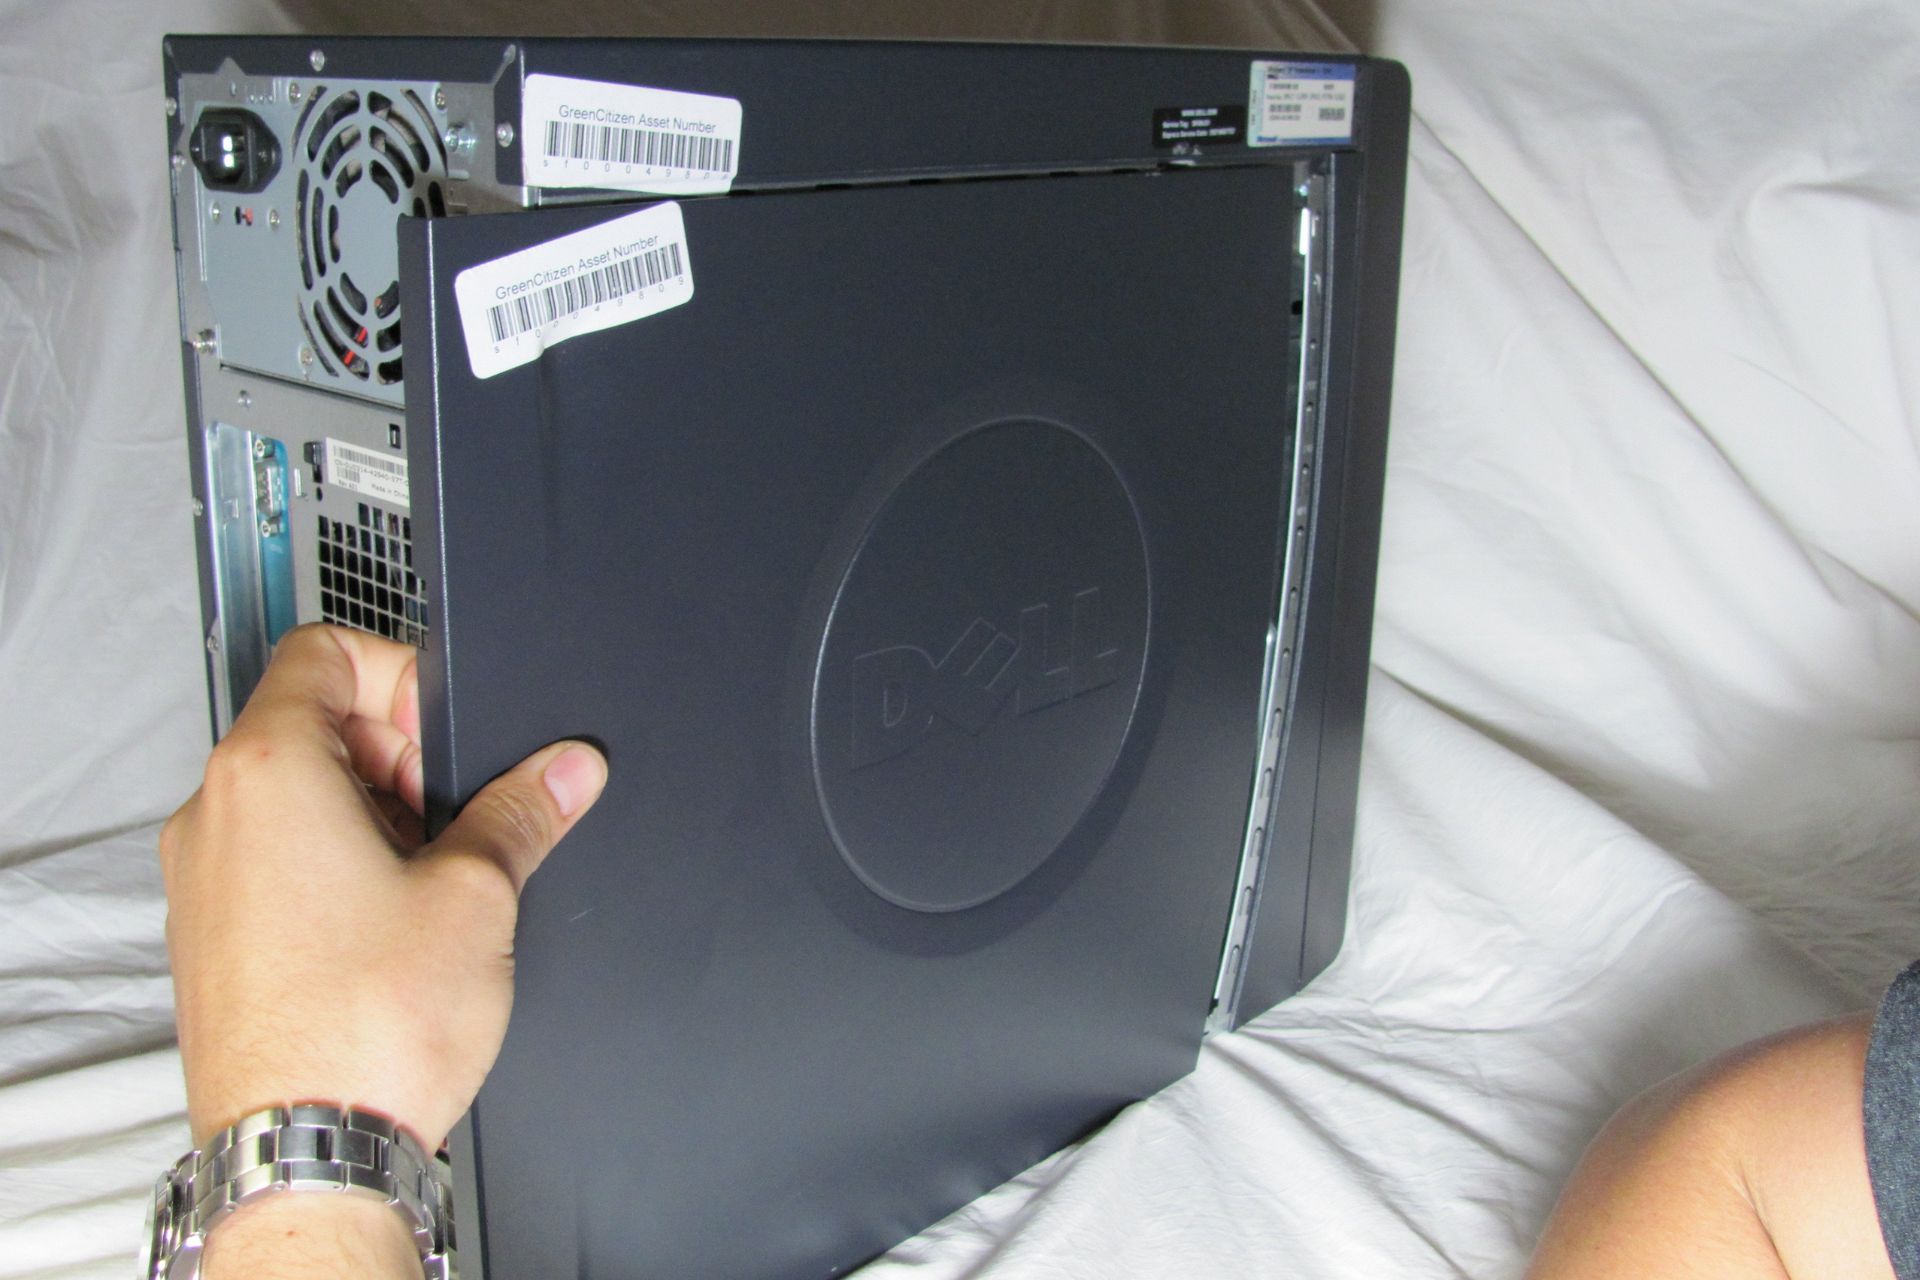
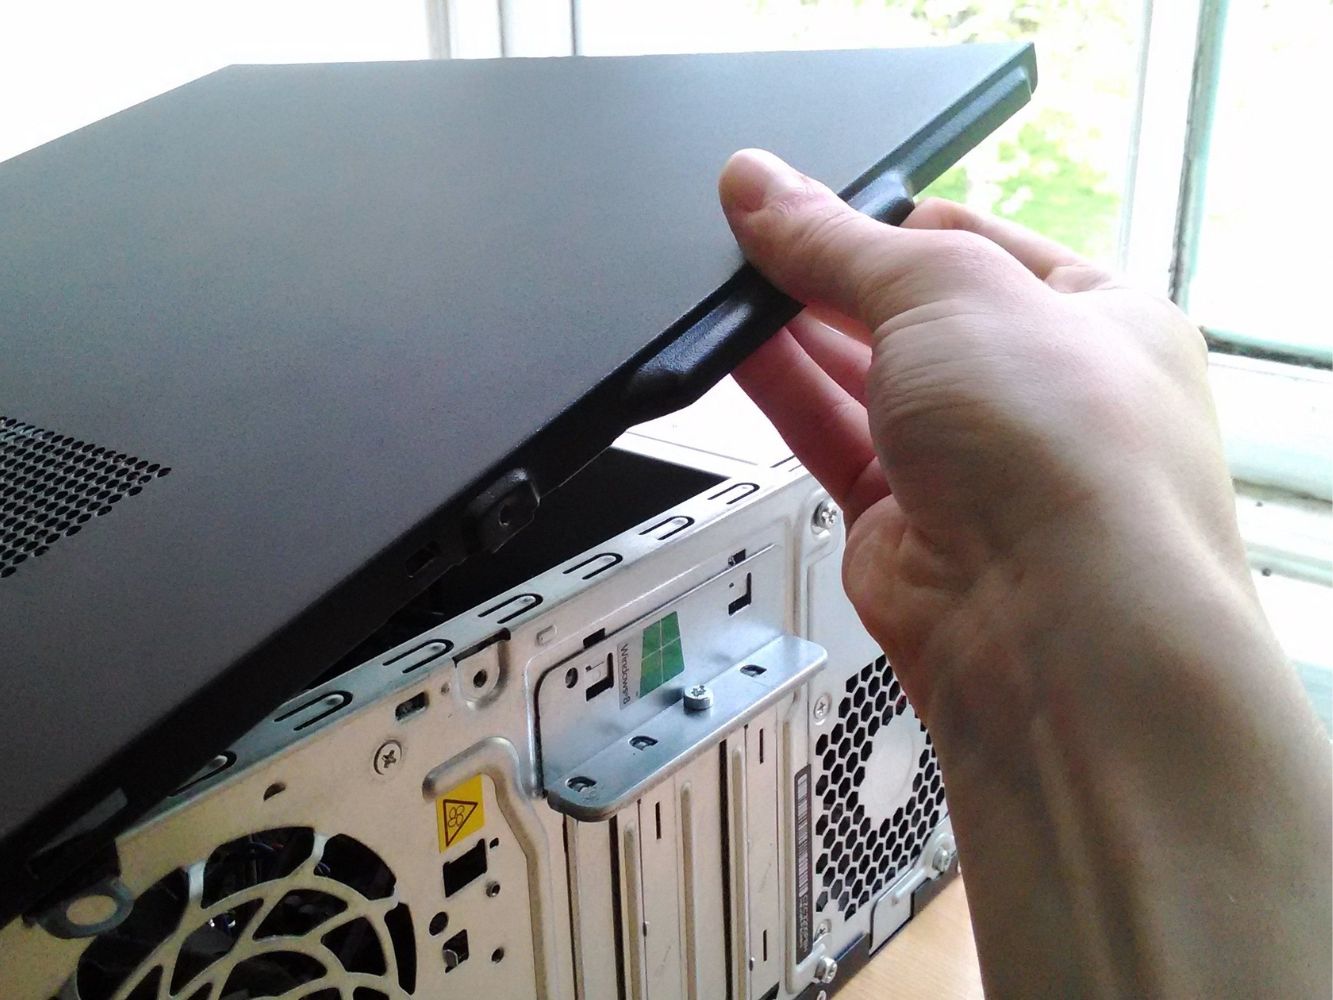
Step 5: Slide or Swivel the Panel Off
With the fastening mechanism of the side panel removed, it’s time to proceed with sliding or swiveling the panel off the PC case.
If your case has screw fasteners, follow these steps:
- Gently hold onto the side panel at the edges, ensuring a firm grip.
- Slide the panel towards the rear of the case, aligning it with the track or grooves present.
- Continue sliding the panel until it is completely detached from the case.
If your case features latches instead, the process may differ slightly:
- Ensure that all latches have been released and are no longer holding the side panel in place.
- Hold onto the side panel and carefully swivel it away from the case.
- Once the panel is sufficiently swiveled, gently lift it up to completely remove it.
When sliding or swiveling the panel off, it’s important to be mindful of any cables or components that may be connected to the panel. Ensure that they are not obstructing the removal process and are safely disconnected or moved out of the way.
Take note of the orientation of the side panel during removal so that you can easily reinstall it later. Some cases have specific alignment features or hooks that need to be properly aligned when reattaching the panel.
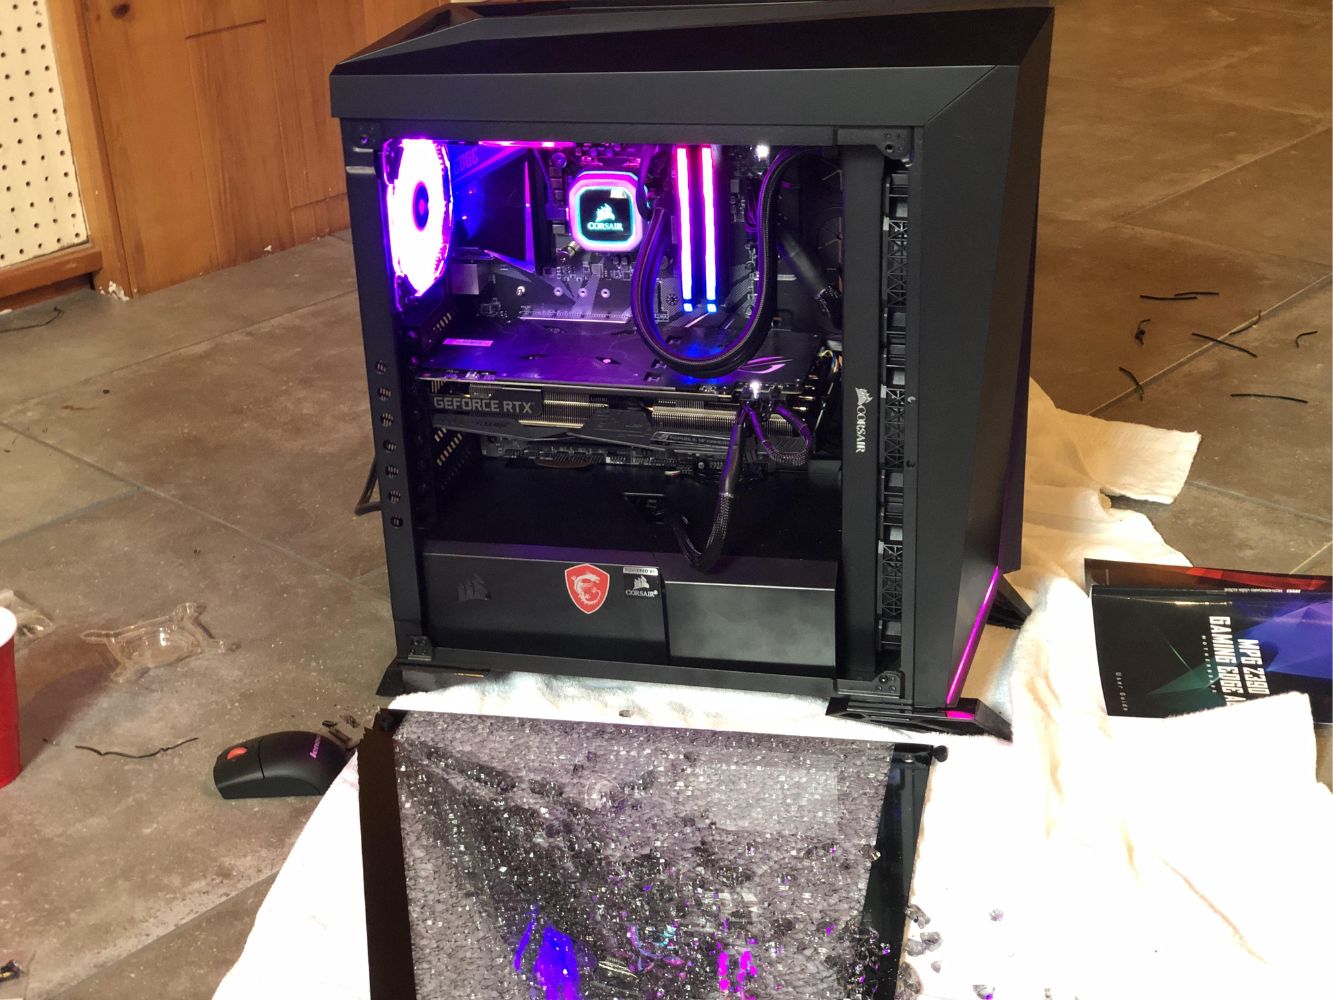
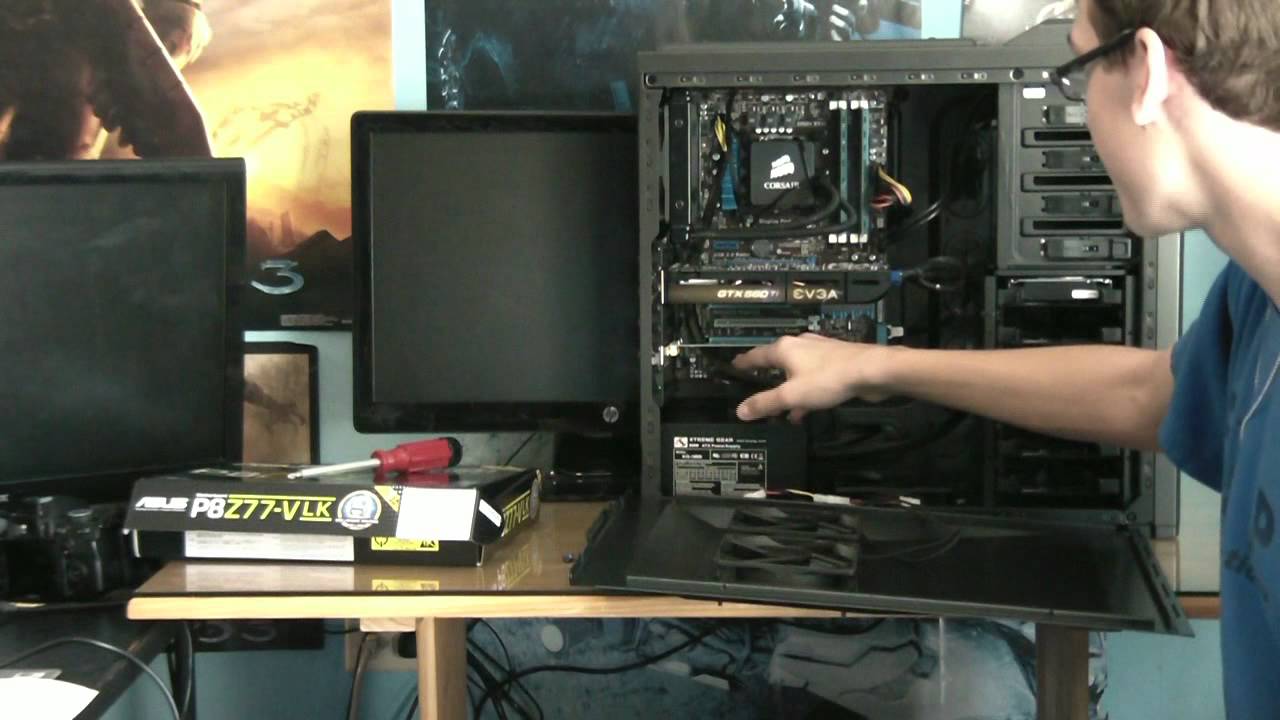
With the side panel successfully removed from your PC case, you now have easy access to the internal components. Whether you need to clean, upgrade, or troubleshoot, you can proceed with confidence.
Now that you have learned how to open the PC case side panel, we will explore the process of opening a panel secured by thumb screws in the next step.
Step 6: Opening a Panel with Thumb Screws
If your PC case is equipped with thumb screws to secure the side panel, opening it is even more convenient. Thumb screws are designed to be turned by hand, eliminating the need for a screwdriver. Follow these steps to open a panel secured by thumb screws:
- Locate the thumb screws on the side panel. They are typically larger and have a ridged edge for easy gripping.
- With your fingers, grasp the ridged edge of a thumb screw and rotate it counterclockwise. Start with one screw and loosen it until it is no longer tightly secured.
- Repeat the process for all remaining thumb screws, loosening them one by one.
- Once all the thumb screws are loosened, you can simply pull or slide the side panel away from the case.
When working with thumb screws, it’s essential to be mindful of their alignment with the screw threads. Make sure to loosen them sufficiently before attempting to remove the side panel. If you encounter any resistance, double-check that all the thumb screws are properly loosened.
Keep in mind that some cases may have a combination of standard screws and thumb screws. In such cases, carefully identify the type of fasteners used and adjust your removal process accordingly.
With the side panel opened, you now have easy access to the internal components of your PC. Whether you need to perform maintenance, upgrade hardware, or troubleshoot issues, you can proceed with confidence.
Now that you’ve learned how to open the PC case side panel with thumb screws, we’ll explore alternative methods for cases that pose more challenges in the next step.
Step 7: Alternative Methods for Difficult Cases
While most PC cases can be opened using the previously mentioned methods, some cases may have unique designs or unconventional fastening mechanisms that require alternative approaches. If you find yourself facing a difficult case, here are a few alternative methods you can try:
- Detachable Panels: Certain PC cases have detachable panels that can be easily removed by unlatching or unclipping them from the case. Look for any buttons, levers, or clips near the panels and follow the manufacturer’s instructions to release and remove them.
- Sliding Panels: Some cases have panels that slide horizontally or vertically rather than being completely removed. Locate any tracks or grooves on the case and carefully slide the panel in the specified direction to access the internal components.
- Hinged Panels: In cases with hinged side panels, look for hinges or fasteners along one side. Release the hinges or unfasten the fasteners to pivot the panel open like a door.
- Tool-Less Locking Mechanisms: Modern PC cases often feature tool-less locking mechanisms that allow for easy removal and installation of side panels. Look for buttons, latches, or levers that can be pressed or slid to release and remove the panel without the need for additional tools.
- Consult the User Manual: If none of the above methods work or you’re unsure about the specific method for your case, refer to the user manual. The manual will provide step-by-step instructions tailored to your particular case model.
Remember, patience is key when dealing with difficult cases. Take your time to carefully inspect the case, try different methods, and refer to the manufacturer’s instructions if needed.
With the side panel successfully opened, you can now proceed with your intended maintenance, upgrades, or troubleshooting tasks with ease.
Having covered the alternative methods, we have reached the end of our guide. Following these steps, you should now be confident in opening the side panel of your PC case and accessing the internal components.
Remember to exercise caution, handle the components with care, and always ensure the computer is powered off and unplugged before performing any work inside the case.
Happy troubleshooting and upgrading!
Conclusion
Opening the side panel of your PC case is a fundamental skill that every computer user should possess. Whether you need to clean out dust, install new hardware, or troubleshoot an issue, knowing how to access the internal components is essential. In this guide, we have outlined the step-by-step process to safely and easily open the PC case side panel.
We began by emphasizing the importance of safety and the need to power off and unplug the computer before starting. We then discussed the tools needed for the task, which typically include a screwdriver, thumb screws, or latches. Additionally, we explored methods to locate the side panel, identify the fastening mechanism, and remove screws or release latches.
For cases secured by thumb screws, we provided specific instructions to open the panel effortlessly. Moreover, we offered alternative methods for cases that present more challenges, such as those with detachable panels, sliding or hinged doors, or tool-less locking mechanisms.
It’s crucial to exercise caution throughout the process, paying attention to cables and components while removing the side panel. Keeping track of screws and maintaining proper orientation will make reinstallation easier.
By following these steps and understanding the intricacies of your specific case model, you can confidently open the side panel and access the internal components of your PC. Remember to always prioritize safety, refer to the user manual if necessary, and handle the components with care.
Now that you have the knowledge and skills to open your PC case side panel, you are empowered to perform maintenance, upgrade hardware, and troubleshoot problems with confidence. Happy computing!