Introduction
One of the most exciting aspects of owning a PC is the ability to customize it according to your preferences. Whether you’re a gaming enthusiast or simply looking to give your computer a sleek and modern look, replacing the side of your PC case with glass can be a great way to showcase your hardware and add a touch of sophistication.
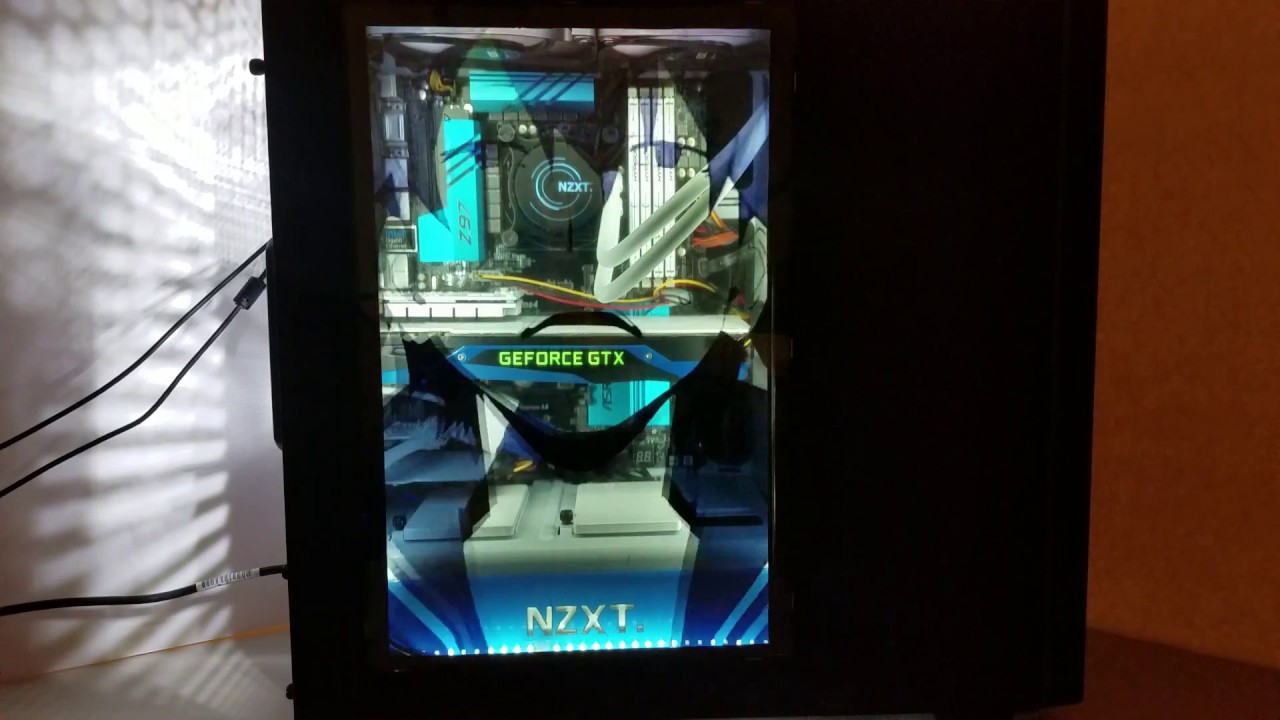
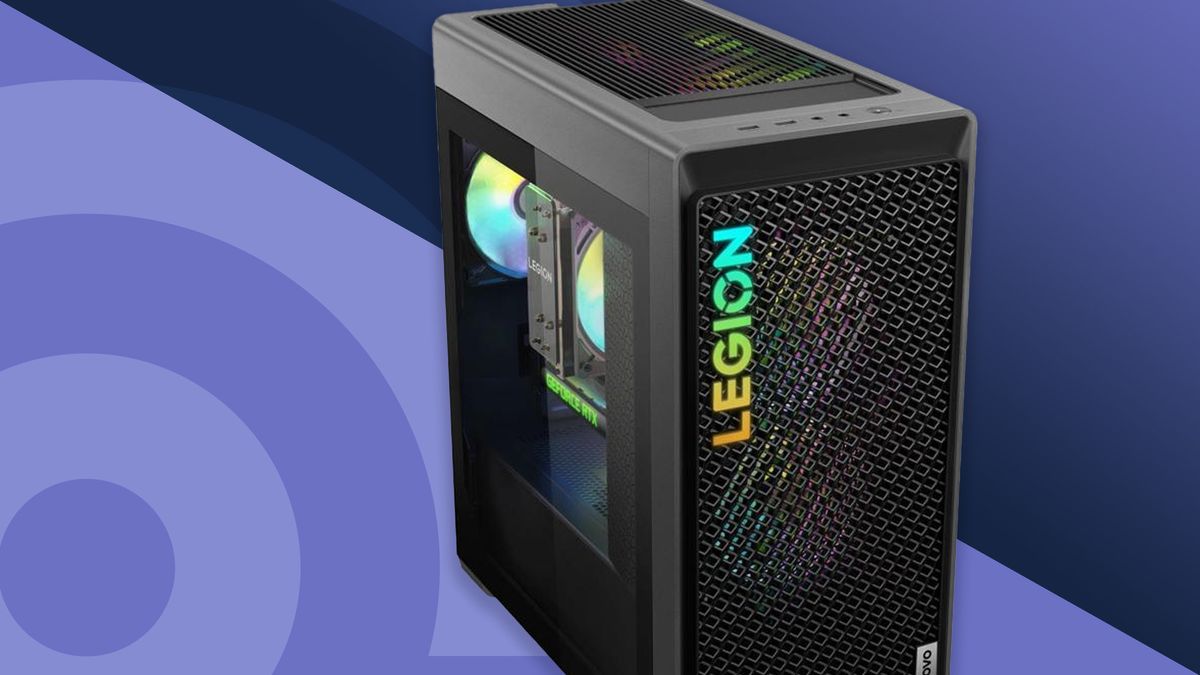
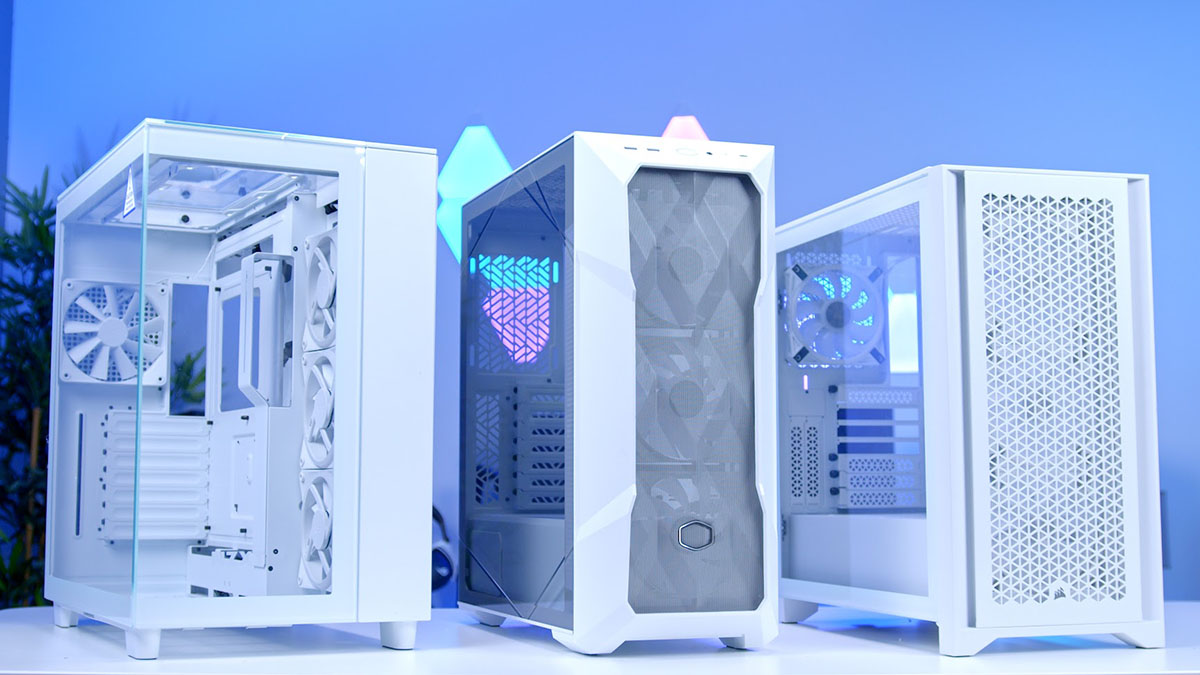
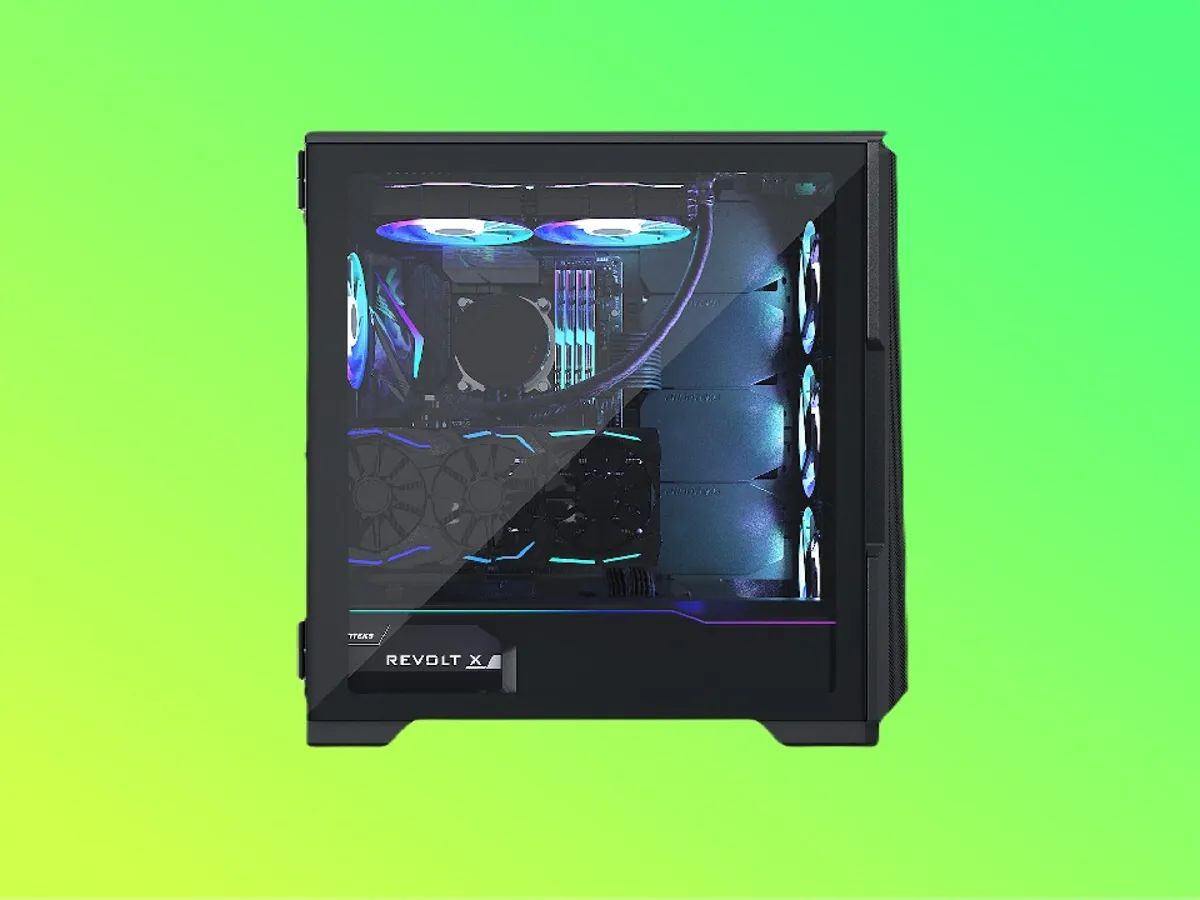
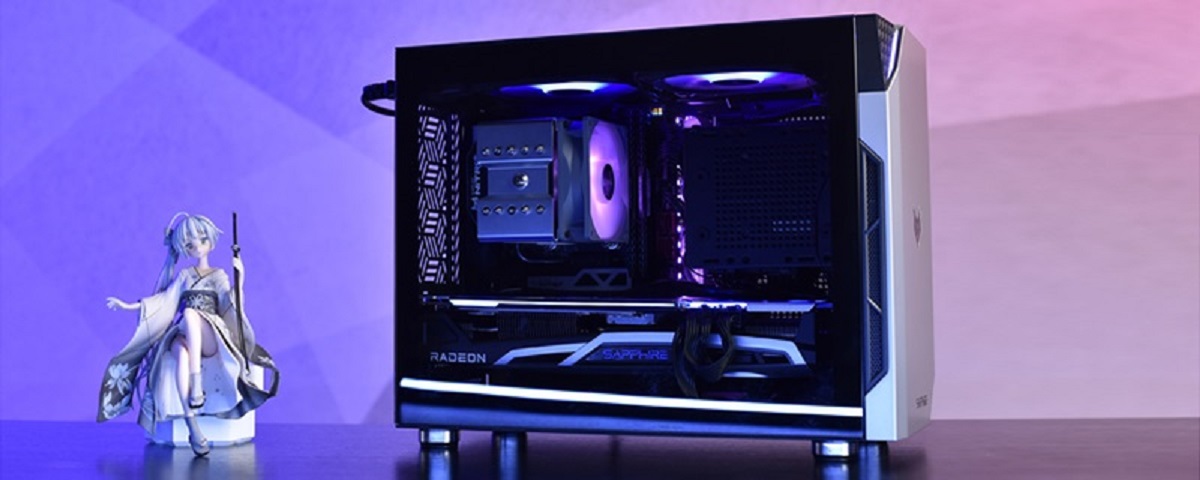
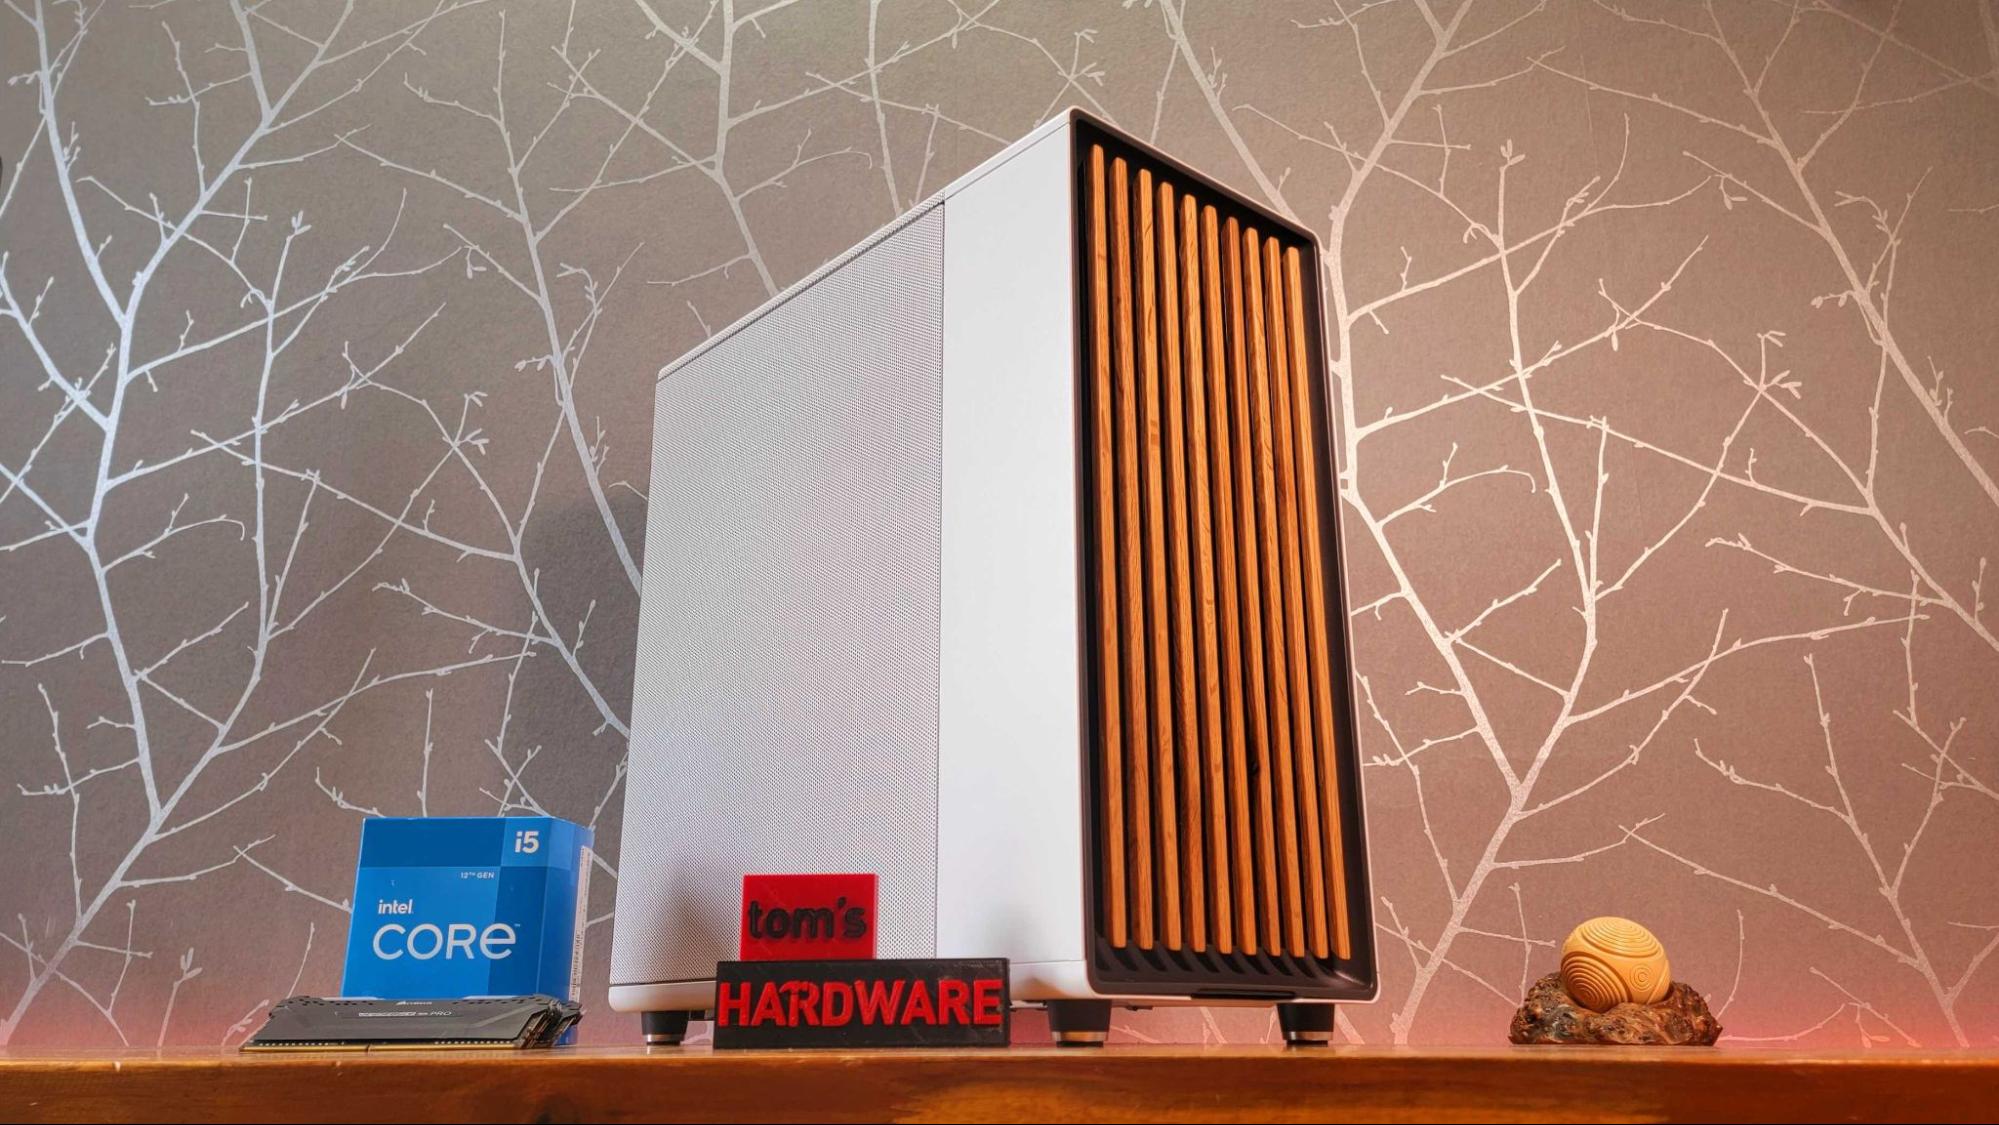
Gone are the days of dull, opaque side panels. By opting for a glass panel, you can transform your PC into a stunning centerpiece that not only allows you to admire your internal components but also provides a glimpse into the inner workings of your machine.
In this guide, we will walk you through the process of replacing the side panel of your PC case with a glass panel. We’ll discuss the tools and materials you’ll need for the project and take you step-by-step through each stage of the installation. By the end, you’ll have a beautifully updated PC case that will turn heads and make you proud of your customization skills.
Before we dive into the details, it’s important to note that this project may require some basic knowledge of hardware and DIY skills. If you’re not comfortable working with tools or taking apart your PC, it’s always a good idea to seek assistance from a professional or someone with experience in PC customization.
Now, let’s gather our tools and get started on this exciting journey to transform your ordinary PC case into a stunning showcase.
Tools and Materials Needed
Before you begin the process of replacing the side of your PC case with glass, it’s important to gather all the necessary tools and materials. Here’s a list of what you’ll need:
- Gloves: To protect your hands during the project.
- Safety glasses: To shield your eyes from any potential debris.
- Phillips screwdriver: To remove any screws securing the existing side panel.
- Measuring tape: To measure the dimensions for the glass panel.
- Glass cutter: To cut the glass panel to the desired size.
- Sandpaper: To smooth any rough edges of the cut glass.
- Hinges: To attach the glass panel to the PC case.
- Handles: To easily open and close the glass panel.
- Screws: To secure the hinges and handles to the PC case.
- Threadlocker adhesive: To ensure the screws stay in place.
- Masking tape: To prevent any scratches while cutting the glass.
It’s important to note that the specific tools and materials required may vary depending on your PC case and personal preferences. Before you begin, make sure you have all the necessary items on hand to complete the project smoothly.
Additionally, it’s crucial to prioritize safety during the installation process. Wear gloves and safety glasses to protect yourself from any potential injuries, and take caution when handling the glass panel and tools to avoid accidents.
Now that we have all the tools and materials ready, it’s time to move on to the next step: preparing your workspace.
Step 1: Prepare your workspace
Before you begin replacing the side of your PC case with glass, it’s essential to prepare your workspace to ensure a smooth and hassle-free installation. Follow these steps:
- Choose a clean and well-ventilated area: Find a spacious workspace where you can comfortably work on your PC case without any obstructions. Make sure the area is well-ventilated to prevent the buildup of dust and debris.
- Clear the workspace: Remove any unnecessary clutter or objects from your workspace. This will give you ample space to maneuver and perform the necessary tasks.
- Place a protective mat or cloth: To protect the surface of your work area, place a mat or cloth under your PC case. This will prevent any scratches or damage to the case or the surface beneath it.
- Gather your tools and materials: Make sure all the required tools and materials are readily accessible. Arrange them in an organized manner so that you can easily find what you need during each step of the installation process.
- Equip safety gear: Remember to wear safety gloves and protective eyewear to safeguard yourself against any potential injuries or accidents. Safety should always be a top priority.
By preparing your workspace beforehand, you can minimize disruptions and work efficiently throughout the project. It’s crucial to have a clear and organized area to ensure a successful and seamless installation process.
Now that your workspace is ready, let’s move on to the next step: removing the existing side panel of your PC case.
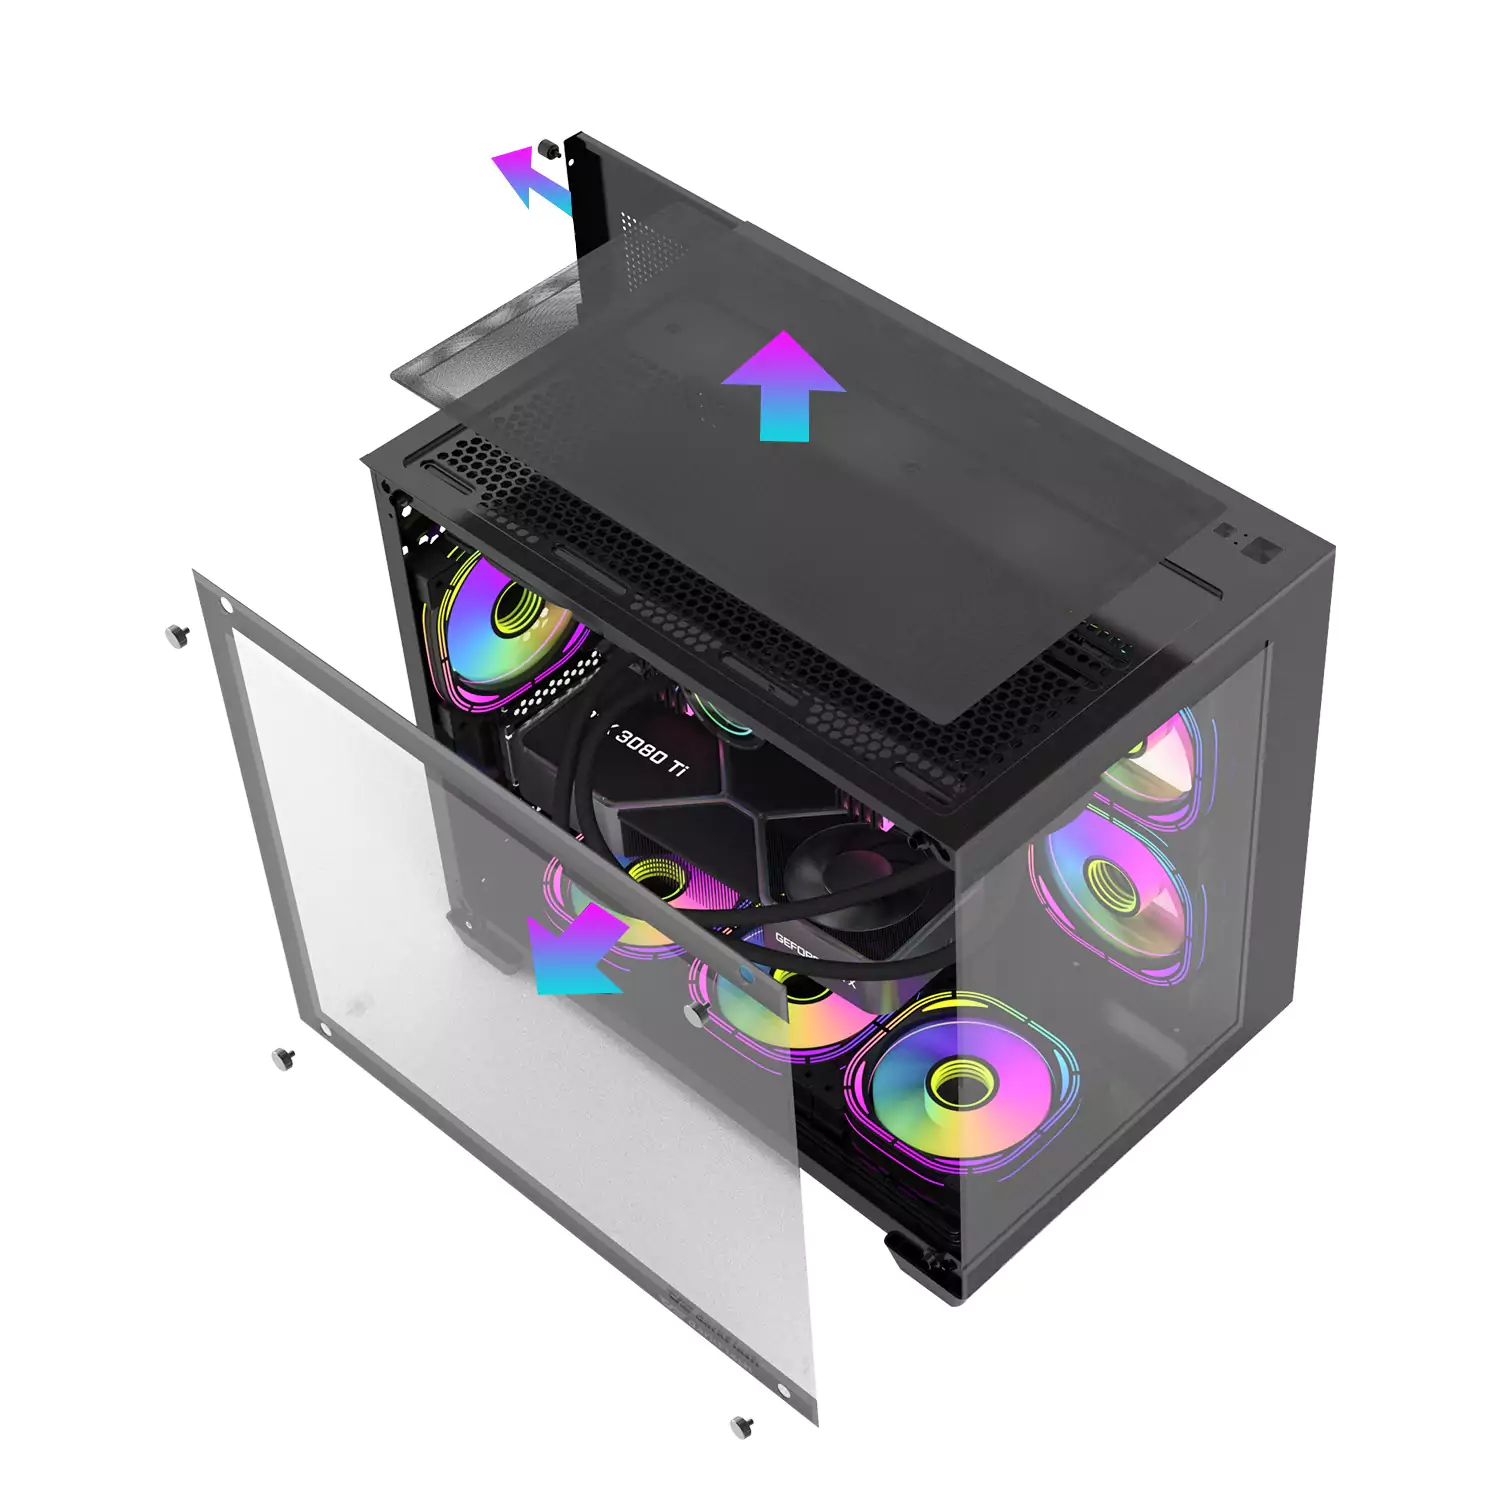
Step 2: Remove the existing side panel
Now that your workspace is prepared, it’s time to remove the existing side panel of your PC case. Follow these steps:
- Power off and unplug your PC: Before you begin any work on your PC case, ensure that it is powered off and disconnected from any power source.
- Identify the screws or latches: Take a careful look at the side panel of your PC case and locate the screws or latches that are securing it in place. Typically, there are two or more screws or latches on the rear side of the case.
- Use a screwdriver or release the latches: Using a Phillips screwdriver, unscrew the screws that are holding the panel in place. If your case has latches, carefully release them by pushing or pulling on the designated areas.
- Remove the side panel: Once the screws are loosened or the latches are released, gently slide or lift off the side panel from the PC case. Be cautious not to apply excessive force to avoid damaging any components or the case itself.
- Set aside the removed side panel: Place the removed side panel in a safe and secure location, away from your working area, to prevent any accidental damage.
By following these steps, you have successfully removed the existing side panel of your PC case, making way for the installation of the glass panel. Take a moment to inspect the internals of your PC, ensuring that everything is secure and in the correct place.
Now that the old side panel is out of the way, it’s time to move on to the next step: measuring and cutting the glass panel.
Step 3: Measure and cut the glass panel
With the existing side panel removed, it’s time to measure and cut the glass panel that will be installed in its place. Follow these steps:
- Gather the necessary tools: Prepare your measuring tape, glass cutter, and masking tape.
- Measure the dimensions: Carefully measure the width and height of the opening where the glass panel will be installed. Take accurate measurements, ensuring that there is enough space for the glass panel to fit securely.
- Mark the measurements on the glass: Using a pencil or marker, make light but visible marks on the glass according to the measured dimensions. Use a straight edge or a ruler to ensure precise lines.
- Apply masking tape: To prevent any scratches or damage while cutting the glass, apply a strip of masking tape along the marked lines. This will act as a guidance for the glass cutter and help protect the glass surface.
- Cut the glass: Carefully align the glass cutter along the marked lines and gently score the surface of the glass. Apply light pressure while making a smooth and continuous cut. Once the score is complete, carefully snap the glass along the scored line.
- Smooth the edges: Use sandpaper or a glass edge smoothing tool to smooth any rough edges on the cut glass. This step is crucial to ensure safety and prevent any accidental cuts or injuries.
Take your time while measuring and cutting the glass panel to ensure accuracy and precision. Double-check the dimensions before making any cuts to avoid any errors or mishaps.
Now that you have successfully measured and cut the glass panel, it’s time to move on to the next step: attaching hinges and handles.
Step 4: Attach hinges and handles
Now that the glass panel is ready, it’s time to attach hinges and handles to ensure easy installation and accessibility. Follow these steps:
- Identify the placement: Determine the ideal location for the hinges on your PC case. Typically, the hinges are positioned on the side opposite to the motherboard, allowing easy access to the internals.
- Mark the screw holes: Using a pencil or marker, make light marks on the case where the screw holes for the hinges will be placed. Ensure that the marks are aligned and symmetrical, providing a balanced support for the glass panel.
- Attach the hinges: Place the hinges on the marked positions and secure them in place using screws and a screwdriver. Make sure the hinges are tightly fastened to provide a stable attachment for the glass panel.
- Consider handle placement: Determine where you want the handles to be positioned on the glass panel. This will depend on your personal preference and the design of your PC case.
- Mark the handle positions: Lightly mark the positions on the glass panel where the handles will be attached. Ensure that the marks are symmetrical and aligned with each other for a balanced look.
- Attach the handles: Using screws and a screwdriver, secure the handles onto the marked positions on the glass panel. Make sure they are tightly fastened for a secure grip.
Attaching hinges and handles will make it easier for you to install and remove the glass panel when necessary. It also adds a stylish and functional touch to your PC case.
Now that the hinges and handles are securely attached, it’s time to move on to the next step: installing the glass panel.
Step 5: Install the glass panel
With the hinges and handles in place, it’s time to install the glass panel onto your PC case. Follow these steps:
- Position the glass panel: Carefully align the glass panel with the hinges on the PC case. Ensure that the panel is centered and level.
- Lower the glass panel onto the hinges: Slowly lower the glass panel onto the hinges, making sure they align with the screw holes on the panel. Take your time to ensure a proper fit.
- Attach the glass panel to the hinges: Insert the screws through the screw holes on the glass panel and into the hinges. Use a screwdriver to tighten the screws, securing the glass panel in place.
- Check for proper alignment: Once the glass panel is attached, double-check that it sits flush with the case and aligns perfectly with the rest of the components. Make any necessary adjustments to ensure a seamless fit.
By following these steps, you will be able to securely install the glass panel onto your PC case, creating a sleek and transparent side. The hinges will allow for easy opening and closing of the panel whenever you need to access the internal components.
Now that the glass panel is installed, it’s time to move on to the next step: securing the glass panel in place.
Step 6: Secure the glass panel in place
Now that the glass panel is installed onto your PC case, it’s important to secure it in place to prevent any accidental movement or dislodging. Follow these steps:
- Tighten the screws: Use a screwdriver to ensure that all the screws on the hinges and handles are tightened. This will keep the glass panel securely attached to the PC case.
- Apply threadlocker adhesive: To provide extra security, apply a small amount of threadlocker adhesive to the screws. This adhesive will help prevent the screws from loosening over time due to vibrations.
- Allow the adhesive to dry: Once you’ve applied the threadlocker adhesive, allow it to dry according to the manufacturer’s instructions. This will ensure that the adhesive sets properly and provides long-lasting support.
- Test the stability: Gently tap on the glass panel and check for any movement or rattling. If the panel feels loose, double-check the screws to ensure they are tightened properly. Make any necessary adjustments for a stable and secure fit.
By securing the glass panel with tight screws and applying threadlocker adhesive, you can have peace of mind knowing that the panel will stay in place and maintain stability during regular use of your PC.
Now that the glass panel is securely in place, it’s time to move on to the final step: testing and making final adjustments for a perfect fit.
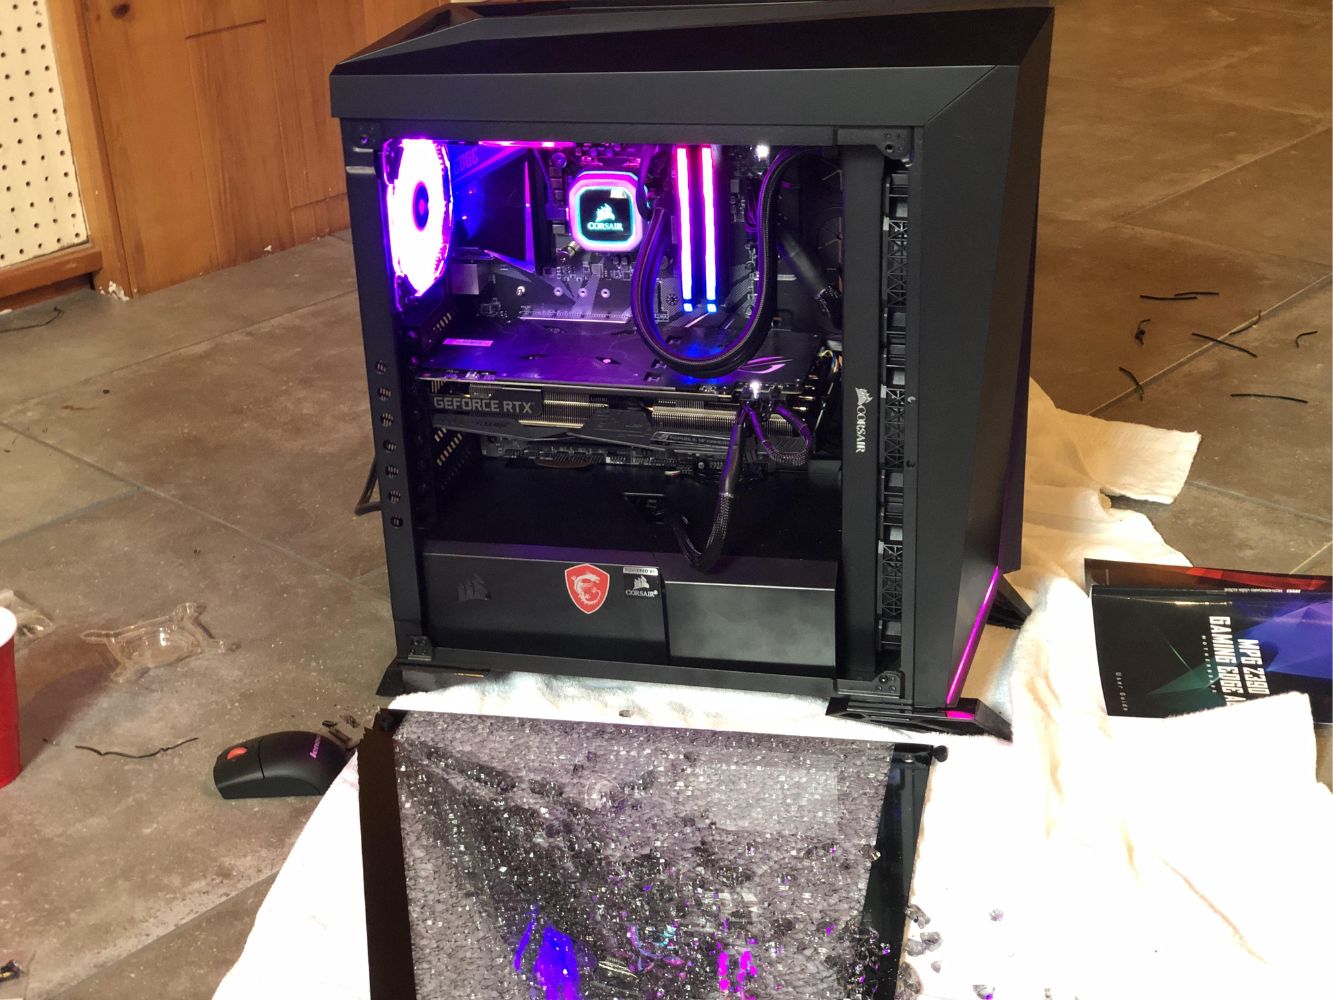
Step 7: Test and make final adjustments
With the glass panel securely installed on your PC case, it’s time to test its functionality and make any final adjustments for a perfect fit. Follow these steps:
- Carefully open and close the glass panel: Test the hinges and handles by opening and closing the glass panel. Make sure it moves smoothly without any resistance or wobbling.
- Check for proper alignment: When the glass panel is closed, inspect the alignment and ensure that it sits flush with the rest of the case. Make any necessary adjustments to achieve a seamless fit.
- Verify clearance with internal components: Open the glass panel and check for sufficient clearance between the panel and any internal components, such as the motherboard, GPU, or CPU cooler. Ensure that there is no interference or contact between them.
- Inspect for any signs of damage: Thoroughly examine the glass panel for any cracks, scratches, or other damage that may have occurred during the installation process. If any issues are found, consider replacing the glass panel before finalizing the project.
- Take a final test run: Power on your PC and test its functionality with the new glass panel. Monitor the temperatures and ensure that there is adequate airflow to prevent overheating.
During the testing phase, pay close attention to any unusual noises, vibrations, or changes in temperatures. These could indicate a misalignment or potential issues that need to be addressed.
By thoroughly testing and making any necessary adjustments, you can ensure that your PC case with the newly installed glass panel is both aesthetically pleasing and fully functional.
Congratulations! You have successfully replaced the side of your PC case with a glass panel, giving it a modern and professional look. Enjoy showcasing your hardware and the inner workings of your machine with pride.
Conclusion
Replacing the side of your PC case with a glass panel is a rewarding and visually appealing customization project. It allows you to showcase your hardware, create a modern aesthetic, and add a touch of sophistication to your PC setup.
Throughout this guide, we have walked you through the step-by-step process of replacing the side panel with a glass panel. From preparing your workspace to measuring, cutting, and installing the glass, we’ve covered all the essential details to ensure a successful installation.
By following each step carefully and taking your time, you can achieve a secure and seamless fit for the glass panel. Remember to prioritize safety by wearing gloves and protective eyewear throughout the process.
Once the glass panel is installed, be sure to test its functionality and make any necessary adjustments for a perfect fit. Verify clearance with internal components, inspect for any signs of damage, and ensure proper alignment before finalizing the project.
Now, you can proudly enjoy your PC case with a stunning glass panel, allowing you to admire your hardware and impress others with your customization skills. The transparent side panel adds a unique touch to your PC setup, turning it into a centerpiece that grabs attention.
Remember, customization projects like these require basic hardware knowledge and DIY skills. If you ever feel unsure or uncomfortable, it’s best to consult a professional or someone experienced in PC customization.
Enjoy your newly customized PC case with the glass panel and admire the beauty of your hardware as it glows and illuminates your workspace. Let your creativity shine through and make your PC setup truly your own.