Introduction
Welcome to the world of PC customization! One popular modification that PC enthusiasts often undertake is replacing the side panel of their PC case. This simple upgrade can give your computer a unique and personalized look, allowing you to showcase your hardware or add additional features such as a glass panel for a sleek and modern aesthetic.
Whether you’re a seasoned PC builder or a newbie looking to add some flair to your rig, this guide will walk you through the process of giving your PC case a new side panel. Before you begin, it’s important to note that this guide assumes you have basic knowledge of working with computer hardware and the necessary tools to complete the task.
In this guide, we will discuss the different types of side panels available, how to measure the dimensions of your PC case, the process of removing the old side panel, purchasing a replacement side panel, and installing and securing the new panel in place.
So, if you’re ready to take your PC customization game to the next level, let’s get started on giving your PC case a side panel that reflects your style and personality.
Choose the Type of Side Panel
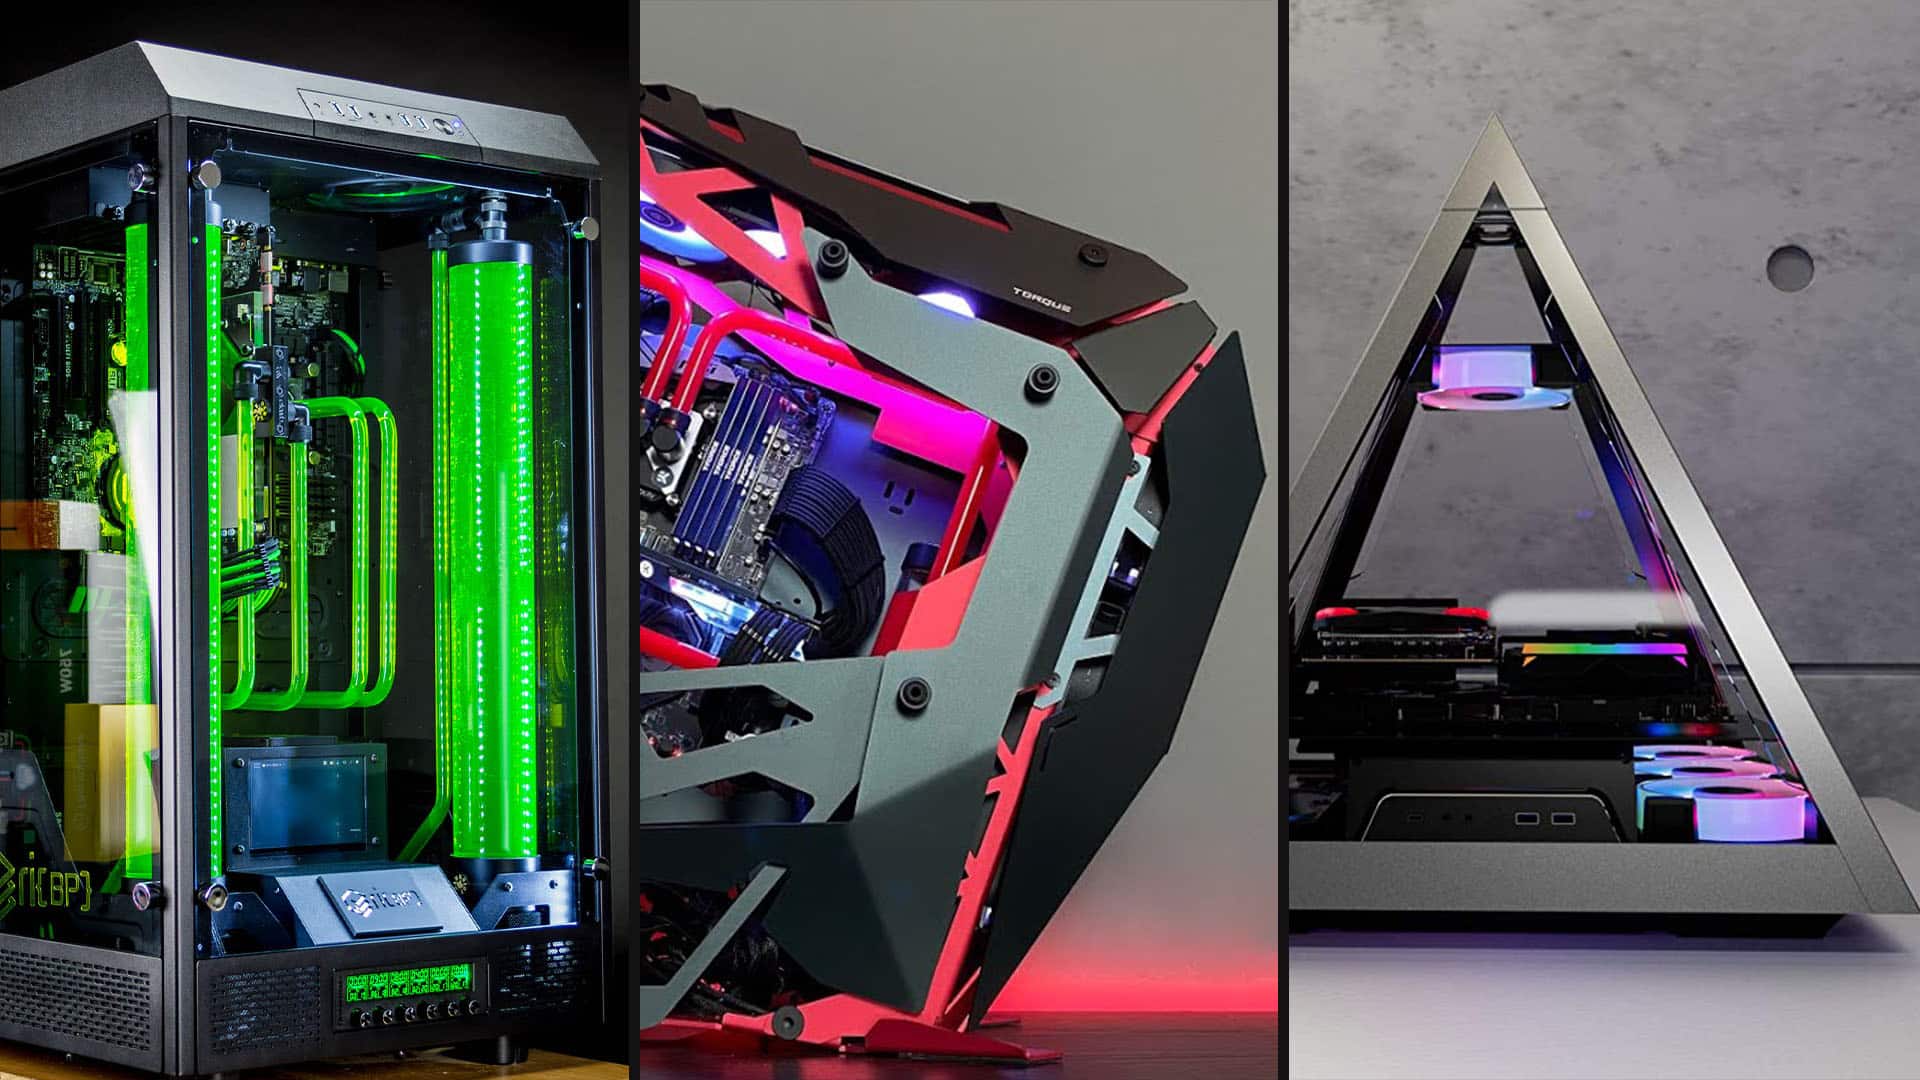
When it comes to selecting a new side panel for your PC case, you have several options to consider. Each type of side panel offers different benefits and can dramatically alter the appearance of your computer. Here are a few popular choices:
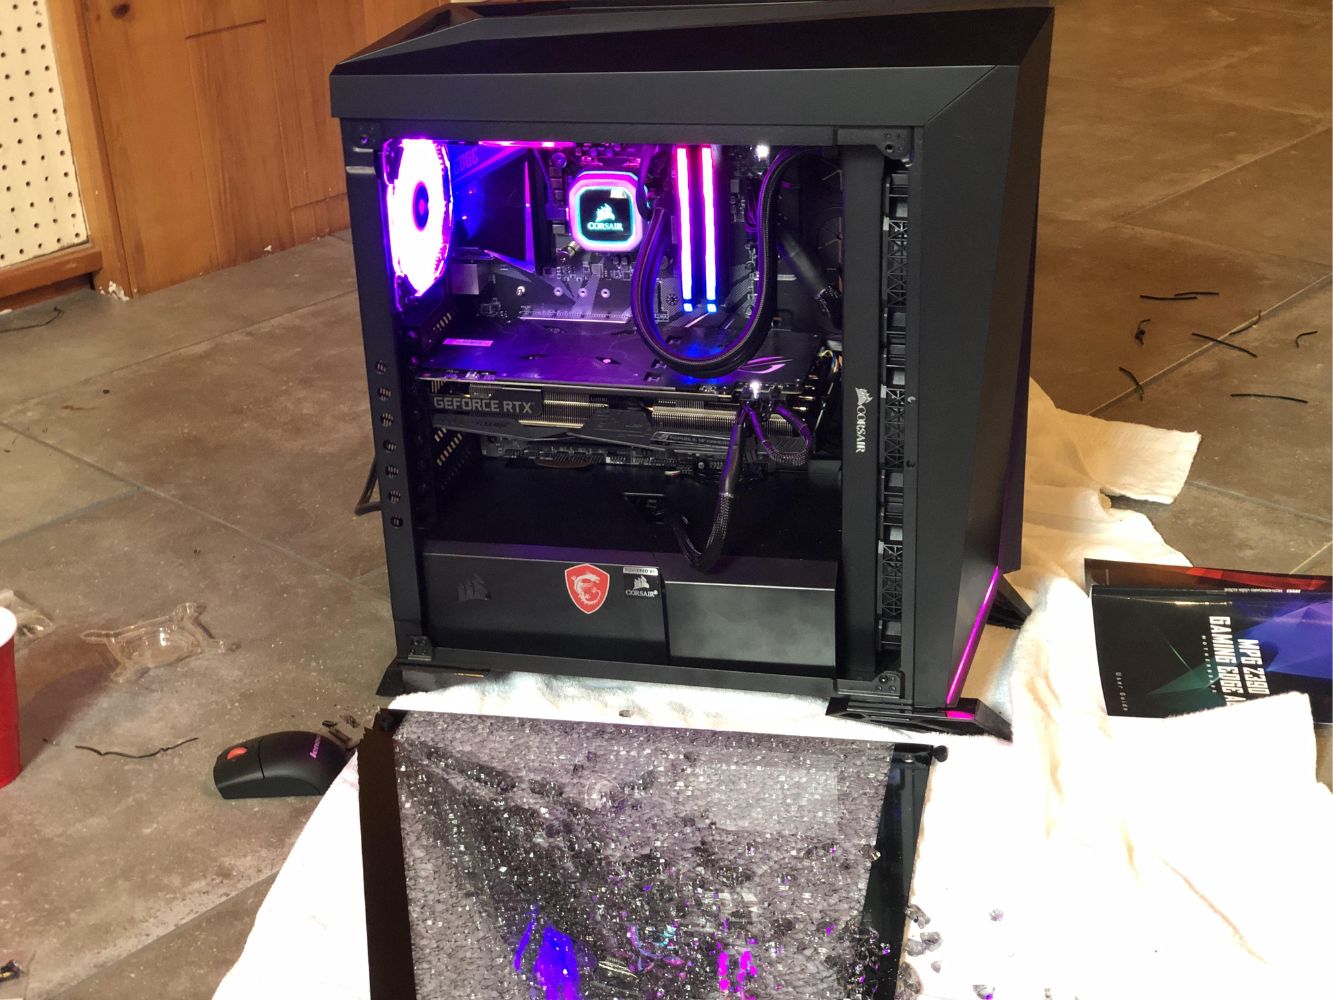
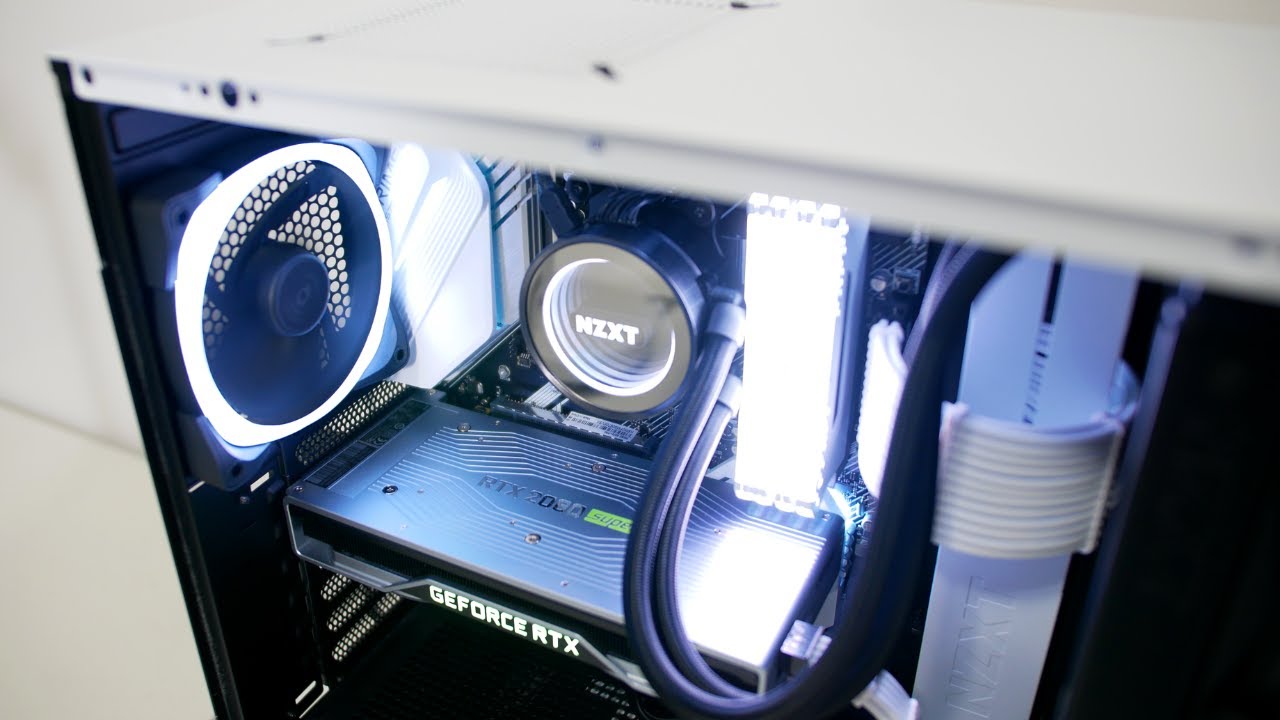
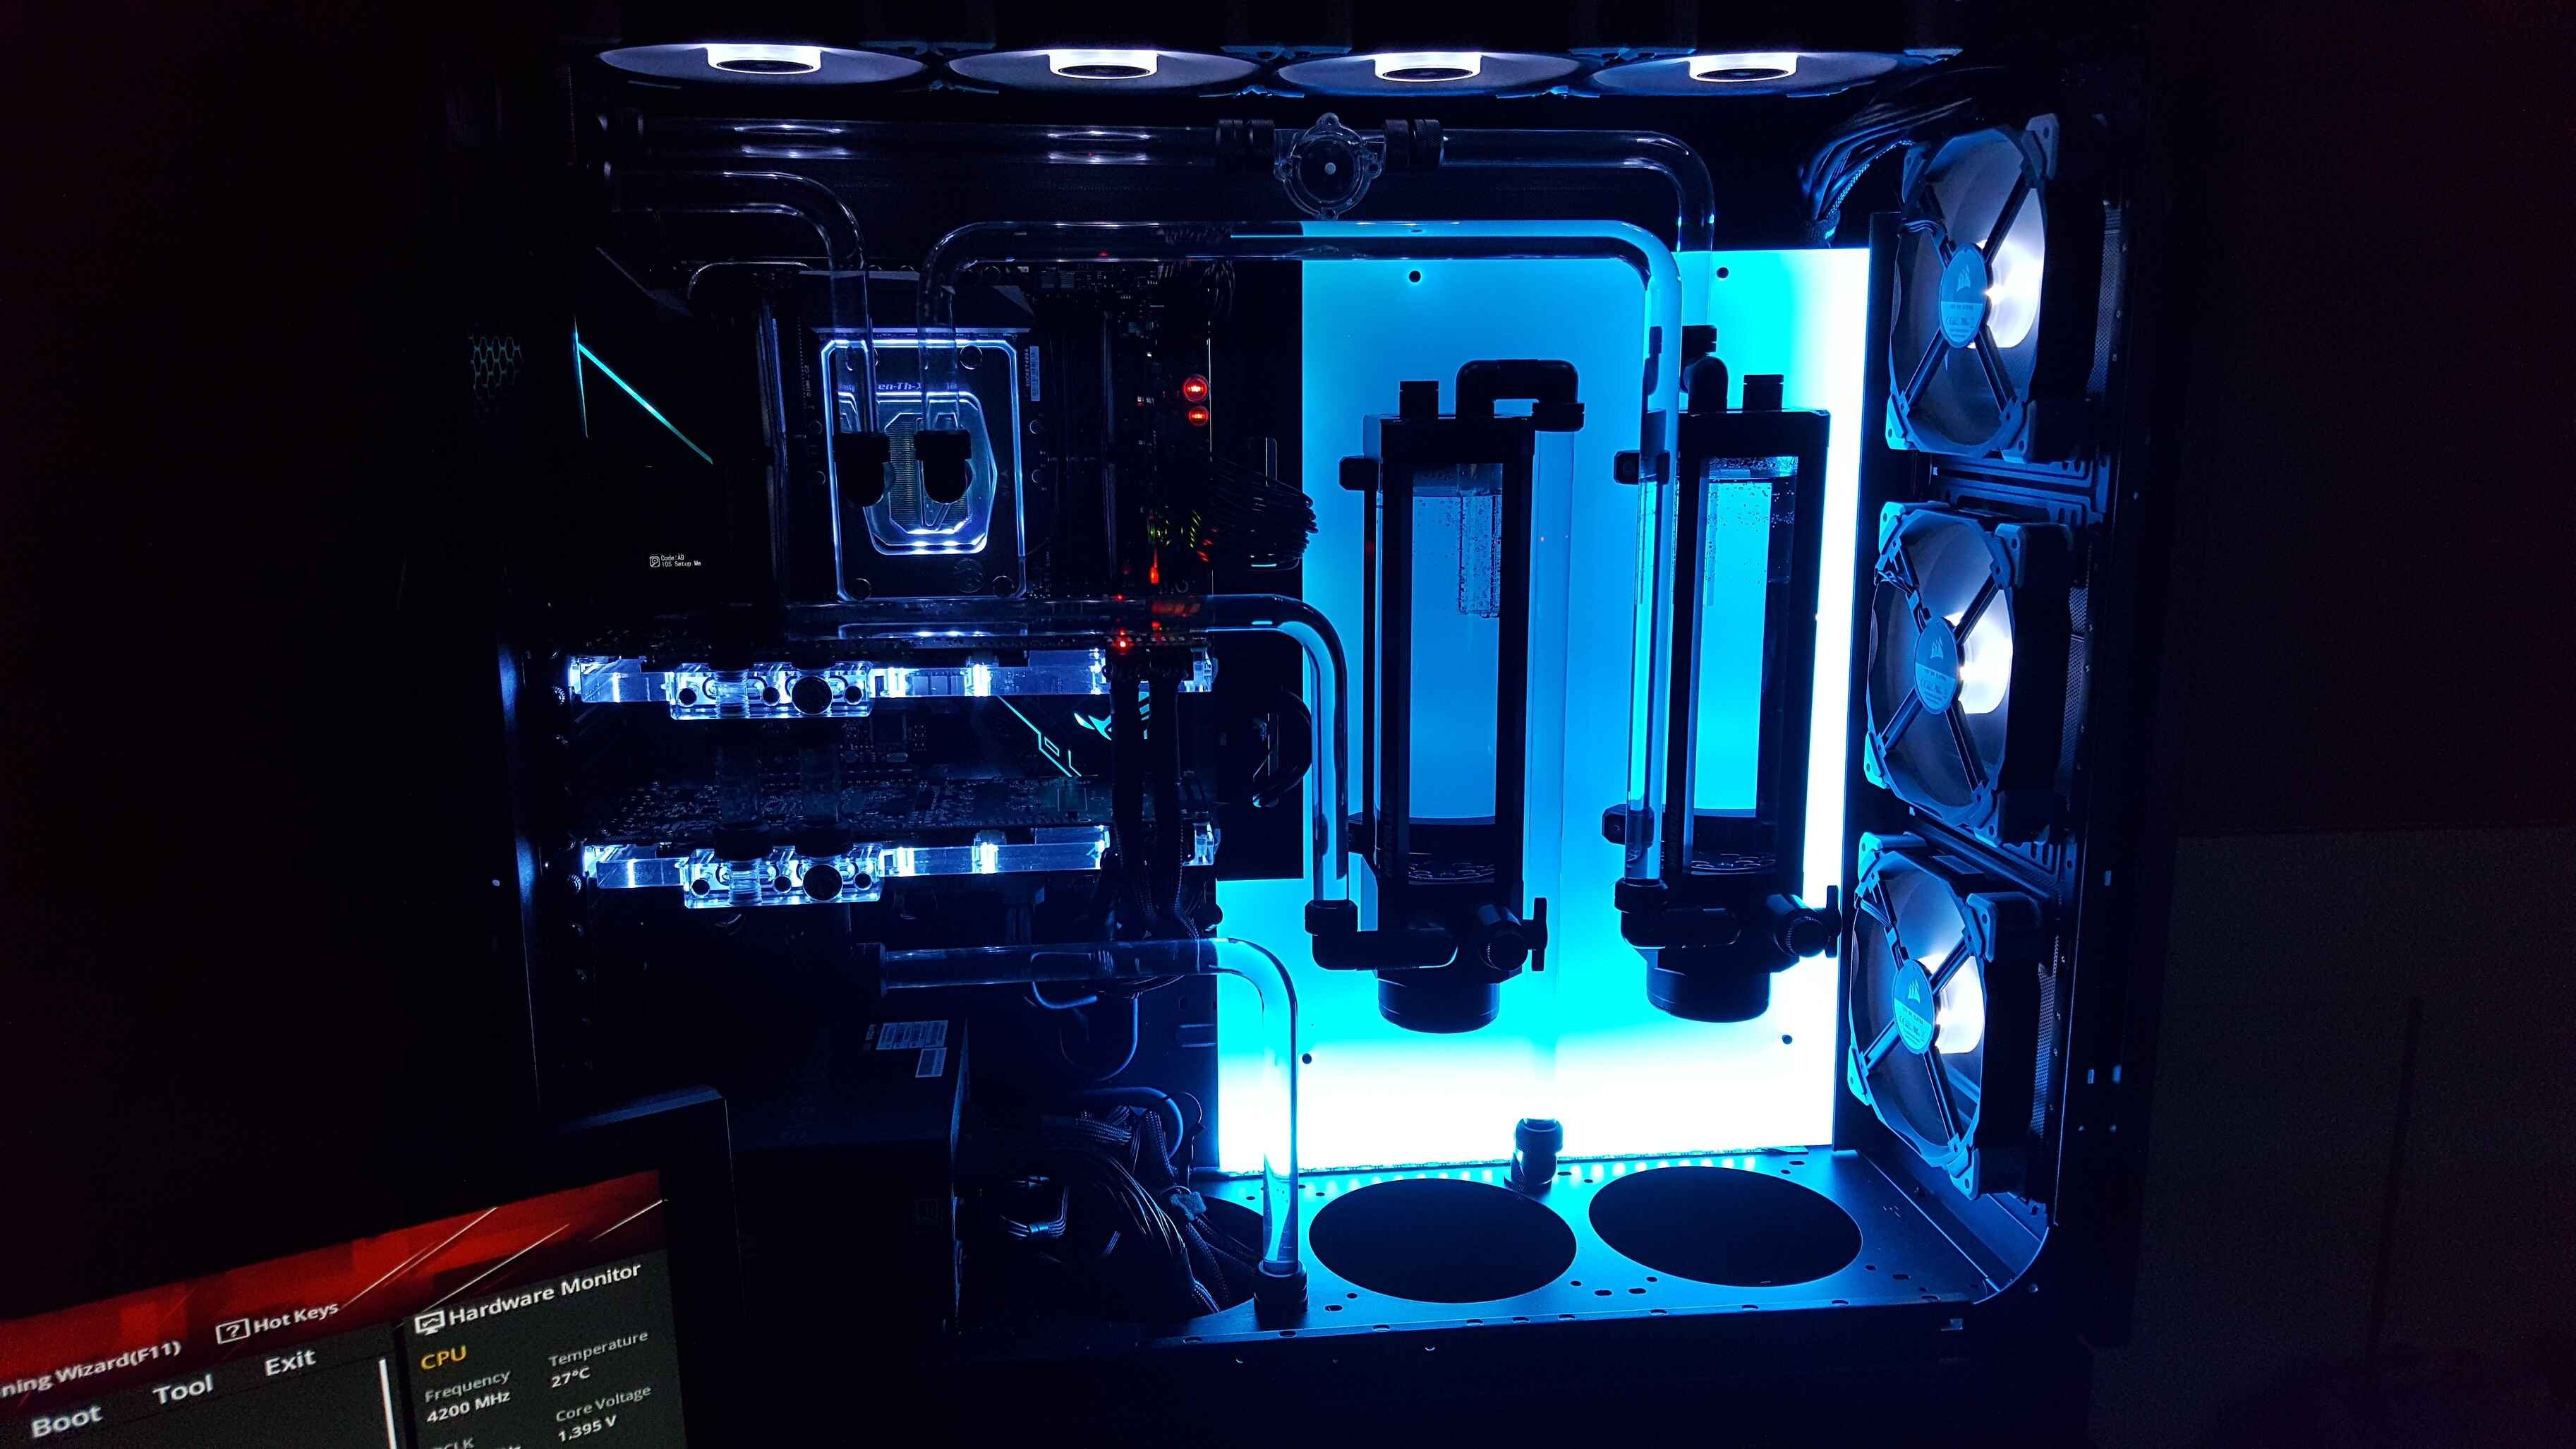
- Acrylic Side Panel: Acrylic side panels are transparent, allowing you to showcase the internal components of your PC. They provide a clear view of your hardware and can be a great option if you want to display RGB lighting effects or show off your cable management skills. Acrylic panels are lightweight and affordable, but they may be more prone to scratches compared to other materials.
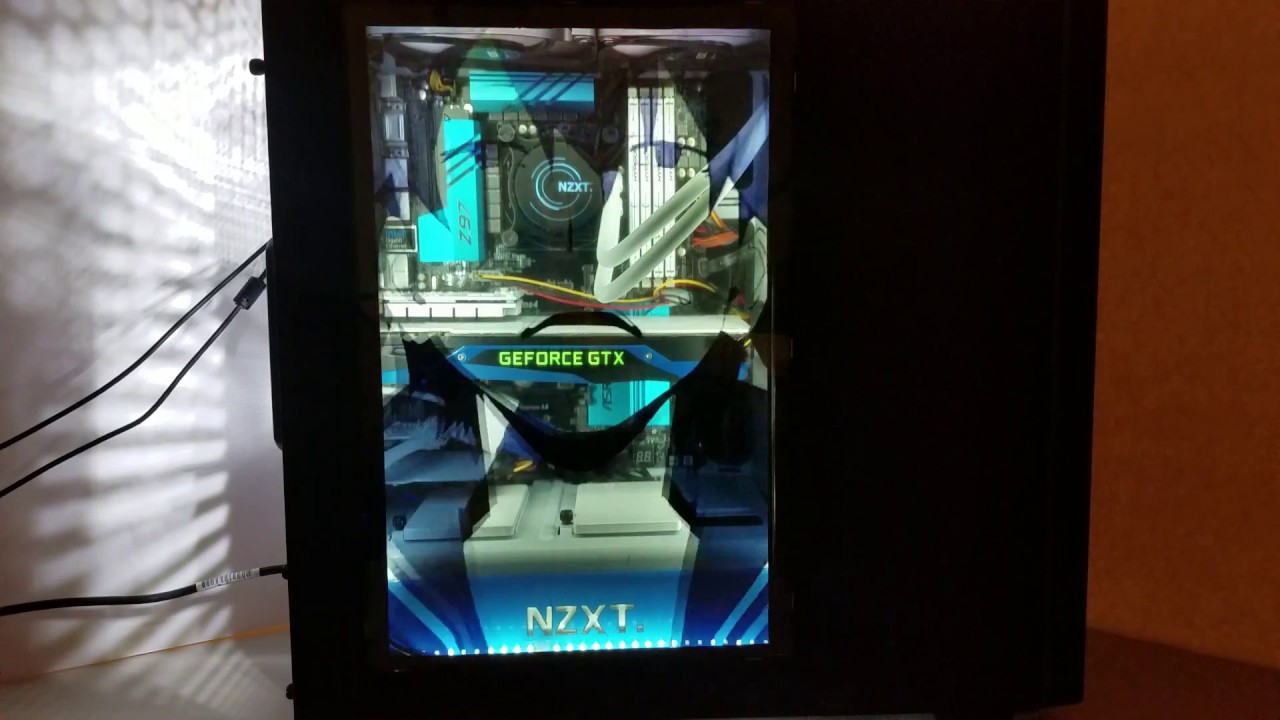
- Glass Side Panel: Glass side panels are a popular choice for those seeking a premium and elegant look. They offer a high level of transparency and durability, making them less prone to scratches compared to acrylic. Glass panels are often tempered for added strength and safety. They can provide a clear view of your PC’s interior while adding a touch of sophistication to your setup.
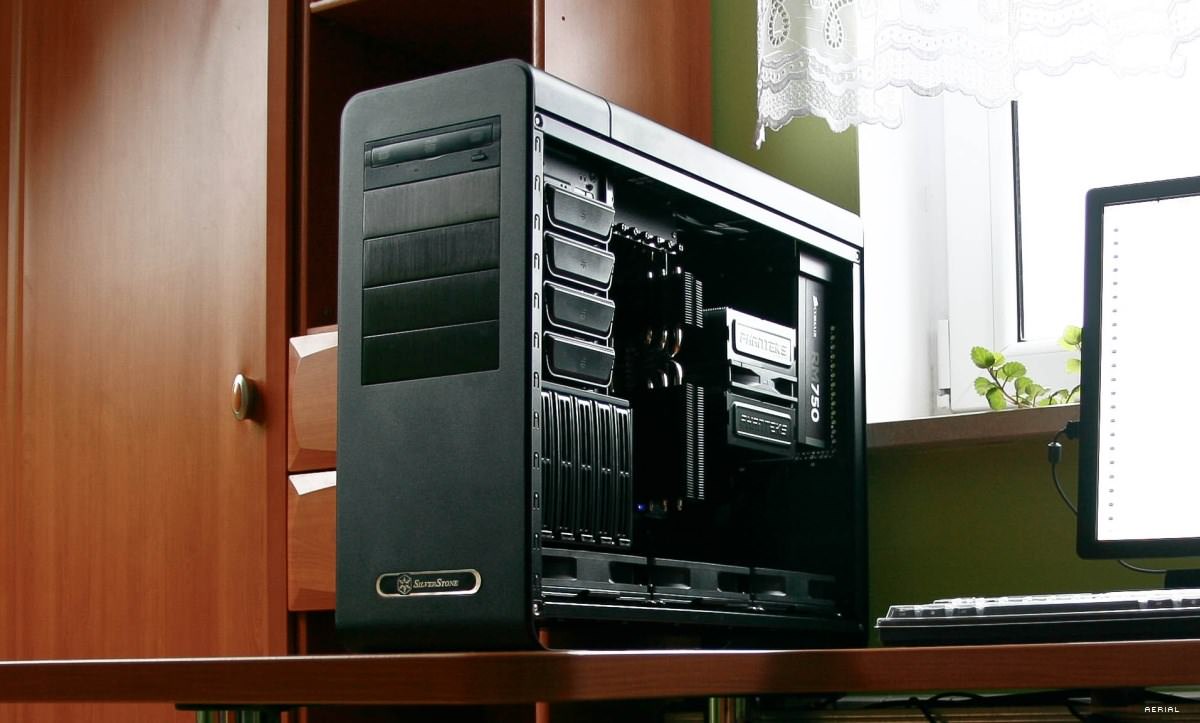
- Vented Side Panel: Vented side panels feature perforations or mesh patterns that allow for improved airflow and ventilation. These panels are beneficial if you have high-performance components that generate a significant amount of heat. Vented panels can help dissipate heat more effectively, ensuring that your PC runs cool even during demanding tasks.
Consider your specific needs and preferences when selecting a side panel for your PC case. If you prioritize aesthetics and want to showcase your components, an acrylic or glass panel might be the best choice. However, if you prioritize cooling performance, a vented side panel may be the way to go.
It’s important to note that not all PC cases are compatible with every type of side panel. Before making a purchase, check the specifications of your PC case to ensure that the preferred side panel type is compatible with the case’s design and fittings.
Now that you have an idea of the different types of side panels available, let’s move on to the next step: measuring the dimensions of your PC case.
Measure the Dimensions of Your PC Case
Before you can purchase a replacement side panel for your PC case, it’s crucial to accurately measure the dimensions of your case. This step ensures that you select a side panel that fits perfectly, avoiding any compatibility issues or unwanted gaps. Here’s how you can measure your PC case:
- Width and Height: Use a measuring tape or a ruler to measure the width and height of your PC case. Start by measuring the width of the case, which is typically the distance between the two side panels. Then, measure the height from the bottom of the case to the top.
- Thickness: The thickness of the side panel is another important measurement. Measure the distance from the edge of the case to the outermost edge of the side panel.
- Mounting Points: Take note of any mounting points on the side of your PC case. These are typically screw holes or other fastening mechanisms that hold the side panel in place. Make sure to measure the distance between these mounting points as well.
Make sure to record accurate measurements in millimeters or inches for each dimension. Having these measurements on hand will help you find the perfect replacement side panel that matches your PC case’s dimensions.
Keep in mind that some PC cases may have unique shapes or designs that require specialized side panels. In such cases, it’s advisable to check with the manufacturer or consult online forums and communities to determine if there are specific instructions or compatibility guidelines.
Now that you have measured the dimensions of your PC case, you are one step closer to giving it a new side panel. In the next section, we will discuss how to remove the old side panel.
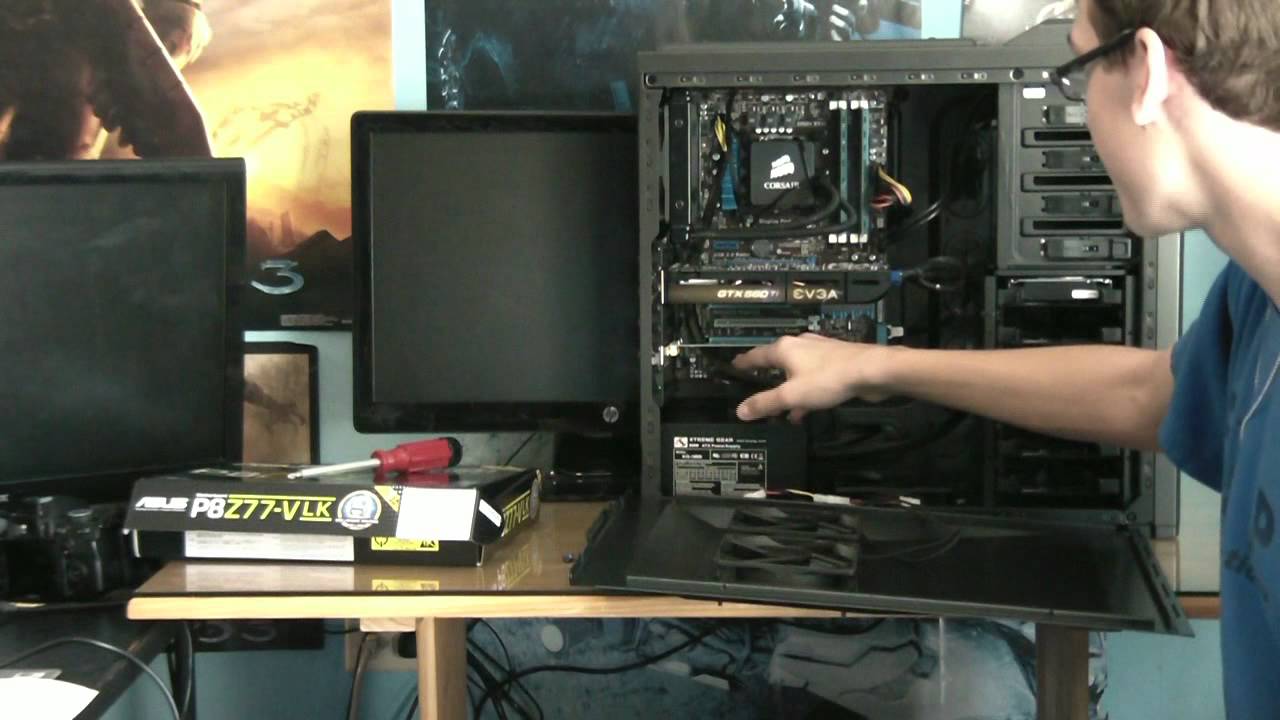
Remove the Old Side Panel
Now that you have measured the dimensions of your PC case, it’s time to remove the old side panel. Removing the old panel will give you access to install the new one seamlessly. Here are the steps to follow:
- Power Off: Before beginning any hardware-related work, ensure that your PC is powered off and disconnected from the power source. This step is crucial to prevent any potential electrical hazards or damage to your components.
- Locate Mounting Points: Examine the side of your PC case and identify the mounting points that secure the side panel in place. These are typically screws or latches that need to be undone to remove the old panel.
- Remove Screws or Latches: Using the appropriate screwdriver or tool, carefully remove the screws or release the latches that hold the side panel in place. Keep the screws in a safe place to avoid misplacing them.
- Gently Slide or Lift the Panel: Once the screws or latches are removed, gently slide or lift the old side panel away from the case. Be careful not to force it or apply excessive pressure, as this can damage the panel or the case itself.
- Set Aside the Old Panel: Once the old side panel is removed, set it aside in a safe and clean location. It’s a good idea to keep it stored in case you ever need to revert to the original panel or as a backup.
With the old side panel successfully removed, you are now ready to proceed with the next step: purchasing a replacement side panel. In the following section, we will guide you through the process of selecting and purchasing the right panel for your PC case.
Purchase a Replacement Side Panel
Now that you have removed the old side panel from your PC case, it’s time to purchase a replacement panel that fits your specific needs and preferences. Here are some factors to consider when purchasing a replacement side panel:
- Compatibility: Ensure that the replacement side panel is compatible with your PC case. Check the manufacturer’s specifications or consult the case’s documentation to determine the compatible panel sizes and mounting mechanisms. This will ensure a proper fit and easy installation.
- Material: Consider the material of the replacement side panel. Options include acrylic, glass, or vented panels, each with its own advantages. Choose a material that suits your aesthetic preferences, cooling requirements, and budget.
- Design and Features: Look for a replacement panel that complements the overall design of your PC case. Consider features like tinted glass, RGB lighting options, cable management cutouts, or any other features that enhance the appearance and functionality of your setup.
- Quality and Durability: Purchase a side panel from a reputable brand that offers high-quality construction and durability. Check customer reviews and ratings to ensure that the replacement panel is built to last and provides a satisfactory user experience.
- Budget: Set a budget for your side panel purchase. Prices can vary depending on the material, design, and features. Consider the value and benefits offered by each option to make an informed decision.
Once you have considered these factors, you can find replacement side panels from various sources, including computer hardware retailers, online marketplaces, or directly from the manufacturer’s website. Take your time to compare prices, read reviews, and select the best option that meets your requirements.
With your replacement side panel ready, it’s time to move on to the next step: installing the new panel onto your PC case. We will guide you through the installation process in the following section.
Install the Replacement Side Panel
With your new replacement side panel in hand, it’s time to install it onto your PC case. Follow these steps to ensure a smooth and secure installation:
- Prepare the PC Case: Ensure that your PC is still powered off and disconnected from the power source. Double-check that the interior of the case is clean and free from any dust or debris that may obstruct the installation.
- Align the Panel: Hold the replacement side panel near the opening of the PC case. Align it with the mounting holes or fitting mechanisms present on the case. Take note of any notches or tabs on the panel that correspond to the case’s design.
- Insert the Panel: Carefully slide the replacement side panel into place. Be cautious not to force it or damage any components inside the case. Ensure that the panel is fully seated and aligned properly with the case.
- Secure the Panel: Once the panel is properly aligned, use the screws or latches that came with the replacement panel to secure it to the case. If necessary, refer to the manufacturer’s instructions for specific details on how to secure the panel securely.
- Test the Fit: Give the panel a gentle tug or shake to ensure it is securely fastened to the case. Check for any gaps or loose fittings. If everything is secure, the installation is complete.
It’s worth mentioning that some cases may have specific installation requirements or additional steps. Consult the manual of your PC case or refer to the manufacturer’s website for detailed instructions on how to install a replacement side panel specific to your case model.
Now that you have successfully installed the replacement side panel, it’s time to make sure it stays securely in place. In the next section, we will discuss how to properly secure the side panel to prevent any accidental displacement or potential damage.
Secure the Side Panel in Place
After installing the replacement side panel onto your PC case, it’s essential to secure it properly to ensure it stays in place. Taking the following steps will help prevent any accidental displacement or potential damage:
- Tighten Screws: If your side panel is attached using screws, make sure they are tightened snugly. Use a screwdriver to ensure that the screws are securely fastened but be careful not to overtighten, as this could damage the panel or the case.
- Engage Latches or Lock Mechanisms: If your side panel uses latches or lock mechanisms, ensure they are fully engaged. Listen for a click or feel for a secure lock when closing the panel. This will ensure that the panel is firmly in place.
- Check for Gaps or Movement: After securing the side panel, inspect the edges for any noticeable gaps or movements. There should be minimal to no movement or play. If you notice any gaps or excessive movement, double-check the alignment and fastening of the panel.
- Verify Proper Airflow: If you have a vented side panel, check that the airflow is unobstructed and any mesh or perforations are clear of dust or debris. This will ensure proper ventilation and cooling for your PC components.
- Regular Maintenance: Periodically check the side panel’s screws or latches to ensure they remain tight and secure. Additionally, clean the panel and case regularly to prevent dust buildup, which can affect cooling performance over time.
By following these steps and regularly checking the security of your side panel, you can ensure that it remains firmly in place and provides the desired functionality and appearance to your PC case.
With the side panel securely fastened, you have successfully completed the process of giving your PC case a new side panel. Enjoy the fresh look and customization it brings to your setup. If you ever need to replace the side panel again or make further modifications, refer back to this guide for a quick and easy reference.
Conclusion
Congratulations! You have successfully learned how to give your PC case a new side panel. This simple modification can completely transform the look and feel of your computer setup, showcasing your hardware and personal style. Let’s recap the key points covered in this guide:
We began by discussing the importance of choosing the right type of side panel for your PC case. Whether it’s an acrylic panel for showcasing components, a glass panel for a premium look, or a vented panel for improved airflow, you have various options to consider based on your preferences and needs.
Next, we emphasized the significance of measuring the dimensions of your PC case accurately. This step ensures that you select a replacement side panel that fits perfectly, avoiding any compatibility issues.
With the measurements in hand, we guided you through the process of removing the old side panel, emphasizing the need for caution and care to prevent any damage to the panel or the case itself.
After that, we discussed the considerations for purchasing a replacement side panel, including compatibility, material, design features, quality, and budget. By considering these factors, you can find the perfect side panel that meets your requirements.
Following the purchase, we provided step-by-step instructions on how to install the replacement side panel, focusing on proper alignment, securing mechanisms, and ensuring a snug fit.
Lastly, we highlighted the importance of securing the side panel in place to avoid any accidental displacement, and we encouraged regular maintenance for optimal performance over time.
By following the steps and tips outlined in this guide, you can successfully give your PC case a side panel that elevates its appearance and functionality to new heights.
Now it’s time to admire your handiwork and showcase your custom PC to the world. Enjoy the personalized look and feel of your setup, and don’t hesitate to explore additional modifications to further enhance your PC customization journey.