Introduction
Are you looking to give your PC case a fresh and personalized look? Modifying the side of your PC case with a custom image is a fantastic way to add a unique touch to your computer setup. Whether you’re an avid gamer, a professional content creator, or simply seeking a stylish upgrade, customizing the side panel of your PC case allows you to showcase your individuality and creativity.
With a few supplies and a bit of creativity, you can transform your PC case into a work of art that reflects your personality. In this guide, we will take you through the step-by-step process of modifying the side of your PC case, from gathering the necessary supplies to reassembling your newly customized case.
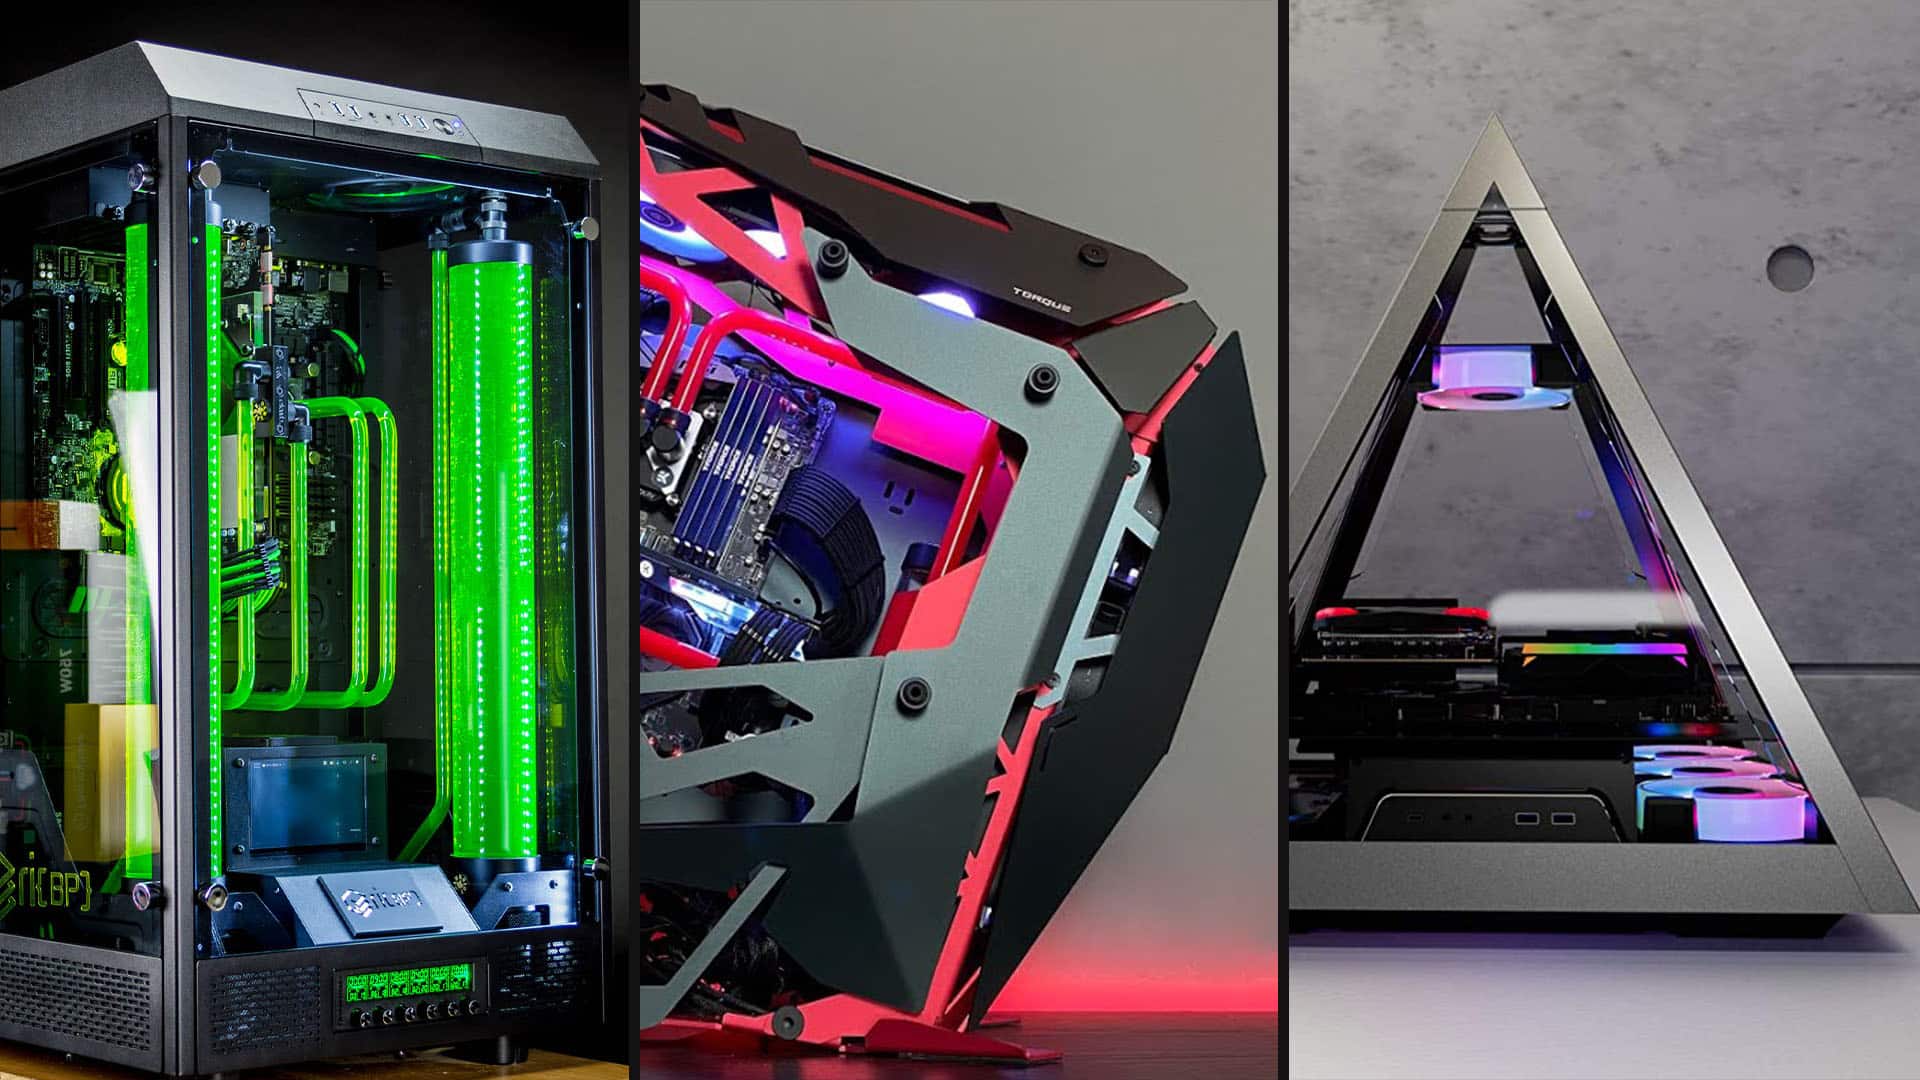
Customizing the side of your PC case not only adds a visually appealing element to your setup but also gives you the opportunity to showcase your favorite designs, logos, or even original artwork. Whether you prefer a sleek and minimalistic look or a bold and vibrant design, the possibilities are endless when it comes to customizing your PC case.
In this step-by-step guide, we will cover everything you need to know to successfully modify the side of your PC case. From preparing your case and designing your image to transferring it onto the case and applying the final touches, we will walk you through each stage of the process. So, let’s get started and give your PC case the makeover it deserves!
Step 1: Gather Supplies
Before beginning your PC case modification project, it’s essential to gather all the necessary supplies. By having everything you need prepared ahead of time, you can ensure a smooth and efficient process. Here are the supplies you’ll need:
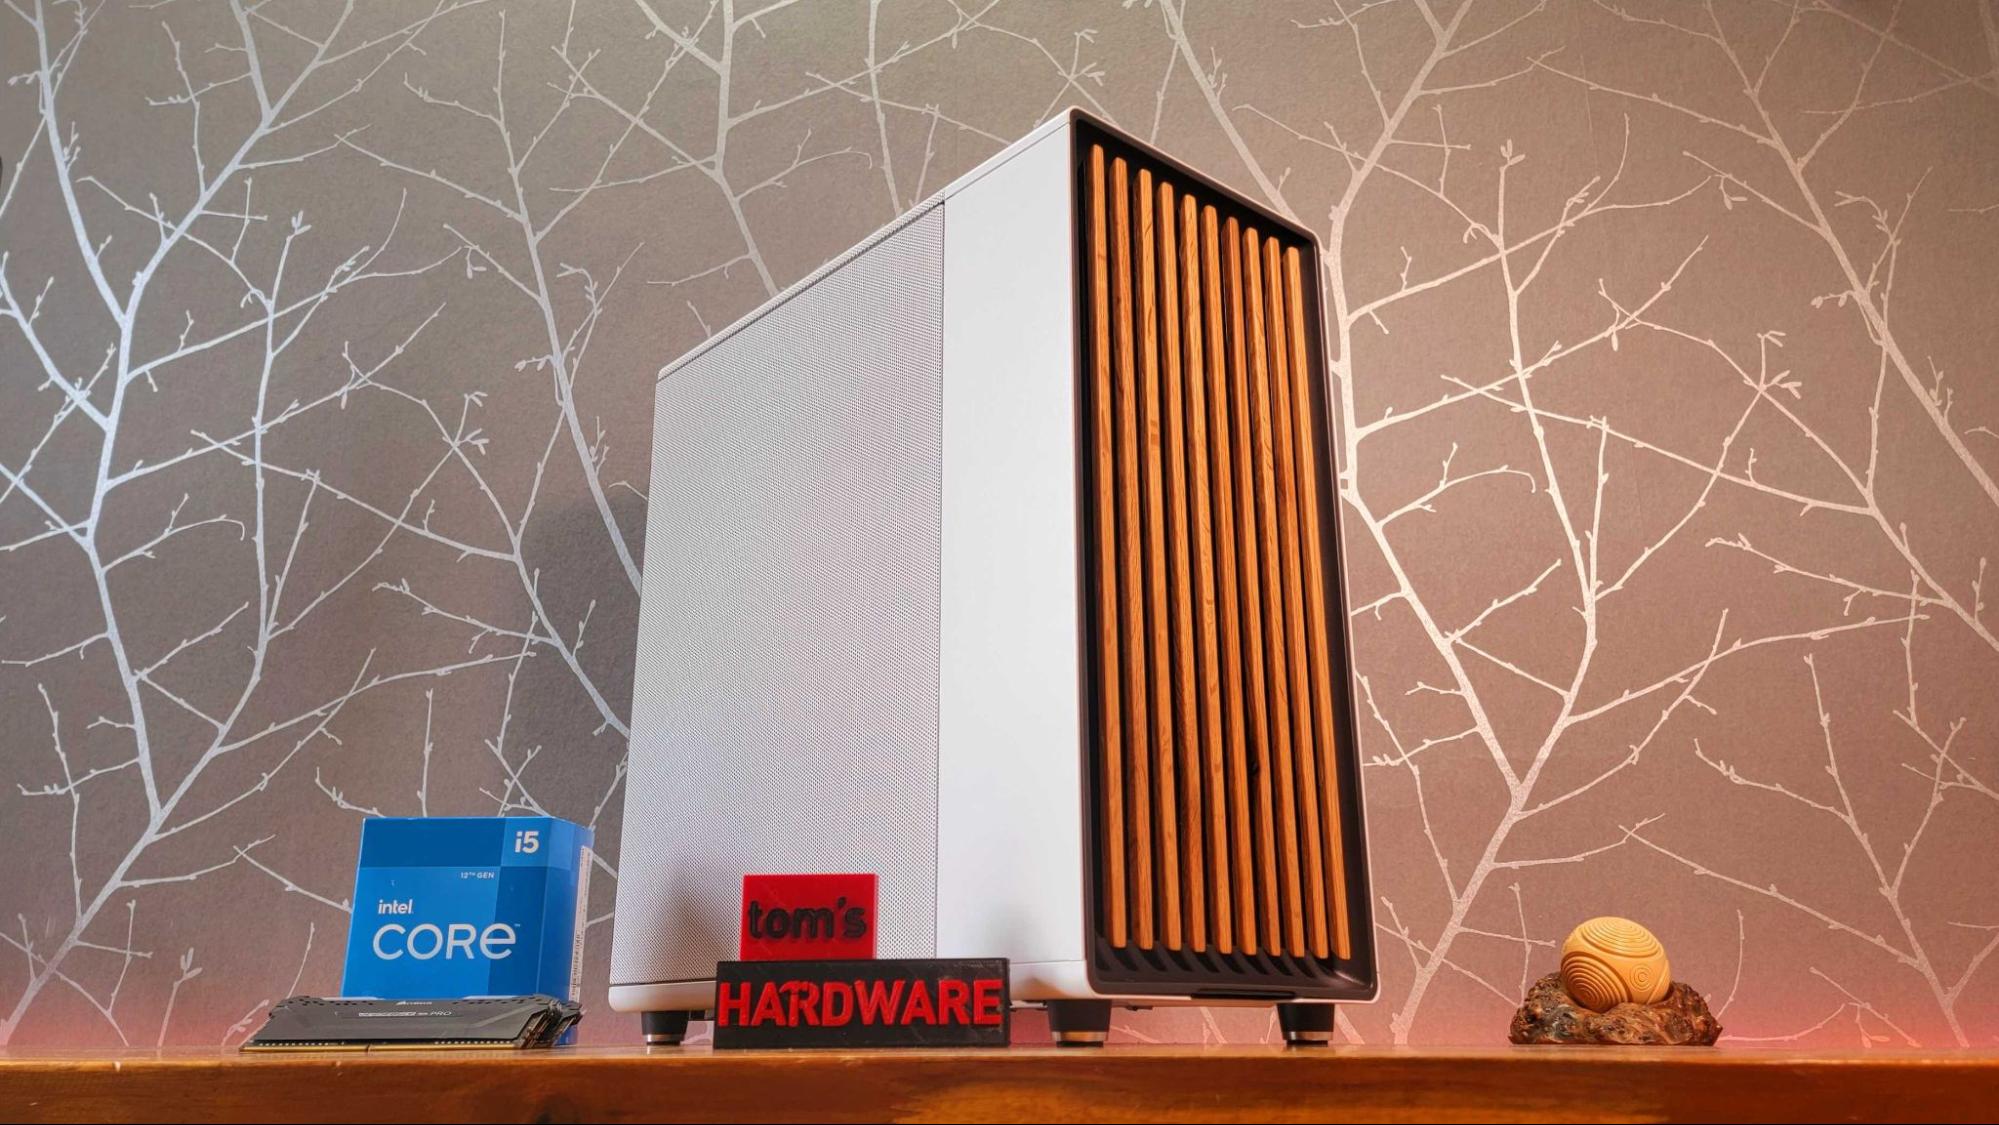
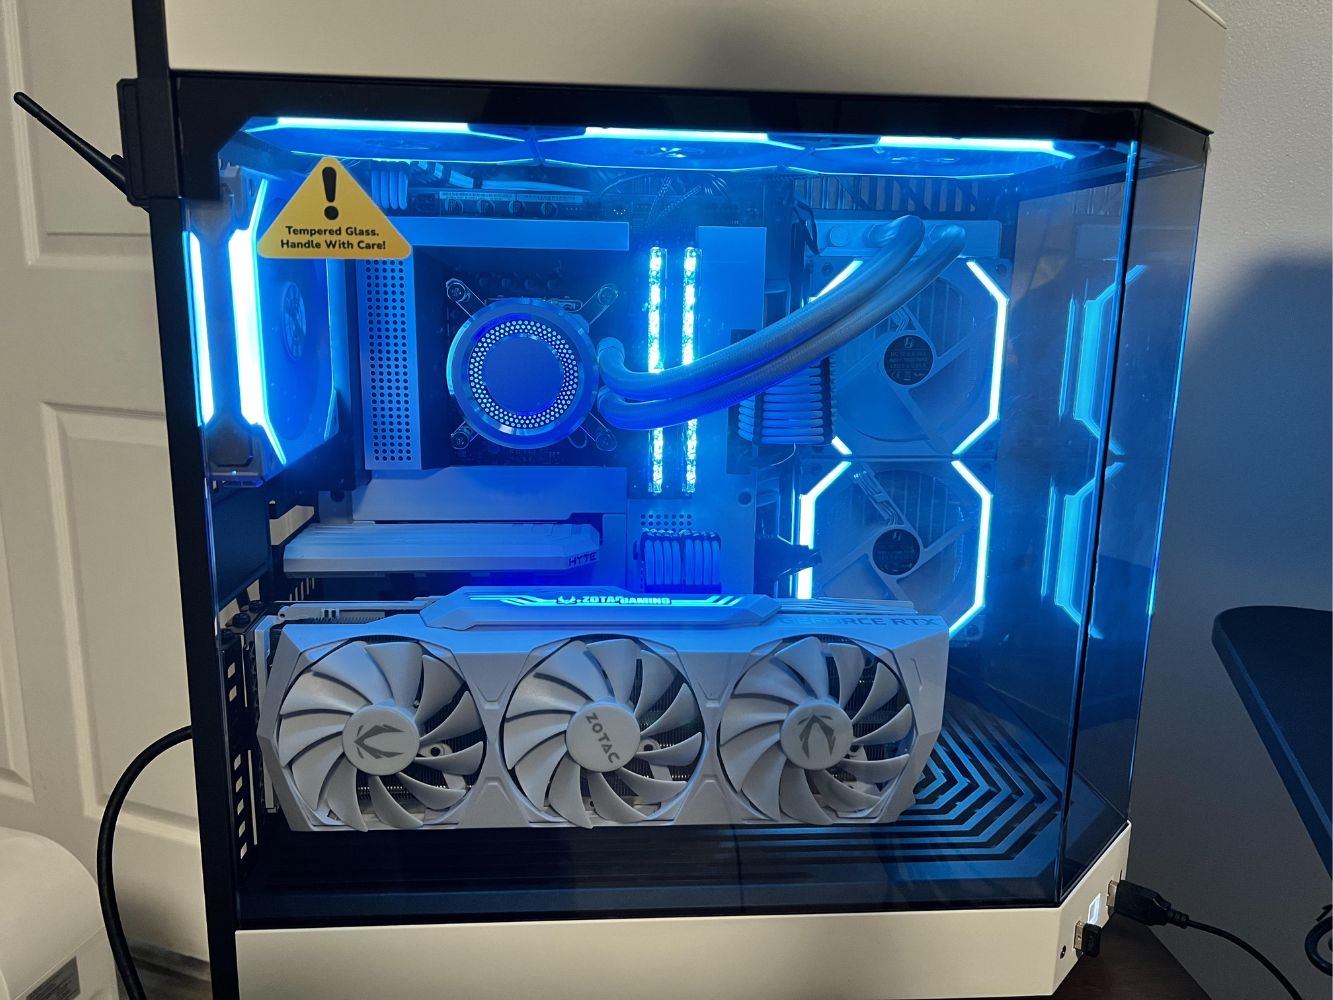
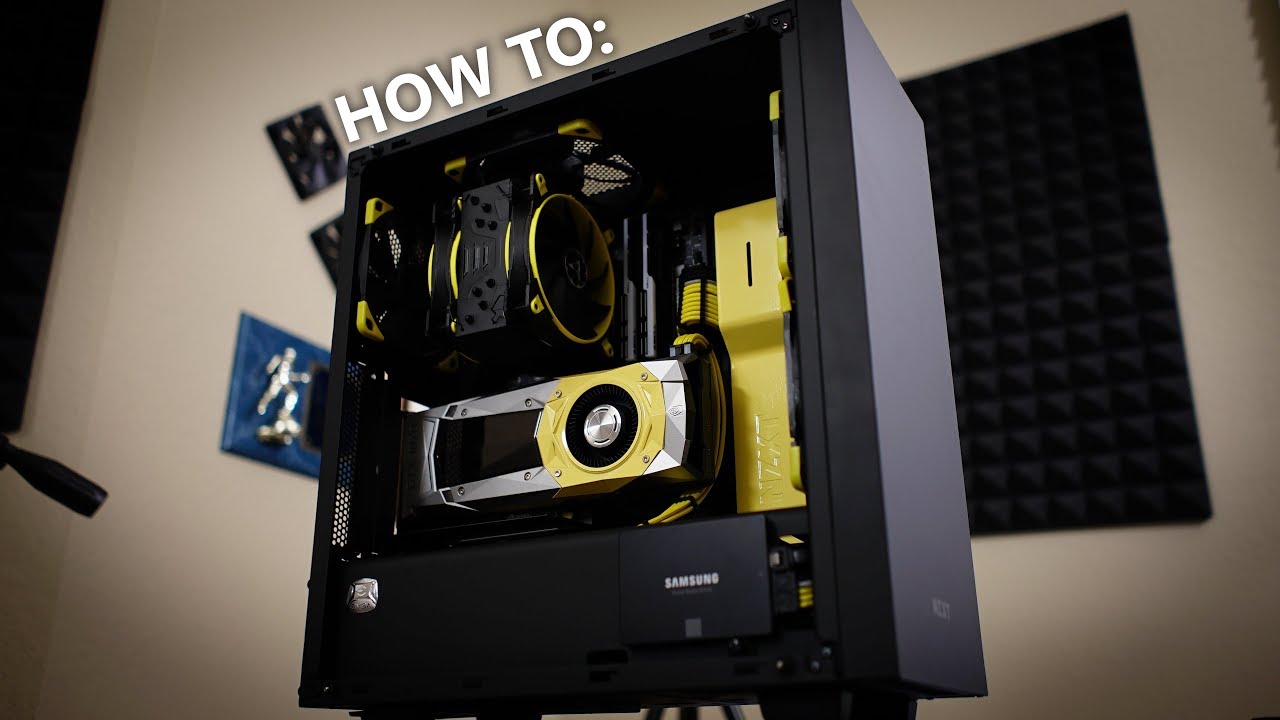
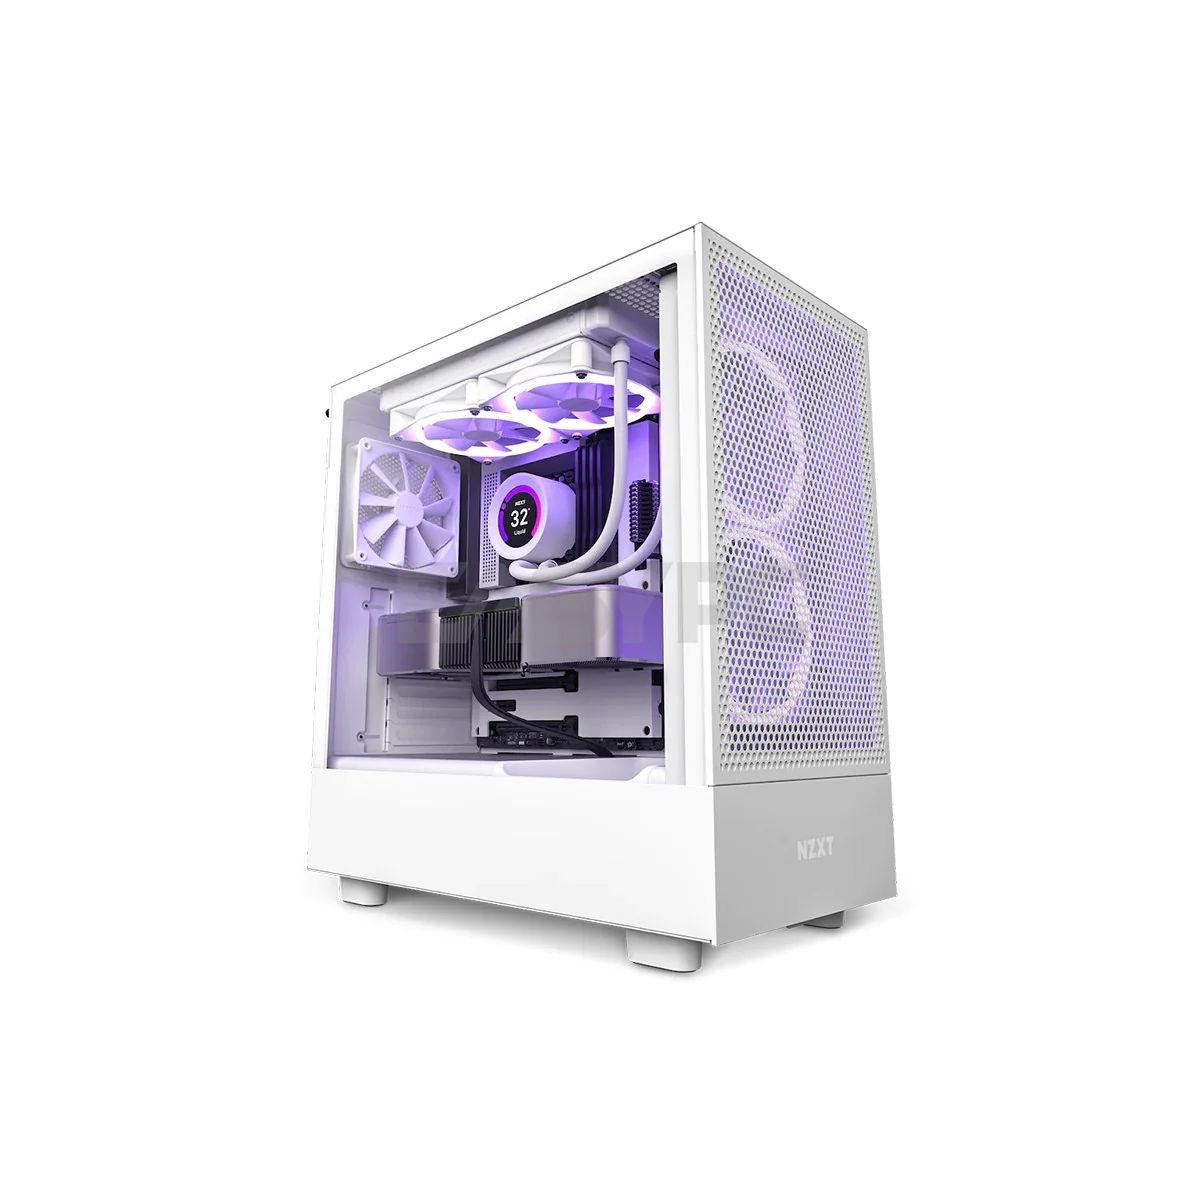
- PC Case: Choose a PC case with a removable side panel to allow for easy customization.
- Masking Tape: Use masking tape to protect any areas of the case you don’t want to paint or prime.
- Sandpaper: Different grits of sandpaper will be required for sanding down the case and creating a smooth surface for painting.
- Primer: Apply primer to the case to create an even and durable base for the paint.
- Paint: Choose a high-quality paint that is compatible with the material of your PC case and the image you have in mind.
- Paintbrushes or Spray Paint: Select paintbrushes suitable for the size of your project, or opt for spray paint for a more even application.
- Clear Coat: Apply a clear coat to protect and seal the paint for long-lasting durability.
- Transfer Paper or Stencil: Depending on the complexity of your design, you may need transfer paper or stencils to transfer the image onto the case.
- Razor Blade or X-Acto Knife: These tools are handy for precise cutting or removing any excess material.
- Screwdriver: A screwdriver is necessary for removing the side panel of your PC case.
- Disposable Gloves: Wearing gloves will protect your hands from paint and chemicals.
- Drop Cloth or Newspaper: Lay down a drop cloth or newspaper to protect your workspace from paint spills or drips.
By gathering these supplies beforehand, you’ll have everything you need to successfully modify the side of your PC case. Now that you’re equipped with the necessary tools, let’s move on to preparing your PC case for customization in the next step.
Step 2: Prepare Your PC Case
Now that you have all the necessary supplies ready, it’s time to prepare your PC case for customization. This step is crucial to ensure that the paint adheres properly and that you have a smooth surface to work with. Follow these steps to prepare your PC case:
- Remove the Side Panel: Use a screwdriver to carefully remove the side panel of your PC case. Place it on a clean and stable surface, preferably covered with a drop cloth or newspaper to prevent any damage or mess.
- Clean the Surface: Use a soft cloth and a mild cleaning solution to wipe down the side panel. Remove any dust, grease, or dirt that may be present. This will help the paint adhere better and ensure a smooth finish.
- Sand the Surface: Use sandpaper of a moderate grit to gently sand the surface of the side panel. This will create a rough texture that allows the primer and paint to adhere more effectively. Be sure to sand in a circular motion to avoid any visible scratches.
- Protect the Areas You Don’t Want to Paint: Use masking tape to cover any areas of the case that you don’t want to paint, such as connectors, logos, or buttons. This will ensure clean lines and protect these components from paint damage.
- Apply Primer: Using a paintbrush or spray can, apply a thin, even layer of primer to the side panel. The primer will help the paint adhere better and provide a more durable finish. Allow the primer to dry completely before moving on to the next step.
By following these steps, you will have a clean, sanded, and primed surface ready for customization. Taking the time to properly prepare your PC case will ensure that your design comes out beautifully and lasts for a long time. Now that we’ve prepared the surface, let’s move on to the next step: choosing and designing your image.
Step 3: Choose and Design Your Image
Choosing and designing the image for your PC case modification is an exciting step as it allows you to showcase your personal style and creativity. Whether you want to display a favorite character, a stunning landscape, or a unique graphic design, here’s how to choose and design your image:
- Consider Your Preferences: Think about your interests, hobbies, and aesthetic preferences. Do you have a favorite game, TV show, or movie? Would you like to showcase a beautiful nature scene or an abstract design? Consider what resonates with you and choose an image that reflects your personality.
- Find High-Quality Images: Look for high-resolution images that will result in a sharp and clear final design. You can search for royalty-free image websites, browse through image galleries, or even create your own design using graphic design software.
- Resize and Adjust: Once you have found or created your image, resize and adjust it to fit the dimensions of your PC case’s side panel. Use photo editing software to ensure that the image is not distorted or stretched when transferring it onto the case.
- Add Personal Touches: If you’re feeling creative, consider adding personal touches to the image. This could be your gaming handle, a meaningful quote, or any other element that makes the design truly unique to you.
- Test the Design: Before transferring the image onto the case, print a test copy on regular paper. This will allow you to see how the image looks in real life and make any necessary adjustments before the final transfer.
Remember, the image you choose will be a prominent feature of your PC case, so take the time to find or create something that truly resonates with you. Once you have finalized your design, it’s time to move on to the next step: transferring the image onto the case.
Step 4: Transfer the Image Onto Case
Now that you have chosen and designed your image, it’s time to transfer it onto the side panel of your PC case. This step requires precision and attention to detail to ensure a clean and accurate transfer. Follow these steps to transfer the image:
- Print the Image: Use a high-quality printer or visit a local print shop to print your image on transfer paper. Make sure to follow the instructions provided by the transfer paper manufacturer for optimal results.
- Cut Out the Image: Carefully cut out the image, leaving a small border around the design. This will help during the transfer process and prevent any unwanted edges or smudging.
- Position the Image: Place the cut-out image face down on the desired area of the side panel. Ensure that it is positioned correctly and aligned with the edges of the panel.
- Apply Heat: Using a household iron set to the appropriate temperature recommended by the transfer paper manufacturer, apply even and firm pressure to the back of the paper. Move the iron in circular motions, covering the entire image area. This heat application will transfer the ink onto the case surface.
- Cool and Peel: Once the transfer is complete, allow the panel to cool down for a few minutes. Gently peel off the transfer paper, starting from one corner, while ensuring that the image adhered properly to the case.
It’s essential to follow the manufacturer’s instructions for the specific transfer paper you are using, as different brands may have slightly different methods. Taking your time and being careful during this step will result in a crisp and well-transferred image on your PC case. With the image now transferred, it’s time to move on to the next step: priming and painting the case to complete the customization process.
Step 5: Prime and Paint the Case
After transferring the image onto the side panel, it’s time to prime and paint your PC case. This step will give your custom design a vibrant and professional finish. Follow these steps to prime and paint the case:
- Prepare Your Workspace: Find a well-ventilated area with good lighting. Lay down a drop cloth or newspaper to protect the surface from paint spills.
- Apply the First Coat of Primer: Using either a paintbrush or spray can, apply a thin and even layer of primer to the entire side panel. Make sure to follow the instructions on the primer can for optimal results. Allow the first coat to dry completely before applying additional coats.
- Sand the Primer (Optional): If you notice any imperfections or rough spots after the primer has dried, gently sand them using a fine-grit sandpaper. This will create a smoother surface for the paint.
- Apply the Base Coat: Once the primer is dry and any imperfections have been sanded, it’s time to apply the base coat of paint. Use a paintbrush for smaller areas or a spray can for larger surfaces. Apply thin and even coats, allowing each coat to dry before applying the next one. This will ensure a smooth and consistent color.
- Optional: Add Layers and Effects: Depending on the design and effect you want to achieve, you may want to add additional layers or effects to your paint job. This could include layering colors, adding gradients, or incorporating other techniques to enhance the visual appeal of your design.
- Allow the Paint to Dry: Once you have achieved the desired color and effect, allow the paint to dry completely. Follow the drying time recommended by the paint manufacturer to avoid damaging the finish.
By following these steps, you will create a professional-looking finish for your PC case. The primer will help the paint adhere better while providing a smooth base, ensuring a long-lasting and high-quality result. Once the paint has dried, it’s time to move on to the next step: applying a clear coat for added protection.
Step 6: Apply Clear Coat
Applying a clear coat is an important step in the PC case modification process. It adds an extra layer of protection to your painted surface, ensuring that your design remains vibrant and durable over time. Follow these steps to apply a clear coat:
- Choose the Right Clear Coat: Select a clear coat that is compatible with the type of paint you used for your design. Look for a clear coat specifically formulated for the material of your PC case and for use with the type of paint you applied.
- Prepare Your Workspace: Just like when painting, ensure you are working in a well-ventilated area and protect your workspace with a drop cloth or newspaper.
- Read and Follow the Instructions: Carefully read the instructions provided by the clear coat manufacturer. Pay attention to the recommended drying time, application method (brush or spray), and any other specific instructions for optimal results.
- Apply Thin Coats: Start by applying a thin coat of clear coat to the entire painted surface. Keep the application even and minimize overlapping brush strokes or spray patterns. Allow the first coat to dry according to the manufacturer’s instructions.
- Apply Additional Coats: Depending on the manufacturer’s recommendations and the level of protection you desire, apply additional thin coats of clear coat. Allow each coat to dry before applying the next one. This will build up a protective layer while avoiding a thick or uneven finish.
- Inspect for Imperfections: Once the clear coat has dried completely, inspect the surface for any imperfections or inconsistencies. If necessary, lightly sand the surface with a fine-grit sandpaper and apply another coat of clear coat to achieve a smooth and flawless finish.
Applying a clear coat not only protects your custom design but also gives it a glossy and polished appearance. By following these steps and using a quality clear coat, you can ensure that your PC case modification stands the test of time and remains an eye-catching feature of your setup.
Step 7: Reassemble Your PC Case
With the customization of your PC case complete, it’s time to reassemble all the components and put your computer back together. Follow these steps to reassemble your PC case:
- Clean the Interior: Before reassembling, take a moment to clean the interior components of your PC case. Use compressed air or a soft brush to remove any dust or debris that may have accumulated during the modification process.
- Reattach Side Panel: Carefully align the side panel with the case and secure it using the screws or fasteners that were previously removed.
- Reconnect Cables: Reconnect all the cables and wires to their respective ports. Ensure that all connections are secure and properly seated.
- Test the System: Once everything is reconnected, power on your computer and test that all components are functioning correctly. Check for any unusual noises, error messages, or other issues that may have arisen during the modification process.
- Final Touches: Take a moment to admire your newly customized PC case. Wipe down the exterior surface with a soft cloth to remove any smudges or fingerprints. Arrange your desk or workstation to showcase the newly modified PC case as the centerpiece of your computer setup.
Reassembling your PC case is the final step in the modification process. By following these steps and ensuring all components are properly connected, you can enjoy your newly customized PC case and showcase your personal style to the world.
Conclusion
Customizing the side of your PC case is an excellent way to add a personal touch to your computer setup. By following the step-by-step process outlined in this guide, you can transform your PC case into a unique and visually appealing work of art.
We began by gathering the necessary supplies, ensuring we had everything from masking tape and sandpaper to primer and paint. Then, we moved on to preparing the PC case by removing the side panel, cleaning the surface, and applying primer.
Next, we dove into the creative process by selecting and designing the perfect image for our PC case. We considered our interests and preferences, found high-quality images, and added personal touches to make the design truly our own.
With the image finalized, we transferred it onto the case using transfer paper and heat. This step required precision and attention to detail to ensure a clean and accurate transfer.
After the image was successfully transferred, we proceeded to prime and paint the case. Multiple layers of primer and paint were applied, ensuring a smooth and vibrant finish. Finally, we added a clear coat for added protection and a glossy appearance.
With the customization complete, we reassembled the PC case, ensuring that all components were properly connected. After powering on the computer and testing its functionality, we admired our newly customized PC case and made any final touches to showcase it as the centerpiece of our setup.
Overall, customizing the side of your PC case is a rewarding DIY project that allows you to express your creativity and showcase your personality. It adds a personalized touch to your computer setup and sets your rig apart from the rest. So, gather your supplies, let your imagination run wild, and give your PC case the makeover it deserves!