Introduction
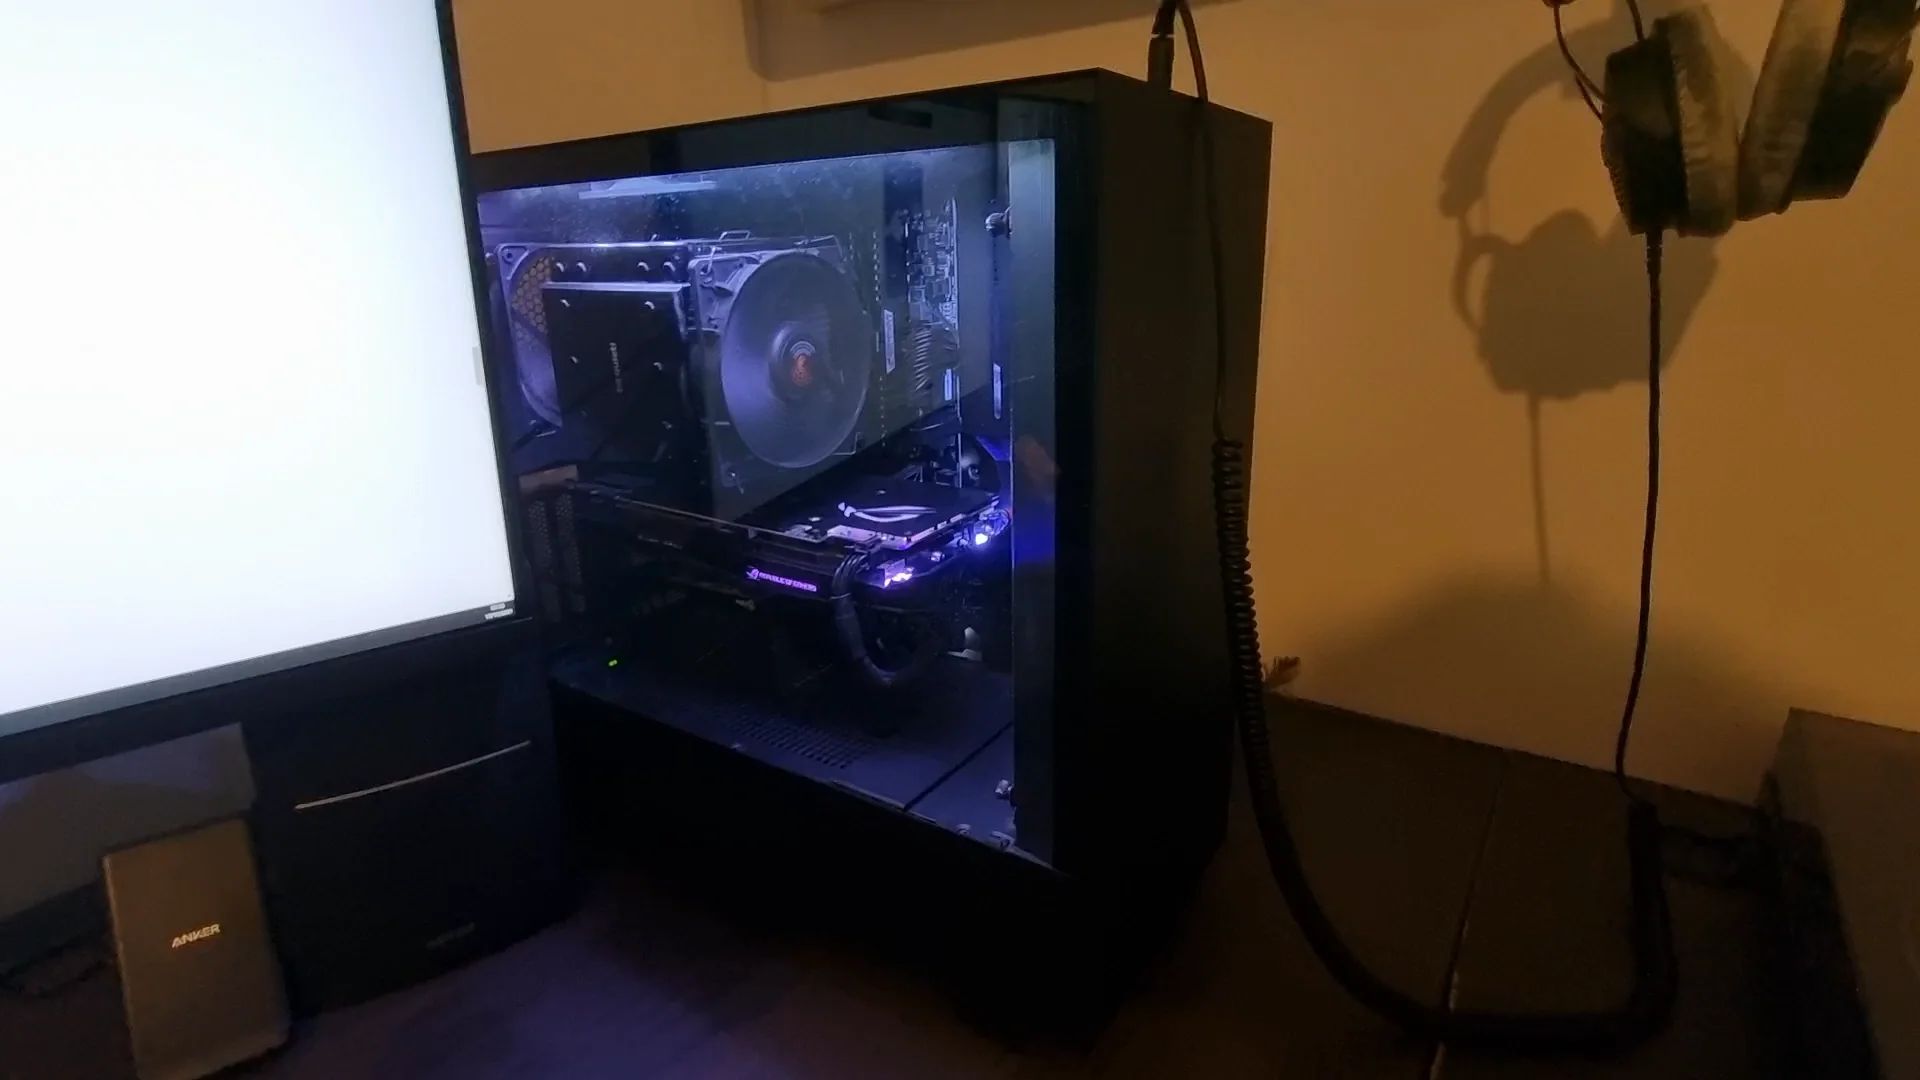
Mounting a hard drive in a PC case is an essential step when building or upgrading a computer. Whether you’re expanding your storage capacity or replacing a faulty drive, correctly mounting the hard drive ensures its stability and proper functioning within the PC.
The process of mounting a hard drive may seem intimidating, especially for beginners, but fear not! In this guide, we will walk you through each step, providing clear instructions and helpful tips to make the process as smooth as possible.
Before diving into the specifics, it’s important to have a fundamental understanding of the components involved. A hard drive is a crucial storage device that permanently stores and retrieves digital data. It connects to the motherboard and power supply via SATA and power cables, respectively.
To ensure a successful installation, you’ll need a few essential tools and equipment. These may include a screwdriver, mounting brackets or trays, SATA and power cables, and cable management supplies. Gathering these items beforehand will save you time and ensure a hassle-free installation process.
Proper preparation is key when it comes to mounting a hard drive. To avoid any mishaps or damage, it’s crucial to handle the PC case with care. Make sure to ground yourself by touching a metal object to discharge any static electricity, as it can harm sensitive computer components.
Step 1: Gather the necessary tools and equipment
Before you begin mounting a hard drive in your PC case, it’s important to gather all the necessary tools and equipment. Having these items readily available will streamline the installation process and prevent any unnecessary delays.
Here is a list of essential tools and equipment you will need:
- Screwdriver: A Phillips-head screwdriver is typically required to attach the mounting brackets or trays to the PC case and secure the hard drive.
- Mounting brackets or trays: Depending on your PC case, you may need mounting brackets or trays to hold the hard drive securely in place. These accessories are usually included with the case or can be purchased separately.
- SATA and power cables: These cables are essential for connecting the hard drive to the motherboard and power supply. Most modern PC cases and motherboards include SATA cables, but it’s always a good idea to have extra cables on hand, just in case.
- Cable management supplies: To keep your PC’s internal cables organized and tidy, you may need cable ties, zip ties, or Velcro straps. These supplies will help you manage the cables and improve airflow within the case.
Additionally, it’s important to work in a well-lit and static-free environment. Find a clean, spacious area where you can easily access the PC components without any distractions or potential hazards. It’s also recommended to wear an anti-static wristband to further protect the sensitive electronic components from static electricity.
Gathering these tools and equipment before starting the installation will ensure a smoother and more efficient process. With everything at your fingertips, you’ll be ready to move on to the next step with confidence.
Step 2: Prepare the PC case
Before you can mount the hard drive, you need to prepare the PC case to accommodate the new hardware. This step involves opening the case, locating the drive bays, and assessing the available space.
Here are the key steps to prepare the PC case:
- Power down and unplug the computer: Before working on the PC case, ensure that the computer is powered off and unplugged from the electrical outlet. This is essential for your safety and to prevent any potential damage to the hardware.
- Remove the side panel: Most PC cases have a removable side panel that grants access to the internal components. Use the appropriate tools to unscrew and remove the screws holding the panel in place. Gently slide the panel off to reveal the internal space.
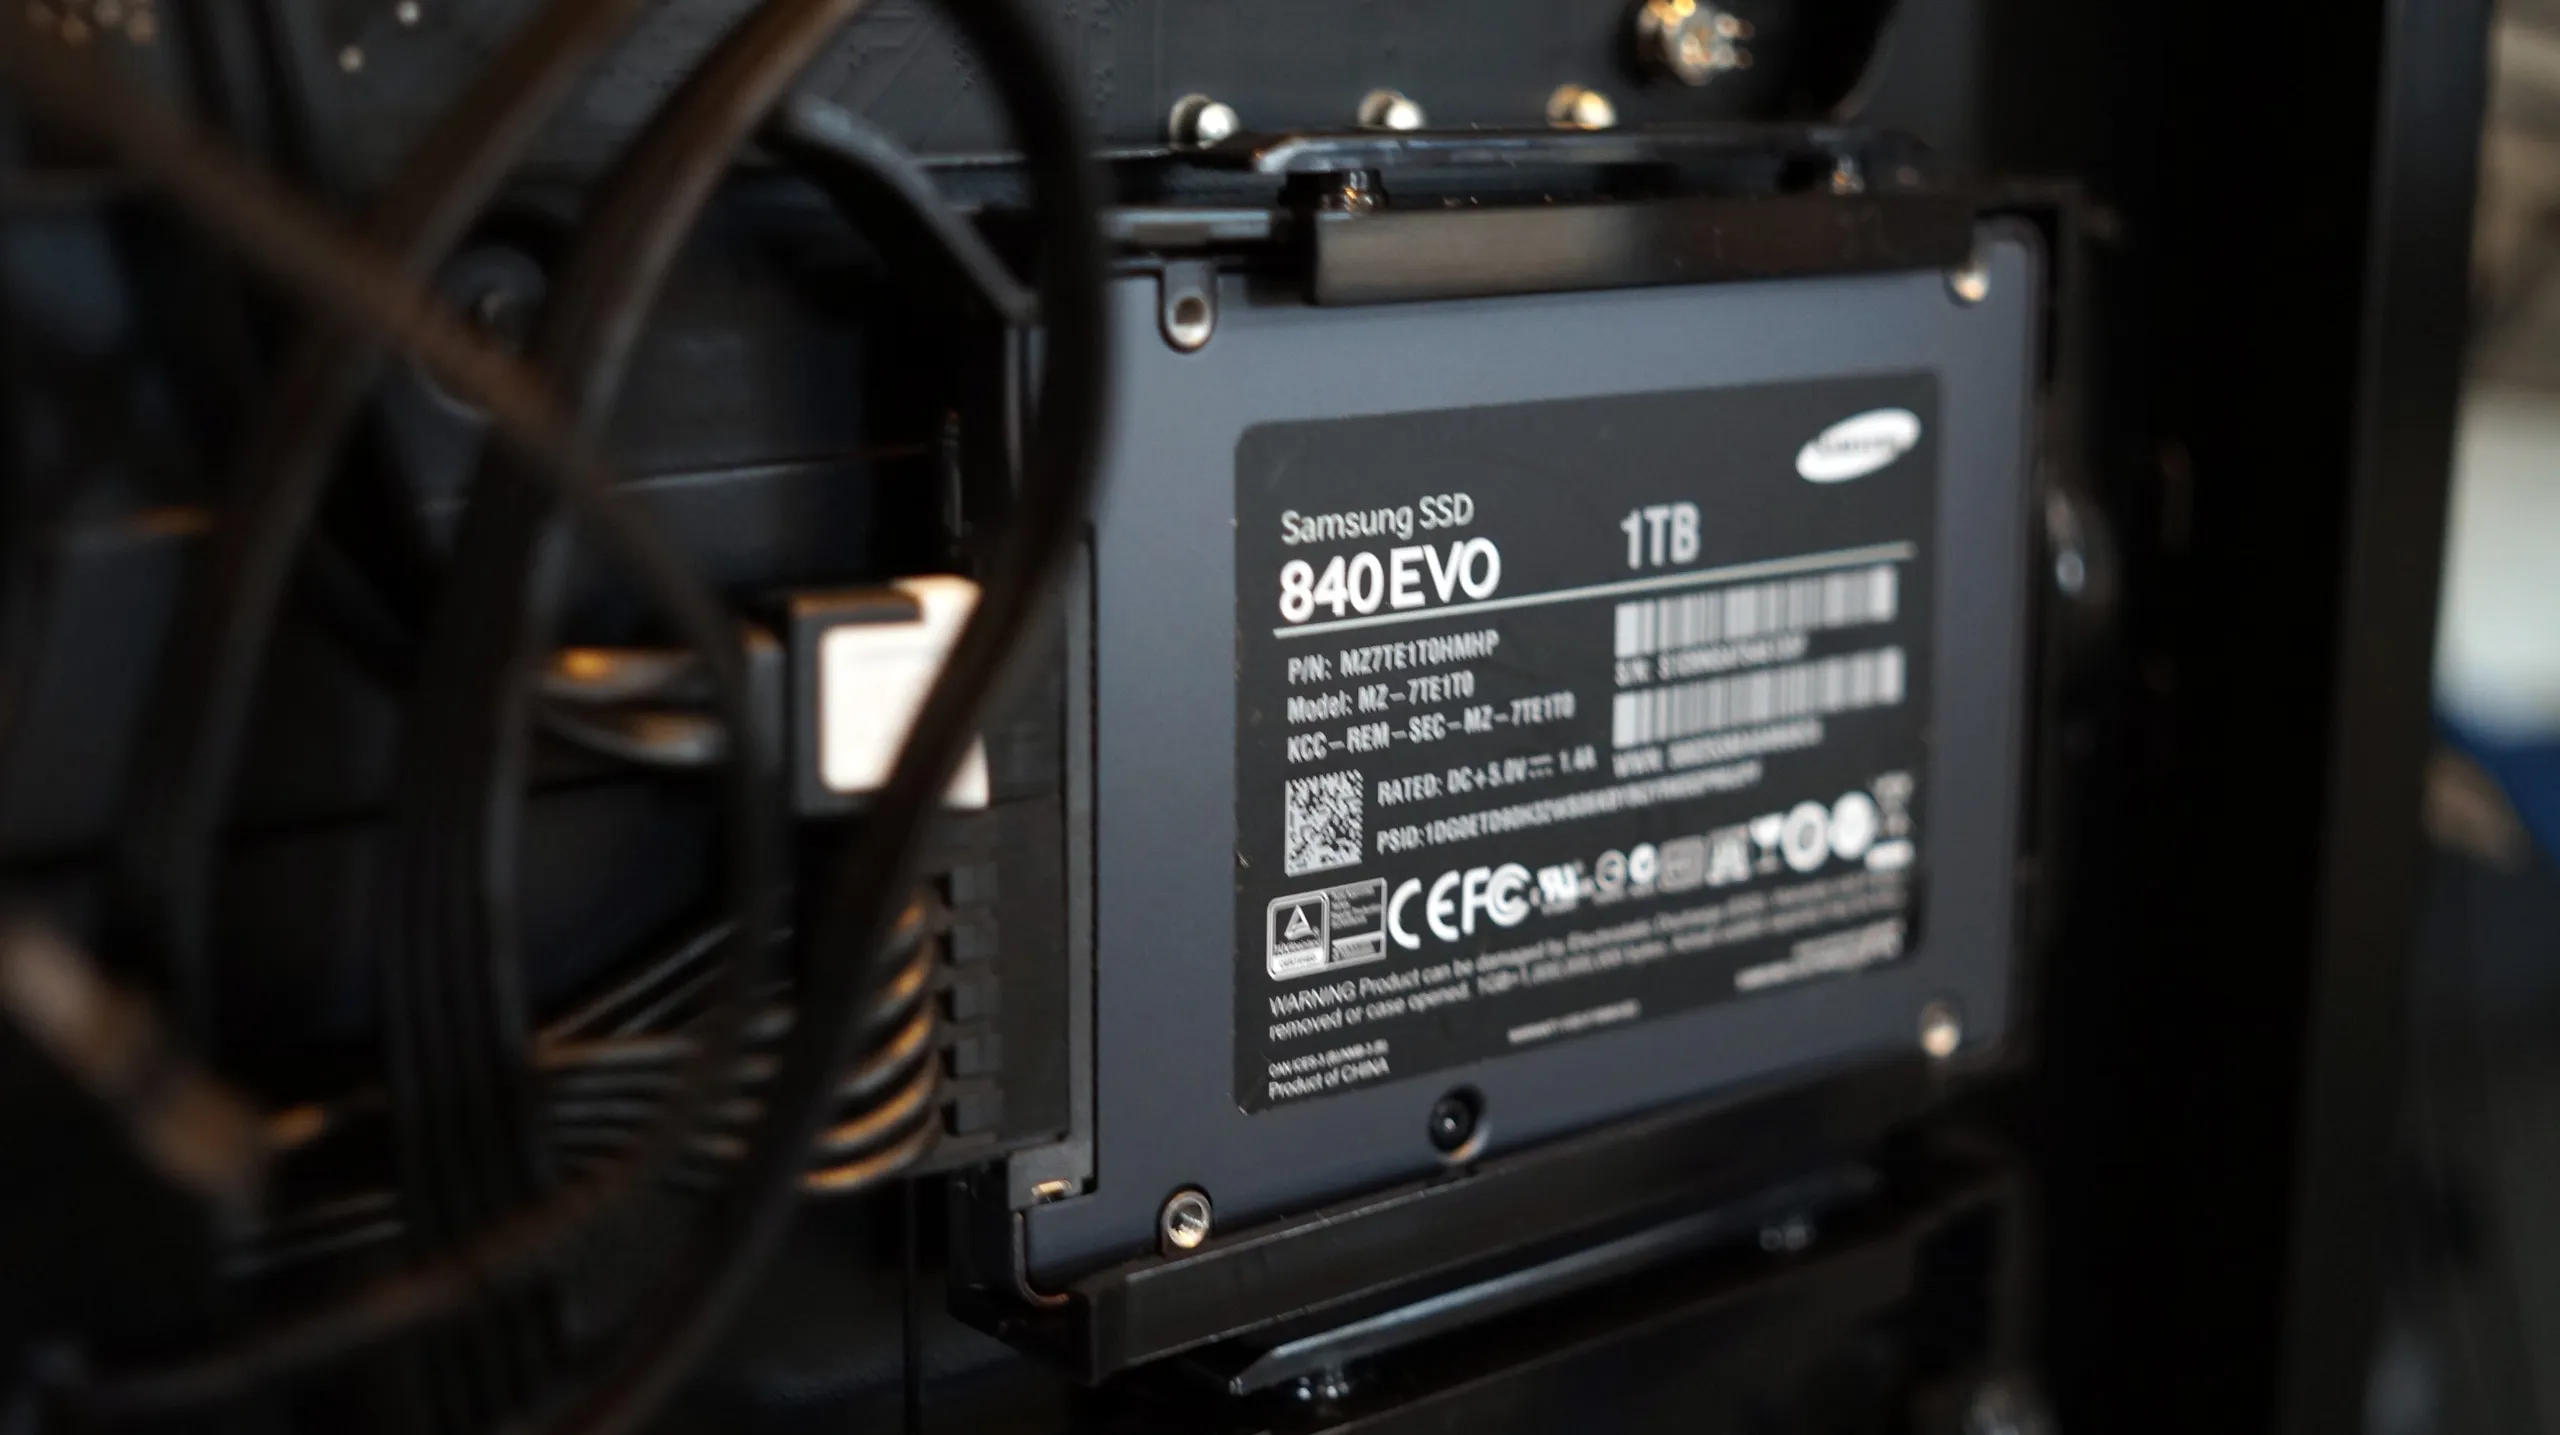
- Locate the drive bays: Look for the drive bays inside the PC case. These bays are typically located at the front or side of the case. They are designed to hold storage devices such as hard drives and solid-state drives (SSDs).
- Assess the available space: Take a moment to evaluate the available space in the drive bays. Ensure there is enough room to accommodate the size of your hard drive and any additional drives you plan on installing. If necessary, remove any existing drives or brackets that may be obstructing the installation.
During this step, it’s important to handle the PC case with care to avoid any damage to its components. Avoid touching the internal parts, especially the motherboard, as static electricity can harm the delicate electronics.
By properly preparing the PC case, you can create a suitable environment for mounting the hard drive. This step ensures that there is enough space and accessibility for a secure and hassle-free installation process.
Step 3: Identify the mounting location for the hard drive
Once you have prepared the PC case, the next step is to identify the mounting location for the hard drive. Most modern PC cases provide various options for drive installation, allowing you to choose the most convenient and suitable spot.
Follow these steps to identify the mounting location:
- Read the PC case manual: If you’re unsure about the available mounting locations or specific features of your PC case, refer to the manual. The manual will provide detailed information regarding drive installation and available drive bays.
- Consider the size and type of the hard drive: Take into account the physical dimensions and specifications of the hard drive you’re installing. This will guide you in identifying the appropriate drive bay or mounting location. Typically, 3.5-inch hard drives are installed in dedicated drive bays, while 2.5-inch drives can be mounted in drive cages, SSD brackets, or other suitable locations.
- Assess the available mounting options: Look inside the PC case and examine the various mounting options available. These may include dedicated drive bays with screw holes, brackets that slide into specific slots, or drive cages that allow for flexible installation. Choose the option that best suits your requirements and the design of your PC case.
- Consider airflow and cable management: It’s essential to factor in airflow and cable management when selecting the mounting location. Ensure that the chosen position allows for efficient airflow to keep the hard drive cool. Additionally, consider how the SATA and power cables will be routed to avoid any interference with other components.
By carefully identifying the mounting location for your hard drive, you can ensure optimal functionality and convenient accessibility. Taking these factors into account will result in a well-organized PC case and efficient installation of the hard drive.
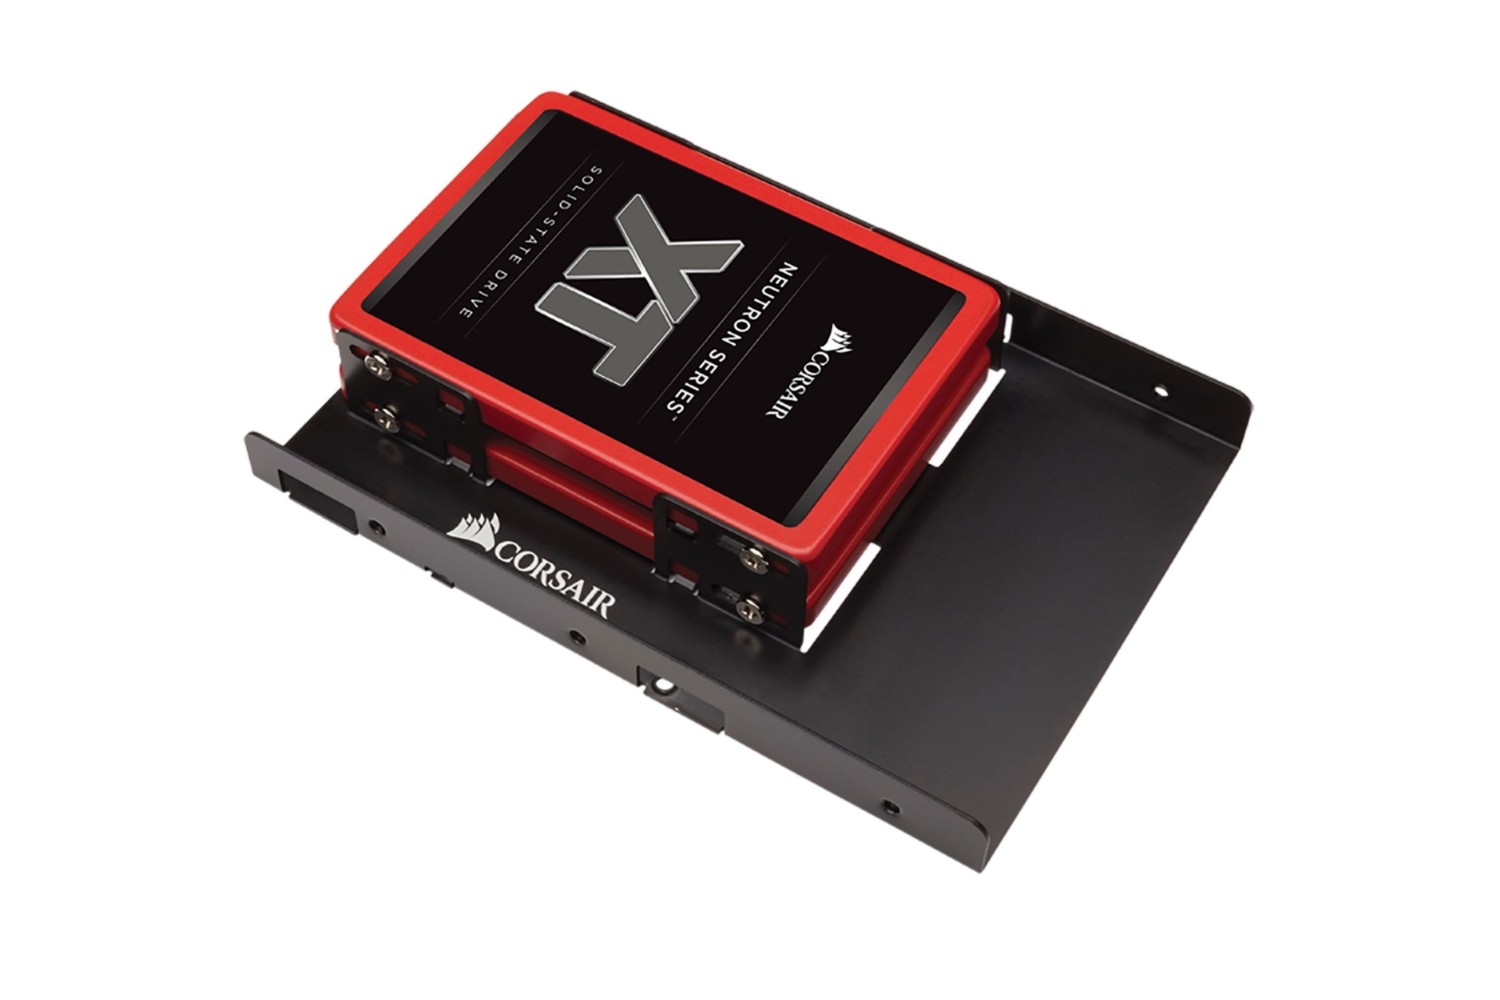
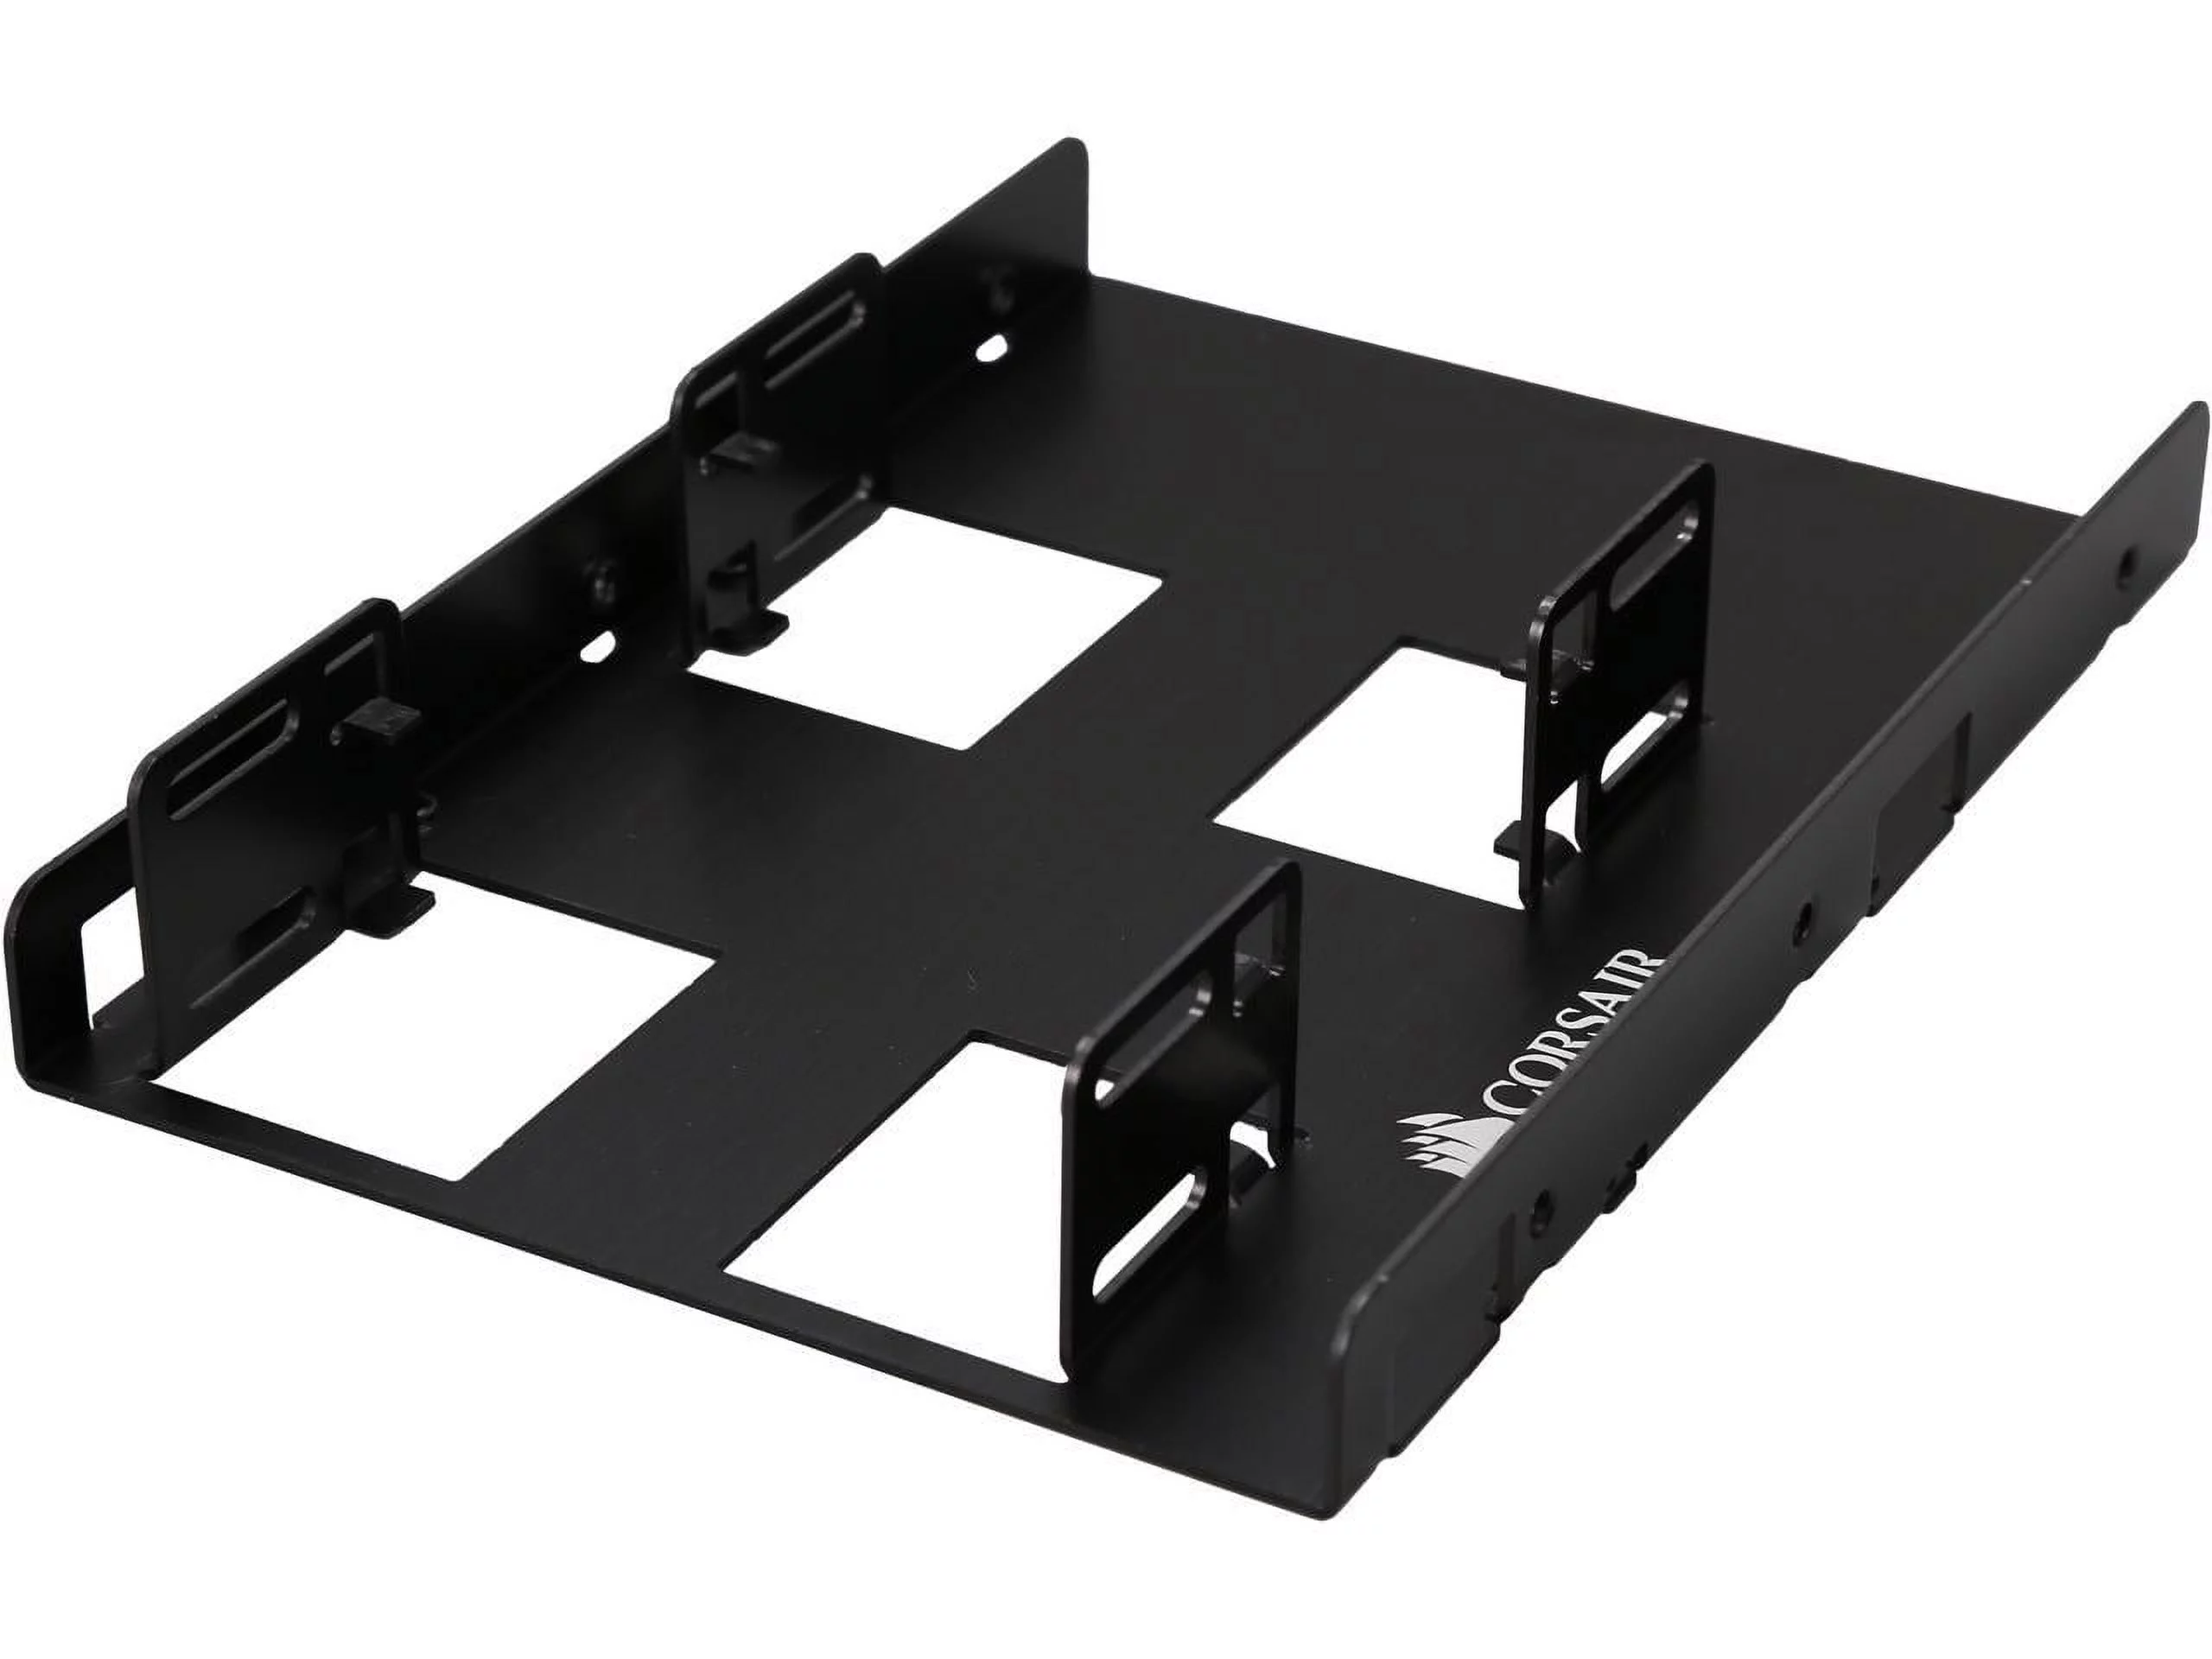
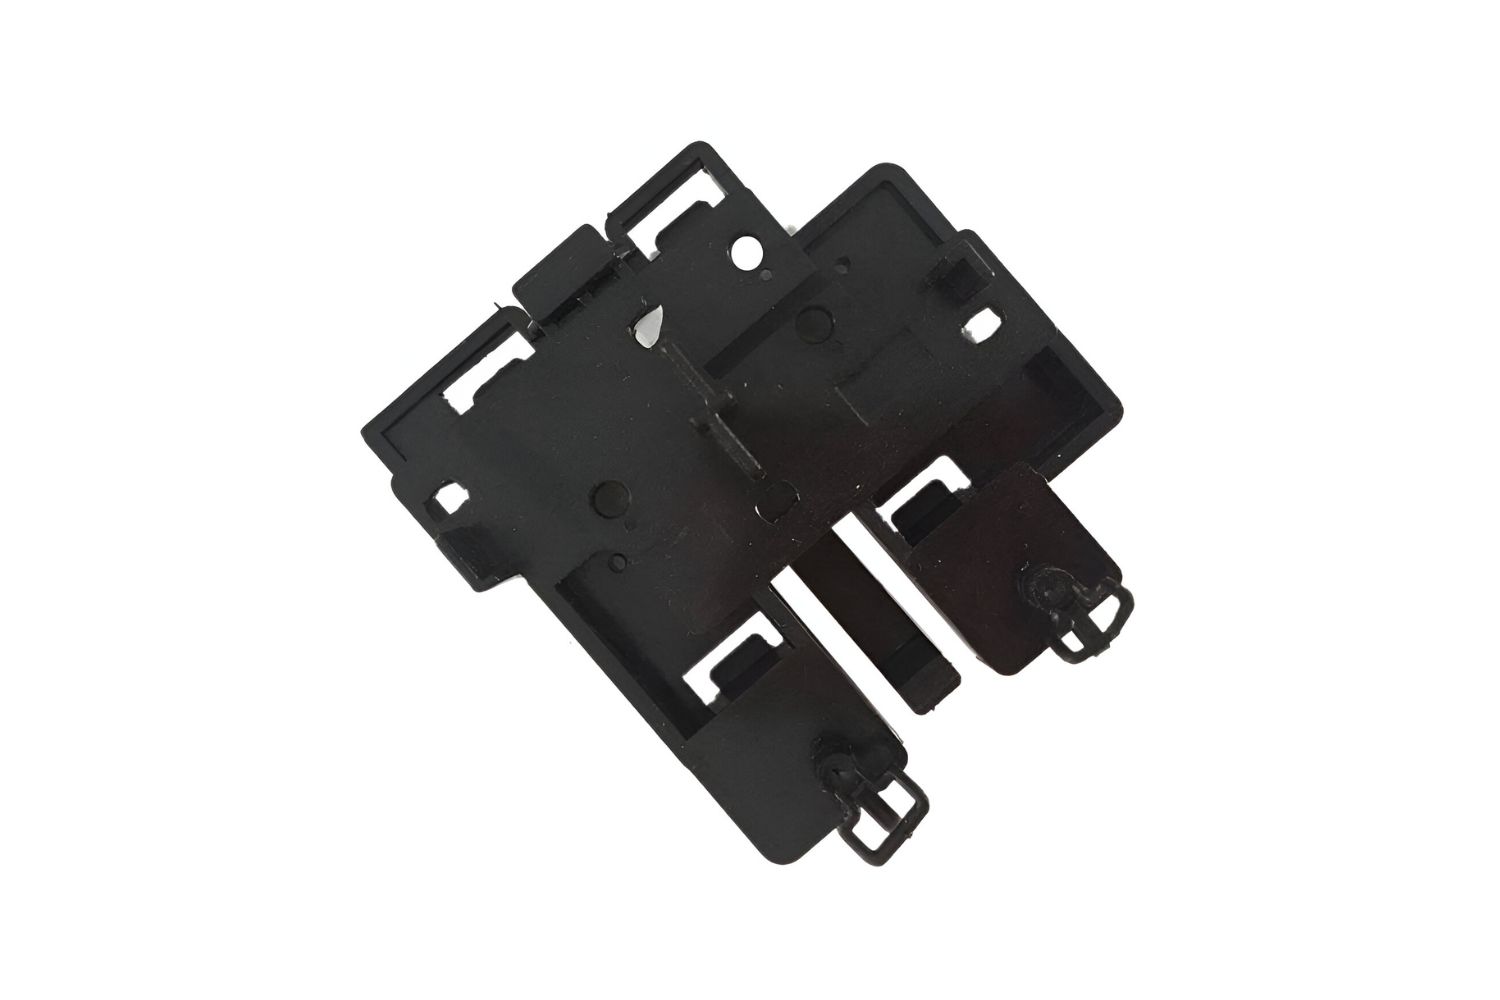
Step 4: Install the mounting brackets or trays
After identifying the mounting location for the hard drive, the next step is to install the appropriate mounting brackets or trays. These accessories provide a secure and stable platform for the hard drive within the PC case.
Follow these steps to install the mounting brackets or trays:
- Locate the mounting screw holes: Examine the selected mounting location or drive bay to identify the screw holes where the brackets or trays will be attached. These screw holes are usually marked and aligned with the size of the hard drive being installed.
- Align the brackets or trays: Take the mounting brackets or trays and align them with the screw holes. Ensure that they are properly positioned and fit securely within the drive bay. Adjust the brackets or trays as necessary to achieve a snug fit.
- Secure using screws: Once the brackets or trays are accurately aligned, use the provided screws or your own screws to secure them in place. Insert the screws into the screw holes and tighten them firmly, but not excessively, to avoid damaging the PC case or hard drive.
- Double-check stability: After tightening the screws, gently wiggle the brackets or trays to ensure they are securely attached. They should not move or wobble excessively. If any instability is detected, recheck the alignment and tighten the screws accordingly.
It’s important to note that different PC cases may have varying mechanisms for attaching the mounting brackets or trays. Refer to your PC case manual for specific instructions and follow them accordingly.
By correctly installing the mounting brackets or trays, you establish a solid foundation for the hard drive. This ensures its stability within the PC case, preventing any potential damage caused by movements or vibrations.
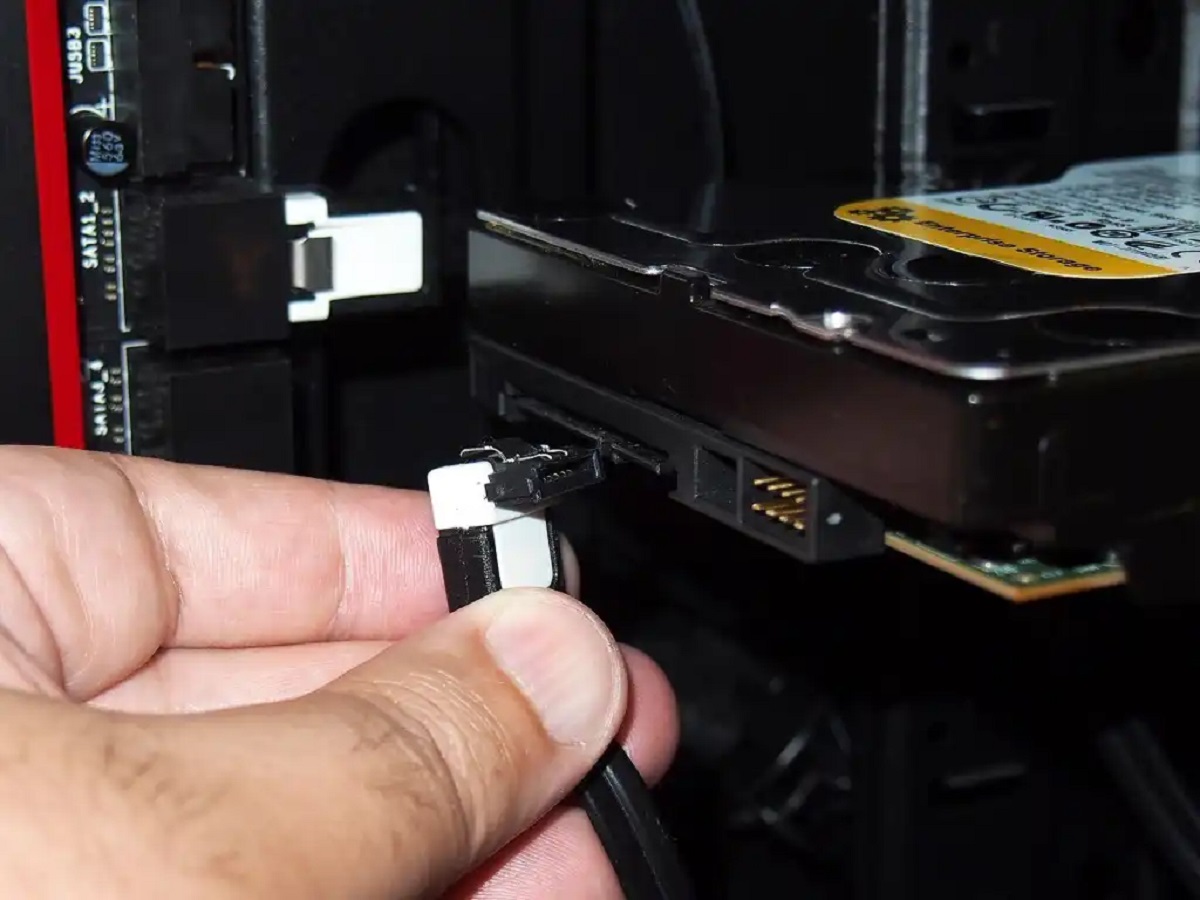
Step 5: Connect the SATA and power cables to the hard drive
Now that you have installed the mounting brackets or trays, it’s time to connect the necessary cables to the hard drive. The SATA and power cables provide the essential connections for the hard drive to communicate with the motherboard and receive power.
Follow these steps to connect the SATA and power cables to the hard drive:
- Locate the SATA ports: Look for the SATA ports on the motherboard. These ports are typically labeled and can be found near the storage connectors. Identify an available SATA port that corresponds to the hard drive’s installation location.
- Connect the SATA cable to the motherboard: Take one end of the SATA cable and connect it to the SATA port on the motherboard. Ensure a secure connection by firmly pushing the connector into the port. Make sure to align the L-shaped notch on the cable connector with the corresponding notch on the port.
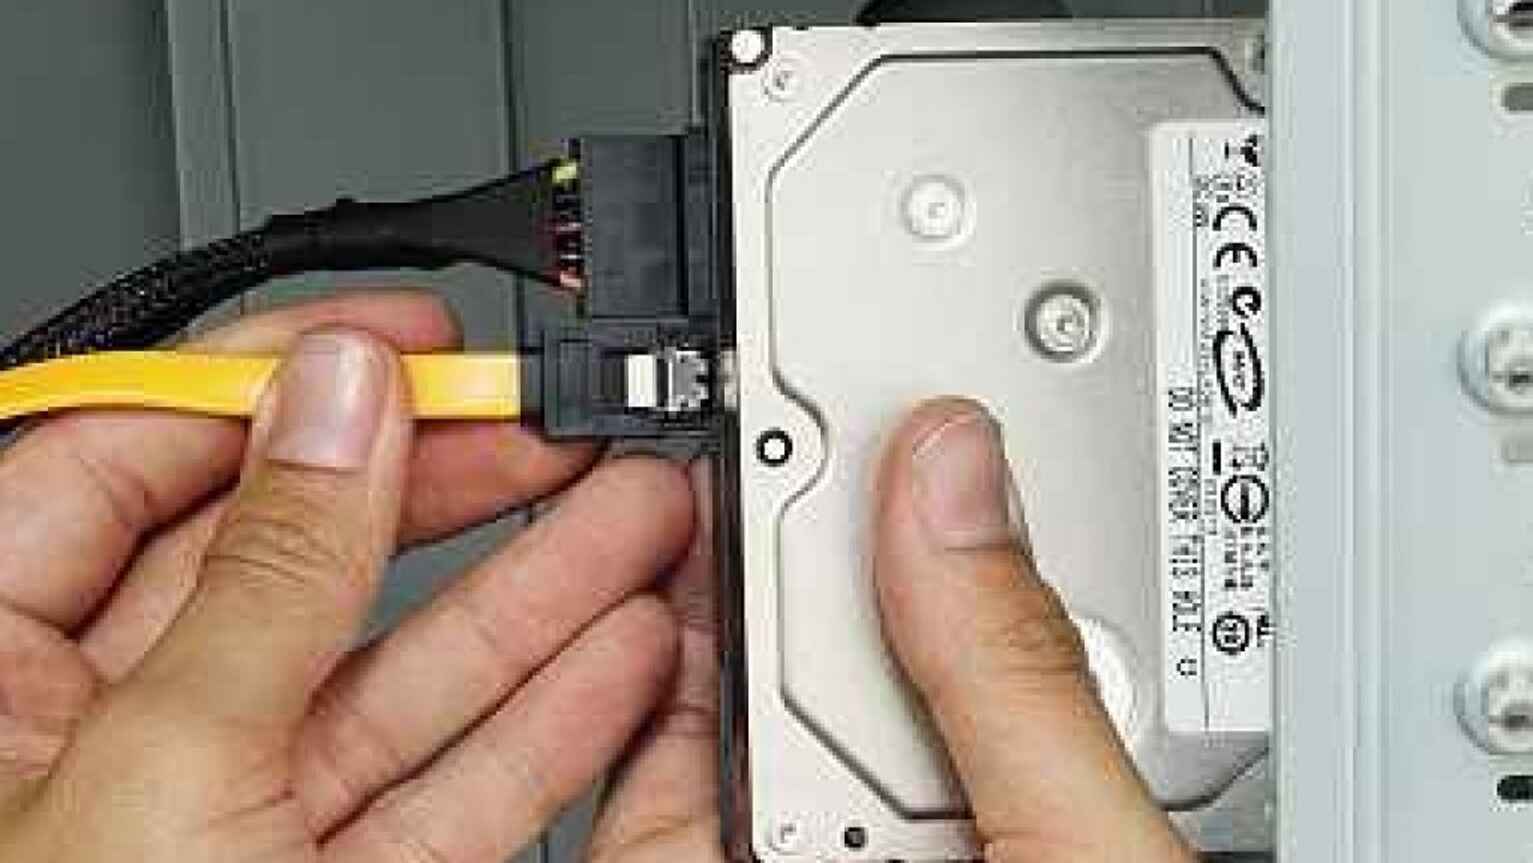
- Connect the other end of the SATA cable to the hard drive: Take the other end of the SATA cable and connect it to the SATA data port on the hard drive. Again, align the connector notch with the notch on the port and firmly insert the connector until it is snugly in place.
- Connect the power cable: Locate a free power cable from the power supply unit (PSU). Connect the appropriate power connector to the power port on the hard drive. Ensure a secure connection by aligning the connector correctly and pushing it all the way in.
It’s important to handle the cables with care and avoid excessive force that could damage the connectors or ports. Take note of the cable lengths and route them neatly to minimize any interference with other components and ensure proper cable management.
Once the SATA and power cables are securely connected, you have established the necessary connections for the hard drive to function properly within the PC.
Step 6: Secure the hard drive into place
With the SATA and power cables connected, the next step is to secure the hard drive into its designated mounting location. This ensures that the hard drive remains stable and firmly in place, minimizing the risk of any accidental disconnections or vibrations.
Follow these steps to secure the hard drive into place:
- Position the hard drive correctly: Carefully position the hard drive in the mounting brackets or trays. Make sure that the connectors on the back of the hard drive align properly with the SATA and power cables.
- Align the screw holes: Check if the screw holes on the sides or bottom of the hard drive align with the corresponding holes on the mounting brackets or trays. Adjust the position of the hard drive if necessary to ensure a proper fit.
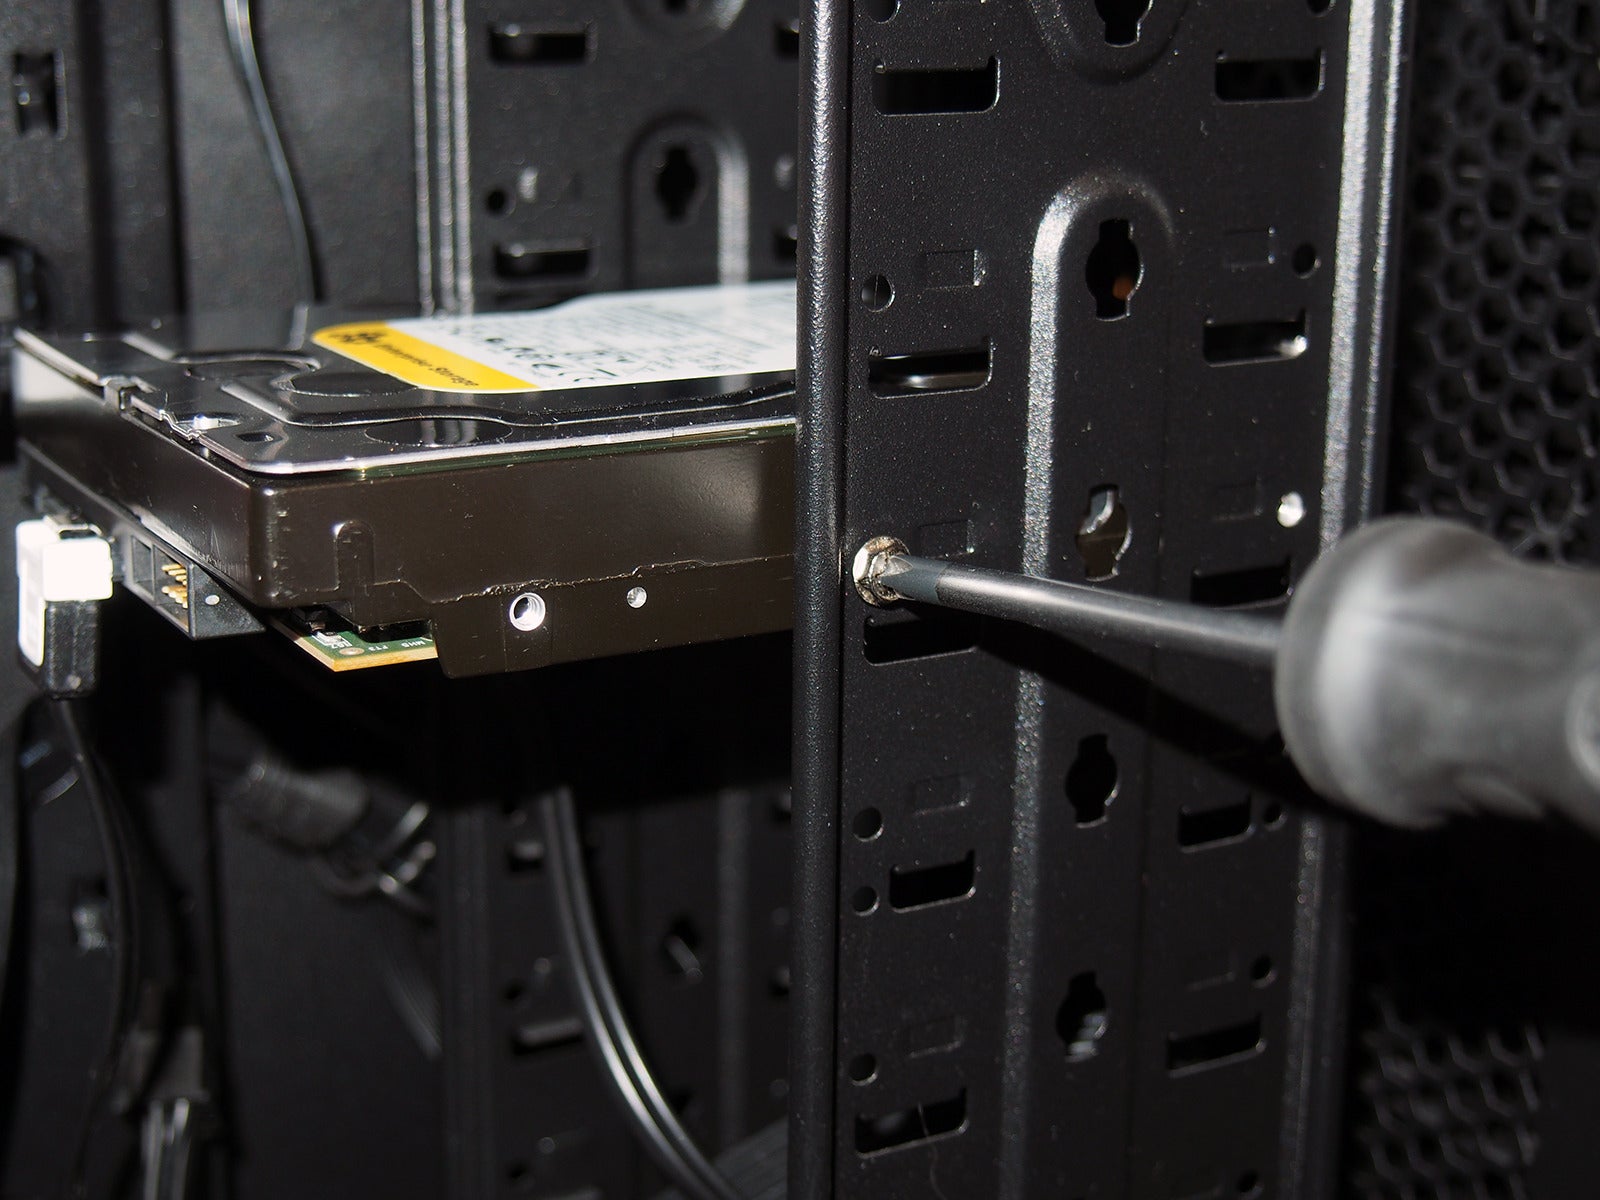
- Use screws to secure the hard drive: Once the hard drive is aligned, use the appropriate screws to secure it to the brackets or trays. Insert the screws through the holes on the brackets or trays and into the screw holes on the hard drive. Carefully tighten the screws using a screwdriver, ensuring they are snug but not overly tight.
It’s important to avoid overtightening the screws, as this can damage the hard drive or strip the screw holes. Conversely, insufficient tightening can lead to instability. Find the right balance to securely fasten the hard drive into place.
After securing the hard drive, give it a gentle tug or shake to ensure that it is firmly attached and does not move or wobble excessively. If the hard drive is stable, you can proceed to the next step with confidence.
Step 7: Organize and manage the cables
With the hard drive securely installed, it’s time to focus on organizing and managing the cables within the PC case. Proper cable management not only improves airflow and cooling efficiency but also makes future maintenance and troubleshooting easier.
Follow these steps to organize and manage the cables:
- Route the cables: Take the SATA and power cables connected to the hard drive and carefully route them to their respective destinations. Avoid crossing cables or placing them near fan blades or other moving parts. Route the cables along the designated cable management channels or tie them together using cable ties, zip ties, or Velcro straps.
- Ensure cable length: Adjust the cable lengths to avoid excessive slack or tension. Use cable ties or Velcro straps to bundle any excess cable length, keeping it tidy and out of the way.
- Secure cables in place: Use cable clips or adhesive hooks to secure cables onto the PC case’s interior walls. This helps prevent cables from sagging or interfering with other components.
- Maintain clearance: Ensure that the routed cables do not obstruct the airflow or interfere with any moving parts. Allow for adequate clearance around fans, CPU coolers, and other components for optimal cooling performance.
By organizing and managing the cables effectively, you create a cleaner and more organized PC case. This not only improves the aesthetics but also reduces the risk of cable entanglement or accidental disconnections.
Remember to periodically check and reorganize the cables as needed, especially when making changes or upgrades to your PC. Maintaining a tidy and well-managed cable layout will contribute to the overall efficiency and longevity of your computer system.
Step 8: Close the PC case and power on your computer
After completing all the necessary steps for mounting the hard drive and organizing the cables, it’s time to close the PC case and power on your computer. This final step ensures that everything is properly secured and ready for use.
Follow these steps to close the PC case and power on your computer:
- Double-check all connections: Before closing the PC case, take a moment to double-check all the connections. Ensure that the SATA and power cables are securely attached to the hard drive and the motherboard. Verify that the mounting brackets or trays are properly secured and there are no loose screws.
- Close the PC case: Place the side panel back onto the case and align it with the screw holes. Gently slide the panel into place and use the screws to secure it tightly, but not overtightened. Make sure all screws are tightened evenly to maintain a proper seal.
- Power on your computer: Once the PC case is closed, plug in your computer and connect it to a power source. Press the power button to start your computer. If all connections were made correctly, your computer should boot up without any issues.
- Monitor the hard drive: After powering on the computer, monitor the hard drive to ensure it is detected properly. You can check the BIOS settings or the operating system’s device manager to verify that the hard drive is recognized and functioning as expected.
- Perform a test and finalize setup: Finally, perform some tests to ensure the hard drive is functioning correctly. You can access and transfer data to/from the hard drive, run disk diagnostics, or perform a benchmark test. Once everything is confirmed to be working, you can finalize the setup of your computer.
By following these steps and proceeding with caution, you can successfully close the PC case and power on your computer. Take a moment to appreciate your newly installed hard drive and enjoy the expanded storage capacity it provides.
Conclusion
Mounting a hard drive in a PC case may seem daunting at first, but with the right tools, knowledge, and step-by-step guidance, it becomes a straightforward process. By following the eight steps outlined in this guide, you can successfully mount a hard drive and ensure its stability within the PC case.
Starting with gathering the necessary tools and equipment, preparing the PC case, and identifying the mounting location, you establish a solid foundation for the installation. Installing the mounting brackets or trays, connecting the SATA and power cables, and securing the hard drive into place guarantee proper functionality and reliable performance.
Organizing and managing the cables not only improves the aesthetics of your PC case, but also enhances airflow and cooling efficiency. Finally, closing the PC case and powering on your computer ensure that all connections are secure and ready for use.
Remember, take your time and handle the components with care throughout the process. Double-checking the connections and performing tests afterward will give you peace of mind that the hard drive is functioning correctly.
With your newly mounted hard drive, you can now enjoy expanded storage capacity, improved system performance, and the ability to store and access your valuable data. Whether you’re a PC enthusiast or a beginner, successfully mounting a hard drive in a PC case is an essential skill that opens the door to endless possibilities for your computer.