Introduction
Welcome to this comprehensive guide on how to install a hard drive in your PC. Whether you’re looking to upgrade your storage capacity or replace a faulty drive, installing a new hard drive can be a straightforward process with the right tools and knowledge. In this step-by-step guide, we will walk you through each stage of the installation process, ensuring that you can successfully add a new hard drive to your PC.
A hard drive serves as the primary storage device for your computer, storing all your data, including the operating system, applications, and personal files. Over time, you might find that your current hard drive is running out of space or experiencing performance issues. Adding a new hard drive can help alleviate these problems and provide you with the extra storage capacity you need.
Before we begin, it is important to note that different computer models may have slight variations in their internal configurations. Therefore, it’s always a good idea to consult your computer’s user manual or the manufacturer’s documentation for specific instructions that may apply to your system. That being said, this guide will provide you with the general steps that are common to most desktop computer installations.
To successfully install a new hard drive, you will need a few essential tools and equipment. These include:
- Screwdriver set (typically Phillips-head and/or Torx)
- New hard drive
- Mounting brackets (if not included with the hard drive)
- Data and power cables
With these tools at your disposal, we can now move on to the first step of the installation process: preparation.
Required Tools and Equipment
Before you begin the process of installing a new hard drive in your PC, it is important to ensure that you have the necessary tools and equipment. Having the right tools on hand will make the installation process much smoother and more efficient. Here is a list of the essential tools and equipment you will need:
- Screwdriver set: You will need a screwdriver, typically a Phillips-head or Torx screwdriver, to remove and secure screws during the installation process. Make sure you have the appropriate screwdriver size for your computer’s screws.
- New hard drive: The most crucial item you will need is the new hard drive itself. Ensure that the hard drive you choose is compatible with your computer’s specifications and has sufficient storage capacity for your needs.
- Mounting brackets: Some hard drives come with mounting brackets, while others may require separate brackets to securely attach them inside the drive bay. Check whether your hard drive includes mounting brackets or if you need to purchase them separately.
- Data and power cables: To connect the new hard drive to your computer’s motherboard and power supply, you will need appropriate data and power cables. These cables typically come with your computer or can be purchased separately if needed.
Having these tools and equipment ready before you start the installation process will save you time and ensure a successful installation. It’s also a good idea to double-check your computer’s user manual or the manufacturer’s documentation to see if there are any specific tools or equipment recommended for your particular computer model.
Now that you have gathered all the necessary tools and equipment, you are ready to move on to the next step: preparation. This involves ensuring that your computer is properly prepared for the installation process. Let’s dive into the details of preparation in the next section.
Step 1: Preparation
Before you begin the installation process, it is important to properly prepare your computer. This involves taking a few necessary precautions to ensure a smooth and successful installation of the new hard drive. Here’s what you need to do:
- Backup your data: Before making any changes to your computer’s hardware, it is crucial to back up all your important data. This includes documents, photos, videos, and any other files that you don’t want to lose. You can use an external hard drive, cloud storage, or any other backup method of your choice. This step is essential to prevent data loss during the installation process.
- Power off your computer: Make sure your computer is completely powered off before proceeding. This means shutting down your operating system properly and disconnecting the power cable from the wall outlet. This will help protect you from any potential electrical hazards during the installation process.
- Ground yourself: Static electricity can damage sensitive computer components. To prevent this, it is important to ground yourself before handling any internal parts of your computer. You can do this by touching a grounded metal object, such as a metal part of your computer case, or by using an anti-static wrist strap.
- Organize your workspace: Clear a suitable workspace where you can comfortably work on your computer. Make sure you have enough room to move around and place the necessary tools and equipment within reach. Keeping your workspace organized will make it easier to find and handle the components during the installation process.
By following these preparation steps, you are setting a solid foundation for a successful hard drive installation. Taking the time to back up your data, power off your computer, ground yourself, and organize your workspace will ensure that the installation process goes smoothly and reduces the risk of any mishaps or damage to your computer.
Now that you are prepared, it’s time to move on to the next step: opening your computer case. We will walk you through the process in detail in the upcoming section.
Step 2: Opening Your Computer
Now that you have properly prepared your computer, it’s time to open the computer case. Opening the case will allow you access to the internal components where you will be installing the new hard drive. Follow these steps to open your computer case:
- Locate the screws: Most computer cases have screws securing the side panel. Look for these screws on the back or side of the case. They are typically Phillips-head screws, but they may differ depending on your computer model.
- Remove the screws: Use a screwdriver to carefully remove the screws that secure the side panel of the computer case. Set aside the screws in a safe place where they won’t get lost.
- Slide or lift off the side panel: Once the screws are removed, gently slide or lift off the side panel. Some cases have a latch or a sliding mechanism that you may need to disengage before removing the panel. Take your time to avoid any damage to the case or other components.
Once the side panel is removed, you will have full access to the internal components of your computer. Take a moment to familiarize yourself with the layout and organization of the components. Look for the drive bays where the hard drive will be installed, as we will discuss in the next section.
Opening your computer case can vary slightly depending on the specific make and model of your computer. If you encounter any difficulties or are unsure about how to remove the side panel, refer to your computer’s user manual or the manufacturer’s documentation for detailed instructions.
Now that you have successfully opened your computer case, you are ready to proceed to the next step: locating the drive bays. We will guide you through this process in the following section.
Step 3: Locating the Drive Bays
After opening your computer case, the next step is to locate the drive bays. These are the dedicated spaces or slots inside the computer where you will install the new hard drive. Follow these guidelines to find the drive bays in your computer:
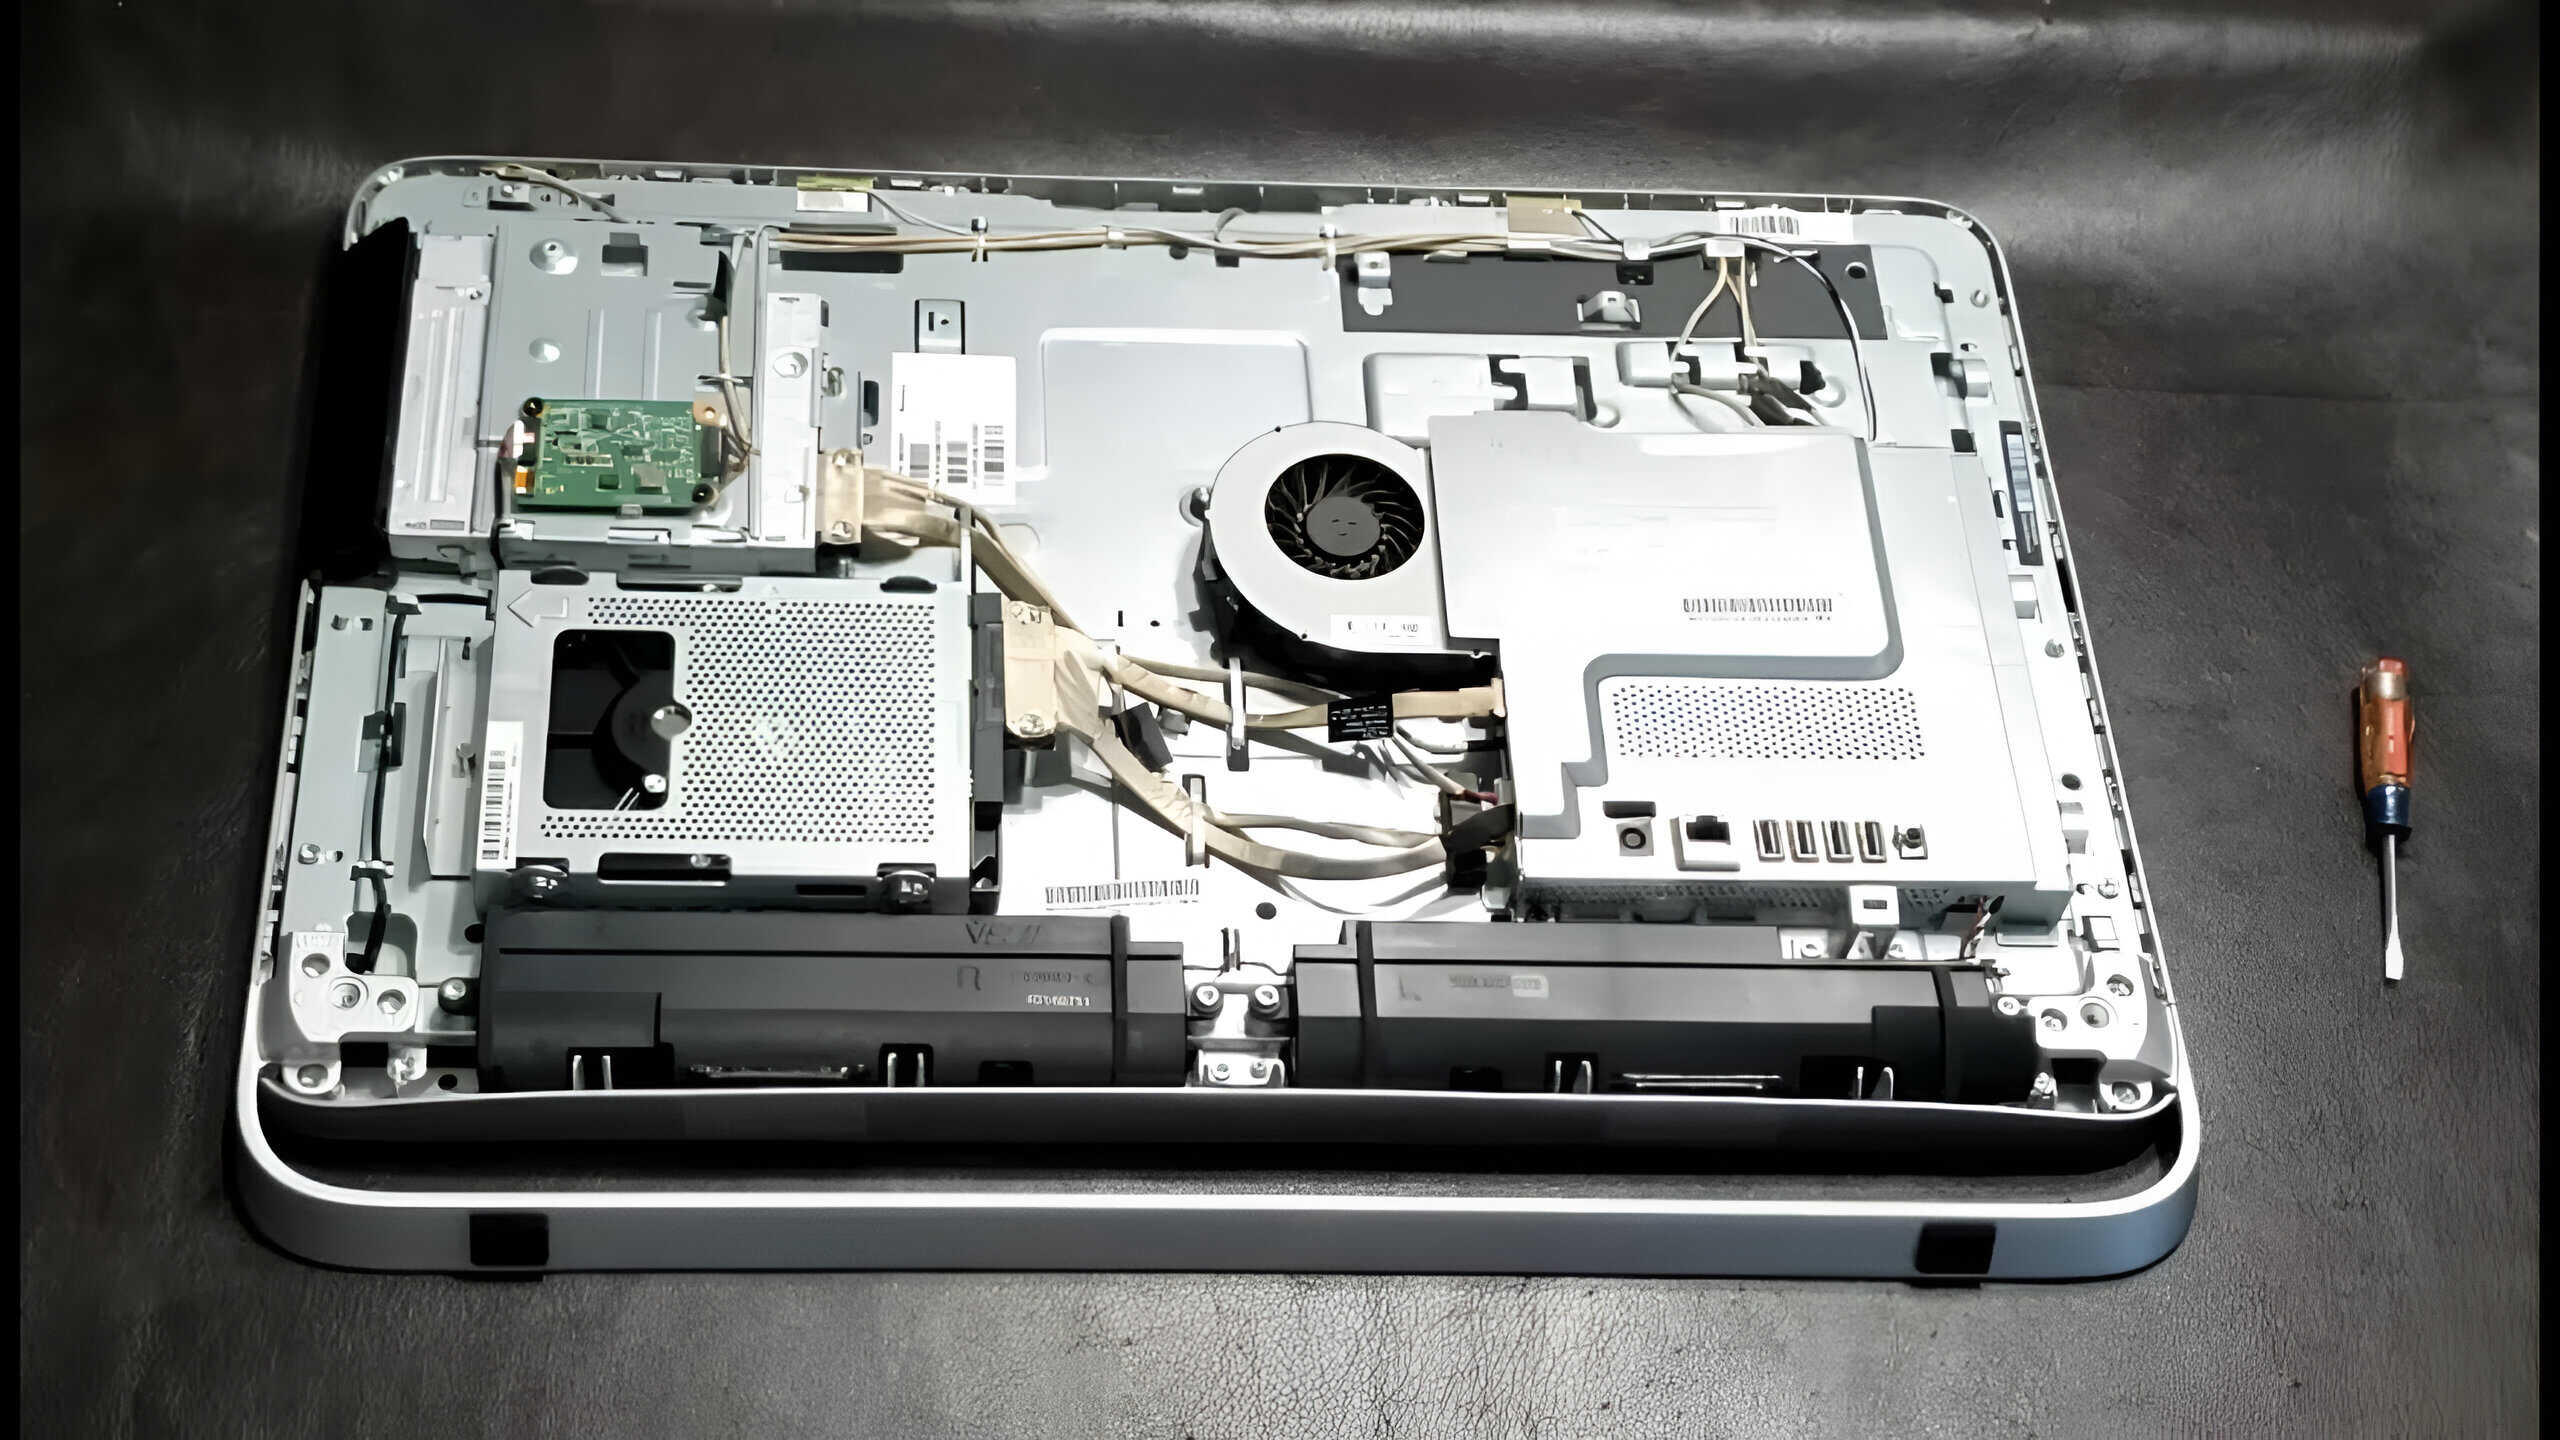
- Identify the existing drives: Look inside your computer case for any existing drives that may already be installed. Most computers have multiple drive bays, some of which may already be occupied by hard drives or other storage devices. These occupied bays will help you identify where the new hard drive can be installed.
- Inspect the drive cages or brackets: The drive bays are typically enclosed in drive cages or brackets. These cages or brackets securely hold the drives in place. Look for slots or metal brackets that match the size and shape of your new hard drive. You may need to remove any existing drives or brackets to make space for the new one.
It’s important to note that the layout and design of drive bays can vary depending on the specific make and model of your computer. Some cases have tool-less drive bays that allow for easy installation without the need for screws, while others may require screws or brackets to secure the drives in place.
If you are having trouble locating the drive bays or are unsure about the specific configuration of your computer, consult your computer’s user manual or the manufacturer’s documentation for detailed instructions. These resources will provide you with accurate information regarding the location and installation process for the drive bays in your particular computer model.
Once you have identified the drive bays and assessed the space available for the new hard drive, you are ready to proceed to the next step: mounting the hard drive. We will guide you through this process in detail in the following section.
Step 4: Mounting the Hard Drive
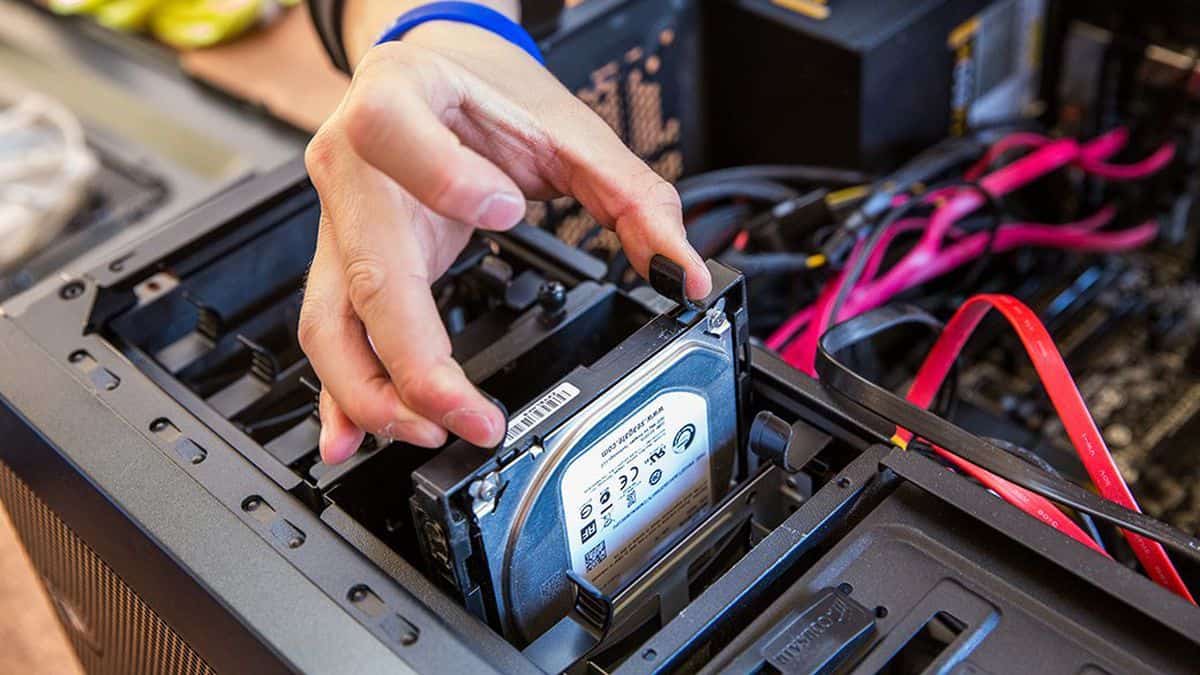
With the drive bays identified, it’s time to mount the new hard drive securely inside your computer case. Mounting involves attaching the hard drive to the drive bay using mounting brackets or screws. Follow these steps to mount the hard drive:
- Prepare the mounting brackets: If your new hard drive does not come with pre-attached brackets, you will need to install them. Attach the mounting brackets to the sides or bottom of the hard drive using the provided screws. Make sure the brackets are securely fastened to ensure the stability of the hard drive.
- Align the hard drive: Position the hard drive inside the drive bay, aligning it with the slots or rails on the drive cage. Ensure that the connectors on the back of the hard drive face the rear of the computer case for easy cable connection in the next steps.
- Secure the hard drive: Use screws or any other method specified by your computer case to secure the hard drive to the drive bay. Carefully tighten the screws, ensuring that the hard drive is firmly held in place but not overly tightened which could damage the drive.
It’s important to note that different computer cases may have varying methods for mounting the hard drives. Some cases may have tool-less mechanisms where you can simply slide the hard drive into place and latch it. Others may require more traditional screw mounting.
If you encounter any difficulties or are unsure about the mounting process specific to your computer case, consult your computer’s user manual or the manufacturer’s documentation for detailed instructions and guidance.
With the hard drive successfully mounted in the drive bay, you are now ready to move on to the next step: connecting the necessary cables. We will guide you through this process in detail in the following section.
Step 5: Connecting Cables
Now that the hard drive is securely mounted in the drive bay, the next step is to connect the necessary cables to ensure proper functionality. Properly connecting the cables will allow the computer to recognize and communicate with the newly installed hard drive. Follow these steps to connect the cables:
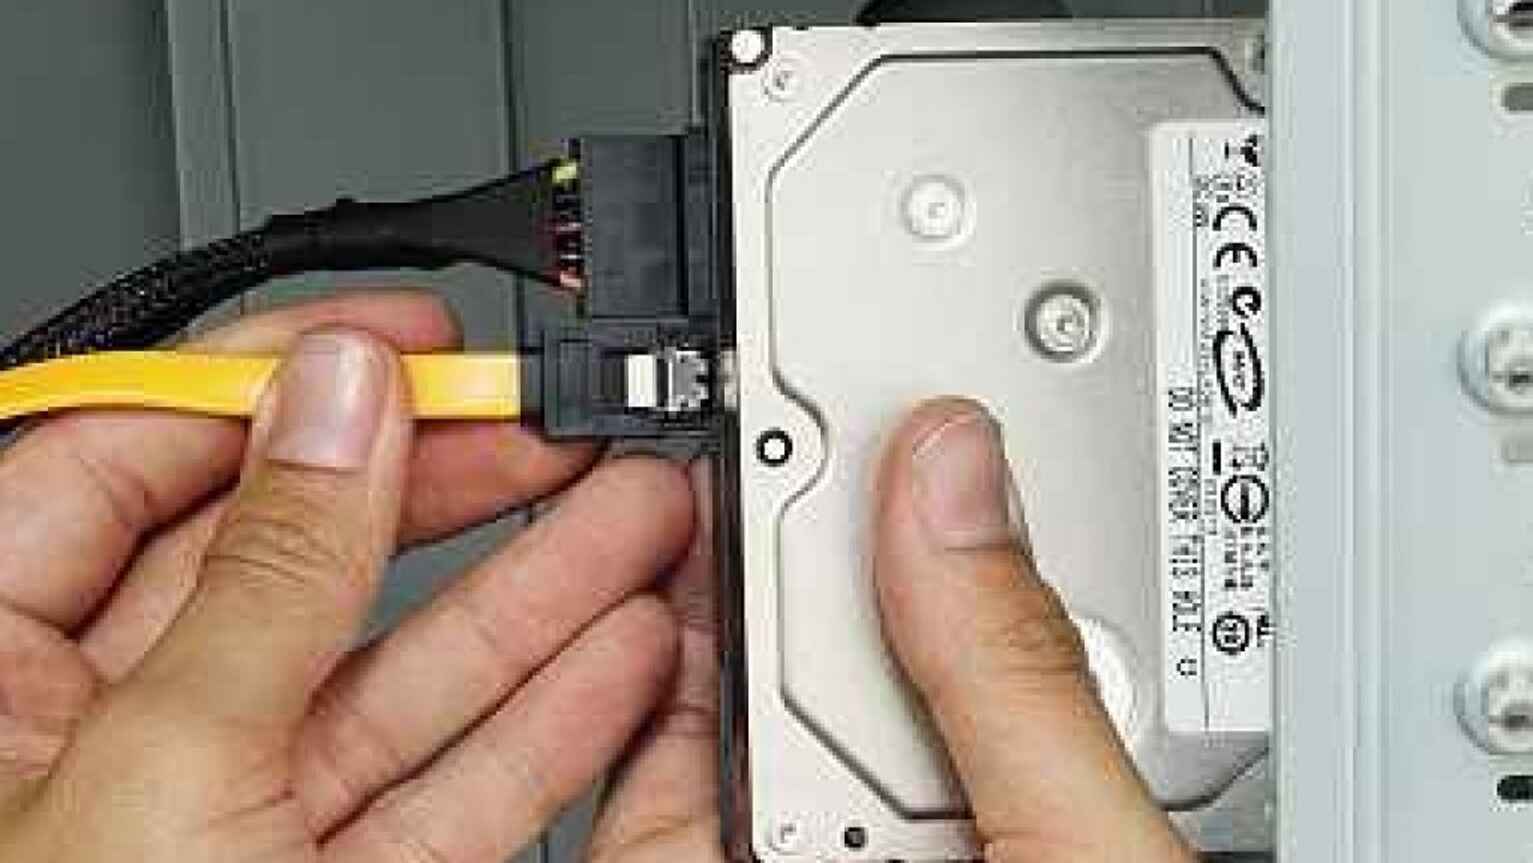
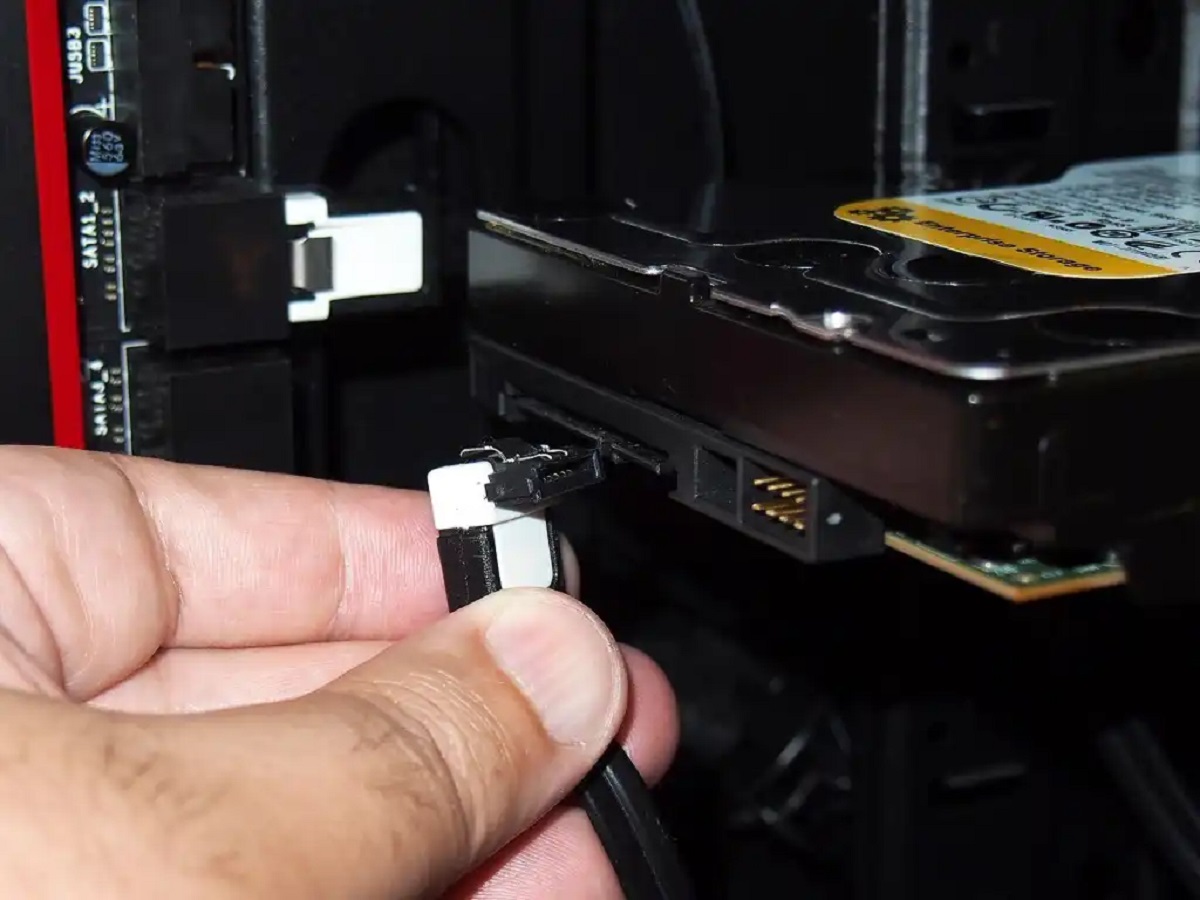
- Data cable connection: Locate the SATA or IDE data ports on the motherboard. These ports are usually located towards the lower section of the motherboard. Connect one end of the data cable to the SATA or IDE port on the motherboard and the other end to the corresponding port on the back of the hard drive. Ensure a secure connection by firmly pushing the connectors in place.
- Power cable connection: Locate an available power cable from your power supply unit (PSU). The power cable typically has a SATA or Molex connector. Connect one end of the power cable to the corresponding port on the back of the hard drive, ensuring a secure connection. The other end of the power cable should be connected to an available power connector from the PSU.
It’s important to note that the specific cables and connectors may vary depending on the type of hard drive and the motherboard. SATA (Serial ATA) is the most common connector type used for modern hard drives. However, if you are using an older IDE (Integrated Drive Electronics) hard drive, the connectors and cables will differ.
If you are unsure about the cable connections or need more detailed instructions specific to your computer’s setup, consult your computer’s user manual or the manufacturer’s documentation for accurate information and diagrams.
Once the cables are securely connected, you have completed the crucial step of establishing the necessary data and power connections for the hard drive. With the cables in place, you are ready to proceed to the next step: closing the computer case. We will guide you through this process in detail in the following section.
Step 6: Closing the Computer
After connecting the necessary cables, it’s time to close your computer case and secure all the components in place. Closing the case provides protection for the internal components and ensures that the computer operates correctly. Follow these steps to close your computer case:
- Check the cable placement: Before closing the case, double-check the placement of the cables to ensure they are not obstructing any other components or creating unnecessary strain. Arrange the cables neatly and make sure they are tucked away from any fans or other moving parts.
- Replace the side panel: Position the side panel back onto the computer case, aligning it with the screw holes or slides. Gently slide or press the panel until it is securely in place. Make sure it is flush against the case to ensure proper ventilation and prevent any rattling noise.
- Secure the side panel: Using the screws you removed earlier, securely fasten the side panel back onto the computer case. Tighten the screws without overtightening, as doing so may damage the case or the screws themselves.
As you close the case, ensure that no cables or components are trapped or pinched between the side panel and the case. This will prevent any damage to the components or disruption to the airflow inside the case.
Now that your computer case is closed and tightly secured, you are ready to move on to the next step: powering on your computer and initializing the new hard drive. We will guide you through this process in detail in the following section.
Step 7: Powering On and Initializing the Hard Drive
With the computer case closed and all components secured, it’s time to power on your computer and initialize the new hard drive. Initialization involves setting up the new hard drive and ensuring that it is recognized by your computer’s operating system. Follow these steps to power on and initialize the hard drive:
- Connect the power: Plug in the power cable of your computer into a power outlet. Ensure that the power cable is securely connected both at the wall outlet and at the back of your computer.
- Power on the computer: Press the power button on your computer’s case to start it up. The computer will go through the boot-up process, and you should see the manufacturer’s logo or a BIOS screen.
- Access the BIOS settings (optional): If your computer does not automatically recognize the new hard drive, you may need to access the BIOS settings. This is typically done by pressing a specific key (such as Del, F2, or F12) during the boot-up process. Consult your computer’s user manual or the manufacturer’s documentation for the specific key or combination to access the BIOS.
- Configure the hard drive: In the BIOS settings, navigate to the storage or drives section and ensure that the new hard drive is detected by the system. If it is not detected, double-check the cable connections and ensure the drive is properly secured in the drive bay. You may need to enable the drive or adjust the boot order if necessary.
- Save settings and exit BIOS: Once you have configured the hard drive settings, save the changes and exit the BIOS. This will proceed with the boot-up process and allow your computer’s operating system to load.
- Initialize the hard drive: After your computer has finished booting up, open the Disk Management tool in your operating system (e.g., Disk Management in Windows). Locate the new hard drive, which should appear as unallocated or unformatted. Right-click on the drive and select the option to initialize it. Follow the on-screen prompts to format the drive and assign a drive letter.
Once the hard drive is initialized and formatted, it will be ready for use. You can now start storing and accessing data on the new hard drive.
Congratulations! You have successfully installed and initialized a new hard drive in your PC. Enjoy the benefits of expanded storage capacity and improved performance.
Conclusion
Congratulations on successfully installing a new hard drive in your PC! By following the step-by-step guide outlined in this article, you have expanded your storage capacity and improved the performance of your computer. Let’s recap the key points covered throughout the installation process:
First, it’s important to gather the necessary tools and equipment, such as a screwdriver set, a new hard drive, mounting brackets (if required), and data and power cables. These tools will aid you in the installation process and ensure a smooth experience.
Next, you prepared your computer by backing up your data, powering off the computer, grounding yourself, and organizing your workspace. These important preparations ensured the safety of your data and protected you and your computer from any potential harm.
You then opened your computer case by locating and removing the screws, sliding or lifting off the side panel to access the internal components. This step allowed you to proceed with the installation process.
Locating the drive bays was the next step, where you identified the existing drives and inspected the drive cages or brackets to determine the suitable placement for the new hard drive.
After that, you securely mounted the hard drive inside the drive bay using mounting brackets or screws. Ensuring a secure and stable mounting will prevent any unnecessary movement or damage to the hard drive.
Connecting the necessary data and power cables was the subsequent step, enabling the communication and power supply to the new hard drive. Aligning and securely attaching the cables will ensure proper functionality.
Once the cables were connected, you closed the computer case, making sure that the cables and components were properly arranged and that the side panel was securely fastened in place.
Finally, you powered on and initialized the new hard drive by connecting the power cable, starting up the computer, accessing the BIOS settings if necessary, configuring the hard drive, and initializing it through the operating system’s Disk Management tool.
By following these steps, you successfully installed a new hard drive in your PC. Enjoy the expanded storage and improved performance it provides, allowing you to store more data and run applications smoothly.
Remember, if you encounter any difficulties or have specific questions related to your computer model or operating system, consult the user manual or seek assistance from the manufacturer’s documentation or customer support.
Thank you for choosing this guide as your resource for installing a hard drive in your PC. Happy computing!