Introduction
Installing a hard disk drive (HDD) in your PC is a straightforward process that can greatly enhance your computer’s storage capacity. Whether you need more space to store your files, want to improve the speed and performance of your system, or simply want to replace a faulty hard drive, this step-by-step guide will walk you through the installation process.
By adding an additional hard drive to your computer, you can enjoy the benefits of increased storage, faster data access, and improved multitasking capabilities. This can be especially beneficial for gamers, content creators, and professionals who work with large files or run resource-intensive applications.
Before diving into the installation process, it’s important to ensure that you have the necessary tools and equipment. You will need a compatible hard disk drive, a screwdriver, and the documentation that came with your computer to familiarize yourself with the internal components. It’s also crucial to follow proper safety precautions, such as shutting down the computer and disconnecting the power supply, to avoid any damage to your system.
Tools and Equipment Needed
Before you start the process of installing a hard disk drive in your PC, it’s important to gather the necessary tools and equipment. Having these items ready will ensure a smooth and hassle-free installation. Here are the essential tools you will need:
1. Screwdriver: You will need a screwdriver to open your PC case and secure the hard drive in place. Make sure you have a screwdriver that fits the screws used in your computer case.
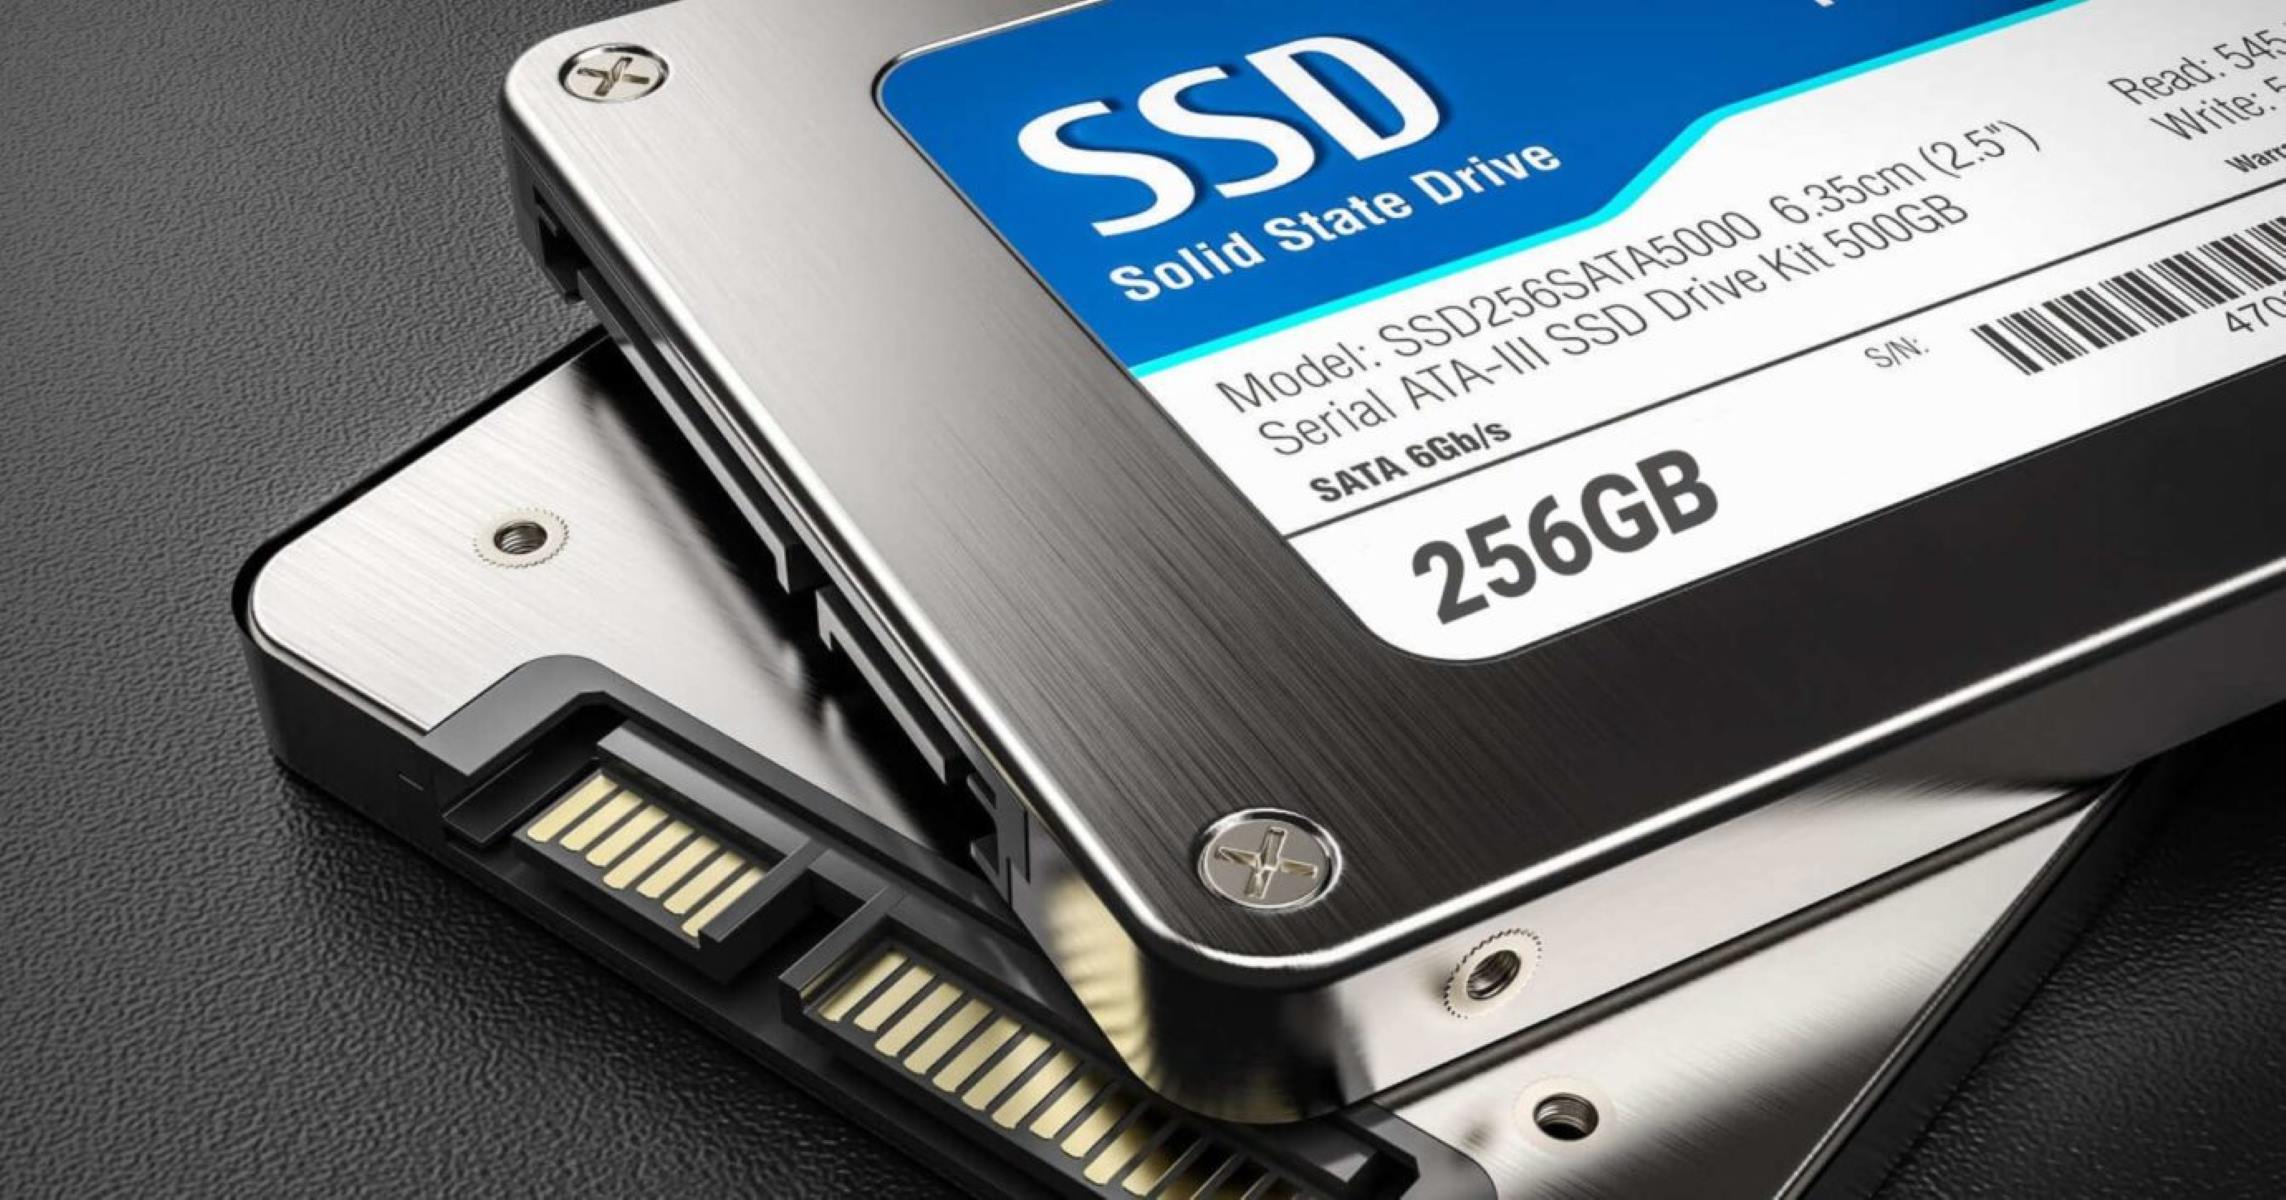
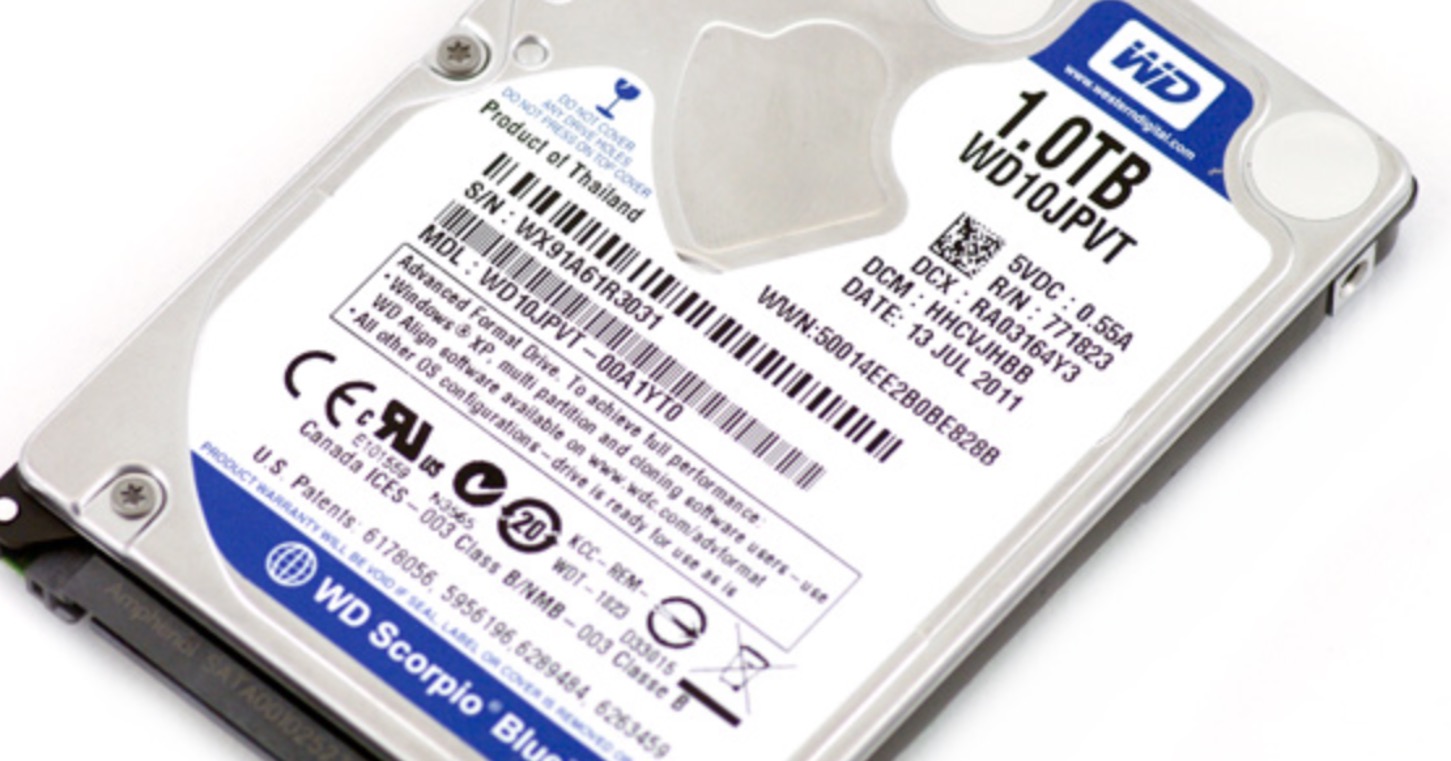
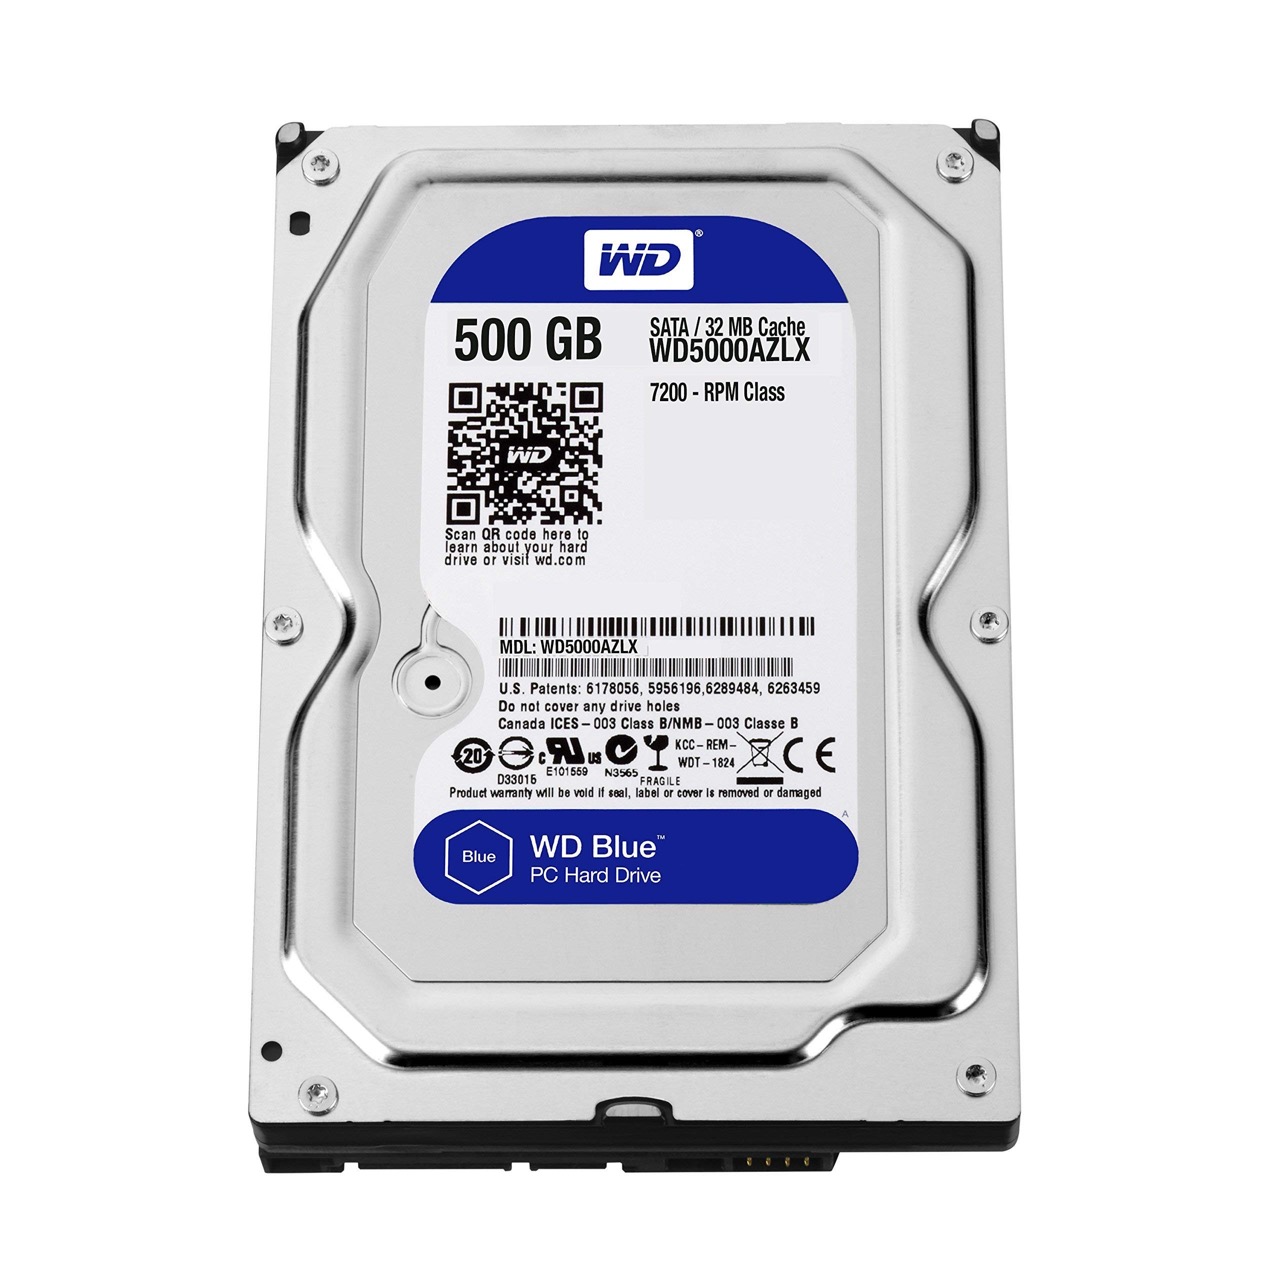
2. Compatible Hard Disk Drive (HDD): Choose a hard disk drive that is compatible with your PC. Consider the storage capacity and speed requirements based on your intended use. It’s also important to check if your motherboard has the necessary connections for the hard drive, such as SATA or IDE.
3. Documentation: Keep the documentation that came with your computer handy. This will help you familiarize yourself with the internal components and ensure you are following the correct procedures during installation.
4. Anti-static wrist strap (optional): While not necessary, an anti-static wrist strap can be beneficial to prevent electrostatic discharge (ESD) that can damage sensitive components. If you have one, it’s recommended to use it while handling the hard drive and other internal components.
5. Cable connectors: Depending on the type of hard drive and your motherboard’s connections, you may need additional cable connectors. This includes SATA cables for SATA drives or IDE cables for IDE drives. Make sure you have the appropriate connectors to establish the necessary connections.
By having these tools and equipment ready, you can streamline the installation process and reduce the risk of any complications. Take a moment to gather everything before proceeding to the next steps.
Step 1: Check Compatibility
Before diving into the installation process, it’s crucial to ensure that the hard disk drive you have chosen is compatible with your PC. Compatibility is essential to ensure that the hard drive will work seamlessly with your system and avoid any potential issues. Here’s what you need to consider when checking compatibility:
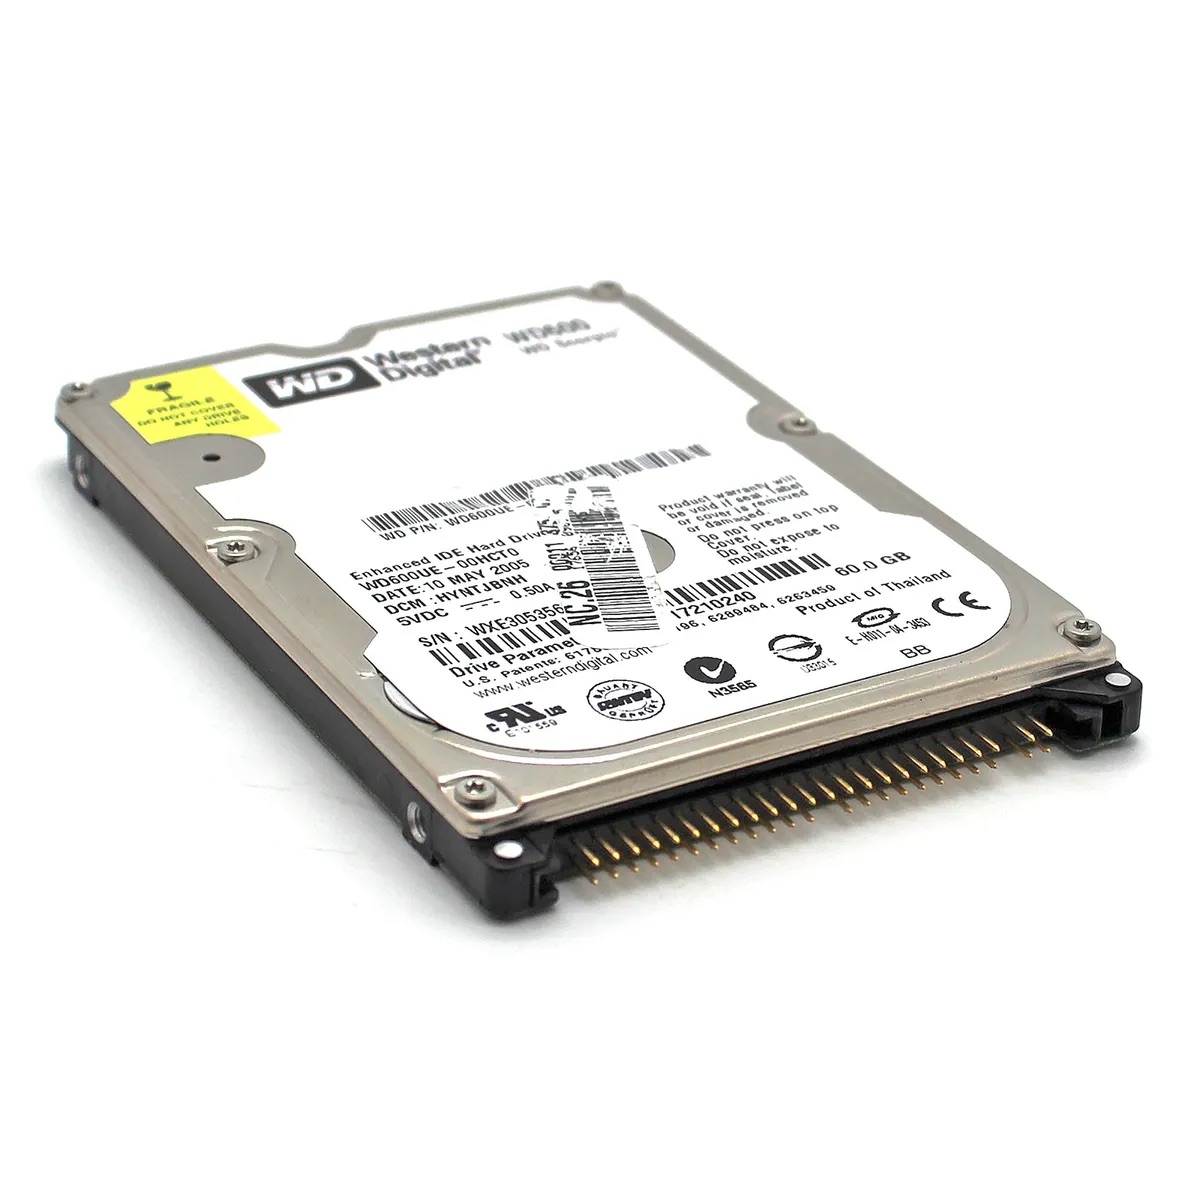
1. Storage Interface: Determine the storage interface required by your motherboard. The two most common interfaces are SATA (Serial ATA) and IDE (Integrated Drive Electronics). Check the specifications of your motherboard or consult the documentation to identify the supported interface.
2. Drive Size Compatibility: Check if your computer case can accommodate the physical size of the hard drive you intend to install. Most modern PC cases support 3.5-inch hard drives, but it’s important to verify this before making a purchase.
3. Power Supply: Ensure that your power supply has enough spare connectors to provide power to the new hard drive. SATA drives typically require a SATA power connector, while IDE drives use a 4-pin Molex connector. It’s important to have the necessary connectors available to avoid any power-related issues.
4. Data Cables: Check if you have an available SATA or IDE data cable, depending on the type of hard drive you have chosen. Ensure that the cable is long enough to reach the motherboard without any strain. If you don’t have an extra cable, you may need to purchase one separately.
5. Operating System: Consider whether your operating system supports the new hard drive’s capacity. Older operating systems may have limitations on the maximum drive size they can recognize. Ensure that your operating system is compatible with the storage capacity of the new hard drive.
By checking compatibility before installation, you can avoid any potential issues and ensure a smooth and successful installation process. Once you have confirmed that your chosen hard drive is compatible with your PC, you can proceed to the next steps with confidence.
Step 2: Shut Down the Computer and Unplug It
Before you begin working on your PC’s internal components, it’s important to ensure that the computer is powered off and unplugged. This step ensures your safety by minimizing any risk of electric shock and protects your system from accidental damage. Follow these instructions to properly shut down and disconnect your computer:
1. Save and close all your open files and applications. Make sure that you have saved any important work before proceeding.
2. Click on the “Start” button in the bottom left corner of your screen, then click on “Shut Down” or “Power Off.” Allow the computer to complete the shut down process before continuing.
3. Once the computer has shut down, locate the power cord at the back of the PC and unplug it from the electrical outlet. This step is essential to prevent any power supply to the system during the installation process.
4. For additional safety measures, press the power button on the front of the computer for a few seconds to discharge any remaining power in the system. This step is particularly important to discharge static electricity and ensure a safe working environment.
Once you have completed these steps, the computer should be completely powered off and disconnected. It’s essential to always follow these precautions before working on any internal components to avoid any potential damage to your computer and ensure your safety.
Step 3: Open the PC Case
To install a hard disk drive in your PC, you’ll need to open the computer case to gain access to the internal components. Follow these steps to safely open the PC case:
1. Place your computer on a sturdy and flat surface. Ensure that the surface is clean and free from any static electricity buildup.
2. Locate the screws or latches that secure the side panel of your computer case. The specific location and type of fasteners may vary depending on your PC model.
3. Use a screwdriver or release the latches to remove the side panel. Gently slide or pull the panel away from the rest of the case.
4. Set the side panel aside in a safe place. This will allow you easy access to the internal components while minimizing the risk of damaging the panel.
Opening the PC case requires careful handling to avoid any accidental damage to the components. Take your time and be gentle when removing the side panel. If you encounter any resistance, double-check for any missed screws or latches that may still be securing the panel in place.
By opening the PC case, you are now ready to proceed with the installation of the hard disk drive. This step allows you direct access to the internal components of your computer, making it easier to locate the hard drive bay and complete the installation process.
Step 4: Locate the Hard Drive Bay
Once you have successfully opened the PC case, your next step is to locate the hard drive bay. The hard drive bay is a dedicated space inside the computer case where the hard disk drive will be installed. Follow these steps to locate the hard drive bay:
1. Take a look inside the PC case. You will see the internal components of your computer, including the motherboard, power supply, and other peripheral devices.
2. Look for an empty bay specifically designed to accommodate hard drives. In most cases, you will find it located below the optical drive bays or near the bottom of the case. The hard drive bay is typically a rectangular or square-shaped enclosure with mounting holes or brackets.
3. Check if there are any existing hard drives installed in the other bays. Take note of their positions to ensure adequate spacing for your new hard drive installation.
4. It’s also important to check if there are any cables or wires obstructing the hard drive bay. If you find any cables in the way, carefully maneuver them to clear the space.
Once you have located the hard drive bay, you are ready to proceed with the installation process. Familiarize yourself with this area to ensure a smooth and efficient installation. Take note of any additional brackets or screws included with your computer case that may be required to secure the hard drive in place.
Understanding the location of the hard drive bay will allow you to move forward confidently with the installation process. By knowing its position, you can easily access and integrate the new hard disk drive into your PC.
Step 5: Prepare the Hard Disk Drive
Before you install the hard disk drive into the PC, it’s important to properly prepare it. Preparing the hard drive involves a few essential steps to ensure its compatibility and optimal performance. Follow these instructions to prepare the hard disk drive:
1. Check the physical condition: Inspect the hard drive for any signs of physical damage, such as dents, scratches, or loose components. If you notice any damage, consider replacing the hard drive.
2. Set the jumper settings (if applicable): If you are installing an IDE hard drive, you may need to adjust the jumper settings. Consult the hard drive’s documentation or the label on the drive itself for the appropriate jumper configuration. Most modern SATA drives do not require any jumper settings.
3. Remove any protective coverings: Some hard drives come with protective coverings to safeguard the connectors or prevent static damage during shipping. Remove any protective coverings or packaging materials from the hard drive before installation.
4. Handle the hard drive with care: Avoid touching the exposed circuit board or any sensitive components on the hard drive. Electrostatic discharge (ESD) can damage the drive. If possible, use an anti-static wrist strap or touch a grounded metal surface to discharge any static electricity from your body before handling the hard drive.
Properly preparing the hard disk drive before installation ensures that it functions optimally within your PC. By examining the physical condition, adjusting jumper settings if necessary, removing protective coverings, and handling the drive with care, you can reduce the risk of damage and ensure a smooth installation process.
Step 6: Connect the Hard Drive to the Power Supply
Connecting the hard drive to the power supply is an essential step in the installation process. The power supply provides the necessary electrical power to the hard drive to ensure its proper functioning. Follow these steps to connect the hard drive to the power supply:
1. Locate the power cable coming from the power supply unit (PSU). The power cable will have several connectors, one of which is suitable for the hard drive. Depending on your power supply and hard drive, the connector may be a SATA power connector or a 4-pin Molex connector.
2. Take the appropriate power connector and align it with the power port on the hard drive. The power port, usually located on the back or side of the hard drive, is specifically designed to fit the power connector shape.
3. Gently insert the power connector into the power port on the hard drive. Make sure the connection is secure and fully inserted. Take care not to force or bend the pins when making the connection.
4. Once the power connector is fully inserted, ensure that it is firmly attached. Give it a gentle tug to verify the connection’s stability. It should not disconnect easily.
The power connection provides the necessary electrical supply for the hard drive to function. A secure and proper connection guarantees that the hard drive receives adequate power, allowing it to operate smoothly within your PC.
Now that you have successfully connected the hard drive to the power supply, you are ready to move on to the next step and establish the necessary connection to the motherboard.
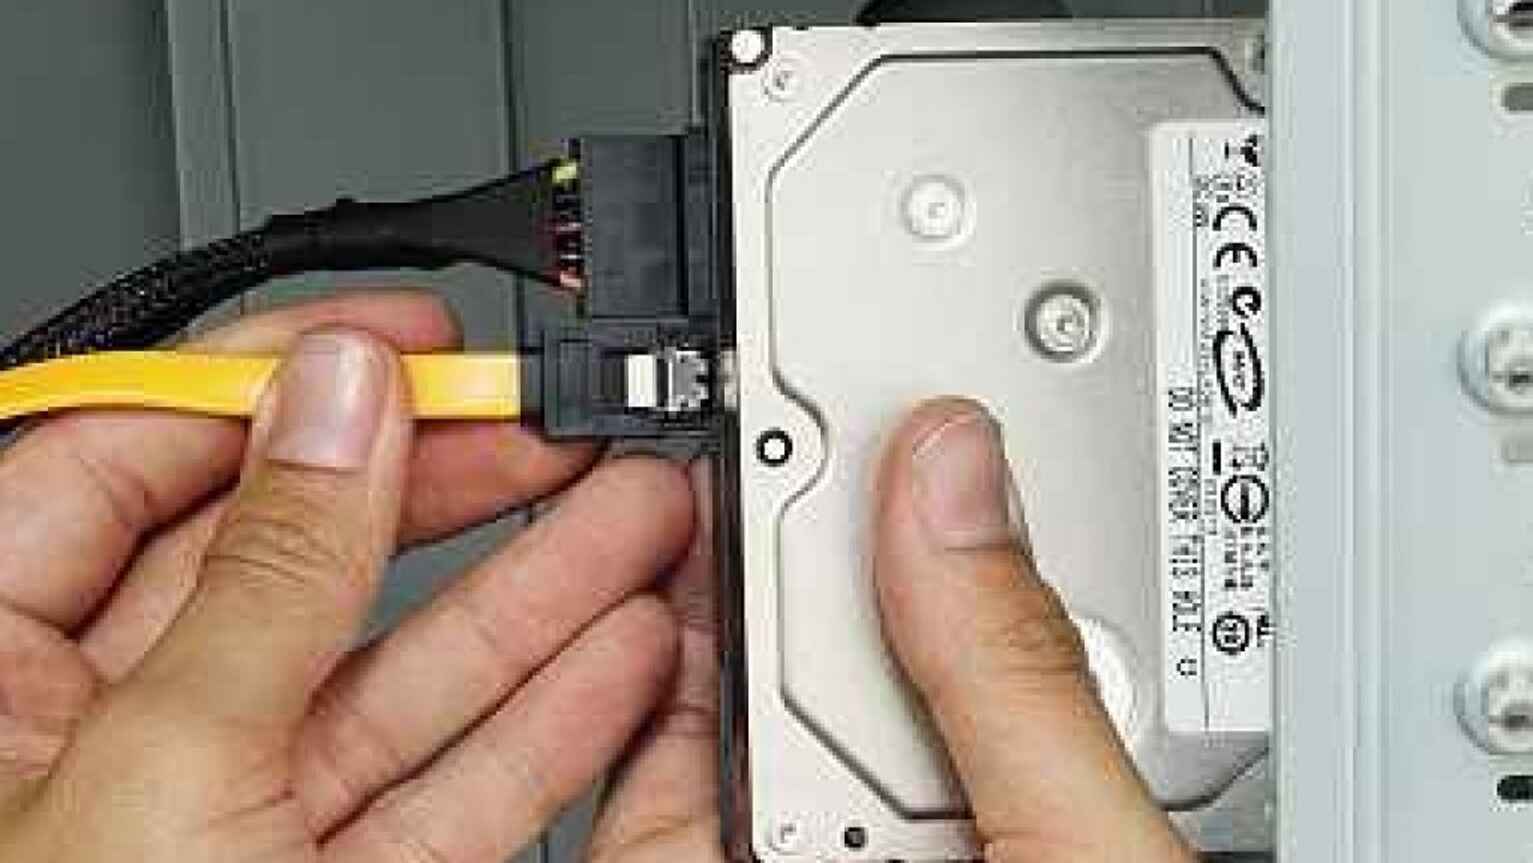
Step 7: Connect the Hard Drive to the Motherboard
Connecting the hard drive to the motherboard is a crucial step in the installation process. This allows the hard drive to communicate with the computer and access the necessary data. Follow these steps to connect the hard drive to the motherboard:
1. Identify the appropriate data cable: Depending on the type of hard drive you have (SATA or IDE), you will need to use the corresponding data cable. SATA drives require a SATA data cable, while IDE drives use an IDE ribbon cable. Ensure that you have the correct cable ready for connection.
2. Locate the SATA or IDE port on the motherboard: Look for the SATA or IDE ports on the motherboard. These ports are usually located near the lower edge of the motherboard. Consult your motherboard’s manual or documentation to identify the specific location of these ports.
3. Connect one end of the data cable to the hard drive: Take one end of the data cable and align it with the SATA or IDE port on the hard drive. Make sure the connector matches the shape of the port and insert it firmly. Note that SATA connectors are smaller and easier to connect compared to IDE ribbon cables.
4. Connect the other end of the data cable to the motherboard: Take the other end of the data cable and connect it to the corresponding SATA or IDE port on the motherboard. Again, align the connector with the port and insert it firmly. Ensure that the connection is secure and fully inserted.
5. Secure the data cable: Check that the data cable is neatly routed and free from any sharp bends or obstructions. Use cable ties or clips to secure the data cable to prevent it from getting tangled or interfering with other components.
Properly connecting the hard drive to the motherboard establishes the necessary data transfer pathway. This allows the hard drive to be recognized by the computer, enabling data access and transfer between the hard drive and other components.
With the hard drive securely connected to both the power supply and the motherboard, you have successfully completed the essential steps towards integrating the hard disk drive into your PC. The next step involves securing the hard drive in place within the computer case.
Step 8: Secure the Hard Drive in Place
Securing the hard drive in place is an important step to ensure stability and prevent any damage that can occur due to movement or vibrations. Follow these steps to securely mount the hard drive in your PC:
1. Locate the mounting brackets or slots: Inside the hard drive bay, you will find mounting brackets or slots that are designed to hold the hard drive securely. These brackets or slots may be located on the sides or bottom of the bay.
2. Align the screw holes on the hard drive: Place the hard drive into the bay, aligning the screw holes on the side or bottom of the drive with the mounting brackets or slots.
3. Insert screws to secure the hard drive: Use the appropriate screws to secure the hard drive in place. These screws are typically included with your computer case or hard drive. Insert them in the screw holes on the side or bottom of the hard drive and tighten them gently. Avoid overtightening the screws to prevent any potential damage to the hard drive or bay.
4. Verify the hard drive’s stability: Once the screws are in place, gently shake the computer case to ensure that the hard drive is securely mounted. It should not move or rattle inside the bay.
Some computer cases feature tool-less installation methods, where you can simply slide the hard drive into the brackets and lock it in place without the need for screws. If your case has this feature, follow the manufacturer’s instructions to secure the hard drive accordingly.
By securely mounting the hard drive within the case, you minimize the risk of accidental damage or disconnection. A stable hard drive ensures proper functionality and reliable performance, allowing you to make the most of your storage solution.
With the hard drive securely in place, you are nearing the end of the installation process. The final steps involve closing the PC case and verifying the successful installation.
Step 9: Close the PC Case
After successfully installing the hard drive and ensuring that it is securely mounted, it’s time to close the PC case. Properly closing the case not only protects the internal components but also ensures that the system operates smoothly. Follow these steps to close the PC case:
1. Position the side panel: Retrieve the side panel that you removed earlier. Align it with the case’s open side and carefully slide it back into place. Make sure the panel aligns properly with the edges of the case.
2. Secure the side panel: Use the screws or latches that were originally used to secure the side panel. Tighten them just enough to hold the panel firmly in place, ensuring that it is secure but not too tight.
3. Check for any loose cables or obstructions: Before finalizing the case closure, carefully check for any loose cables or obstructions that might interfere with the case. Ensure that all cables are neatly organized and routed away from fans and other components.
4. Confirm a proper fit: Once you have secured the side panel and cleared any obstacles, give the case a gentle shake to confirm that everything is securely in place. The components should not rattle or move excessively.
Properly closing the PC case is important for the overall safety and function of your computer. It protects the internal components from dust, debris, and accidental damage. Additionally, it helps maintain proper airflow, preventing overheating and ensuring system stability.
By following these steps, you have successfully completed the installation and closed the PC case, bringing the process to its final stages. The last step involves powering on the computer and verifying the successful installation of the hard drive.
Step 10: Power On the Computer and Check the Installation
With the hard drive installed and the PC case closed, it’s time to power on the computer and ensure that the installation was successful. Here’s what you need to do:
1. Reconnect the power cable: Plug the power cable back into the electrical outlet and ensure that it is securely connected to the power supply unit (PSU).
2. Press the power button: Locate the power button on the front or top panel of your computer case. Press it to turn on the computer and initiate the boot process.
3. Observe the startup process: As the computer powers on, pay attention to any messages or prompts displayed on the screen. Look for the hard drive being detected or listed as part of the device’s initialization process.
4. Access the operating system: Once the computer has finished booting up, log in to your operating system and navigate to the file explorer or disk management utility. Verify that the newly installed hard drive is visible and functioning correctly.
5. Test the hard drive: You can perform a quick test to confirm the functionality of the installed hard drive. Create a test folder, copy some files to it, and ensure that you can access and save data to the hard drive without any issues.
If you encounter any problems during the startup process or cannot find the newly installed hard drive, double-check the connections and make sure they are properly secured. Consult the documentation that came with your computer or the manufacturer’s support resources for troubleshooting assistance if needed.
By following these steps and checking the installation, you can ensure that the hard drive is recognized and functioning correctly within your computer. You can now enjoy the benefits of the additional storage space or improved performance that the new hard drive provides.
Conclusion
Installing a hard disk drive in your PC can greatly expand your storage capacity and improve the overall performance of your system. By following the step-by-step guide provided, you can successfully install a hard drive and enjoy the benefits it brings.
Throughout the process, it is essential to ensure compatibility, properly shut down and unplug the computer, open the PC case, locate the hard drive bay, prepare the hard drive, connect it to the power supply, motherboard, and secure it in place. Closing the PC case and powering on the computer allows you to check the installation and verify that the hard drive is functioning correctly.
Remember to handle the hard drive with care, follow safety precautions, and consult the documentation or manufacturer’s resources if you encounter any difficulties. It is also important to check compatibility with your PC specifications before purchasing a hard drive.
Once the installation is complete and the hard drive is successfully integrated into your PC, you can benefit from increased storage space, faster data access, and improved performance. Whether you are a gamer, content creator, or simply need more storage for your files, the newly installed hard drive will undoubtedly enhance your computing experience.
Now that you are equipped with the knowledge and steps to install a hard disk drive, you can confidently upgrade your PC and unlock its full potential. Enjoy the added storage, improved performance, and seamless multitasking that your new hard drive provides!