Introduction
Having a computer hard disk drive that is almost full can be frustrating and can negatively impact the performance of your computer. When your hard disk drive reaches 100% capacity, you may experience slow system speeds, difficulties in installing or running new programs, and even the inability to save files. It is essential to address this issue as soon as possible to optimize the storage space and ensure smooth computer operation.
There are several reasons why your hard disk drive may become full. Over time, you may have accumulated large files, installed numerous programs, or saved excessive data without realizing it. However, fret not, as there are various steps you can take to free up space and avoid a full hard disk drive.
In this article, we will explore several practical solutions to help you manage a 100% full hard disk drive effectively. From sorting and deleting unnecessary files to utilizing external storage options, we will guide you through the process of optimizing your disk space. By implementing these solutions, you will not only free up valuable storage space but also improve your computer’s performance.
If you’re ready to regain control of your computer’s storage capacity and optimize its performance, let’s dive into the strategies to clear up your full hard disk drive.
Reasons for a Full Hard Disk Drive
Before we delve into the solutions for managing a full hard disk drive, it’s crucial to understand the reasons behind its fullness. By identifying the causes, you can take preventative measures and make informed decisions regarding file management and storage.
1. Large Files: One common reason for a full hard disk drive is the accumulation of large files. These could be high-resolution videos, large software installations, or extensive collections of photos. Over time, these files can consume a significant portion of your storage space.
2. Installed Programs: Another factor contributing to a full hard disk drive is the installation of numerous programs. Each program takes up storage space for its files, configurations, and updates. If you have a habit of installing multiple applications without monitoring their space consumption, it’s likely your disk space is being utilized excessively.
3. Temporary Files: When using your computer, temporary files are generated to facilitate various tasks. These temporary files include internet browser caches, temporary installation files, and system log files. If these files are not regularly cleared, they can accumulate and take up precious disk space.
4. Unnecessary Data: It’s easy to accumulate unnecessary data over time, such as duplicate files, old backups, or unused documents. These files can linger on your hard disk drive and consume valuable space without serving any purpose.
5. Limited Storage Capacity: It’s also possible that your hard disk drive is simply running out of space due to its limited capacity. Some older computers or laptops may come with smaller hard drives that are more prone to filling up quickly if not managed efficiently. In such cases, considering an upgrade to a larger hard disk drive can be a long-term solution.
By understanding these reasons, you can effectively address the root causes of a full hard disk drive. In the following sections, we will discuss various strategies and techniques to manage your disk space, allowing you to free up storage and optimize your computer’s performance.
Checking Disk Space
Before you start taking steps to manage your full hard disk drive, it’s crucial to assess how much space is currently being used. By checking your disk space, you can get a clear understanding of which files and folders are taking up the most storage.
Windows operating system provides a built-in tool called “Disk Cleanup” that allows you to easily check your disk space and identify areas where storage can be freed up. Here’s how you can perform a disk space check using Disk Cleanup:
- Open File Explorer by clicking on the folder icon in the taskbar or by pressing Windows key + E.
- Right-click on the drive you want to check (usually the C: drive) and select “Properties” from the context menu.
- In the General tab, you’ll see a pie chart displaying the used and free space. Take note of the percentage of used space.
- To get a more detailed view of what’s taking up space on your hard disk drive, click on the “Disk Cleanup” button.
- The Disk Cleanup tool will analyze your disk and present you with a list of file categories that can be cleaned up. Check the boxes next to the categories you want to remove, such as temporary files, recycle bin files, and system files.
- Click “OK” and then “Delete Files” to free up the selected disk space.
By following these steps, you can quickly identify how much space is being utilized and take the necessary measures to clear unnecessary files and free up storage space. Remember to regularly check your disk space to stay on top of any potential storage issues before they become a problem.
Deleting Unnecessary Files and Folders
One of the most effective ways to free up space on a full hard disk drive is by deleting unnecessary files and folders. Over time, you may accumulate files that are no longer needed or duplicates of existing files, unnecessarily taking up storage space. Here are some steps you can take to identify and delete unnecessary files:
- Clean up your Downloads folder: The Downloads folder is often a common place for files to accumulate. Check this folder for any files that you no longer need and delete them. Consider sorting the files by date to identify older files that may be taking up space.
- Delete duplicate files: Duplicate files can quickly fill up your hard disk drive. Use a duplicate file finder tool to scan your computer and identify any duplicate files. You can then review the results and delete the copies that are unnecessary.
- Empty the Recycle Bin: When you delete files, they are often moved to the Recycle Bin rather than being permanently deleted. Emptying the Recycle Bin will permanently remove these files from your hard disk drive.
- Remove unnecessary applications: Evaluate your installed programs and uninstall any applications that you no longer use or need. This will not only free up storage space but also help improve your computer’s performance.
- Review and delete old backups: If you have automatic backup systems in place, such as Windows Backup or third-party backup tools, it’s essential to review and delete any old backups that are no longer needed. Be cautious and ensure you have alternative backup options before removing any backups.
- Delete temporary files: Temporary files are generated by your computer and can accumulate over time. Use the Disk Cleanup tool or third-party cleaning software to remove temporary files, including cached data, system logs, and temporary installation files.
By regularly reviewing and deleting unnecessary files and folders, you can significantly free up space on your hard disk drive. Remember to exercise caution when deleting files and always double-check that you are removing files that are genuinely no longer needed.
Cleaning Temporary Files
Temporary files are created by your computer and various programs to facilitate tasks and store temporary data. Over time, these files can accumulate and take up significant space on your hard disk drive. Cleaning temporary files is a crucial step in freeing up storage space and optimizing your computer’s performance. Here’s how you can clean temporary files:
- Using the Disk Cleanup tool: Windows provides a built-in tool called Disk Cleanup that can help you remove temporary files. To access this tool, open the Start menu, search for “Disk Cleanup,” and select the application. Choose the disk you want to clean, and Disk Cleanup will scan and present you with a list of temporary files that can be removed. Check the appropriate boxes and click “OK” to clean the files.
- Manually deleting temporary files: If you prefer a more hands-on approach, you can manually delete temporary files. Navigate to the temporary files directory by pressing Windows key + R, typing “%temp%”, and hitting Enter. This will open the temporary files folder. Select all the files in the folder and press Shift + Delete to permanently remove them.
- Using third-party cleaning software: There are also various third-party cleaning software available that can help you clean temporary files more efficiently. These tools often offer additional features such as disk optimization and privacy protection. Some popular options include CCleaner, Wise Disk Cleaner, and BleachBit.
By regularly cleaning temporary files, you can free up a significant amount of space on your hard disk drive. It is recommended to perform this cleaning process periodically to ensure that your computer remains clutter-free and operates at its optimal speed and efficiency.
Uninstalling Unnecessary Programs
Over time, you may install various programs on your computer that you no longer use or need. These unnecessary programs not only take up valuable storage space but can also slow down your computer’s performance. Uninstalling these programs is an effective way to free up space on your hard disk drive and improve system speed. Here’s how you can uninstall unnecessary programs:
- Using the Control Panel (Windows): On a Windows computer, you can uninstall programs through the Control Panel. Open the Control Panel by pressing the Windows key + X and selecting “Control Panel.” In the Control Panel window, find and click on “Uninstall a program” or “Programs and Features.” Look through the list of installed programs, select the ones you want to uninstall, and click on the “Uninstall” button.
- Using the App Store (Mac): If you’re using a Mac, you can uninstall programs through the App Store. Open the App Store on your Mac and click on the “Purchases” tab. Locate the program you want to uninstall and click the “X” button next to it to remove it from your system.
- Using third-party uninstaller software: Alternatively, you can use third-party uninstaller software to remove unnecessary programs from your computer. These tools often provide advanced features such as batch uninstallation and deep scanning for leftover files and registry entries. Some popular options include Revo Uninstaller, IObit Uninstaller, and Geek Uninstaller.
When uninstalling programs, be mindful of any dependencies or shared files that may affect other programs or the overall system stability. Additionally, it’s a good practice to restart your computer after uninstalling programs to ensure that all related files and processes are properly removed.
Regularly reviewing and uninstalling unnecessary programs not only helps free up storage space but also declutters your computer and improves its overall performance.
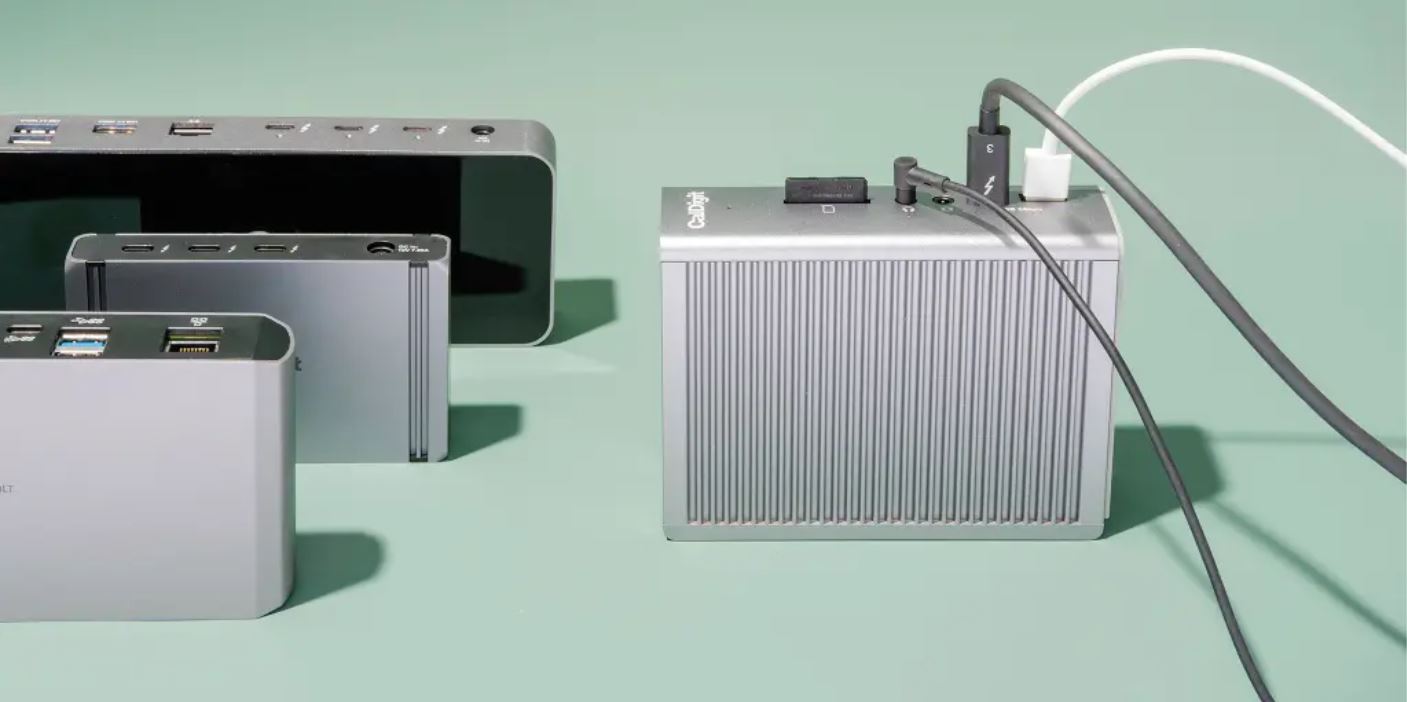
Moving Files to External Storage
If you find that your computer’s hard disk drive is nearing capacity, one effective strategy to free up space is to move files to external storage. External storage devices such as USB flash drives, external hard drives, or cloud storage solutions offer a convenient way to store files while reducing the burden on your computer’s internal storage. Here are some steps to help you move files to external storage:
- Identify files to be moved: Start by identifying files that are taking up a significant amount of space on your hard disk drive. These could be large media files or folders containing documents, photos, or videos that you rarely access.
- Select the appropriate external storage device: Based on the size and type of files you want to move, choose the most suitable external storage device. USB flash drives are ideal for smaller files and easy portability, while external hard drives offer larger capacity for storing large media libraries. Cloud storage solutions such as Google Drive, Dropbox, or OneDrive provide online storage accessible from any device with an internet connection.
- Transfer files to external storage: Connect your chosen external storage device to your computer. Open the file explorer or file manager, locate the files you want to move, and select them. Right-click and choose “Cut” (or press Ctrl+X) to remove the files from their original location. Navigate to the external storage device, right-click, and choose “Paste” (or press Ctrl+V) to transfer the files to the external device.
- Organize files on external storage: Once the files are transferred, consider organizing them in a logical and easily accessible structure. Create folders or directories based on file types, categories, or any other classification that suits your needs. This will help you easily locate and manage the files when needed.
- Verify the file transfer: After the transfer is complete, double-check that all the files you intended to move are now stored on the external storage device. Take the time to open a few files and ensure they are intact and accessible.
Moving files to external storage not only frees up space on your hard disk drive but also provides a backup solution and allows for easy file sharing between devices. Remember to regularly backup your external storage to prevent data loss and keep your files safe and accessible.
Using Cloud Storage
In today’s digital age, cloud storage solutions have become increasingly popular for storing files, accessing them from anywhere, and reducing the dependency on local storage devices. Cloud storage offers the convenience of freeing up space on your hard disk drive while providing a secure and accessible platform for file storage. Here are some steps to help you utilize cloud storage effectively:
- Choose a cloud storage provider: There are several cloud storage providers available, each offering different storage capacities and features. Popular options include Google Drive, Dropbox, OneDrive, and iCloud. Assess your storage needs, pricing plans, and additional features, and choose the provider that best suits your requirements.
- Create an account: Sign up for an account with the chosen cloud storage provider. This typically involves providing your email address, creating a password, and agreeing to the terms and conditions.
- Install the cloud storage application or access via web interface: Once you have an account, you can access your cloud storage through a web interface or by installing a desktop application. The desktop application allows for automatic syncing of files between your computer and the cloud storage, providing seamless integration.
- Upload files to the cloud: To upload files, simply navigate to the appropriate folder within your cloud storage and click on the “Upload” button. Select the files you want to upload and wait for the transfer to complete. Most cloud storage providers offer the option to drag and drop files for added convenience.
- Organize files and folders: Similar to organizing files on your computer, you can create folders within your cloud storage to keep your files organized. Categorize files based on projects, file types, or any other classification that suits your needs. This will make it easier to locate and manage your files in the cloud.
- Access and share files: Cloud storage providers allow you to access your files from any device with an internet connection. You can view, edit, and download files directly from the web interface or the dedicated desktop or mobile applications. Cloud storage also provides convenient sharing options, allowing you to share files or folders with others, control access permissions, and collaborate on projects.
- Consider file encryption and security: While cloud storage providers ensure the security of your files, it’s always a good practice to encrypt sensitive files before uploading them to the cloud. This adds an extra layer of security and peace of mind.
By utilizing cloud storage, you can offload files from your hard disk drive and access them conveniently from anywhere with an internet connection. It offers an excellent solution for backing up important files, collaborating with others, and freeing up space on your local storage device.
Using Disk Cleanup Tool
The Disk Cleanup tool is a built-in feature in the Windows operating system that allows you to free up space on your hard disk drive by removing unnecessary files. It helps you identify and delete files such as temporary files, system files, and other items that are taking up valuable storage space. Here’s how you can use the Disk Cleanup tool:
- Open Disk Cleanup: Press the Start button, type “Disk Cleanup” in the search bar, and select the Disk Cleanup application from the search results.
- Select the drive to clean: In the Disk Cleanup window, you’ll see a dropdown menu with a list of drives on your computer. Choose the drive you want to clean, typically the C: drive, and click “OK”.
- Scan for files: The Disk Cleanup tool will analyze the selected drive and calculate how much space can be freed up. This process may take a few moments.
- Choose file categories to delete: After the scan is complete, you’ll see a list of file categories that you can delete. These categories may include temporary files, recycle bin files, system files, and more. Check the boxes next to the categories you want to remove.
- Additional options: To access more options for freeing up space, click on the “Clean up system files” button. This will rescan your drive and provide additional categories to clean, such as old Windows installations and system restore points. Be cautious when selecting these options, as they can impact your computer’s system restore capabilities.
- Start the cleanup: Once you’ve selected the categories to clean, click on the “OK” button. A confirmation message will appear, asking if you’re sure you want to permanently delete these files. Click “Delete Files” to proceed.
- Wait for the cleanup process: The Disk Cleanup tool will now start removing the selected files. The time it takes to complete the process will depend on the number and size of the files being deleted. Please be patient and avoid interrupting the process.
- Review the results: After the cleanup process is complete, you’ll see a summary of the amount of disk space that has been freed up. Take a moment to review the results and ensure that the selected files have been successfully removed.
Regularly using the Disk Cleanup tool is a simple yet effective way to reclaim valuable disk space on your computer. By removing unnecessary files, you can optimize your hard disk drive’s performance and ensure smooth system operation.
Disk Optimization
Disk optimization is the process of rearranging how data is stored on your hard disk drive to improve performance and efficiency. Over time, as files are created, deleted, and modified, the data on your disk can become fragmented, meaning it is scattered across different physical locations. Disk optimization helps organize this fragmented data, allowing your computer to access and process files more efficiently. Here are some methods you can use to optimize your disk:
- Defragmentation: The most common method of disk optimization is defragmentation. Windows operating system provides a built-in Disk Defragmenter tool that rearranges fragmented data on your hard disk drive. To defragment your disk, follow these steps:
- Open the Start menu, search for “Defragment and Optimize Drives,” and select the application.
- Choose the drive you want to optimize and click on the “Optimize” button.
- Allow the tool to run and complete the defragmentation process.
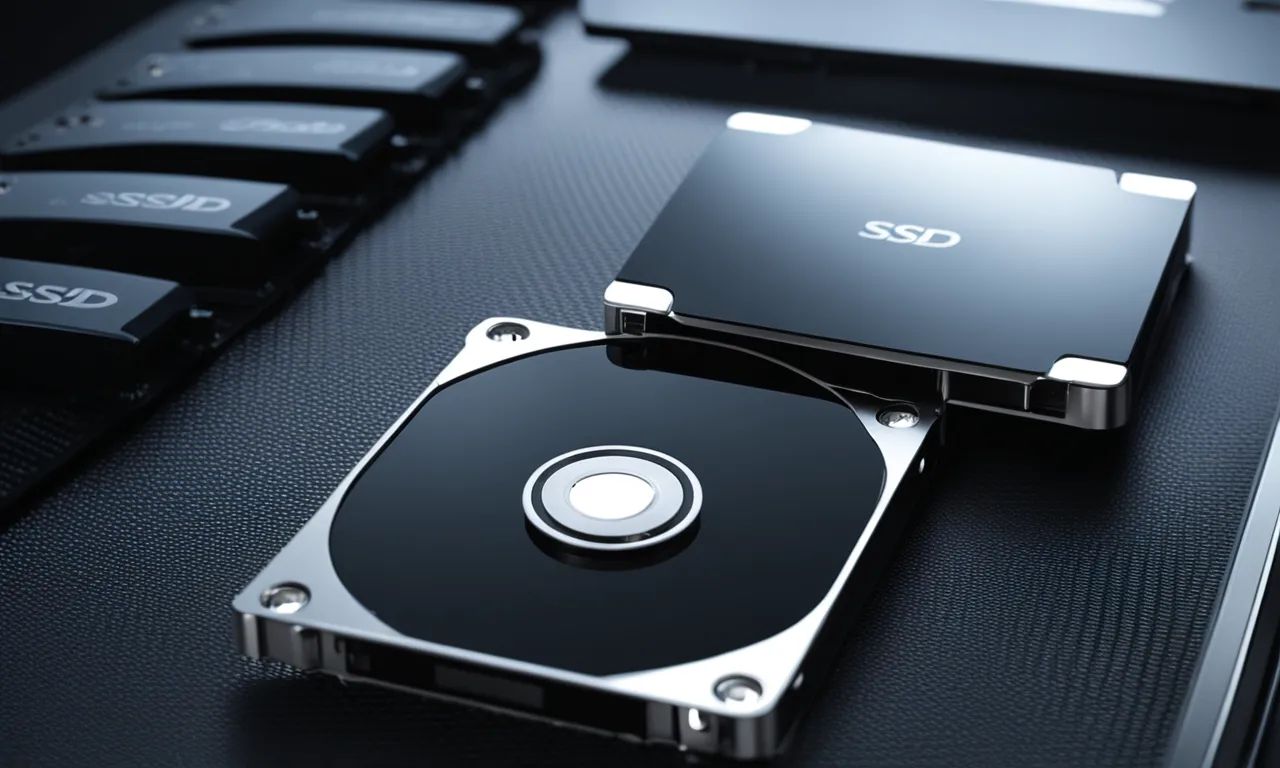
- Solid-State Drive (SSD) optimization: If you have an SSD, the traditional defragmentation process is not necessary, as SSDs work differently than traditional hard disk drives. However, you can still optimize SSDs through the TRIM command. TRIM helps inform your SSD which data blocks are no longer in use, allowing the drive to manage its storage space effectively. TRIM is usually enabled by default on modern operating systems.
- Regular system updates: Keeping your operating system and device drivers up to date is essential for disk optimization. Updates often include performance improvements and bug fixes that can enhance the overall efficiency of your computer and its disk utilization.
- Removing unnecessary startup programs: Some programs automatically run in the background when your computer starts, consuming valuable system resources. By removing or disabling unnecessary startup programs, you can reduce the strain on your disk and improve its performance. Use the Task Manager (Ctrl+Shift+Esc) to manage startup programs and disable any that are not essential.
- Regular disk cleanup: Performing regular disk cleanup, as discussed earlier, helps remove unnecessary files and free up space on your disk. By regularly clearing out temporary files, caches, and other unused data, you can prevent your disk from becoming cluttered and optimize its performance.
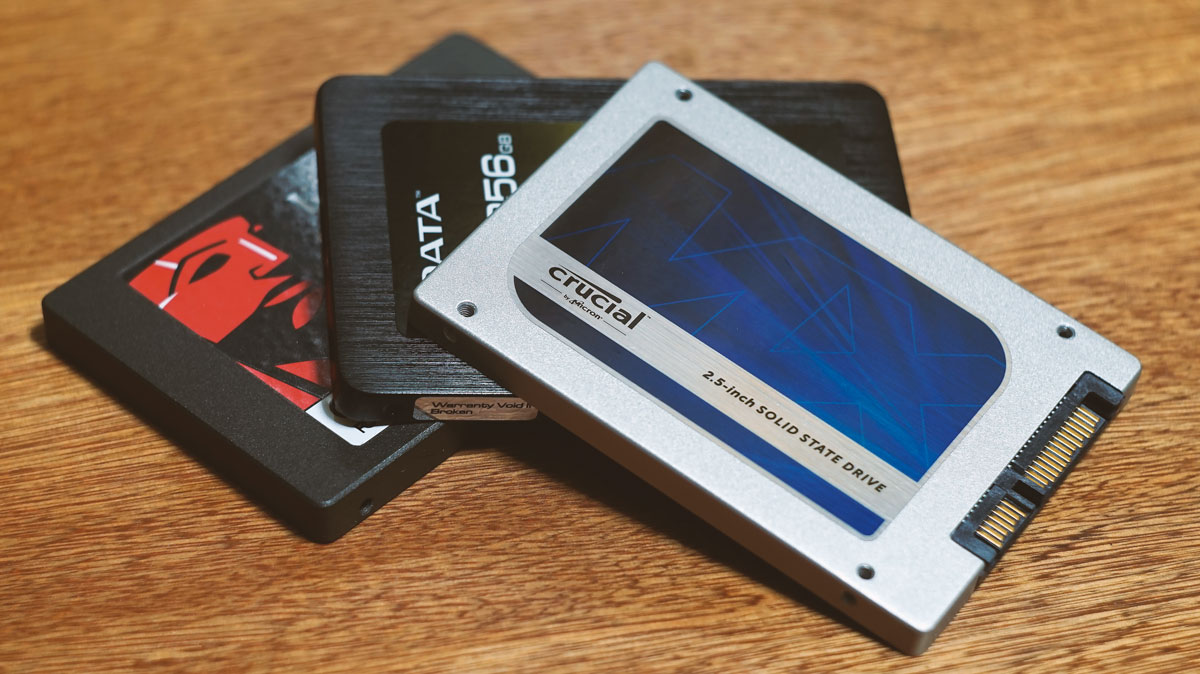
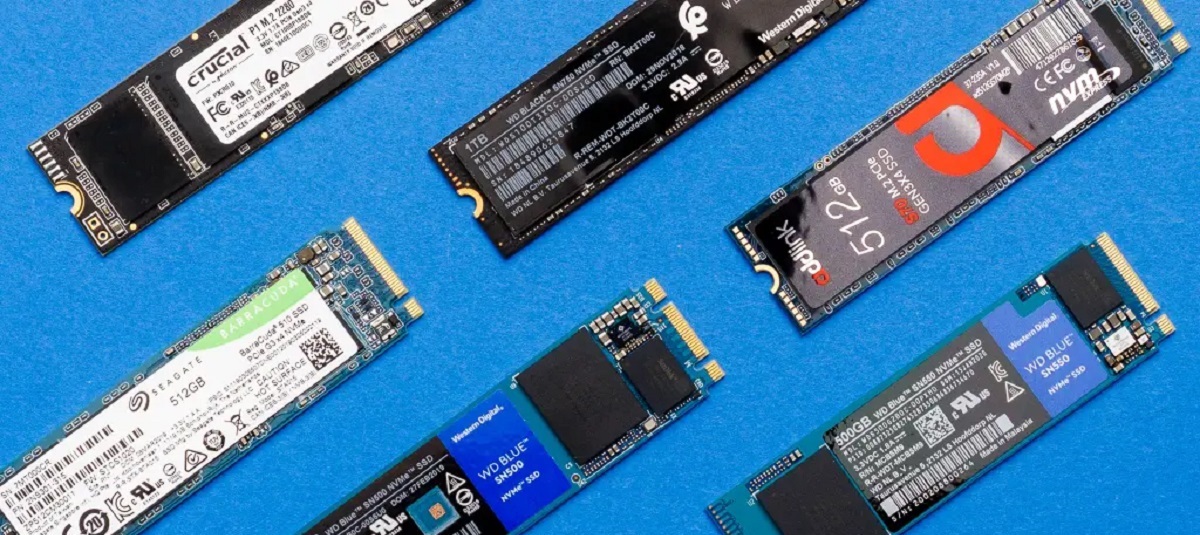
- Consider a faster storage option: If you find that your hard disk drive is continually underperforming or is no longer meeting your storage and performance needs, you may want to consider upgrading to a faster storage option. Solid-state drives (SSDs) offer faster data access and transfer speeds compared to traditional hard disk drives. Upgrading to an SSD can significantly improve disk performance and overall system responsiveness.
By implementing these disk optimization strategies, you can enhance the efficiency of your hard disk drive, improve system performance, and ensure smoother multitasking and data access on your computer.
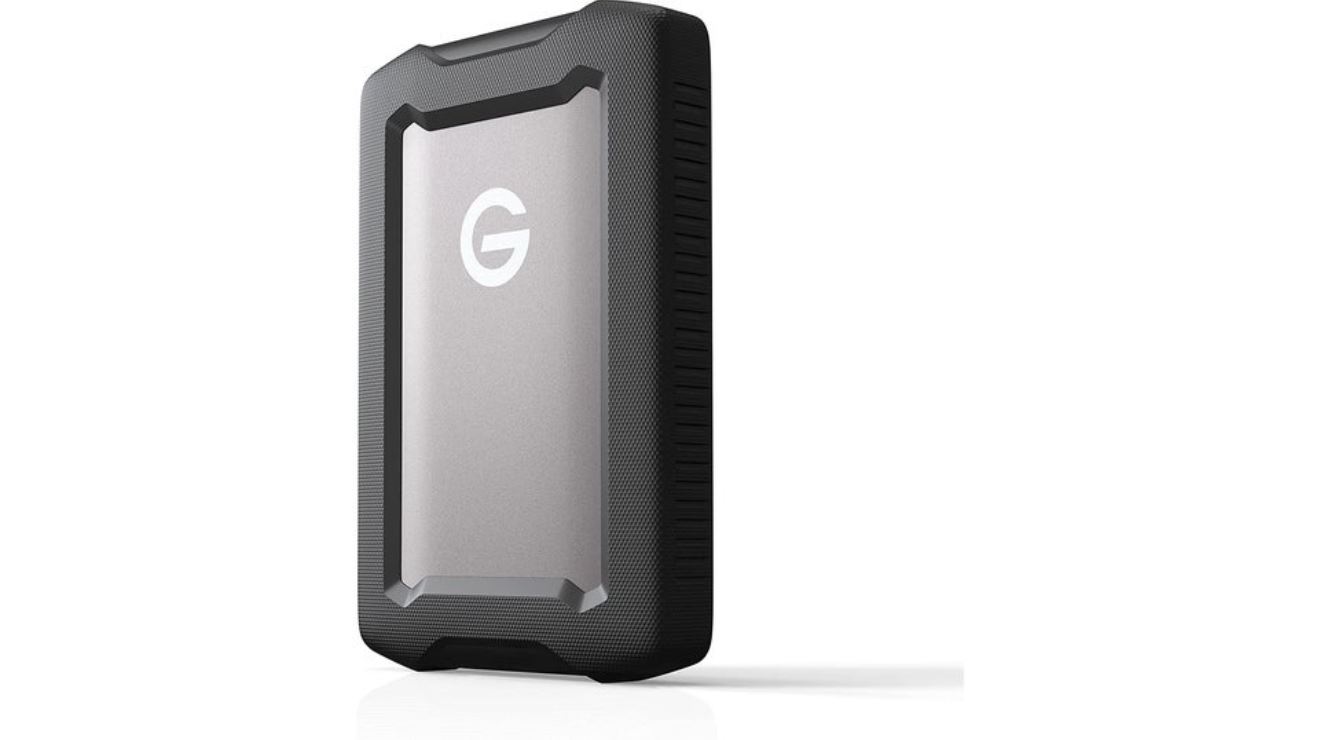
Upgrading to a Larger Hard Disk Drive
If you have tried various methods to free up space and optimize your current hard disk drive but still find it insufficient, upgrading to a larger hard disk drive can be a viable solution. Upgrading your hard disk drive provides you with more storage capacity to accommodate your growing needs. Here are the steps to follow when upgrading to a larger hard disk drive:
- Backup your data: Before proceeding with any hardware changes, it is crucial to back up all your important data. You can use an external storage device or utilize cloud storage options to create a secure backup of your files.
- Choose a new hard disk drive: Research and select a new hard disk drive that meets your storage and performance requirements. Consider factors like storage capacity, RPM (rotation per minute), cache size, and interface (SATA, SSD, etc.). Additionally, ensure the new hard disk drive is compatible with your computer’s specifications.
- Ensure adequate space and connections: Verify that your computer has enough physical space and necessary connections to accommodate the new hard disk drive. The physical size of the drive and available drive bays should be compatible. Additionally, check if you have the required cables and connectors to connect the new drive to your computer.
- Create a disk image: Besides backing up your files, creating a disk image of your current hard disk drive can make the transition smoother. A disk imaging tool allows you to clone your entire drive, including the operating system and installed programs. This way, you can restore your computer to its previous state on the new drive.
- Install the new hard disk drive: Carefully disconnect the power cable and data cable from your computer’s existing hard disk drive. Remove the drive from its bay and replace it with the new drive. Ensure it is securely connected and fastened in place according to your computer’s hardware specifications.
- Restore your data: If you created a disk image, follow the instructions provided by the disk imaging tool to restore your data onto the new hard disk drive. If not, manually transfer your backed up files to the new drive.
- Test and verify: Once your new hard disk drive is installed and your data is restored, boot up your computer and ensure everything is functioning correctly. Verify that your files are accessible and that the system is recognizing the new drive with its full storage capacity.
Upgrading to a larger hard disk drive provides you with the opportunity to expand your storage capacity and accommodate your growing data and file requirements. It’s essential to take necessary precautions and ensure that you properly backup and transfer your data during the upgrade process, to avoid any potential data loss or system instability.
Conclusion
Dealing with a full hard disk drive can be a frustrating experience, but with the right strategies, you can effectively free up space and optimize your computer’s performance. By following the steps outlined in this article, you can take control of your storage and ensure smooth operation of your computer:
- Check your disk space regularly to stay aware of storage capacity and potential issues.
- Delete unnecessary files and folders, including duplicates and old backups.
- Clean temporary files to clear out accumulated data that is no longer needed.
- Uninstall unnecessary programs that are taking up valuable storage space.
- Consider moving files to external storage devices or utilizing cloud storage solutions for flexible and convenient storage options.
- Use the Disk Cleanup tool provided by the operating system to remove unnecessary files.
- Optimize your disk through defragmentation or TRIM command based on the type of storage device you have.
- Lastly, if all else fails, upgrading to a larger hard disk drive can provide the necessary storage capacity to meet your needs.
Remember, it’s essential to regularly maintain and manage your computer’s storage to prevent issues related to a full hard disk drive. By implementing these strategies and staying proactive in managing your storage space, you can enjoy a more efficient and optimized computing experience.