Introduction
Welcome to the world of computers and hard disk drives (HDDs)! In our digital age, HDDs are one of the essential components of any computer system. They store all our important data, from documents and photos to videos and software. Understanding how to identify the letter of the hard disk drive on Windows is crucial for various tasks, such as managing storage, partitioning drives, and troubleshooting issues.
When you connect an HDD to your Windows computer, it gets assigned a drive letter, which serves as its unique identifier within the operating system. This drive letter allows you to access the contents of the HDD and perform various operations on it. However, the drive letter assigned to an HDD may not always be the same, as it can change based on the computer’s configuration, the order of connections, or other factors.
In this article, we will guide you through the process of identifying the letter assigned to the hard disk drive on Windows. You will also learn how to rename drive letters and troubleshoot common issues related to drive letter assignments.
Whether you are a tech-savvy individual or a beginner getting acquainted with computer systems, this guide will provide you with the necessary knowledge to navigate through the intricacies of identifying drive letters on Windows. So let’s dive in and explore the fascinating world of hard disk drives and drive letters!
Understanding the Hard Disk Drive (HDD)
Before delving into the process of identifying the letter of the hard disk drive (HDD) on Windows, it’s crucial to have a clear understanding of what an HDD is and how it functions.
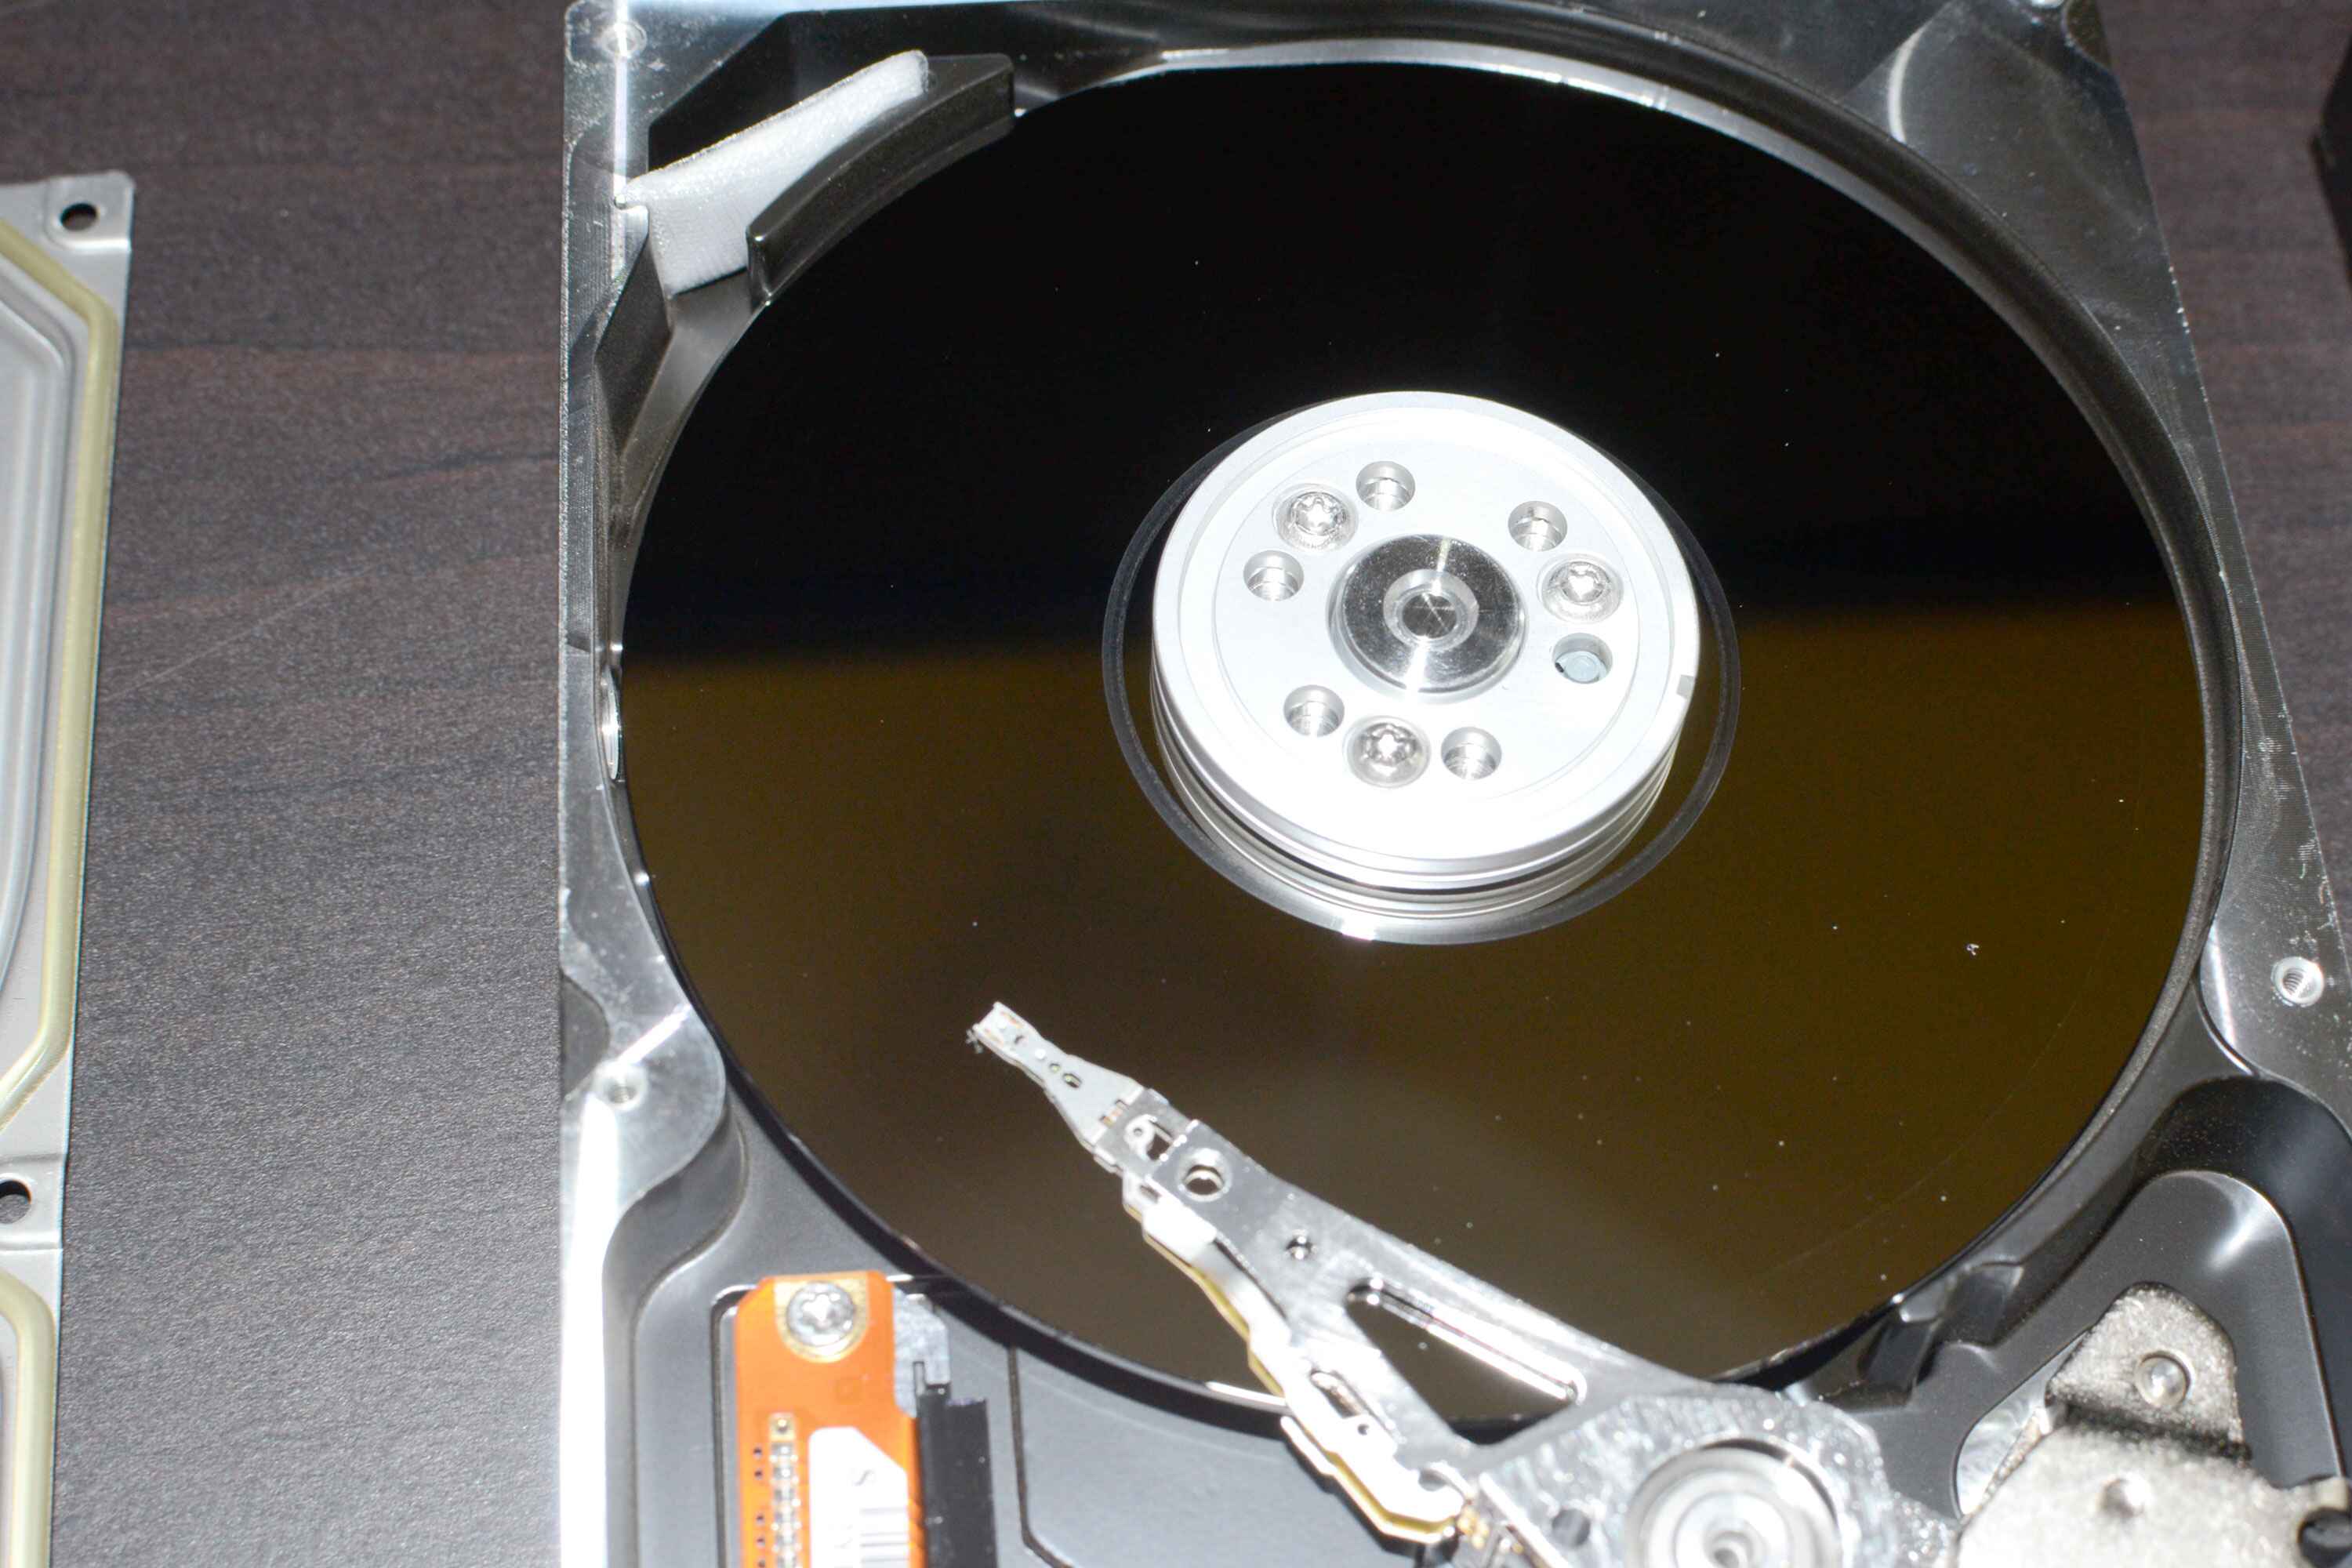
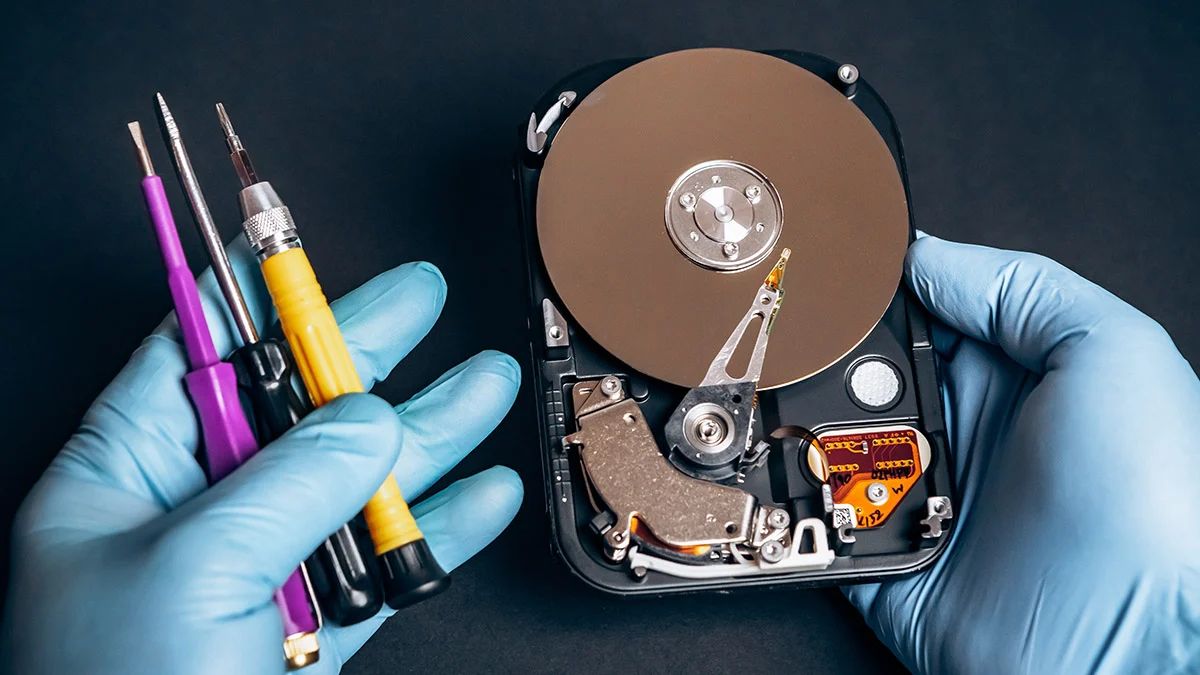
The hard disk drive is a non-volatile storage device that houses the operating system, software applications, and user data in a computer system. It consists of one or more magnetic disks, also known as platters, which spin at high speeds while read/write heads access and store data on them. The data is stored in concentric circles called tracks, and each track is further divided into sectors.
When you power on your computer, the operating system communicates with the HDD to read or write data. This data transfer is made possible by the drive’s firmware, which acts as the bridge between the physical platters and the computer’s logical file system.
The HDD is an essential component of any computer system, as it provides long-term storage for all types of data. From your operating system files to your personal documents, photos, videos, and applications, everything is stored on the hard disk drive. It’s important to note that an HDD’s capacity is measured in terms of gigabytes (GB) or terabytes (TB), reflecting its ability to store a vast amount of data.
Over time, as technology has advanced, solid-state drives (SSDs) have emerged as an alternative to traditional HDDs. Unlike HDDs, SSDs have no moving parts and use flash memory to store data. They offer faster access times and increased reliability, but at a higher cost per GB compared to HDDs. Nonetheless, HDDs continue to be widely used due to their cost-effectiveness and larger storage capacities, making them an ideal choice for storing vast amounts of data.
By understanding the inner workings of a hard disk drive, you will gain a deeper appreciation for the integral role it plays in storing and accessing your data. With this foundation in place, let’s now explore how to identify the letter of the hard disk drive on Windows.
Navigating to Disk Management
Now that we have a basic understanding of HDDs, let’s proceed to the process of identifying the letter assigned to the hard disk drive on Windows. To accomplish this, we will be utilizing the Disk Management feature built into the Windows operating system.
To access Disk Management, follow these steps:
- Open the Start Menu by clicking on the Windows icon located at the bottom left corner of the screen.
- Type “Disk Management” in the search bar, and the Disk Management utility should appear in the search results. Click on it to launch the application.
- Alternatively, you can press the Windows key + R on your keyboard to open the Run dialog box. Type “diskmgmt.msc” and press Enter to directly open Disk Management.
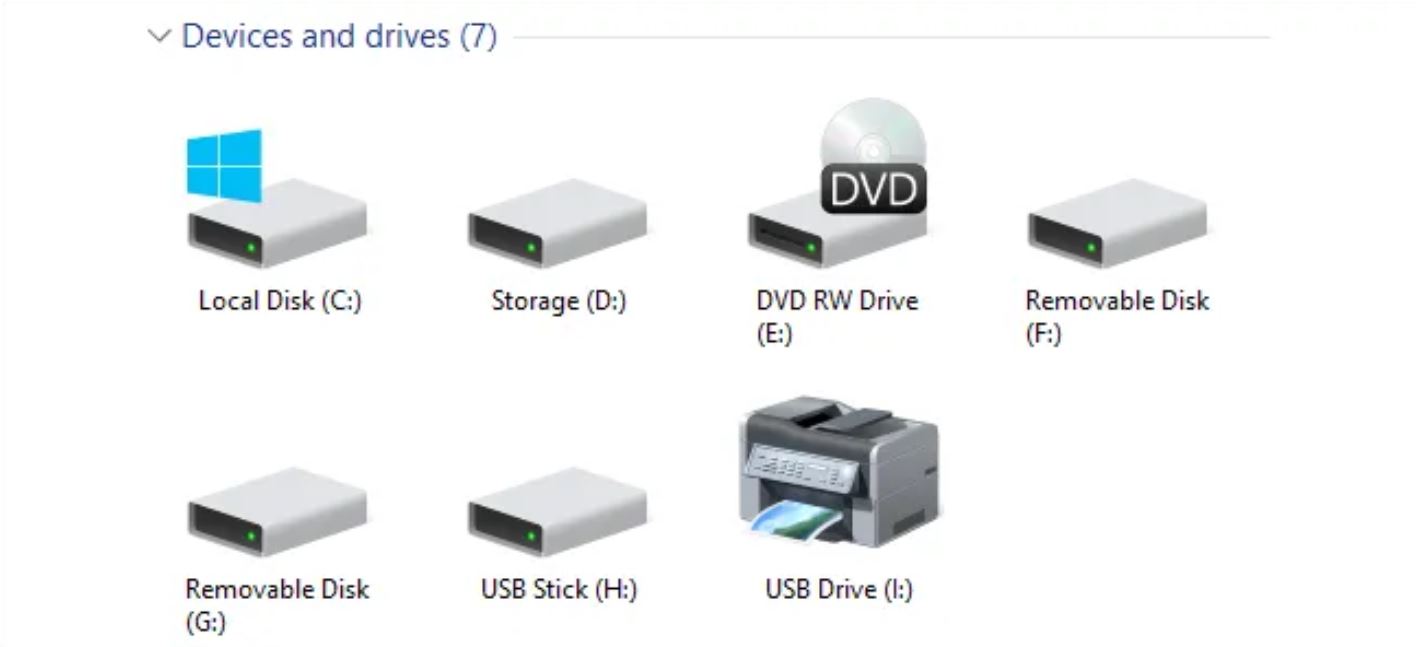
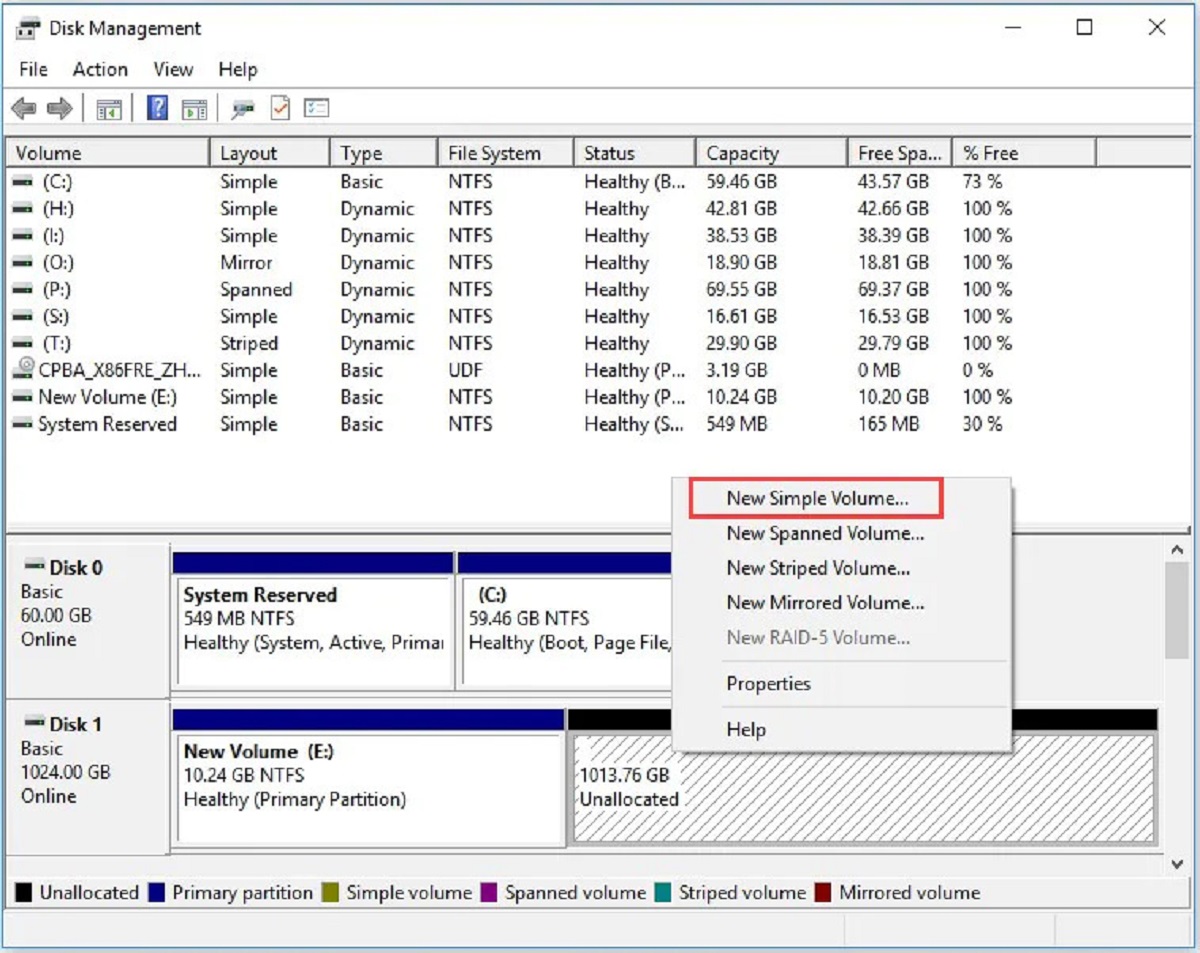
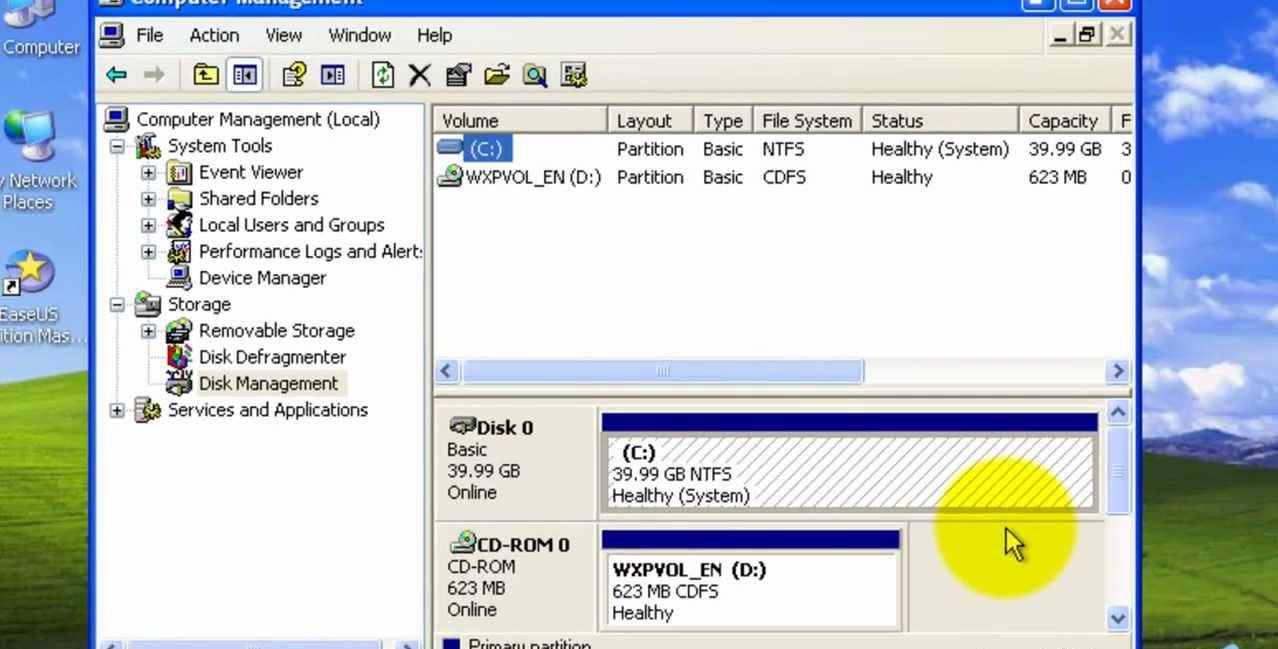
Once Disk Management is open, you will see a graphical representation of all the drives connected to your computer. The drives are displayed as rectangular boxes, with each box representing a physical disk or a partition on a disk. The drive letters assigned to the partitions will be visible on each box.
Take a moment to familiarize yourself with the Disk Management interface. You will notice that the graphical representation is accompanied by textual information, such as the disk number, volume capacity, and file system type. This information will help you identify the specific drive you are interested in.
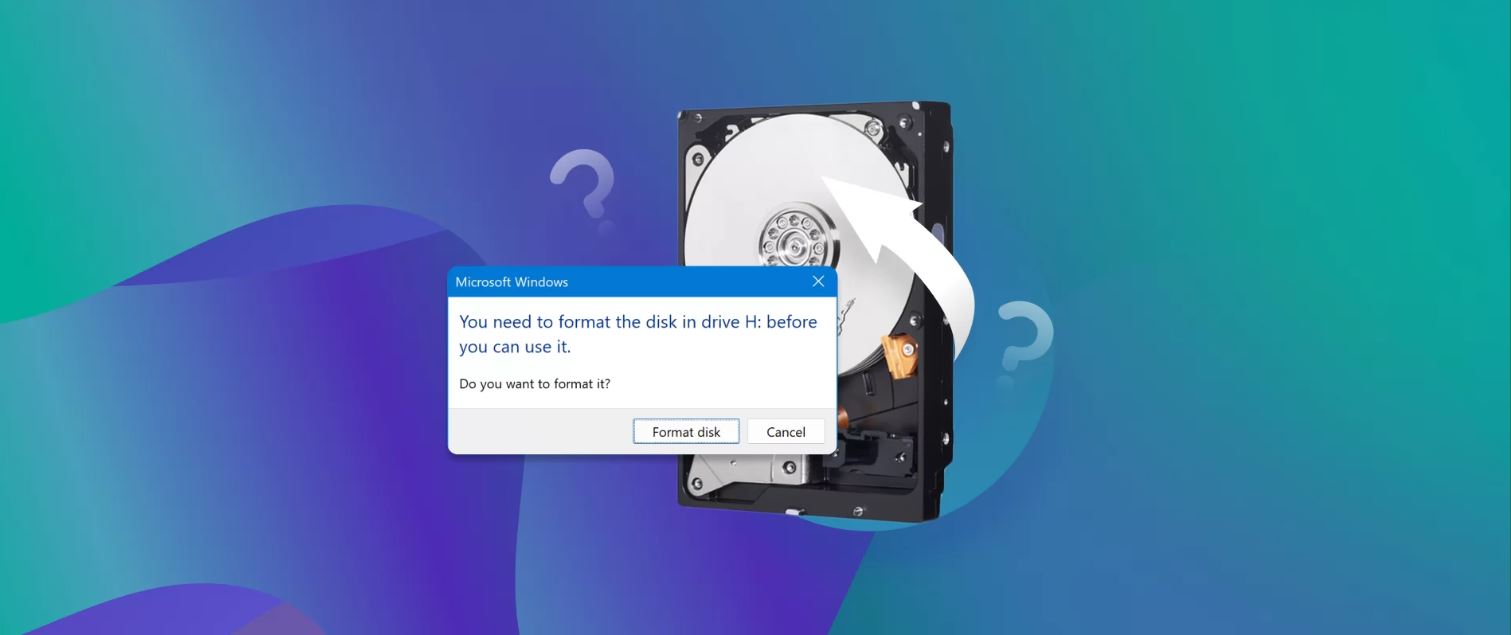
To identify the letter assigned to a particular hard disk drive, locate the corresponding box in Disk Management. The drive letter and other relevant details will be displayed on the box. If a drive letter is not assigned, it will appear as “RAW” or “Unallocated,” indicating that it has not been initialized or formatted.
By navigating to Disk Management and observing the graphical representation of the drives, you can easily identify the letter of the hard disk drive connected to your Windows computer.
Identifying the Drive Letters
Once you have accessed Disk Management on your Windows computer, identifying the drive letters assigned to the hard disk drives becomes a straightforward process. Here are the steps to follow:
- In Disk Management, locate the box representing the hard disk drive you want to identify.
- Look for the drive letter assigned to that particular drive. It will be displayed on the box next to the drive’s volume label and other relevant details.
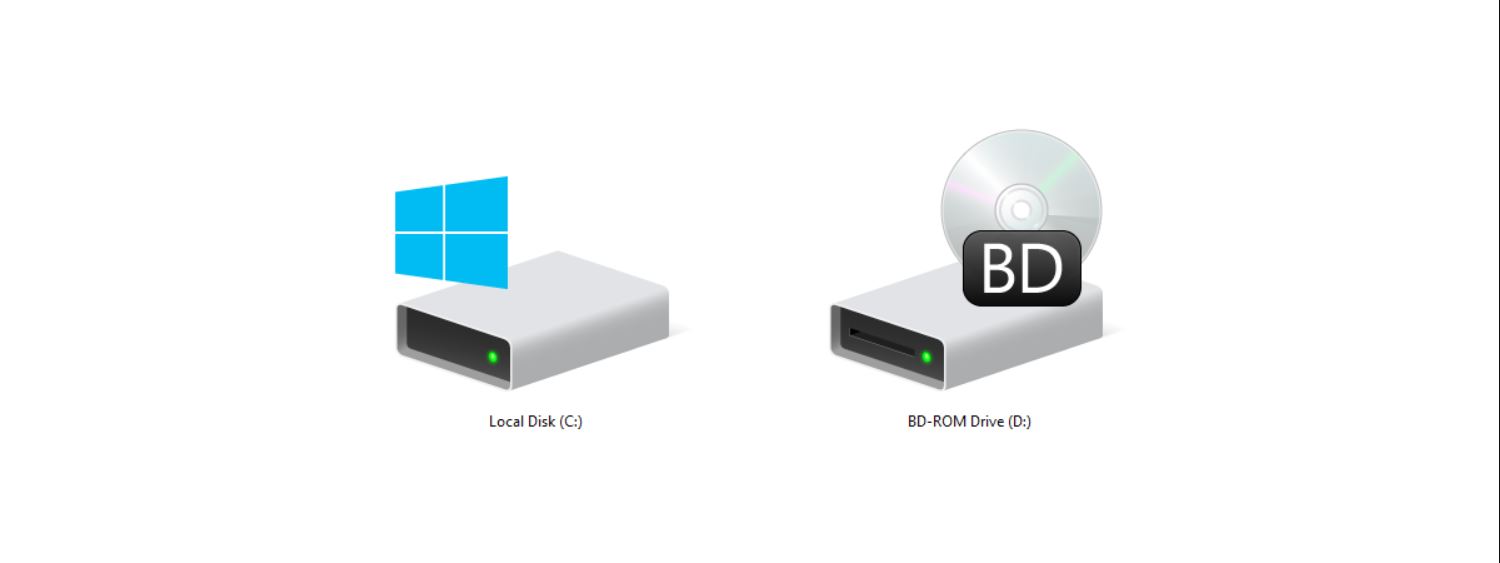
- If you have multiple hard disk drives connected to your computer, each drive will have a unique drive letter assigned to it. For example, your primary drive might be assigned the letter C, while any additional drives will have letters like D, E, and so on.
- Take note of the drive letter for future reference. This information will be useful when performing various tasks, such as accessing files and folders, managing partitions, or troubleshooting drive-related issues.
- It’s worth mentioning that drive letters can be reassigned or changed, depending on user preferences or system requirements. Therefore, it’s essential to check Disk Management whenever there is a need to identify or verify the drive letters assigned to the hard disk drives.
By following these steps, you can easily identify the drive letters assigned to the hard disk drives on your Windows computer. This knowledge will enable you to navigate through your storage devices efficiently and perform tasks with ease.
Renaming Drive Letters
In certain situations, you may find it necessary to rename the drive letters assigned to your hard disk drives on Windows. Renaming drive letters can provide a more organized and intuitive system for managing your storage devices. Here’s how you can rename drive letters:
- Open Disk Management on your Windows computer by following the steps mentioned earlier.
- Locate the hard disk drive you wish to rename and right-click on its corresponding box in the Disk Management interface.
- In the context menu that appears, select “Change Drive Letter and Paths…”
- In the new window that pops up, click on the “Change” button.
- Select the desired drive letter from the drop-down menu. It’s essential to choose a letter that is not already assigned to another drive.
- Click “OK” to confirm the drive letter change.
- You may need to restart your computer for the changes to take effect.
It’s important to exercise caution when renaming drive letters, as changing the letters for system drives or important partitions can lead to system instability or data loss. Therefore, it is recommended to only rename drive letters for non-system or non-critical drives.
By following these steps, you can easily rename the drive letters assigned to your hard disk drives on Windows. This can be particularly helpful in situations where you want to create a more organized and personalized drive letter system that aligns with your workflow and preferences.
Troubleshooting Drive Letter Issues
While assigning and managing drive letters is generally a seamless process on Windows, there may be instances where you encounter issues with drive letter assignments. Here are some common drive letter issues and troubleshooting steps:
- Drive Letter Conflict: If you connect a new storage device and it does not appear with a drive letter assigned, it may be due to a conflict with an existing drive letter. To resolve this, open Disk Management and right-click on the drive box that has no letter assigned. From the context menu, select “Change Drive Letter and Paths…” and assign a unique letter to the drive.
- Drive Letter Unavailable: In some cases, a drive letter may not be available for assigning to a new drive because it is already in use by another device. To fix this, you can either disconnect the other device to free up the letter or change the drive letter of the existing device. To change the drive letter of an existing device, follow the steps mentioned earlier in the “Renaming Drive Letters” section.
- Drive Letter Missing: If a drive letter associated with a particular partition or drive goes missing, it may be due to a disk configuration change or an issue with the file system. To resolve this, open Disk Management and locate the partition with the missing drive letter. Right-click on the partition and select “Change Drive Letter and Paths…”. Then, click “Add” to assign a new drive letter to the partition.
- Drive Not Accessible: If a drive letter is assigned, but you are unable to access the files on the drive, it may indicate a disk corruption or other issues. Try using the built-in Windows tools like Disk Check or Disk Repair to scan and fix any errors on the disk. You can access these tools by right-clicking on the drive in Disk Management and selecting “Properties,” then navigating to the “Tools” tab.
If you encounter persistent drive letter issues that cannot be resolved through basic troubleshooting steps, it is recommended to seek assistance from a computer technician or consult the Windows support resources.
By understanding these common drive letter issues and following the troubleshooting steps outlined above, you will be equipped to resolve any drive letter-related problems that may arise while managing your hard disk drives on Windows.
Conclusion
In this article, we have explored the process of identifying the letter of the hard disk drive (HDD) on Windows. The drive letter assigned to an HDD serves as its unique identifier within the operating system and allows you to access its contents and perform various operations on it.
To identify the drive letter assigned to an HDD, you can navigate to Disk Management, a built-in tool in Windows. Disk Management provides a graphical representation of the connected drives, along with their assigned letters and other relevant information. By locating the corresponding box representing the HDD, you can easily determine its drive letter.
We have also discussed how to rename drive letters, which can be helpful for organizing your storage devices and personalizing your system’s drive letter assignments. However, it’s important to exercise caution when renaming drive letters, as changes to system drives or critical partitions can lead to system instability or data loss.
In addition, we explored common drive letter issues and provided troubleshooting steps to address them. These issues include drive letter conflicts, unavailable drive letters, missing drive letters, and drive inaccessibility. By following the recommended troubleshooting steps, you can effectively resolve these issues and ensure the smooth operation of your hard disk drives.
Understanding how to identify and manage drive letters on Windows is crucial for efficiently organizing and working with your storage devices. By gaining this knowledge, you can easily access your files and folders, manage partitions, and troubleshoot any drive letter-related issues that may arise.
So, whether you are a tech enthusiast, a professional, or a beginner exploring the world of computer systems, mastering the process of identifying and managing drive letters will empower you to make the most of your hard disk drives on Windows.