Introduction
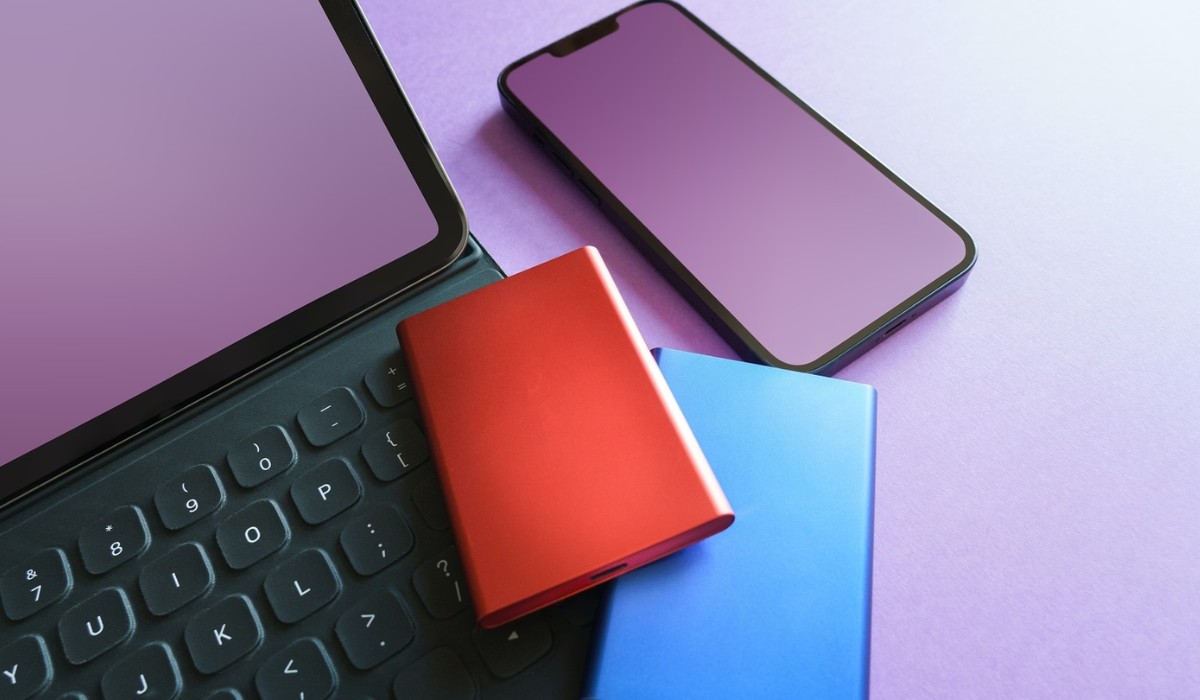
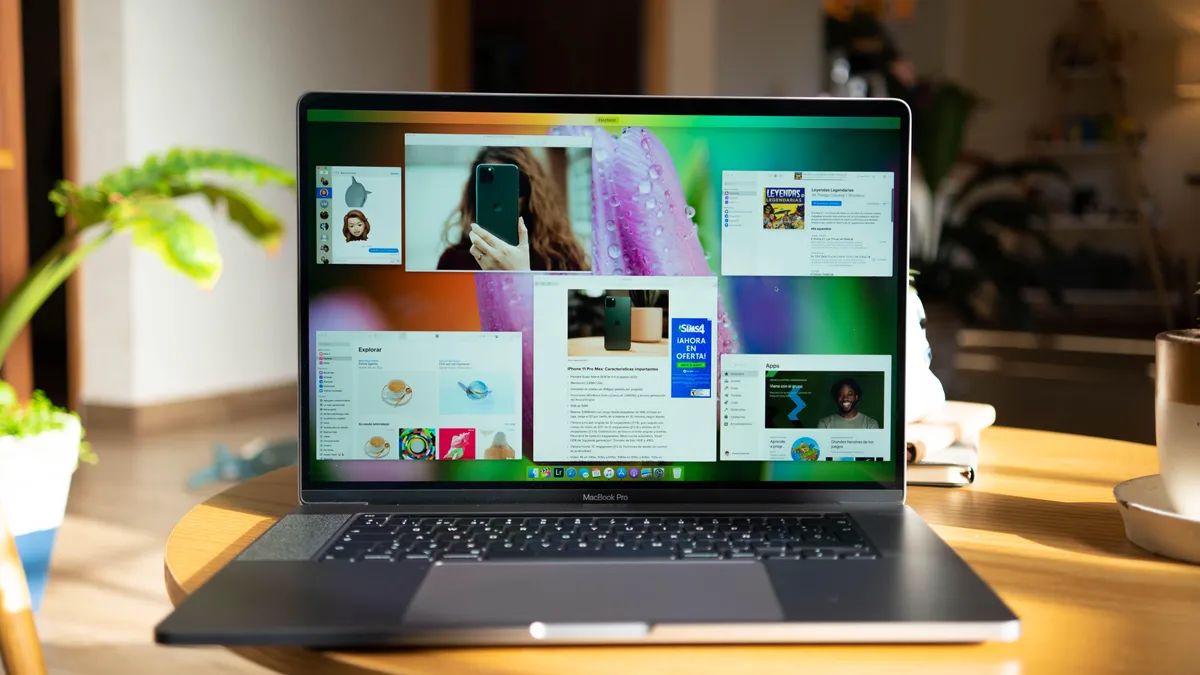
Welcome to this guide on how to remove all your pictures from your Mac Pro and transfer them to an external hard disk drive. If you find that your Mac Pro’s storage space is running low due to the large number of pictures you have accumulated, it’s a good idea to offload them to an external drive. Doing so not only frees up valuable space on your Mac but also ensures that your precious memories are safely stored.
Having an external hard disk drive dedicated to storing your pictures provides several benefits. Firstly, it allows you to create backups, safeguarding your photos from any potential data loss. Additionally, it gives you the flexibility to access your pictures from different devices, ensuring easy sharing and organization.
In this guide, we will take you through a step-by-step process to remove all your pictures from your Mac Pro and transfer them to an external hard disk drive. Whether you have a large collection of personal photos, professional work images, or a mixture of both, this guide will help you organize and manage them efficiently.
Before we delve into the step-by-step instructions, make sure you have an external hard disk drive ready to connect to your Mac Pro. It should have sufficient storage capacity to accommodate all your pictures. Additionally, ensure that you have the necessary cables and connections to establish a secure connection between your Mac Pro and the external drive.
Now, let’s get started with the process of transferring your pictures and reclaiming valuable storage space on your Mac Pro!
Step 1: Connect your external hard disk drive to your Mac Pro
The first step in transferring your pictures from your Mac Pro to an external hard disk drive is to establish a connection between the two devices. Follow these simple instructions to connect your external drive:
- Locate an available USB or Thunderbolt port on your Mac Pro. Depending on the model, you may have different types of ports available.
- Take the USB or Thunderbolt cable that came with your external hard disk drive and connect one end to the port on your Mac Pro.
- Connect the other end of the cable to the corresponding port on your external hard disk drive.
- Ensure that the connection is secure by gently pushing the cable into both the Mac Pro and the external drive.
- If your external drive has a separate power source, such as an external power adapter or a power cable, make sure it is connected and powered on.
- Wait a couple of seconds for your Mac Pro to detect the external hard disk drive. You should see a notification or icon appear on your screen indicating that the drive has been recognized.
Once the external hard disk drive is successfully connected to your Mac Pro, you’re ready to proceed to the next step and create a folder on the drive to store your pictures.
Step 2: Create a new folder on your external hard disk drive to store your pictures
In this step, we will create a new folder on your external hard disk drive where you can store all your pictures. This will help keep your files organized and make it easier to find them in the future. Follow these straightforward instructions:
- Open Finder on your Mac Pro by clicking on the Finder icon in the Dock or using the keyboard shortcut Command + Space and then typing “Finder”.
- In the Finder window that opens, locate your external hard disk drive under the “Devices” section in the left-hand sidebar. Click on its name to open it.
- Once you are inside the external drive, click on the “File” menu at the top of the screen and select “New Folder”.
- A new folder will appear in the current directory with the default name “Untitled Folder”.
- Double-click on the “Untitled Folder” name and rename it to something descriptive, such as “Pictures” or “Photo Backup”.
- Press the Enter or Return key on your keyboard to save the new name.
Congratulations, you have successfully created a new folder on your external hard disk drive! This folder will serve as the dedicated location for storing all your pictures.
Now that you have a designated folder, you can proceed to the next step, where we will open the Photos app on your Mac Pro to begin selecting the pictures you want to transfer.
Step 3: Open the Photos app on your Mac Pro
In order to transfer your pictures from your Mac Pro to your external hard disk drive, you will need to access them through the Photos app. Follow these simple steps to open the Photos app:
- Locate the Photos app icon in your Dock. It resembles a multi-colored flower.
- Click on the Photos app icon to launch the application.
- If the Photos app is not located in your Dock, you can also find it by clicking on the “Launchpad” icon in your Dock (a gray rocket ship), then typing “Photos” in the search bar at the top of the screen. Click on the Photos app when it appears.
- Alternatively, you can open the Photos app by using the keyboard shortcut Command + Space to activate Spotlight Search and then typing “Photos”. Select the Photos app from the search results.
After following these steps, the Photos app will open, and you will have access to all your stored pictures on your Mac Pro. It’s now time to select the pictures you want to transfer to your external hard disk drive. In the next step, we will guide you on how to do this effectively.
Note: If you don’t have the Photos app installed on your Mac Pro, you can download it for free from the Mac App Store. Make sure you are connected to the internet and search for “Photos” in the App Store. Once you find the app, click on the “Get” or “Download” button to install it on your Mac Pro.
Step 4: Select all the pictures you want to transfer to your external hard disk drive
Now that you have opened the Photos app on your Mac Pro, it’s time to select the pictures you want to transfer to your external hard disk drive. Follow these steps to efficiently select all the pictures you wish to transfer:
- In the Photos app, you will see your photo library displayed with various albums and categories.
- Navigate through your photo library to find the specific album or photos you want to transfer.
- If you want to transfer all the photos in a particular album, simply click on the album to open it.
- Once inside the album, press the keyboard shortcut Command + A to select all the photos in that album. Alternatively, you can click and drag your mouse cursor to select multiple photos individually.
- If you want to transfer photos from different albums or locations within your photo library, hold down the Command key on your keyboard while clicking on each photo you want to select. This will allow you to choose multiple photos from different locations.
- As you click on each photo, you will see a blue checkmark appearing on the thumbnail, indicating that it is selected.
By following these steps, you will be able to select all the pictures you want to transfer to your external hard disk drive. Take your time to ensure you have selected all the desired photos before proceeding to the next step.
Now that you have selected the photos, it’s time to move on to the next step of transferring them to the folder you created on your external hard disk drive.
Step 5: Drag and drop the selected pictures into the folder on your external hard disk drive
With your pictures selected in the Photos app, it’s time to transfer them to the folder you created on your external hard disk drive. Follow these steps to complete the transfer:
- Ensure that both the Photos app and the Finder window containing the folder on your external hard disk drive are visible on your screen, side by side or in separate spaces.
- Click and hold on any of the selected photos in the Photos app.
- While holding the mouse button, drag the selected photos to the folder in the Finder window on your external hard disk drive.
- As you drag the photos over the folder, you will notice the folder highlighting, indicating that it is ready to receive the transferred pictures.
- Release the mouse button to drop the photos into the folder on your external hard disk drive.
The transfer process will now begin, and you will see progress indicators showing the status of each photo as it’s being transferred. The speed of the transfer will depend on the size and quantity of the selected photos, as well as the speed of your external hard disk drive.
It’s important to wait for the transfer to complete before proceeding to the next step. This ensures that all your selected pictures are successfully transferred to your external hard disk drive.
Once the transfer process is finished, you can proceed to verify that your pictures have been successfully transferred in the next step.
Step 6: Wait for the transfer to complete
After dragging and dropping your selected pictures from the Photos app into the folder on your external hard disk drive, it’s crucial to wait for the transfer to complete before proceeding. The time it takes for the transfer to finish will depend on the size of the files and the speed of your external hard disk drive.
During the transfer, you may see progress indicators or a status bar that shows the progress of each photo being transferred. You may also notice a spinning wheel or loading icon to indicate that the transfer is in progress.
While waiting for the transfer to complete, it’s essential to avoid interrupting the process. This means refraining from disconnecting or unplugging the external hard disk drive, closing the Photos app, or shutting down your Mac Pro.
To ensure a smooth and successful transfer, it’s recommended to be patient and allow the process to complete without any interruptions. You can take this time to attend to other tasks or simply relax.
Once the transfer is complete, you can move on to the next step and verify that your pictures have been successfully transferred to your external hard disk drive.
Note: If you encounter any issues or experience prolonged transfer times, it’s advisable to check the connections between your Mac Pro and the external hard disk drive, as well as the available storage space on the external drive.
Step 7: Verify that your pictures have been successfully transferred to the external hard disk drive
Once the transfer process is complete, it’s important to verify that your pictures have been successfully transferred to your external hard disk drive. Follow these steps to ensure that your files are safely stored:
- Navigate to the folder on your external hard disk drive where you transferred your pictures. You can do this by opening a new Finder window and locating the drive in the sidebar or by accessing it from the “Devices” section in the Finder sidebar.
- Double-click on the folder to open it and view its contents.
- Scroll through the folder to visually inspect and confirm that all the transferred pictures are present.
- If you have a large number of photos, you can use the search feature in Finder to search for specific file names or extensions to verify their presence.
- Open a few random pictures to ensure they are displaying correctly. This can help you confirm that the files were not corrupted during the transfer process.
By following these steps, you can be confident that your pictures have been successfully transferred and stored on your external hard disk drive. Having a backup of your precious memories provides peace of mind, knowing that they are safely stored and can be accessed whenever needed.
If you find that any pictures are missing or corrupted, it’s recommended to repeat the transfer process and ensure that all steps are followed correctly. It’s also advisable to double-check the available storage space on your external hard disk drive to ensure it can accommodate all your pictures.
Now that your pictures have been verified on your external hard disk drive, it’s time to proceed to the final step and free up storage space on your Mac Pro by deleting the pictures.
Step 8: Delete the pictures from your Mac Pro to free up storage space
Now that you have successfully transferred your pictures to your external hard disk drive and verified their presence, it’s time to free up storage space on your Mac Pro by deleting these pictures. Follow these steps to remove them from your Mac:
- Return to the Photos app on your Mac Pro to ensure all the transferred pictures are still selected. If they are not selected, follow the instructions in Step 4 to select them again.
- Once you have confirmed that all the photos are selected, press the Delete key on your keyboard or right-click on one of the selected photos and choose the “Delete” option from the context menu.
- A confirmation dialog box will appear asking if you want to delete the selected photos. Click “Delete” to proceed.
- The Photos app will begin deleting the selected pictures. Depending on the number of photos and the speed of your system, this process may take some time.
- During the deletion process, it’s important not to interrupt it by closing the Photos app or shutting down your Mac Pro. Allow the process to complete.
- Once the deletion is finished, you will notice that the selected pictures are no longer visible in the Photos app. This indicates that they have been successfully deleted from your Mac Pro.
Congratulations! You have now freed up storage space on your Mac Pro by removing the transferred pictures. Your Mac Pro’s storage capacity should now reflect the gained space.
If you encounter any issues during the deletion process or notice that certain photos were not deleted, you may need to manually delete them from their original location on your Mac. Locate the photos in Finder, select them, and press the Delete key or use the context menu to delete them permanently.
With the pictures safely transferred to your external hard disk drive and storage space freed up on your Mac Pro, you can now enjoy a more organized and efficient computing experience.
Conclusion
Congratulations! You have successfully removed all your pictures from your Mac Pro and transferred them to an external hard disk drive. By following the step-by-step process outlined in this guide, you have not only freed up valuable storage space on your Mac but also ensured that your precious memories are safely stored and easily accessible.
Having an external hard disk drive dedicated to storing your pictures provides several advantages. It allows you to create backups, protecting your photos from any potential data loss. It also provides you with the flexibility to access your pictures from different devices and easily share them with others.
Remember, before starting the transfer process, it’s important to have an external hard disk drive connected to your Mac Pro with sufficient storage capacity. Additionally, ensure that you have the necessary cables and connections to establish a secure connection between your Mac Pro and the external drive.
Throughout the process, we covered the key steps, including connecting your external hard disk drive, creating a folder to store your pictures, opening the Photos app, selecting the pictures, and dragging and dropping them into the folder on your external drive. We also stressed the importance of waiting for the transfer to complete and verifying that the pictures have been successfully transferred.
Finally, we walked you through the process of deleting the transferred pictures from your Mac Pro to free up storage space. By following these steps, you can enjoy a more organized and efficient computing experience without compromising your precious memories.
We hope this guide has been helpful in assisting you with removing your pictures from your Mac Pro and transferring them to an external hard disk drive. Now you can enjoy the benefits of additional storage space and the peace of mind that comes with having your pictures backed up.
Thank you for following along, and happy picture organizing!


