Introduction
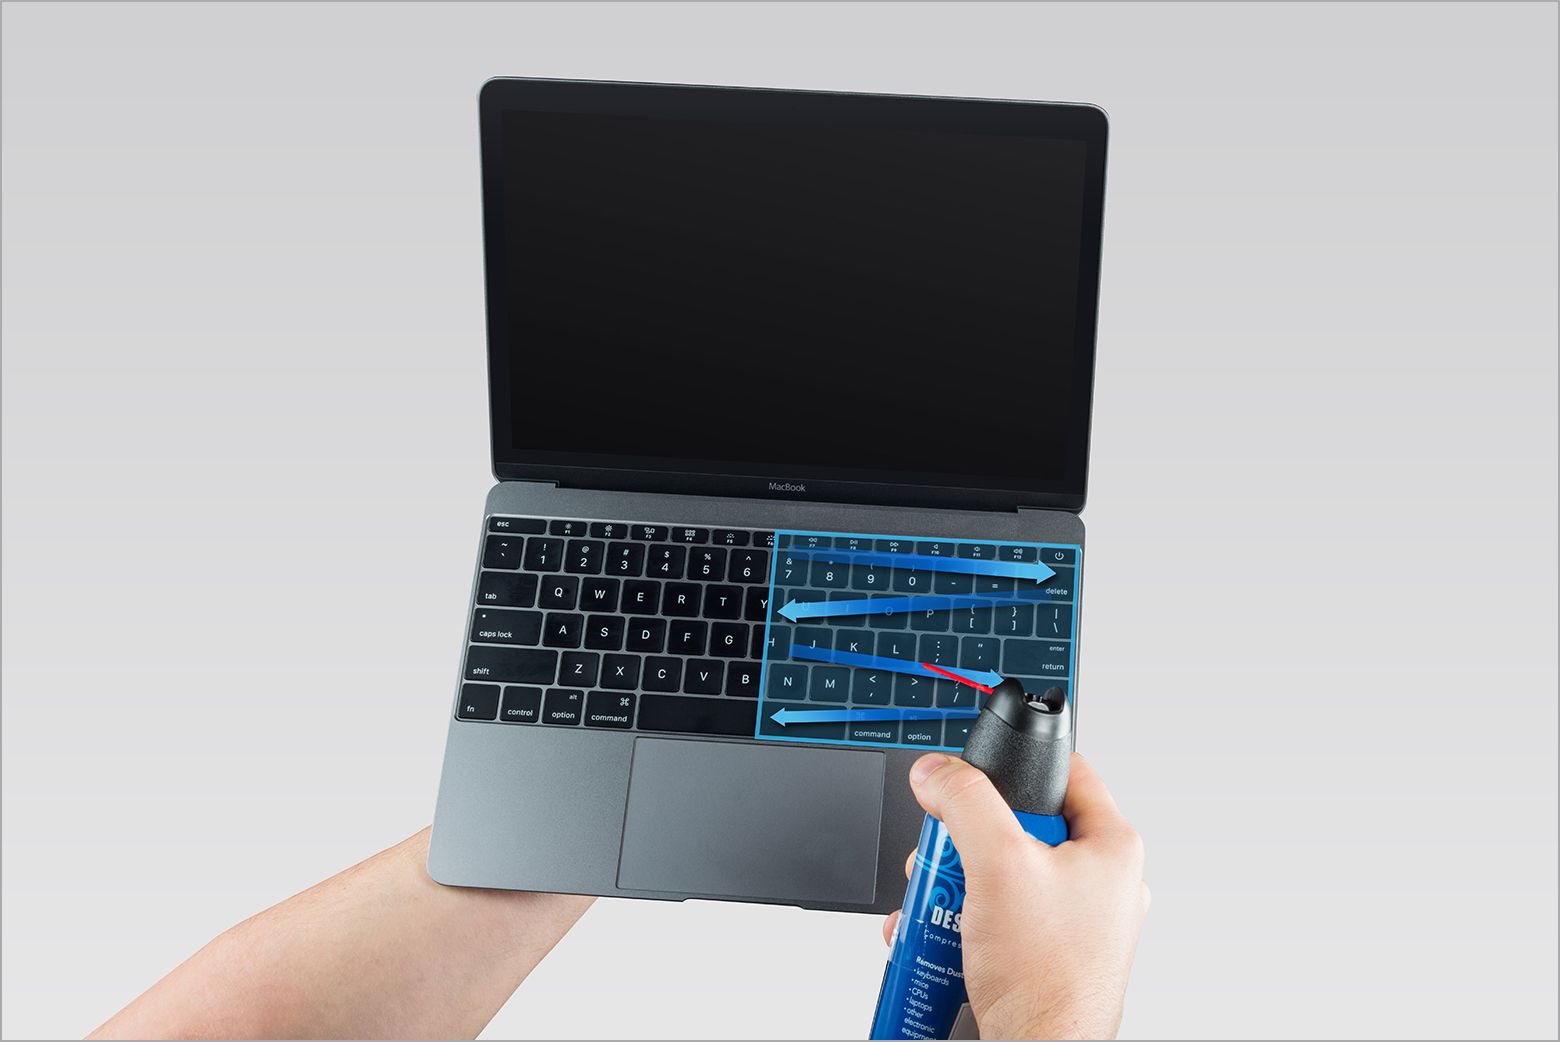
When it comes to optimizing the performance of your MacBook Pro, sometimes a fresh start is necessary. Whether you’re planning to sell it, give it away, or just want to wipe the slate clean, learning how to wipe your MacBook Pro is essential. By following a few simple steps, you can ensure that all your personal data and settings are securely erased, leaving your MacBook Pro like new.
Before diving into the process of wiping your MacBook Pro clean, it’s important to note that this action is irreversible. Once you erase your hard drive, all data will be permanently deleted, so it’s crucial to back up any important files or documents you want to keep. Additionally, make sure you have the necessary information and credentials for reinstalling macOS and setting up your MacBook Pro after the wipe.
In this guide, we will walk you through the necessary steps to wipe your MacBook Pro clean, starting with backing up your data. We will then cover how to sign out of iCloud and other services, deauthorize your MacBook Pro, restart in recovery mode, erase your hard drive securely, reinstall macOS, and finally, set up your MacBook Pro for a fresh start. Follow these steps carefully to ensure a smooth and successful wipe of your MacBook Pro.
Before You Begin
Before embarking on the process of wiping your MacBook Pro clean, there are a few important things you need to consider:
1. Back up Your Data: It is crucial to back up all your important files and documents before proceeding with the wipe. You can use either an external hard drive or cloud storage services like iCloud or Dropbox for this purpose. Make sure you have copies of everything you want to keep.
2. Check System Requirements: Ensure that your MacBook Pro meets the system requirements for the latest version of macOS that you plan to reinstall. Visit the Apple website to find information about the supported models and check if your MacBook Pro is compatible.
3. Prepare installation media: Depending on your MacBook Pro model and preferences, you can either use a USB flash drive or create a bootable installer for macOS. Having this installation media ready will ensure a smooth reinstallation process after wiping your MacBook Pro.
4. Gather Required Information: Make sure you have all the necessary login information and credentials for your Apple ID, iCloud, and any other services or applications you use on your MacBook Pro. This will ensure a seamless reauthentication process when setting up your MacBook Pro after the wipe.
5. Store Software Licenses and Product Keys: If you have any software licenses or product keys for third-party applications installed on your MacBook Pro, make sure to store them safely so that you can reinstall the applications later.
By taking these preparatory steps, you’ll be well-equipped to safely and efficiently wipe your MacBook Pro clean. Now that you have your data backed up and all the necessary information at hand, you’re ready to proceed with the next steps. Let’s move on to signing out of iCloud and other services.
Back Up Your Data
Before you wipe your MacBook Pro clean, it’s crucial to back up all your important data to ensure that none of your files or documents are lost. Follow these steps to create a backup:
- Use Time Machine: Connect an external hard drive to your MacBook Pro. Time Machine is a built-in feature of macOS that makes it easy to create automatic backups. Go to “System Preferences” and click on “Time Machine”. Set up the backup disk and select the files and folders you want to include in the backup. Time Machine will then create regular backups of your data.
- Utilize Cloud Storage: iCloud and other cloud storage services provide a convenient way to store your files securely off-site. Upload your important files and documents to your preferred cloud storage platform. Make sure you have enough storage space available on the cloud service and check that all your files are successfully synced.
- Copy Files to External Storage: Manually copy all your important files and documents to an external hard drive or USB flash drive. Simply locate the files you want to back up, select them, and then drag them to your external storage device. Ensure that you have enough available storage space to accommodate all your files.
Remember to double-check your backup to ensure that all your important files have been successfully copied or synced. Take the time to verify that your backups are complete and accessible.
Backing up your data is essential because the wipe process will erase all the data on your MacBook Pro’s internal storage. By having a backup, you can easily restore your files and documents to your MacBook Pro after the wipe is complete. This way, you won’t lose any valuable information in the process.
Now that you have your data securely backed up, you’re ready to proceed to the next step: signing out of iCloud and other services.
Sign Out of iCloud and Other Services
Before wiping your MacBook Pro clean, it’s essential to sign out of iCloud and any other services that are linked to your device. This ensures that you won’t encounter any issues when setting up your MacBook Pro with a fresh installation of macOS. Follow these steps to sign out:
- Sign Out of iCloud: Open “System Preferences” on your MacBook Pro and click on “Apple ID”. Select “Overview” from the sidebar and then click on “Sign Out”. Enter your Apple ID password and follow the prompts to sign out of iCloud. This will disable iCloud services, including iCloud Drive, iCloud Photos, and Find My Mac, on your MacBook Pro.
- Disable Other Services/Applications: In addition to iCloud, make sure to sign out of any other services or applications that are associated with your MacBook Pro. This may include services like iTunes, Apple Music, and App Store. Open the respective applications or go to “System Preferences” to find the necessary settings to sign out of these services.
- Remove Email and Accounts: If you have any email accounts or other accounts (such as Google or Microsoft accounts) set up on your MacBook Pro, remove them to ensure that your personal information is not accessible after the wipe. Go to “System Preferences” and select “Internet Accounts” or the respective application to remove your accounts.
By signing out of iCloud and disabling other linked services, you are taking the necessary steps to dissociate your MacBook Pro from your personal accounts and data. This is important for protecting your privacy and ensuring a clean setup when reinstalling macOS.
Now that you have successfully signed out of iCloud and other services, it’s time to proceed to the next step: deauthorizing your MacBook Pro.
Deauthorize Your MacBook Pro
Before wiping your MacBook Pro clean, it’s important to deauthorize it from any services that require authorization, such as iTunes. This step ensures that your MacBook Pro is no longer associated with these services, allowing you to authorize another device in the future without any issues. Here’s how to deauthorize your MacBook Pro:
- Open iTunes: Launch iTunes on your MacBook Pro and sign in with your Apple ID credentials.
- Deauthorize: In the menu bar at the top of the screen, click on “Account” and choose “Authorizations”. From the drop-down menu, select “Deauthorize This Computer”. Enter your Apple ID password when prompted.
- Confirm Deauthorization: A confirmation message will appear, confirming that your MacBook Pro has been deauthorized. Click on “Deauthorize” to complete the process.
By deauthorizing your MacBook Pro, you are ensuring that it no longer holds the authorization rights for certain services. This removes any potential restrictions or limitations when authorizing another device in the future.
It’s important to note that deauthorization is only required for services that have a device limit, such as iTunes. If you don’t use any services that require deauthorization, you can skip this step.
Now that you have successfully deauthorized your MacBook Pro, it’s time to move on to the next step: restarting your MacBook Pro in recovery mode.
Restart in Recovery Mode
Before proceeding with wiping your MacBook Pro clean, you’ll need to restart it in Recovery Mode. Recovery Mode provides you with a set of options to perform system maintenance tasks, including erasing your hard drive and reinstalling macOS. Follow these steps to access Recovery Mode:
- Shut Down Your MacBook Pro: Click on the Apple menu in the top-left corner of the screen and select “Shut Down” to turn off your MacBook Pro.
- Start in Recovery Mode: Press and hold the power button, then immediately press and hold the Command and R keys together until the Apple logo or a spinning globe appears. This will boot your MacBook Pro into Recovery Mode.
- Select Language: In the macOS Utilities window, select your preferred language and click “Next”.
- Choose Disk Utility: You will now see a list of available options. Click on “Disk Utility” and then click “Continue”.
- Erase Your Hard Drive: In the Disk Utility window, select your MacBook Pro’s internal storage, usually named “Macintosh HD” or something similar. Click on the “Erase” tab and choose the desired format (usually “APFS” for newer versions of macOS or “Mac OS Extended (Journaled)” for older versions). Give your hard drive a new name if you prefer, then click “Erase”. Confirm the erasure when prompted.
Restarting your MacBook Pro in Recovery Mode allows you to access the necessary tools for erasing your hard drive and reinstalling macOS. By following these steps, you’re now one step closer to wiping your MacBook Pro clean and starting fresh.
Next, we’ll move on to the section where you erase your hard drive securely, ensuring that your data cannot be recovered.
Erase Your Hard Drive
Now that your MacBook Pro is in Recovery Mode and Disk Utility is open, it’s time to securely erase your hard drive. This step ensures that all data on your MacBook Pro is permanently deleted and cannot be recovered. Follow these steps to erase your hard drive:
- Select Your Hard Drive: In the Disk Utility window, select your MacBook Pro’s internal storage, usually named “Macintosh HD” or something similar, from the sidebar.
- Choose Erase: Click on the “Erase” tab at the top of the Disk Utility window.
- Select Format: Choose the desired format for your hard drive. For newer versions of macOS, “APFS” is recommended, while for older versions, “Mac OS Extended (Journaled)” is suitable. Consider your specific needs before making a selection.
- Name Your Hard Drive: Optionally, give your hard drive a new name in the “Name” field.
- Start the Erasure: Click on the “Erase” button to begin the erasure process. Confirm your decision when prompted.
- Wait for Completion: Allow Disk Utility to erase your hard drive. The progress will be displayed, and the time required depends on the size of your hard drive.
- Quit Disk Utility: Once the erasure is complete, close Disk Utility by selecting “Quit Disk Utility” from the Disk Utility menu.
By securely erasing your hard drive, you ensure that all your data is irreversibly removed. This step is crucial, especially if you’re planning to sell or give away your MacBook Pro, as it protects your personal information from unauthorized access.
Now that your hard drive has been wiped clean, let’s move on to the next step: reinstalling macOS on your MacBook Pro.
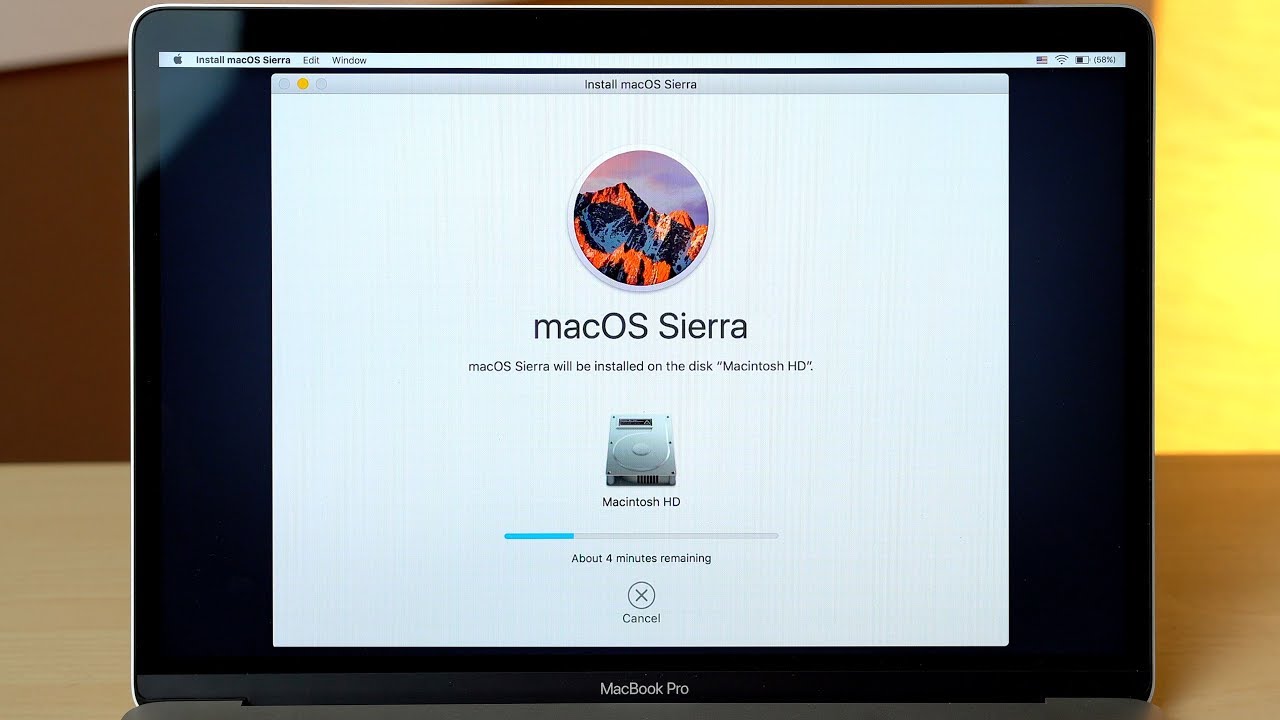
Reinstall macOS
After securely erasing your hard drive, the next step is to reinstall macOS on your MacBook Pro. This process will refresh your operating system to its original state and provide a clean start. Follow these steps to reinstall macOS:
- Connect to the Internet: Make sure your MacBook Pro is connected to the internet, either via Wi-Fi or Ethernet.
- Restart in Recovery Mode: If you haven’t already, restart your MacBook Pro while holding down the Command and R keys until the Apple logo or a spinning globe appears. This will boot your MacBook Pro into Recovery Mode.
- Select Reinstall macOS: In the macOS Utilities window, click on “Reinstall macOS” and then click “Continue”.
- Follow the On-screen Instructions: You will be guided through the installation process. Read and agree to the terms and conditions, and select the hard drive on which you want to install macOS (usually the only option available at this point). Click “Install” and wait for the installation to complete.
- Set Up macOS: Once the installation is complete, your MacBook Pro will restart. Follow the on-screen prompts to set up macOS, including selecting your country, signing in with your Apple ID, and customizing settings to your preference.
Reinstalling macOS restores your MacBook Pro to its factory settings, providing a clean and fresh operating system. After completing this step, you can proceed with setting up your MacBook Pro with your desired preferences and applications.
Now that macOS has been successfully reinstalled, it’s time to move on to the final step: setting up your MacBook Pro.
Set Up Your MacBook Pro
Now that you have completed the wipe process and reinstalled macOS, it’s time to set up your MacBook Pro to make it fully functional and personalized. Follow these steps to set up your MacBook Pro:
- Select Your Country: Choose your location from the list of available countries or regions.
- Choose Your Keyboard Layout: Select the keyboard layout that matches your MacBook Pro’s keyboard.
- Connect to Wi-Fi: Choose the Wi-Fi network you want to connect to and enter the necessary credentials, if required.
- Sign in with Your Apple ID: If you have an Apple ID, sign in with your credentials. This will allow you to access your iCloud data and services, such as iCloud Drive and iCloud Photos.
- Set Up Siri and Analytics: Customize your preferences for Siri, the voice assistant, and choose whether to share app analytics with Apple.
- Agree to Terms and Conditions: Read and agree to the terms and conditions presented on the screen.
- Create a User Account: Create a new user account by entering your name, a short account name, and a secure password. You can also choose to enable FileVault to encrypt your data.
- Set Up Touch ID and Apple Pay: If your MacBook Pro supports Touch ID, you can set it up here for secure and convenient authentication. You can also set up Apple Pay if desired.
- Enable Find My Mac: Choose whether to enable Find My Mac, a feature that helps you locate your MacBook Pro if it is lost or stolen.
- Customize Appearance and Options: Customize your preferences for appearance, trackpad settings, and other options according to your personal preferences.
By following these steps, you will be able to set up your MacBook Pro with your preferred settings, making it ready for use. Once you have completed the setup process, you can start installing your desired applications and transferring back your backed-up data to have a fully functional MacBook Pro.
Congratulations! You have successfully wiped your MacBook Pro clean and set it up with a fresh installation of macOS. Enjoy the improved performance and the clean slate that comes with it!