Anyone who’s looking to sell or give away their MacBook should never give it away as is. After all, there’s a ton of information there that you don’t want to fall into the hands of someone else. If you want to sell your Mac, here’s how to wipe a MacBook first before you hand it over.
What Is a Factory Reset?

Of course, learning how to wipe a MacBook is extremely crucial. However, if it’s your first time doing something like this, you might not understand what that means. While there are multiple steps involved in how to wipe a MacBook, the biggest one is undoubtedly the factory reset. What is a factory reset, you ask?
In principle, a factory reset is pretty simple. It’s a general term that hardware manufacturers use referring to the act of wiping user data from a device. In other words, when you factory reset a MacBook Pro, that laptop will no longer retain any of your special settings. It will return to the default settings back when it was fresh out of the factory.
Moreover, a factory reset not only deletes your settings, but also your data. Hence, experts recommend that users create a backup of all their important files before factory resetting. On the other hand, it also fixes multiple problems like bugs, performance issues, and even removes viruses. So it’s the perfect way to reset your MacBook and start with a clean slate.
As you can imagine, a factory reset is useful for different scenarios. Sometimes, users reset a Mac computer to restore its data and resolve persistent software issues. However, users often keep this option at the very bottom of the list — as a last resort, if you will. That’s because a factory reset is irreversible so there’s no undoing it once you’ve completed the process.
On the other hand, some users learn how to wipe a MacBook through a factory reset to sell their device. This is one of the most practical uses of a factory reset as it is convenient and all-encompassing.
Before Wiping Your MacBook: How to Back Up Your Mac
First things first: back up your data to a trusted third-party device or hosting service. You can back up your data to a USB, a new Mac, or iCloud, depending on your preferences.
To do this, you might think that the only way is to sort through your files one by one. However, there’s a quicker way to do this and that is through Time Machine or some other third-party app. If you already have a third-party app handy, then simply use that and follow the developer’s instructions. However, if you’ll use Time Machine, here’s a quick run-down of how to use the app to backup your data:
- Set up your external drive, spare Mac, or NAS as a Time Machine destination.
Note: Proceed to the next two sections for step-by-step instructions - Go to System Preferences and choose Time Machine.
- Click on the Select Disk button.
- Choose the backup destination you’ve set up.
- Hit Use Disk.
- (Optional) Deselect Back Up Automatically if you don’t want Time Machine to automatically back up files to the destination.
- Head to System Preferences and go to the Time Machine settings.
- Tick on the checkbox next to Show Time Machine in the menu bar.
- On your Mac menu bar, click on the clock icon and select “Back Up Now.”
How to Set a Mac as Your Time Machine Backup Location
Here’s how to set up a different Mac as your backup destination using Time Machine:
- Go to System Preferences and choose Sharing
- Click the File Sharing checkbox
- Hit Options
- Check the Share files and folders using SMB tickbox
- Click Done
- Select the (+) button under Shared Folders
- Look for the folder you want as a backup destination and click Add
- Right-click on the folder and choose Advanced Options
- Choose SMB on the Share over option
- Select Share as a Time Machine backup destination and choose a size limit
- Hit OK
How to Set a USB as Your Time Machine Backup Location
Here’s how to format and set a USB as Time Machine’s backup file location:
- Connect your hard drive or USB to the Mac
- Look for Applications > Utilities under Disk Utility
- Choose your hard drive on the left column
- Click the Erase button on the upper-right menu
- For format, opt for APFS or Mac OS extended journaled
- Click Erase
How to Exclude Files from Your Time Machine Backup

Unfortunately, Time Machine is programmed to back up all your files and folders by default, including those with unnecessary data. For example, Time Machine won’t distinguish between regular files and app installers (which you can download on your new device).
While some users may want Time Machine to do this, it’s not necessary. That’s especially true if you’re only aiming to migrate your files to a new device. It only makes the backup process take longer and wastes time. Thankfully, Time Machine does provide a way for you to exclude certain files from the backup. Here’s how:
- Open System Preferences and choose the Time Machine settings
- Click the Options button
- Hit the Plus (+) button
- Look through and select the files and folders you want to exclude from the backup
- Click the Exclude button
- Repeat the process for all other files or folders you think aren’t necessary to the backup.
How to Wipe a MacBook
Now that you’ve successfully backed up your data, it’s time to learn how to wipe a MacBook. We’ll be going over multiple steps before getting to the factory reset, so buckle up and let’s get started.
Disable Find My Mac
If you’re deep into the Apple ecosystem, chances are you’ll have Find My Mac enabled for your device. However, disabling this feature is an important part of how to wipe a MacBook for sale or donation. That’s because you’ll no longer need to find this specific device once it’s somebody else’s possession.
To do this, simply log into your iCloud account in iCloud.com. Locate Find My iPhone and then hit All Devices. From this list, select the Mac computers you want to erase from your iCloud account. Then, hit the Erase button on the device and don’t enter a phone number or message. Afterward, click the Remove from Account button and you’re finished.
Sign Out of iTunes, iCloud, and iMessage
Before proceeding to learn how to wipe a MacBook, it’s important to first sign out of various accounts. These include iCloud, iTunes, and iMessage. Here’s how to do just that on your MacBook.
For iCloud
- Go to System Preferences and select iCloud
- Click Sign Out
For iTunes
- Open iTunes and find Account under the Menu bar
- Hit Sign Out
- Go to Menu bar > Account and choose Authorizations
- Click Deauthorize This Computer
For iMessage
- Go to iMessage and open Preferences
- Choose Accounts and select your iMessage account
- Click Sign Out
Deauthorize the Mac from Your Apple Account
If you use Music, Apple TV, or Apple Books, chances are you’ll have your Mac registered on those apps. However, part of how to wipe a MacBook means deauthorizing it from your Apple account on those multiple apps. Thankfully, the process for each of these apps is pretty similar. To deauthorize your MacBook, follow these steps:
- Go to the app’s menu bar
- Select Account
- Hit Authorizations > Deauthorize This Computer
Unpair Bluetooth Devices
Even after a factory reset, your Mac can, unfortunately, still connect to your old Bluetooth devices. Hence, if you have Bluetooth earphones, headphones, mice, keyboard, and other accessories paired, you need to unpair them manually. If you want to accomplish this task, just follow the given steps:
- Go to the System Preferences
- Head to Bluetooth
- Select the gadgets you need to unpair and hit the X button next to it
- Do step 3 over and over for every gadget you want to unpair
Reset NVRAM
Before we learn how to factory reset MacBook Pro, it’s important to reset the NVRAM first. This simply resets various peripheral settings like your sound volume, display resolution, time zone, and more. Resetting your NVRAM will help clear issues related to those settings and give it a clean slate. Here’s how:
- Shut down your Mac
- Turn on your Mac and immediately press and hold down the Command + Option + P + R keys
- Keep this hold for 20 seconds and then release your fingers afterward
- Some Macs will play a startup sound to signal the release of these keys
- For T2 Macs, you can release these keys after the Apple logo appears twice
Afterward, this should clear various settings and restore multiple security features on your MacBook.
Factory Reset
Finally, it’s time to learn how to wipe a MacBook through a factory reset. The first step you need to take is to learn how to access the Mac recovery mode. Being in this mode is the only way to wipe your Mac and erase its hard drive.
Take note that it doesn’t matter what kind of MacBook model you have. The method for how to factory reset MacBook Air and how to factory reset MacBook Pro are the same. However, what you do need to concern yourself with is whether your MacBook is running an Intel or M1 chip.
That’s because the steps for putting your Mac in recovery mode will vary based on what processor it runs. However, the steps do converge once you’ve successfully entered recovery mode. Without further ado, here’s how to put each Mac device in recovery mode.
How to Get Into macOS Recovery Mode for Intel-Based Mac
- Hit the Apple logo on the upper-left corner of your MacBook
- Choose Restart
- Once your Mac powers on, press and hold the Command and R keys until the Apple logo pops up
Afterward, your Mac should successfully be in Recovery Mode.
How to Get into macOS Recovery Mode for M1 Mac
- Hit the Apple logo on the upper-left corner of your MacBook
- Choose Shut Down and wait until the Mac shuts off completely
- Press and hold the Power button
- Your Mac will turn on and you should see Loading startup options
- Choose Options to trigger the recovery mode
How to Wipe Your Startup Disk and Conduct a Factory Reset through Recovery Mode
Once you’ve put your MacBook in Recovery Mode, it’s time to conduct a factory reset. Here’s how to do it:
- By this time, Recovery Mode should display a macOS Utilities window instead of your usual login screen
- Select Disk Utility
- Click Continue
- Select Macintosh HD disk from the left list
- Click Erase
- Choose your preferred disk format
- Select APFS if your Mac is using macOS High Sierra or something newer
- Choose MacOS Extended Journaled if you’re running something older
- Select GUID Partition Map
- Click Erase
- Wait until the erasure finishes and hit Done
- Exit the Disk Utility through the red cross button
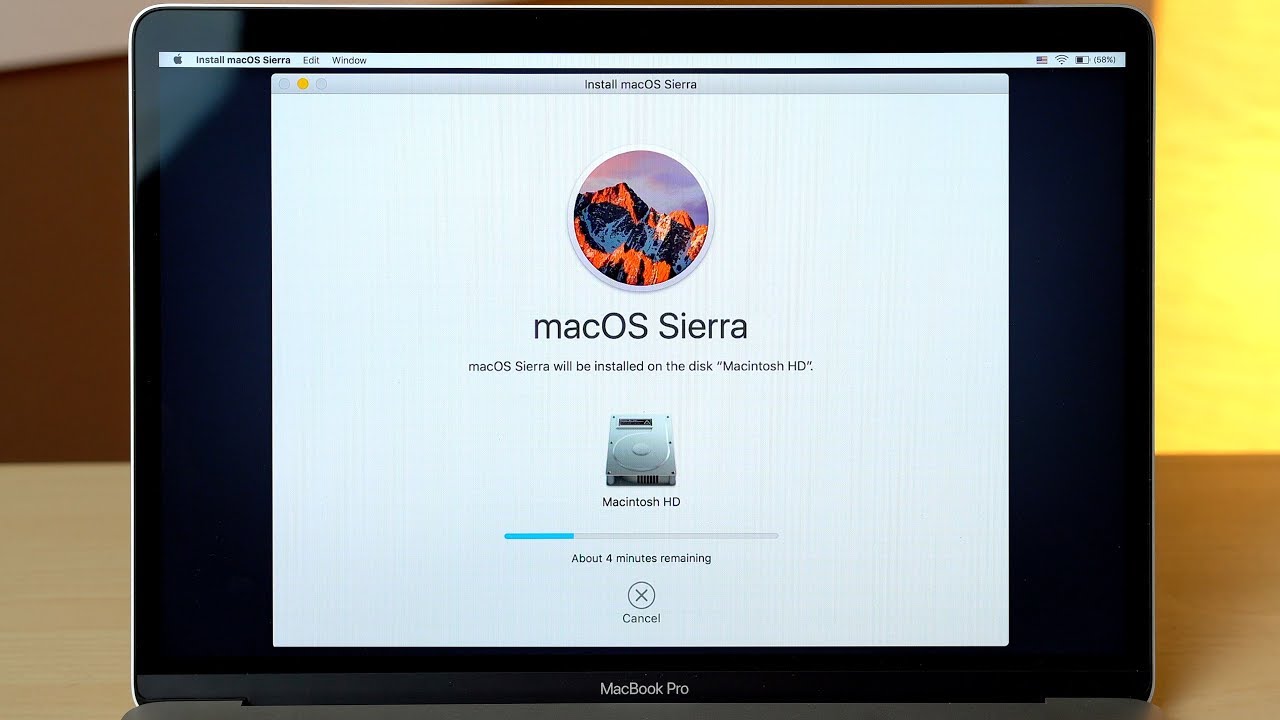
Reinstall macOS
Afterward, we’ll focus on reinstalling macOS. We’ll pick up from where we left off in the macOS Utilities window:
- Select Reinstall macOS
- Click Continue and say yes to the license agreement
- Select a bootable drive for macOS
Afterward, you should have successfully learned how to wipe a MacBook and reinstall macOS on your computer. This should make your MacBook operate with a clean slate, ready for you to sell or give away.
Why Wipe a MacBook Before Selling or Giving It Away?

Whether it’s a MacBook Air or MacBook Pro, it’s important to learn how to wipe a MacBook before the sale. Why? Well, there are several reasons why this is a crucial step.
Protect Your Private Information
Firstly, learning how to wipe a MacBook before giving it to someone else protects your information. Of course, this is self-explanatory when it comes to files and folders. After all, you don’t want your files falling into the hands of someone else.
If you’re giving it to a friend or relative, this might be less of a problem. You might trust them enough not to misuse your data or accounts for selfish reasons. However, despite somebody’s good intentions, accidents can still happen. For example, if you’re still logged into iCloud on your old MacBook, your friend might accidentally wipe the data there. They could do this while thinking they’re messing with their account when in reality, they’ve touched yours.
Avoid Data Theft or Cybercrime
On the other hand, selling your Mac to a stranger will expose your files to bad actors. This could put you at risk, as the bad actor could leak your user information or misuse your accounts. Even worse, they could lock you out of your account and you could lose access forever. That’s why most experts recommend learning how to wipe a MacBook before you ever sell it to anyone else.
Avoid Inconveniences for the Next Owner
On the other hand, how someone uses a Mac will depend on their personal needs. You might have certain configurations that are non-negotiable for your use case. However, someone else might use the Mac differently and want your configurations removed. Learning how to wipe a MacBook and doing so will eliminate problems for the other person, making migration easier.
Remember to Wipe Your MacBook Before Parting Ways With It
Learning how to wipe a MacBook is a useful skill for anyone who owns a Mac. That’s because computers, no matter how durable, have a lifespan that will run out at some point. Hence, people who buy them will have to get rid of their old devices sooner or later. Thankfully, wiping a MacBook doesn’t take too much time if you know what you’re doing. Moreover, it’s fairly easy and a great way to safeguard your information and maintain your account’s security. Just remember to follow the steps and you should have no problems down the line.