Introduction
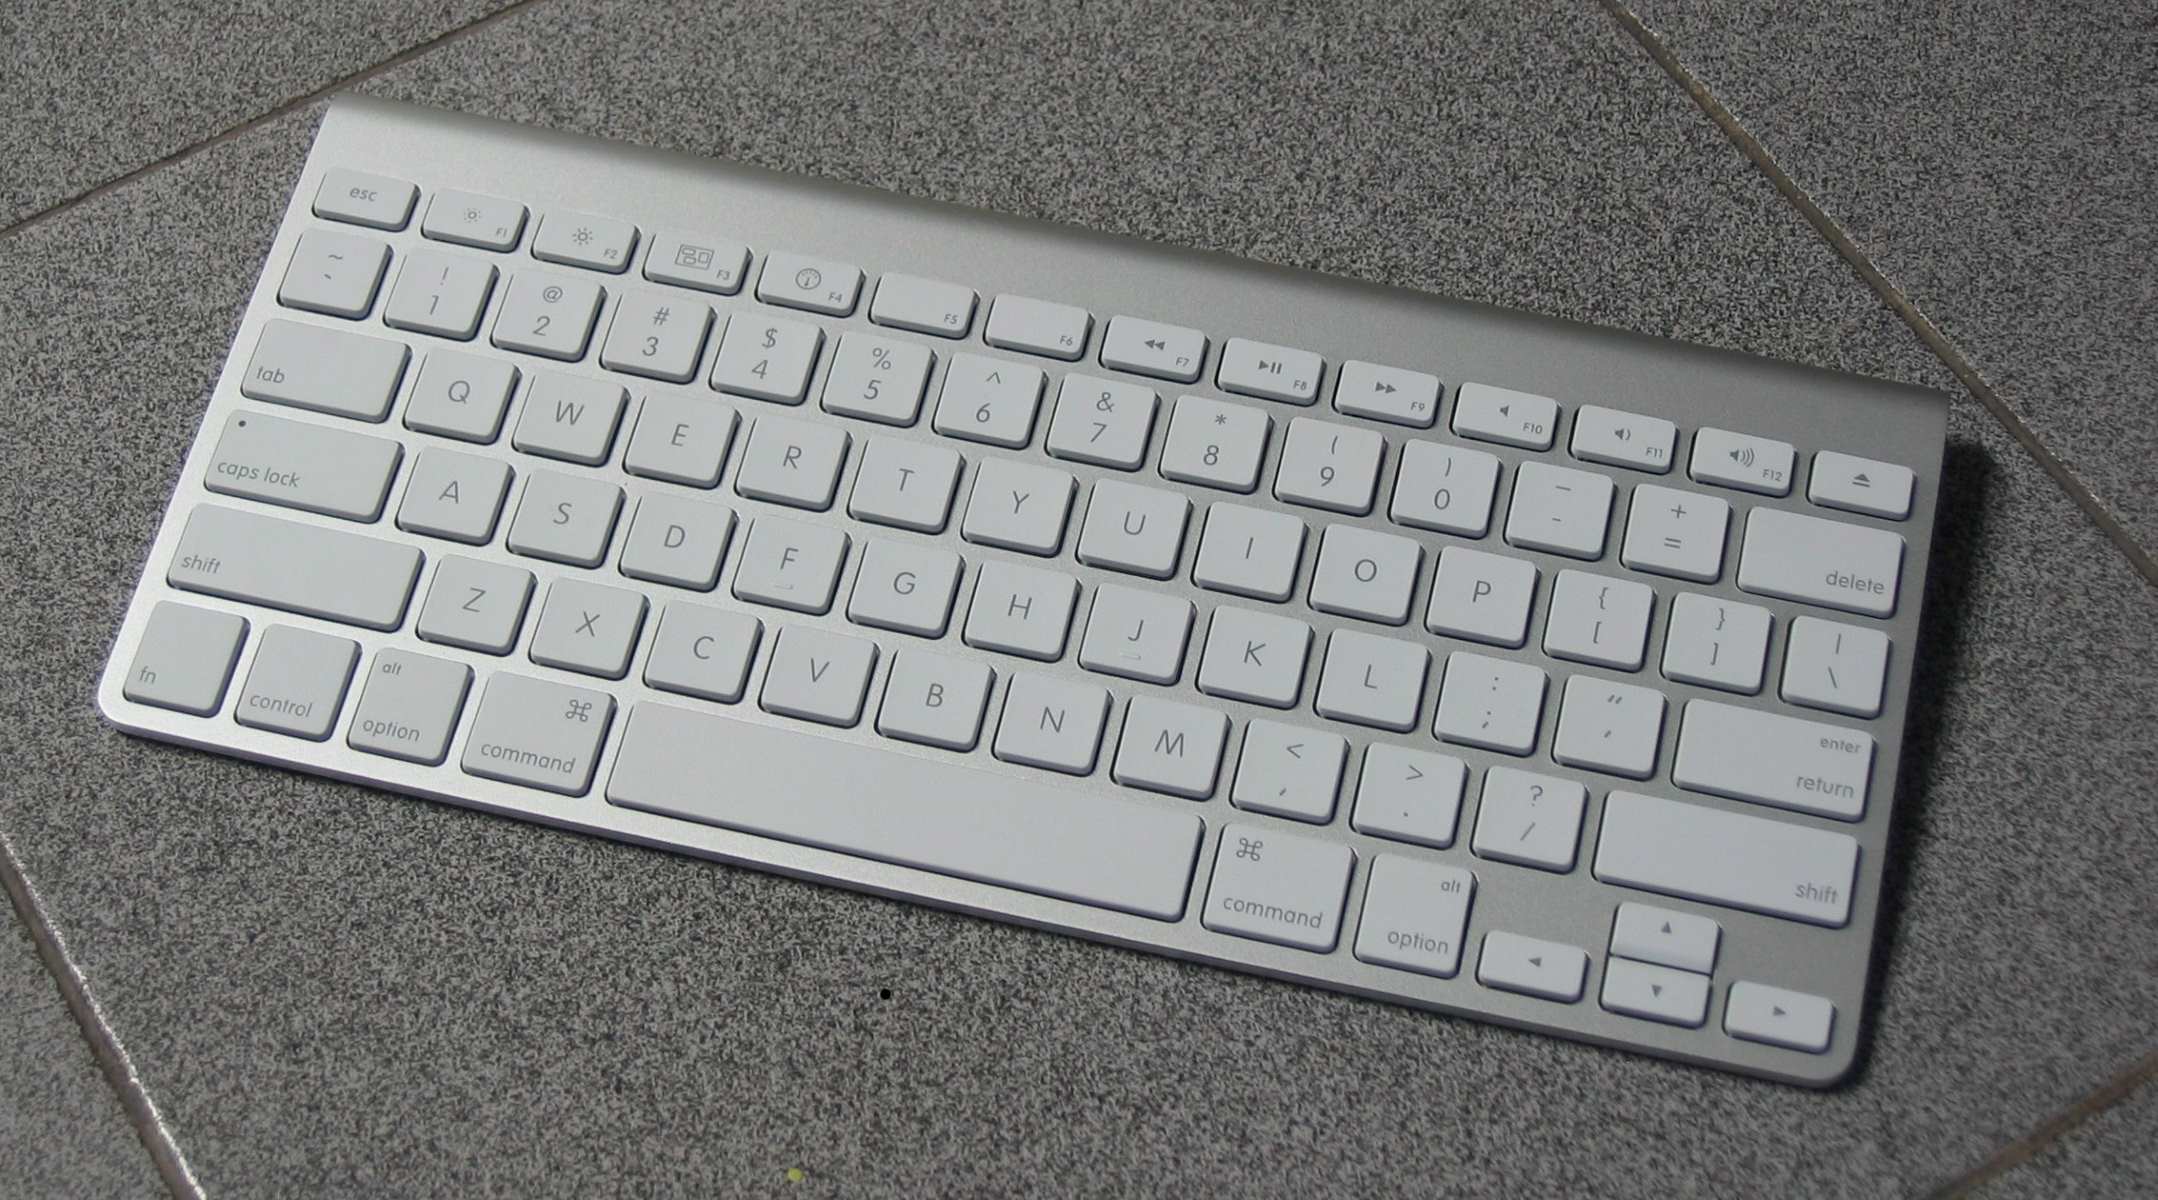
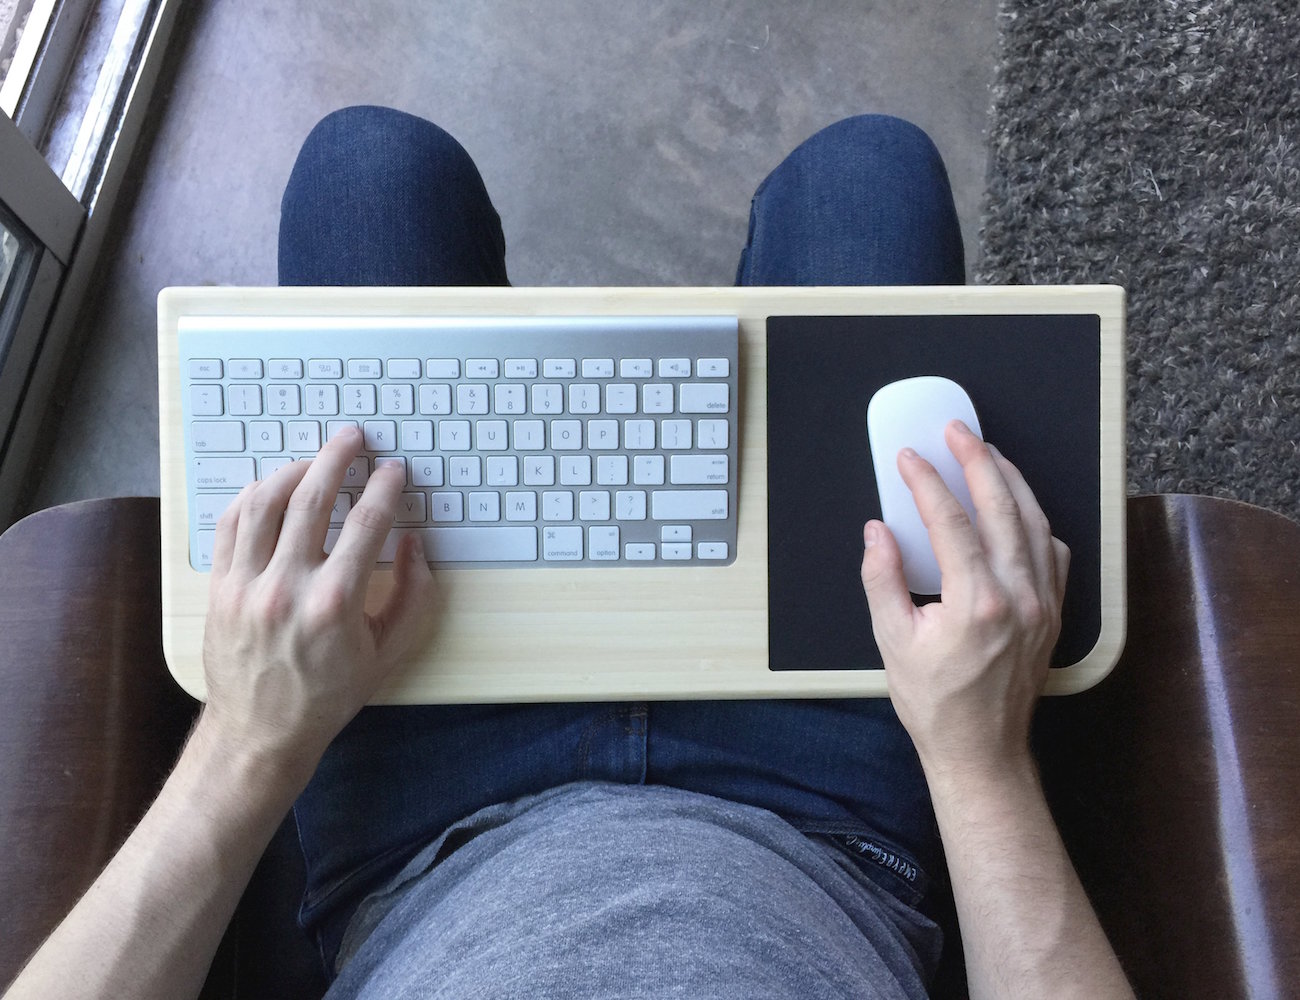
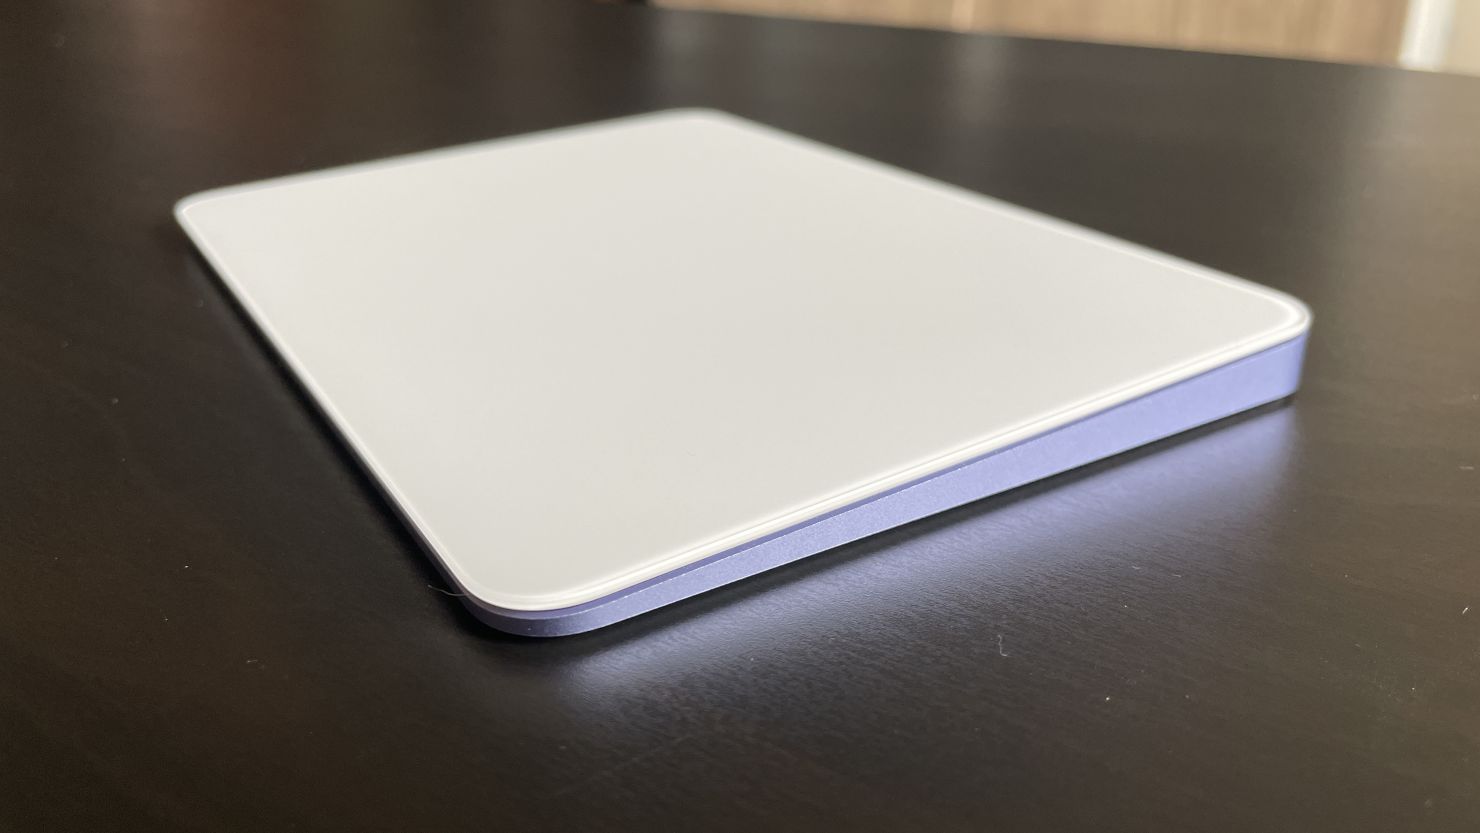
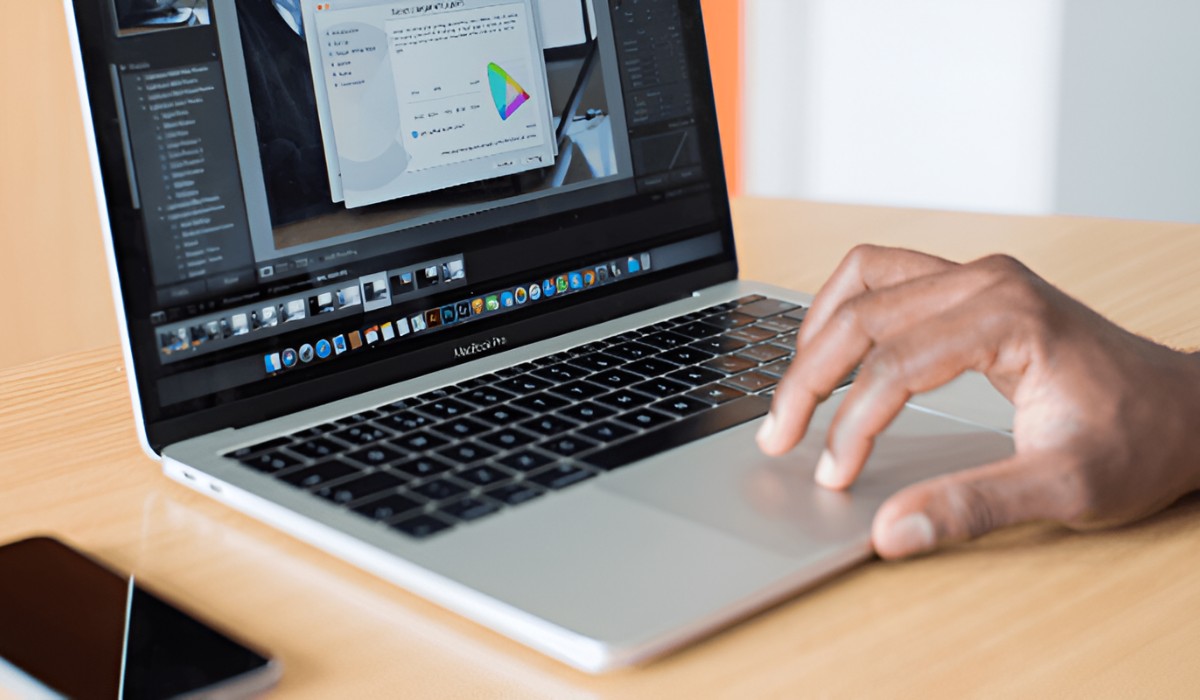
When it comes to keeping your MacBook in top-notch condition, cleaning the mouse pad, also known as the trackpad, is an essential maintenance task. The trackpad is a vital component of the MacBook, allowing users to navigate the interface with ease and precision. However, over time, it can accumulate dirt, dust, and oils from your fingers, leading to diminished responsiveness and a less-than-ideal user experience. Fortunately, cleaning the MacBook trackpad is a straightforward process that can be easily incorporated into your regular device maintenance routine.
In this guide, we will walk you through the step-by-step process of cleaning your MacBook trackpad effectively. By following these simple yet effective methods, you can restore the smooth functionality of the trackpad and ensure a seamless user experience. Whether you're dealing with sticky residue, unresponsive areas, or simply want to maintain the cleanliness of your device, these cleaning techniques will help you keep your MacBook trackpad in optimal condition.
A clean trackpad not only enhances the aesthetic appeal of your MacBook but also contributes to its overall performance and longevity. With just a few basic materials and a little bit of time, you can eliminate grime and smudges, allowing the trackpad to function as smoothly as it did when you first unboxed your MacBook. So, let's dive into the simple yet effective methods for cleaning your MacBook trackpad and maintaining the pristine condition of this essential component.
Step 1: Gather the Necessary Materials
Before embarking on the task of cleaning your MacBook trackpad, it’s essential to gather the necessary materials to ensure a thorough and effective cleaning process. Here’s what you’ll need:
- Microfiber Cloth: This soft, lint-free cloth is ideal for gently wiping the trackpad’s surface without leaving behind any fibers or scratches.
- Isopropyl Alcohol: A solution of 70% isopropyl alcohol is effective for removing oils, dirt, and grime from the trackpad without causing damage to the device.
- Cotton Swabs: These are useful for cleaning hard-to-reach areas around the edges of the trackpad and between the trackpad and the laptop body.
- Compressed Air: A can of compressed air can be used to dislodge dust and debris from the crevices around the trackpad.
- Water: Distilled water can be used in conjunction with the microfiber cloth for gentle cleaning.
By having these materials on hand, you’ll be well-equipped to tackle the task of cleaning your MacBook trackpad effectively and safely. Once you’ve gathered these items, you’ll be ready to proceed to the next steps, ensuring that your trackpad is restored to its optimal condition.
Step 2: Power Off the MacBook
Prior to cleaning the trackpad of your MacBook, it’s crucial to power off the device to prevent any potential issues or damage during the cleaning process. Follow these steps to power off your MacBook:
- Save Your Work: If you have any unsaved work or open applications, take a moment to save your progress and close all active programs.
- Shut Down the MacBook: Click on the Apple logo in the top-left corner of the screen and select “Shut Down” from the dropdown menu. Alternatively, you can press and hold the power button until the “Slide to Power Off” option appears, then slide to shut down the MacBook.
- Wait for the MacBook to Power Off: Allow the MacBook to completely power off before proceeding to the next steps. This ensures that the trackpad and other components are not active during the cleaning process.
By powering off your MacBook, you minimize the risk of accidental input or interference while cleaning the trackpad. This simple precaution helps safeguard the device and ensures a smooth and uninterrupted cleaning process. Once your MacBook is powered off, you can proceed with confidence to the next steps of cleaning the trackpad.
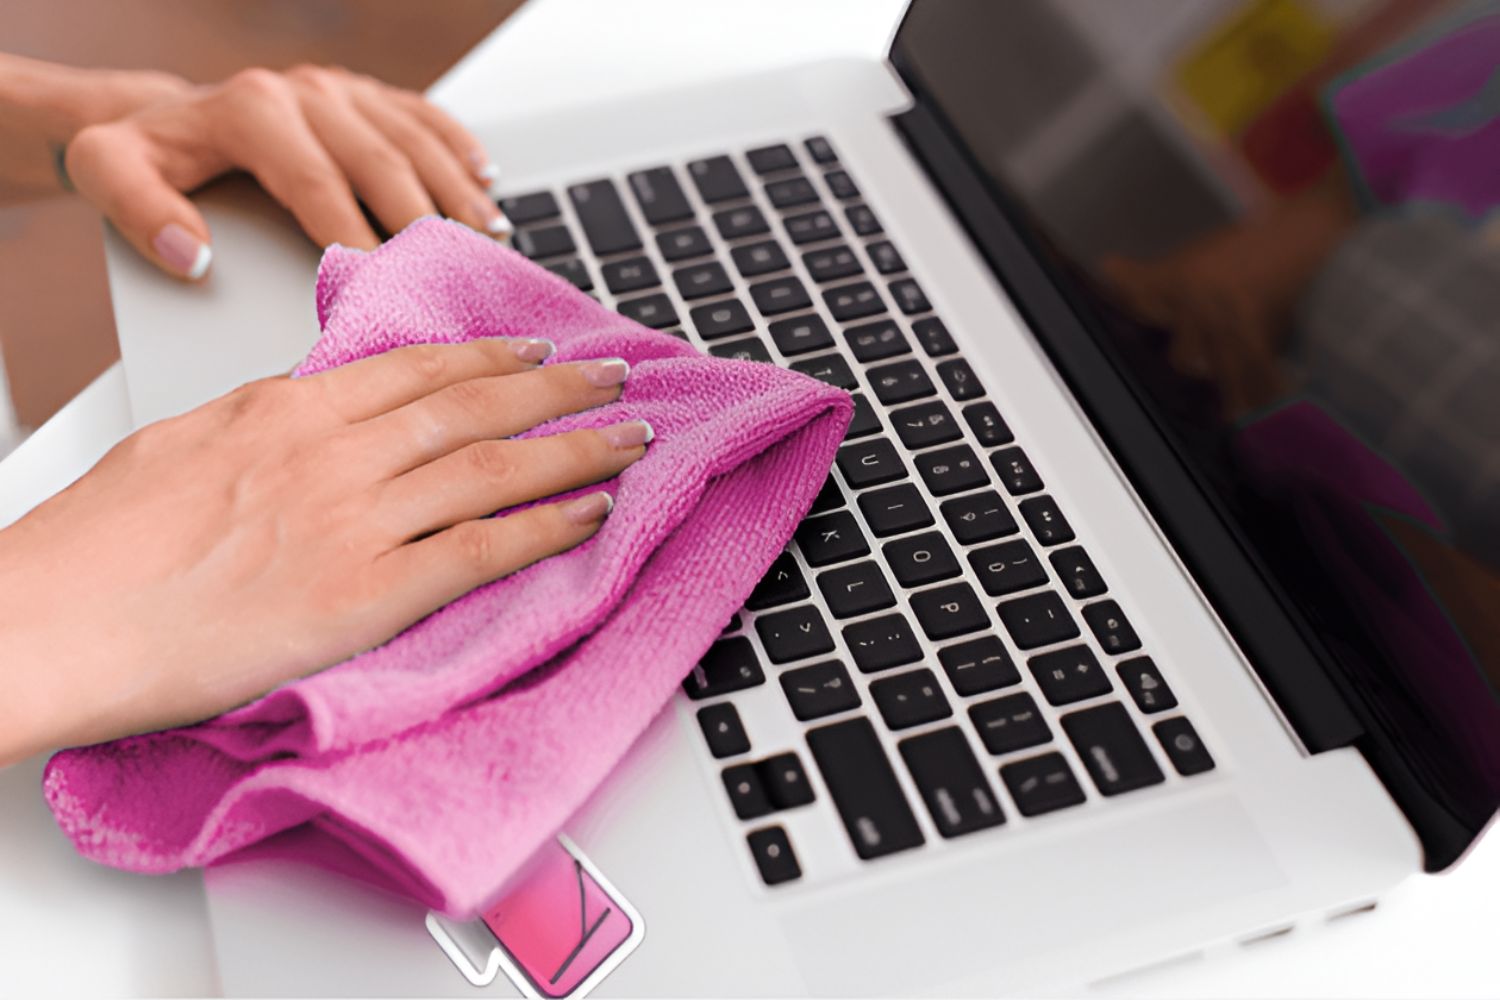
Step 3: Clean the Surface of the Trackpad
With the MacBook powered off, you can now focus on cleaning the surface of the trackpad. Follow these steps to effectively clean the trackpad’s surface:
- Dampen the Microfiber Cloth: Moisten a corner of the microfiber cloth with a small amount of isopropyl alcohol. It’s important to ensure that the cloth is damp, not dripping wet, to prevent any liquid from seeping into the device.
- Gently Wipe the Trackpad: Using the dampened portion of the cloth, gently wipe the surface of the trackpad in a circular motion. This helps remove oils, dirt, and smudges from the trackpad’s surface without applying excessive pressure.
- Dry the Trackpad: After wiping the trackpad with the damp cloth, use the dry portion of the microfiber cloth to gently dry the trackpad, ensuring that no moisture remains on the surface.
- Inspect for Residue: Once the trackpad is dry, inspect it for any remaining residue or smudges. If necessary, repeat the gentle wiping process with the dampened cloth to ensure thorough cleaning.
By following these steps, you can effectively clean the surface of the trackpad, removing oils, dirt, and smudges that may have accumulated over time. The gentle yet thorough approach helps maintain the integrity of the trackpad while restoring its smooth and responsive functionality. With the trackpad surface clean and dry, you can proceed to the next steps of the cleaning process with confidence.
Step 4: Clean Between the Trackpad and the Laptop Body
While cleaning the surface of the trackpad is essential, it’s equally important to address the areas between the trackpad and the laptop body, where dirt and debris may accumulate. Follow these steps to clean this often-overlooked area effectively:
- Use a Cotton Swab: Take a cotton swab and lightly dampen it with isopropyl alcohol. Ensure that the cotton swab is not overly saturated to prevent any liquid from seeping into the device.
- Clean the Edges: Gently insert the dampened end of the cotton swab between the edges of the trackpad and the laptop body, carefully maneuvering it to remove any accumulated grime or residue. Be cautious not to apply excessive pressure or force to avoid damaging the trackpad or the laptop body.
- Inspect for Debris: After cleaning between the trackpad and the laptop body, inspect the area for any remaining debris or stubborn residue. If necessary, use a dry cotton swab to gently remove any lingering particles.
- Utilize Compressed Air: For stubborn debris or dust, you can use a can of compressed air to gently blow away any remaining particles from the edges and crevices around the trackpad. Hold the MacBook at a slight angle to allow the debris to fall away from the device.
By addressing the space between the trackpad and the laptop body, you can ensure that all areas surrounding the trackpad are thoroughly cleaned, contributing to the overall cleanliness and functionality of the device. With this step completed, you can proceed to the next phase of the cleaning process, knowing that your trackpad will be free from hidden dirt and debris.
Step 5: Allow the Trackpad to Dry
After completing the cleaning process, it’s crucial to allow the trackpad to dry thoroughly before powering on your MacBook. Follow these steps to ensure that the trackpad dries effectively:
- Air Dry the Trackpad: Once the cleaning process is complete, allow the trackpad to air dry naturally. Avoid using excessive heat sources or hairdryers, as these may damage the trackpad or the MacBook.
- Ensure Complete Dryness: Take a moment to ensure that the trackpad is completely dry to the touch before proceeding to power on your MacBook. Any residual moisture can interfere with the trackpad’s functionality and potentially cause damage to the device.
- Patience is Key: Depending on the ambient humidity and the amount of isopropyl alcohol used during cleaning, the drying time may vary. Exercise patience to allow the trackpad to dry thoroughly.
By allowing the trackpad to dry completely, you minimize the risk of encountering issues related to residual moisture, ensuring that your MacBook will function optimally once it’s powered on. With the trackpad dry and ready for use, you can proceed to the final step of the cleaning process with confidence.
Step 6: Power on the MacBook and Test the Trackpad
With the trackpad thoroughly cleaned and dried, it’s time to power on your MacBook and ensure that the trackpad functions as expected. Follow these steps to test the trackpad:
- Power on Your MacBook: Press the power button to turn on your MacBook. Allow the device to boot up fully, and log in to your user account.
- Test the Trackpad Responsiveness: Once your MacBook is powered on, test the responsiveness of the trackpad by navigating the cursor and performing various gestures. Pay attention to the smoothness and accuracy of the trackpad’s movements.
- Verify Clicking and Multi-Touch Functions: Test the clicking functionality and multi-touch gestures on the trackpad to ensure that all features are working as expected.
- Observe for Any Issues: During the testing phase, observe the trackpad for any signs of unresponsiveness, unusual behavior, or lingering residue. If you encounter any issues, consider re-cleaning the trackpad using the previously outlined steps.
By testing the trackpad after the cleaning process, you can confirm that it is functioning optimally and has been restored to its original state. Any lingering dirt, residue, or moisture that may have affected the trackpad’s performance will be addressed during this testing phase. Once you’ve verified that the trackpad is responsive and in good working condition, you can resume using your MacBook with confidence, knowing that this essential component has been effectively cleaned and maintained.