Introduction
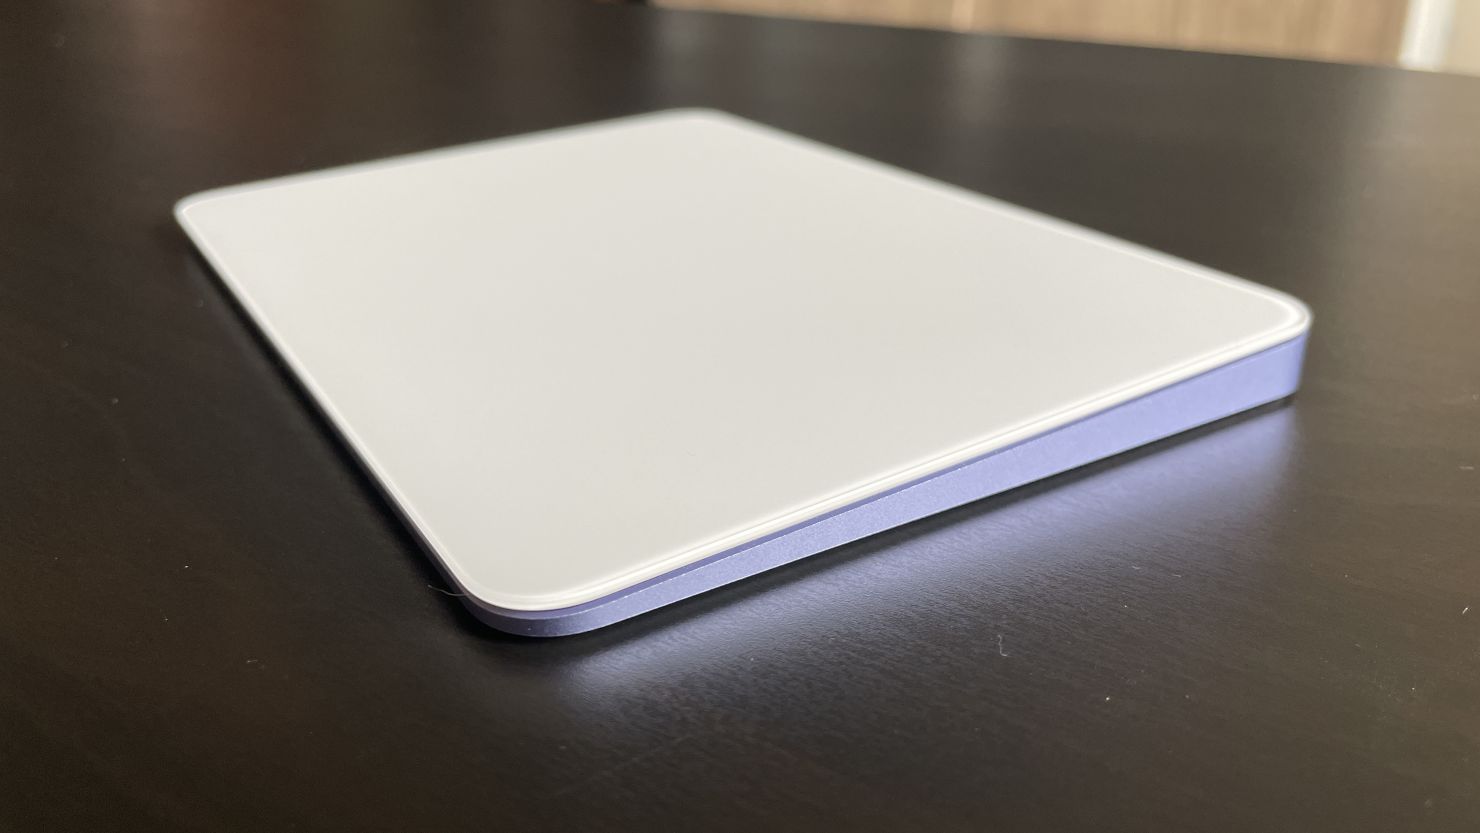
So, you've got a sleek and powerful MacBook, but you're finding the trackpad a bit cramped for your liking. Or perhaps you're simply more accustomed to using a traditional mouse pad for your computing needs. The good news is that connecting a mouse pad to your MacBook is a straightforward process that can greatly enhance your user experience. Whether you're a designer, a programmer, or a casual user who prefers the precision of a mouse pad, this guide will walk you through the simple steps to seamlessly integrate this peripheral with your MacBook.
Using a mouse pad with your MacBook can provide a more comfortable and efficient way to navigate and interact with your device. It can also be particularly beneficial for tasks that require precision, such as graphic design or detailed photo editing. By following the steps outlined in this guide, you'll be able to seamlessly integrate a mouse pad into your MacBook setup, enhancing your overall productivity and user experience.
Now, let's dive into the process of connecting a mouse pad to your MacBook and explore the steps to ensure a smooth and hassle-free setup.
Step 1: Check Compatibility
Before connecting a mouse pad to your MacBook, it’s essential to ensure that the mouse pad is compatible with your device. While most modern mouse pads are designed to work seamlessly with a wide range of computers, including MacBooks, it’s always prudent to double-check for compatibility to avoid any potential issues.
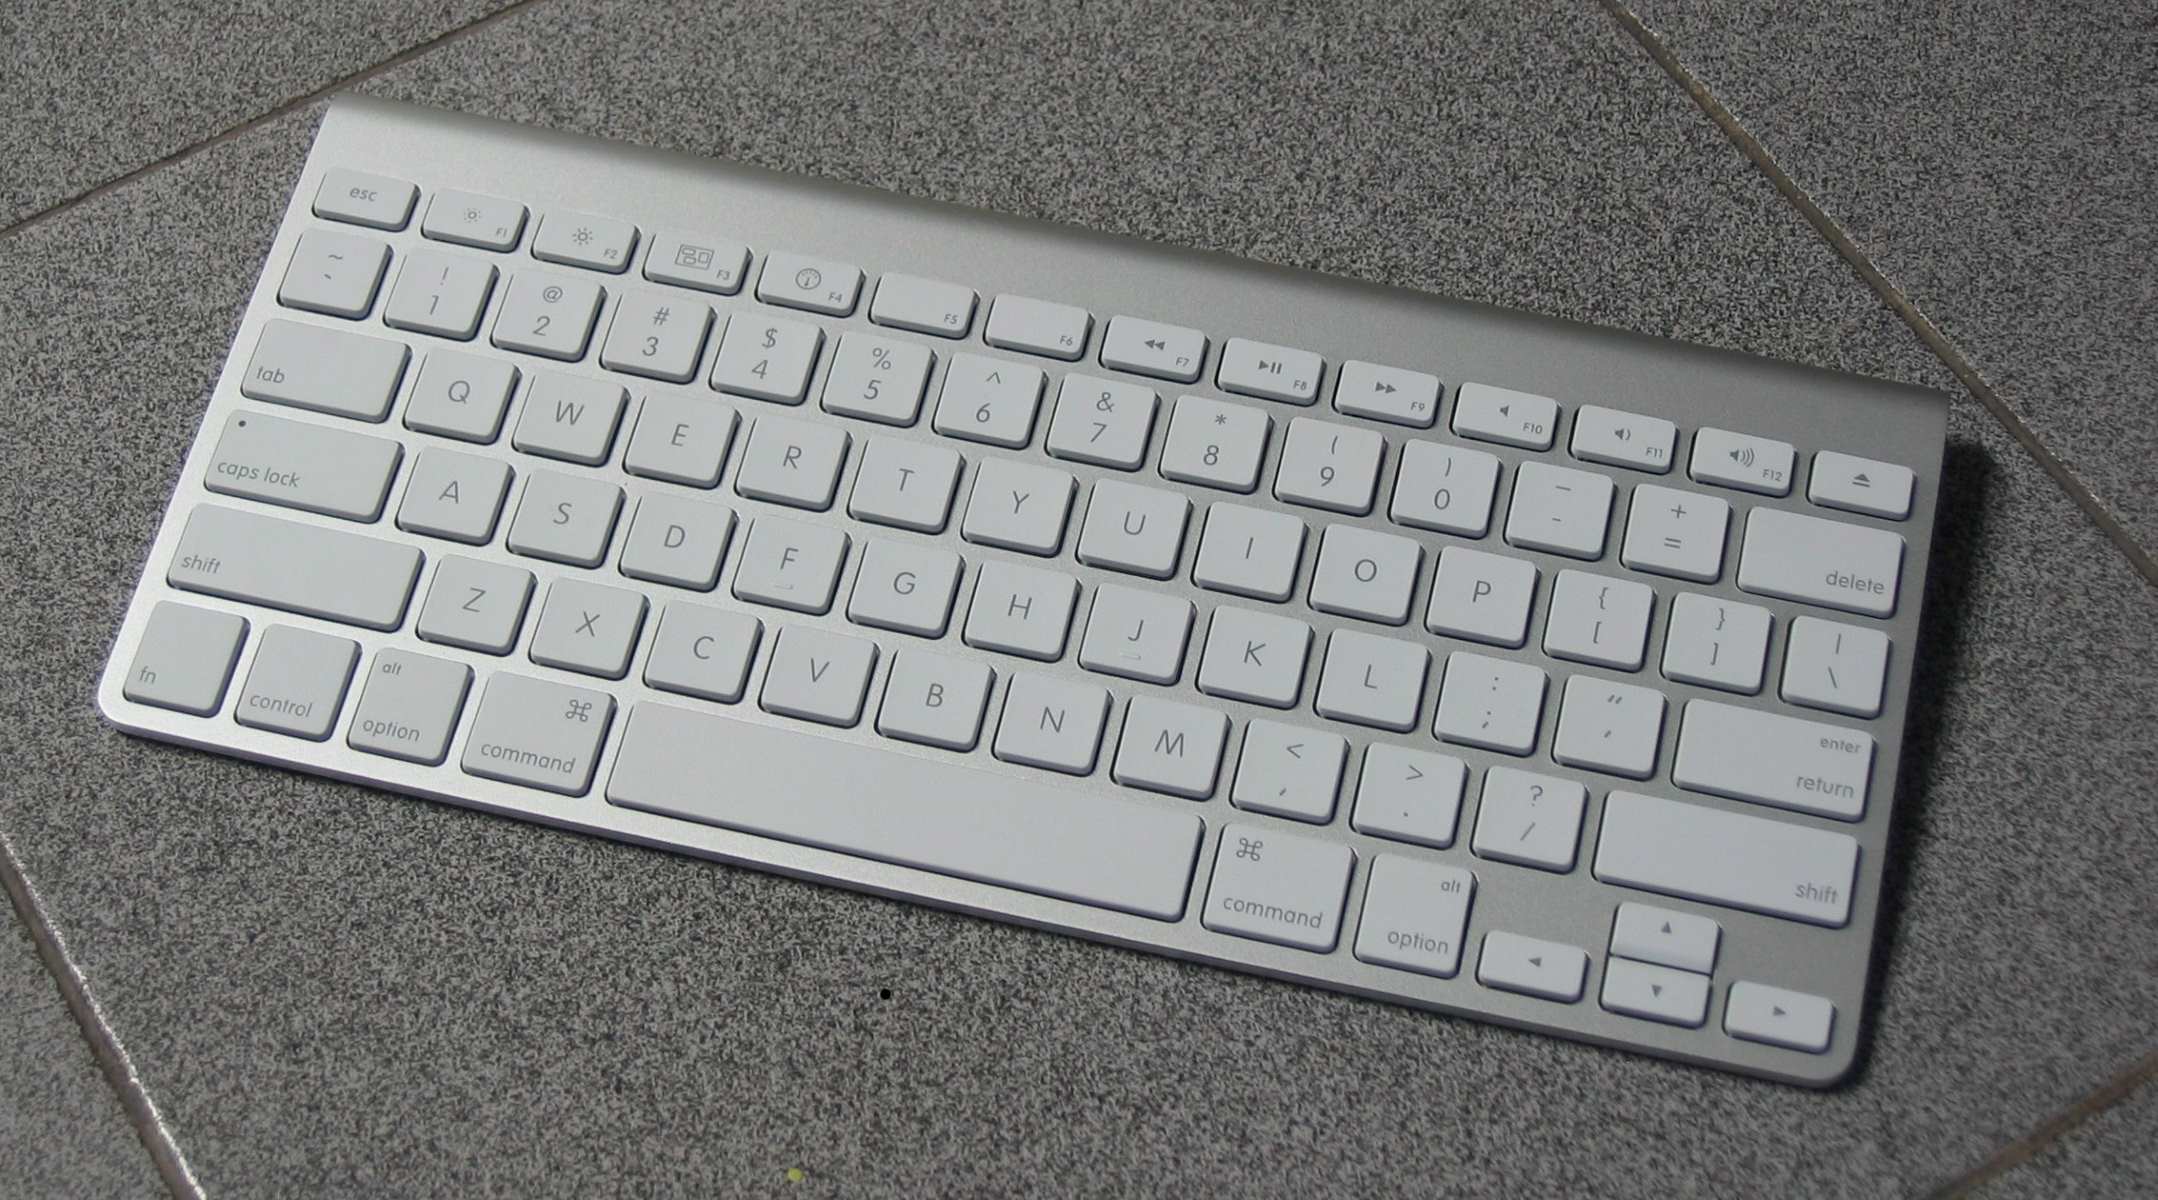
First, determine the type of connection required for the mouse pad. Some mouse pads use USB connections, while others may utilize Bluetooth technology for wireless connectivity. MacBooks are equipped with USB-C or Thunderbolt 3 ports, so if your mouse pad uses a USB connection, you may need a USB-C to USB adapter to connect it to your MacBook. Alternatively, if the mouse pad supports Bluetooth, you can pair it wirelessly with your MacBook.
Additionally, consider the operating system requirements of the mouse pad. While most modern mouse pads are compatible with macOS, it’s advisable to check the manufacturer’s specifications to ensure compatibility with your specific MacBook model and operating system version. This step is crucial for a seamless integration and optimal performance of the mouse pad with your MacBook.
Furthermore, if your mouse pad features advanced functionality such as customizable buttons or gesture support, verify whether the accompanying software or drivers are compatible with macOS. Some mouse pads offer enhanced features that may require specific software installations or driver updates to fully utilize their capabilities on a MacBook.
By confirming the compatibility of the mouse pad with your MacBook, including the connection type, operating system compatibility, and any additional software requirements, you can proceed with confidence to the next step of connecting the mouse pad to your MacBook.
Step 2: Connect the Mouse Pad
Once you’ve verified the compatibility of the mouse pad with your MacBook, it’s time to proceed with the physical or wireless connection. The method of connecting the mouse pad to your MacBook may vary depending on the type of connectivity it utilizes.
If your mouse pad uses a USB connection, you’ll need to connect it to your MacBook’s available USB-C or Thunderbolt 3 port. In the case of USB-A mouse pads, you may require a USB-C to USB adapter to ensure a secure connection. Simply insert the USB connector of the mouse pad into the appropriate port on your MacBook, ensuring a snug fit to establish a reliable connection.
For wireless mouse pads that support Bluetooth connectivity, the pairing process is straightforward. Begin by enabling Bluetooth on your MacBook by clicking the Apple menu, selecting “System Preferences,” and then choosing “Bluetooth.” Ensure that Bluetooth is turned on, and your MacBook is discoverable. Next, follow the manufacturer’s instructions to put the mouse pad in pairing mode. Once the mouse pad appears in the list of available devices on your MacBook, select it to establish the Bluetooth connection.
After connecting the mouse pad to your MacBook, allow the system a few moments to recognize the new peripheral and configure it for use. You may notice a notification or indicator confirming the successful connection of the mouse pad. At this point, you can proceed to test the functionality of the mouse pad to ensure that it responds accurately to your movements and clicks.
Regardless of the connection method, it’s important to ensure that the mouse pad is securely connected or paired with your MacBook before proceeding to the next step of adjusting the settings to optimize its performance.
Step 3: Adjust Settings
After successfully connecting the mouse pad to your MacBook, it’s time to fine-tune the settings to optimize its performance and customize the user experience according to your preferences. macOS offers a range of settings that allow you to tailor the behavior and functionality of the mouse pad to suit your specific needs.
Begin by accessing the “System Preferences” from the Apple menu and selecting the “Accessibility” or “Mouse” settings, depending on your macOS version. Here, you can adjust essential parameters such as tracking speed, scrolling behavior, and button configurations to align with your desired usage patterns. Experiment with these settings to find the optimal sensitivity and responsiveness that best suits your workflow and personal comfort.
If your mouse pad features additional buttons or advanced functionality, explore the “Accessibility” or “Mouse” settings to customize the actions associated with these buttons. You can assign specific functions or shortcuts to the extra buttons, enhancing your productivity and streamlining common tasks.
Furthermore, if your mouse pad supports gesture controls, such as swiping or pinching, navigate to the “Trackpad” settings within “System Preferences” to configure and enable these gestures. Gesture controls can significantly improve navigation and multitasking on your MacBook, providing intuitive ways to switch between applications, access Mission Control, or perform other actions with simple finger movements on the mouse pad.
For wireless mouse pads with specialized software or drivers, ensure that you have installed any necessary applications or updates provided by the manufacturer to unlock the full potential of the device. These software enhancements may offer additional customization options, performance optimizations, and firmware updates to ensure seamless integration with your MacBook.
By fine-tuning the settings and customizing the behavior of the mouse pad to align with your preferences and workflow, you can harness its full potential to enhance your productivity and user experience on your MacBook.
Conclusion
Connecting a mouse pad to your MacBook can significantly enhance your computing experience, providing greater precision, comfort, and customization options for navigating your device. By following the simple steps outlined in this guide, you can seamlessly integrate a mouse pad into your MacBook setup and tailor its functionality to suit your specific needs.
First and foremost, ensuring the compatibility of the mouse pad with your MacBook is essential to avoid any connectivity or performance issues. By verifying the connection type, operating system compatibility, and any additional software requirements, you can proceed with confidence to the next steps of connecting and adjusting the settings for the mouse pad.
Whether your mouse pad utilizes a USB or Bluetooth connection, the process of physically connecting or pairing it with your MacBook is straightforward and can be accomplished with ease. Once connected, taking the time to adjust the settings and customize the behavior of the mouse pad can significantly enhance its responsiveness and functionality, allowing you to tailor the user experience to your preferences.
From adjusting tracking speed and scrolling behavior to configuring additional buttons and gesture controls, macOS offers a range of settings that empower you to optimize the performance of the mouse pad according to your workflow and personal comfort. Furthermore, for wireless mouse pads with specialized software or drivers, installing any necessary applications or updates can unlock additional customization options and performance optimizations.
By integrating a mouse pad into your MacBook setup and leveraging its capabilities through personalized settings, you can elevate your productivity and streamline your interactions with the device. Whether you’re engaged in creative design tasks, detailed photo editing, or everyday computing, the addition of a mouse pad can offer a more intuitive and efficient means of interacting with your MacBook.
With the simple process of connecting, adjusting settings, and customizing the behavior of the mouse pad, you can enhance your MacBook experience and enjoy the benefits of precise navigation, tailored functionality, and a more comfortable computing environment.