When Apple first introduced the MacBook Pro Touch Bar, some people loved the idea while others hated it. However, regardless of your opinion, the MacBook Pro Touch Bar does provide multiple features for different scenarios. What are they and how can you make the most of your MacBook Pro Touch Bar? In this guide, we’ve included the top tips and tricks to get you started.
What Is a Touch Bar?
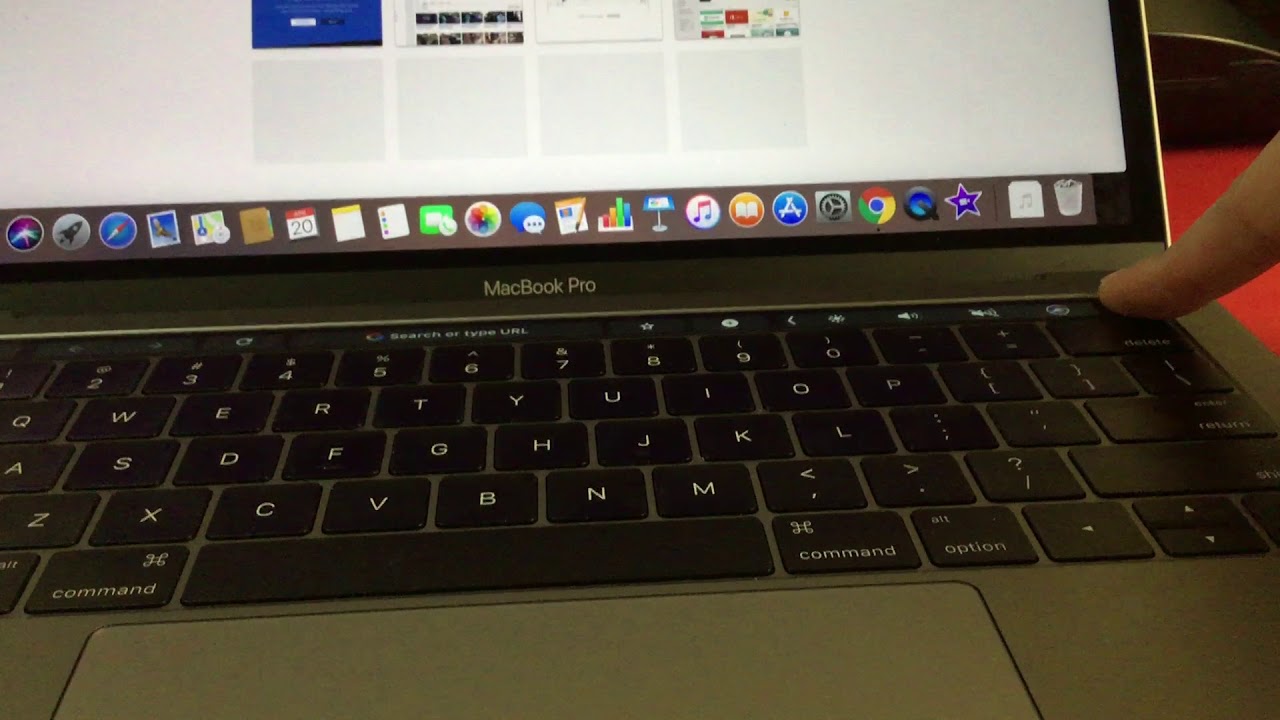
If you’ve never tried it before, chances are you might not even know what the MacBook Pro Touch Bar is. What is that long black strip that replaces the physical function keys in an Apple laptop?
Back in 2016, Apple introduced the MacBook Pro Touch Bar and took the world by surprise. Instead of placing physical function keys, Apple added a long Retina input display along the top of the keyboard. This is what we now know as the MacBook Pro Touch Bar.
The MacBook Pro Touch Bar has many uses. It contains dynamic controls, often including media playback buttons, system-level setting adjustments, and app-specific interactive keys. Moreover, the MacBook Pro Touch Bar is often customizable depending on what use case you might want for it.
Unfortunately, despite how useful the feature might seem, it didn’t trickle down to cheaper Apple laptops. For example, it didn’t come to the MacBook Air or any of the Apple keyboards. Instead, it remained a pro-level feature and only appears in the Apple MacBook Pro. In subsequent years, every MacBook Pro that came out had a Touch Bar, including the MacBook Pro 2020 models.
For more MacBook guides, check out: How to Speed up Your MacBook Pro
MacBook Pro Touch Bar Features

A lot of Apple fans have been asking for touchscreen MacBook Pros. However, while Apple hasn’t delivered on that front, it did introduce the MacBook Pro Touch Bar to make up for it. What are the MacBook Pro Touch Bar’s features and what can you do with it? Here’s an overview of what the MacBook Pro Touch Bar is like.
Look and Feel
The moment you unbox your Apple Mac laptop, you might immediately be drawn to the MacBook Pro Touch Bar. After all, that long glass black bar on the topmost part of the keyboard is unconventional and eye-catching. That’s a good thing, considering how much thought Apple has put into building it.
The MacBook Pro Touch Bar was built with an OLED screen under a layer of glass. It feels premium and smooth to the touch, allowing your fingers to slide across when you need to. All the complexities of the touch controller, display driver, and motherboard connection are perfectly covered by an elegantly simple design.
Animated Interface
The Apple Touch Bar doesn’t simply replace your function keys with quick settings. It also has an animated interface that aids users with minor tasks, giving more context to the settings you use.
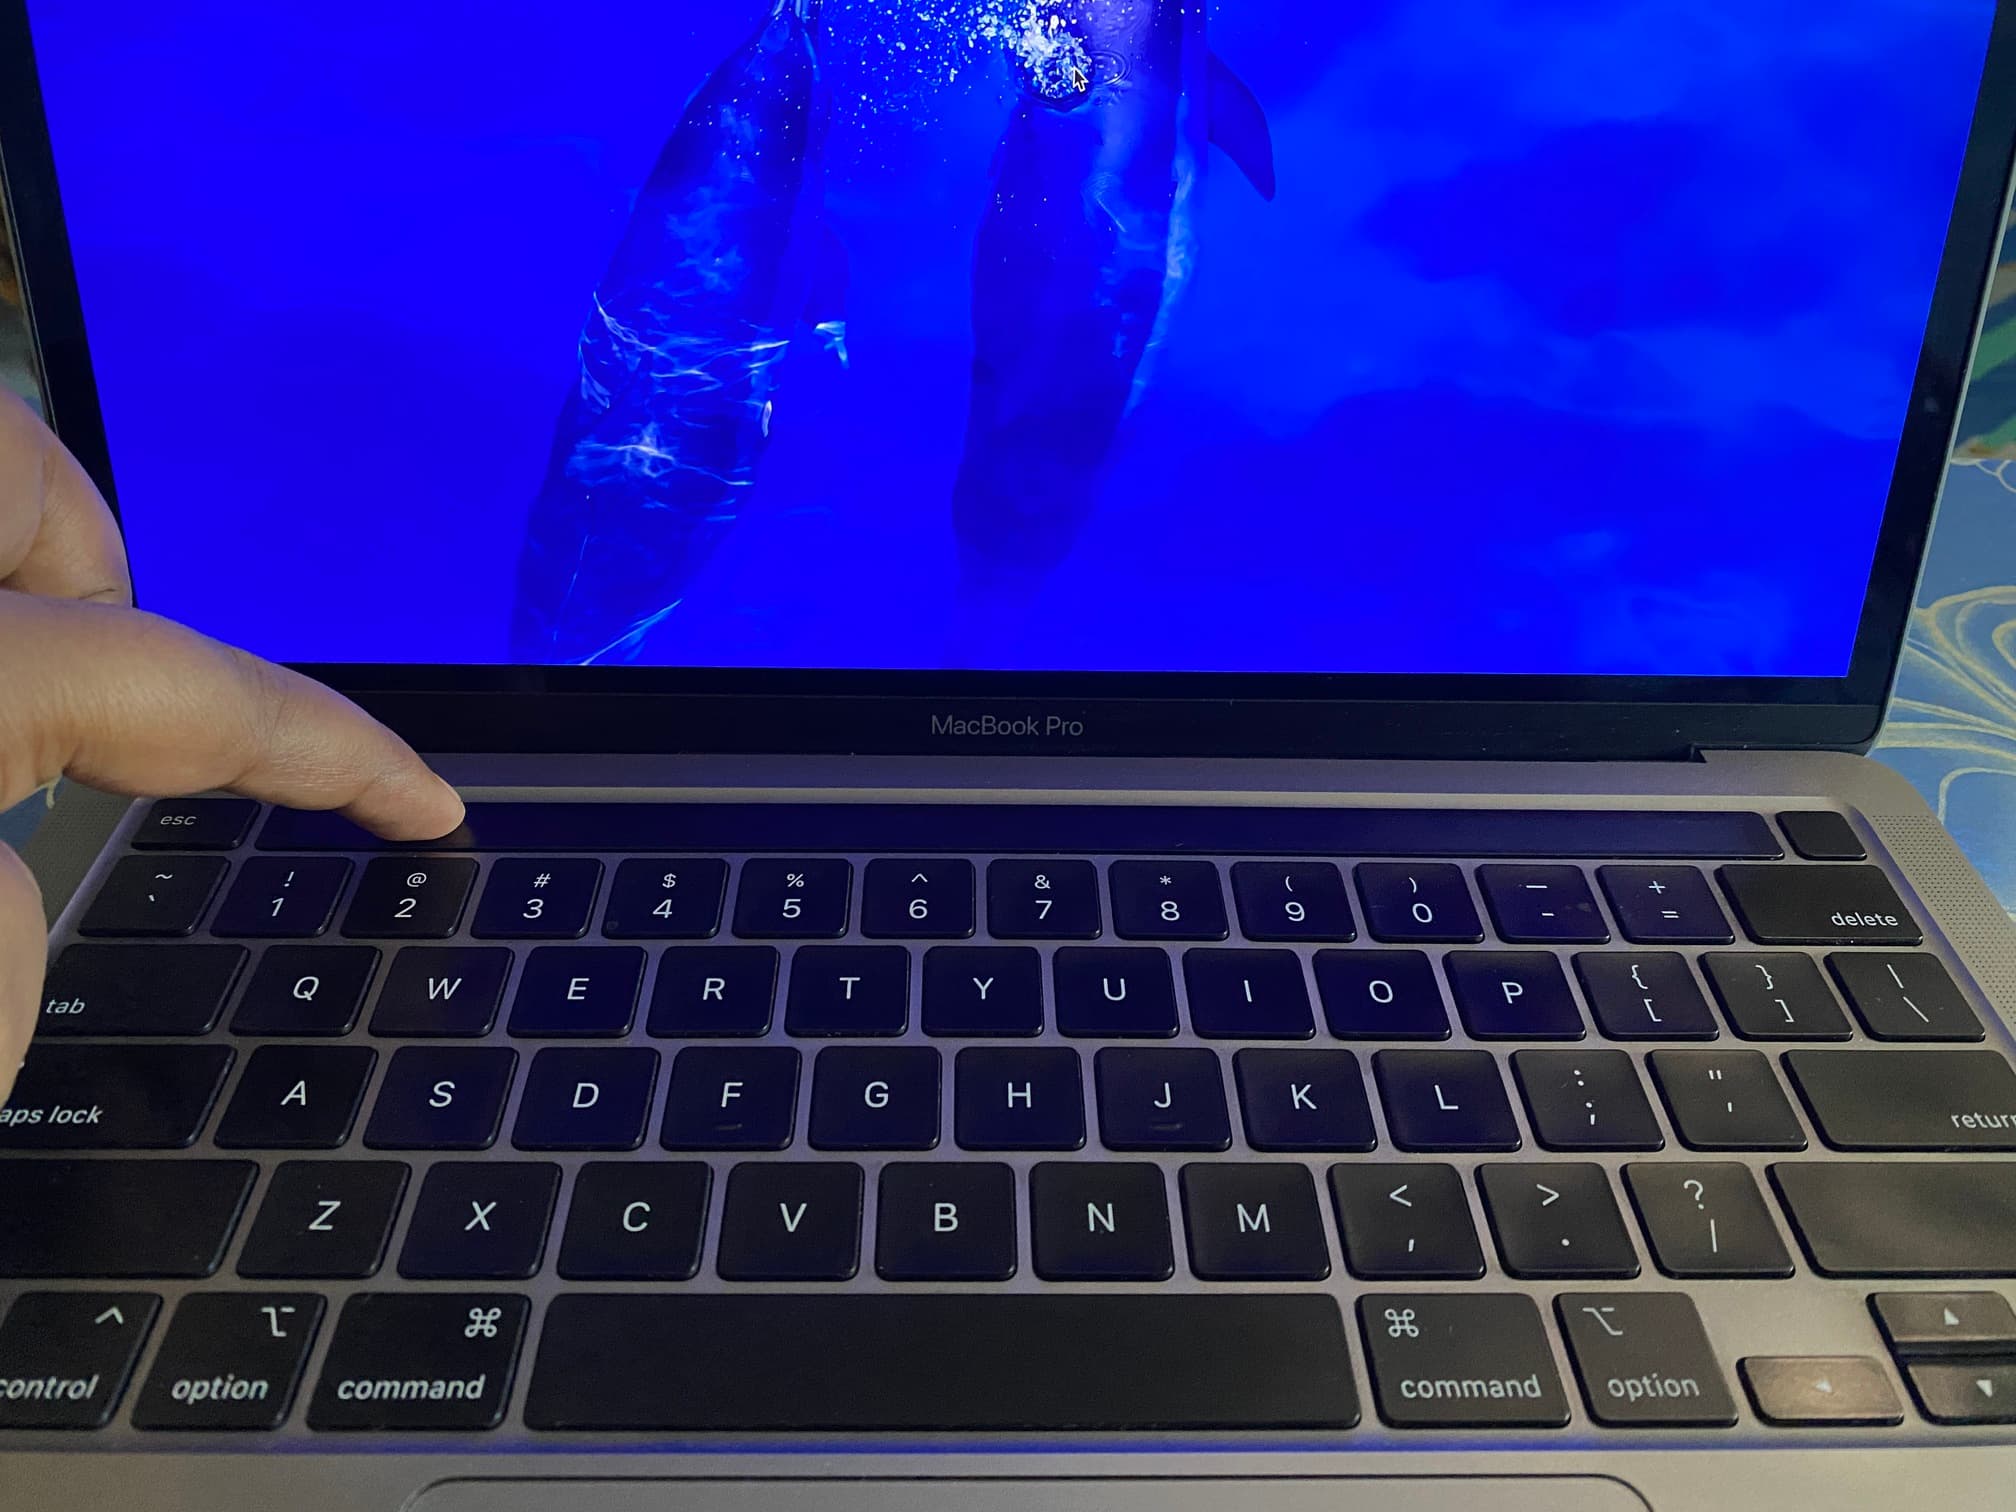
For example, the MacBook Pro Touch Bar provides a reminder of where the Touch ID sensor is in case you forget. It has a moving arrow that points directly to the button so you’re never confused. There are also animations whenever you adjust controls by sliding through the TouchBar.
Moreover, there are also various animations, lighting cues, and more that indicate a setting’s activation. These animations are certainly not a necessity, but Apple still paid careful attention to detail by incorporating them.
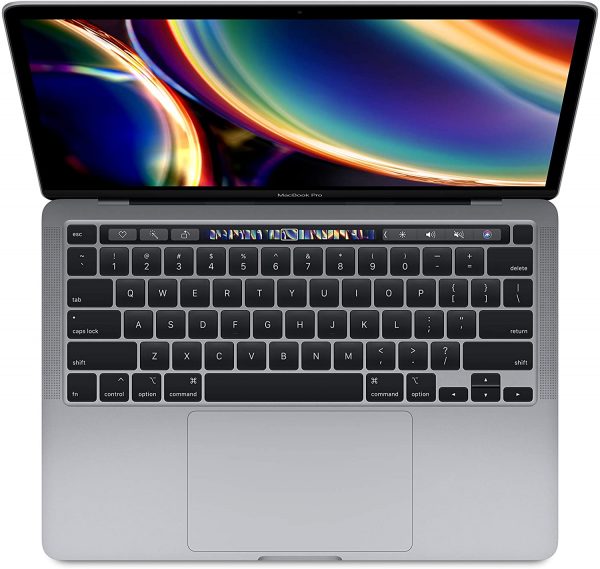
Control Strip
In place of the function keys, Apple has brought back the control strip that the classic Macs used to have. This new control strip sits on the Touch Bar’s right-most side, providing four customizable buttons for users to use. These remain regardless of the app you’re in and provide easy access to quick settings. By default, these are set to volume, brightness, mute, and Siri controls. When expanded, the control strip also offers other system controls like keyboard backlighting adjustments.
Fingerprint Verification
Of course, fingerprint verification is a given when it comes to having a touch-based surface. While the MacBook Air has a designated fingerprint sensor, Touch ID on MacBook Pros is built a bit differently.
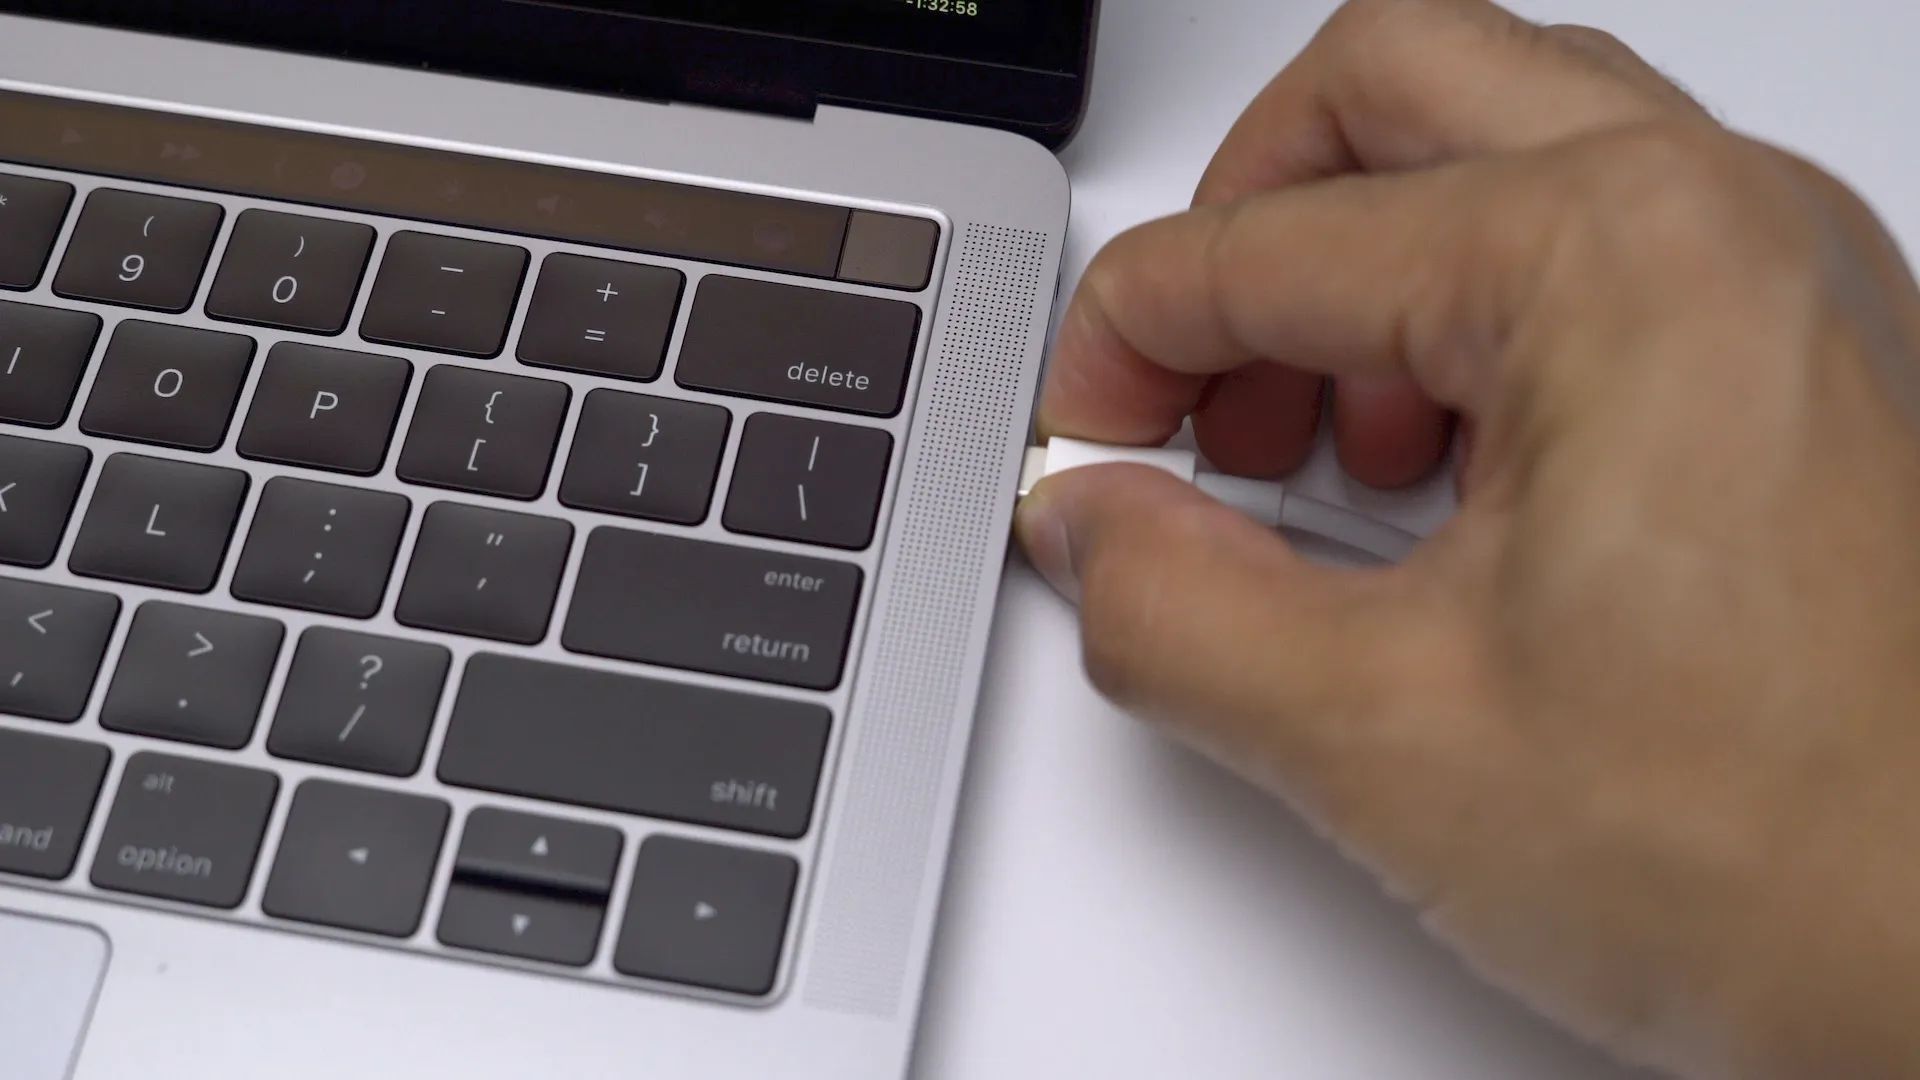
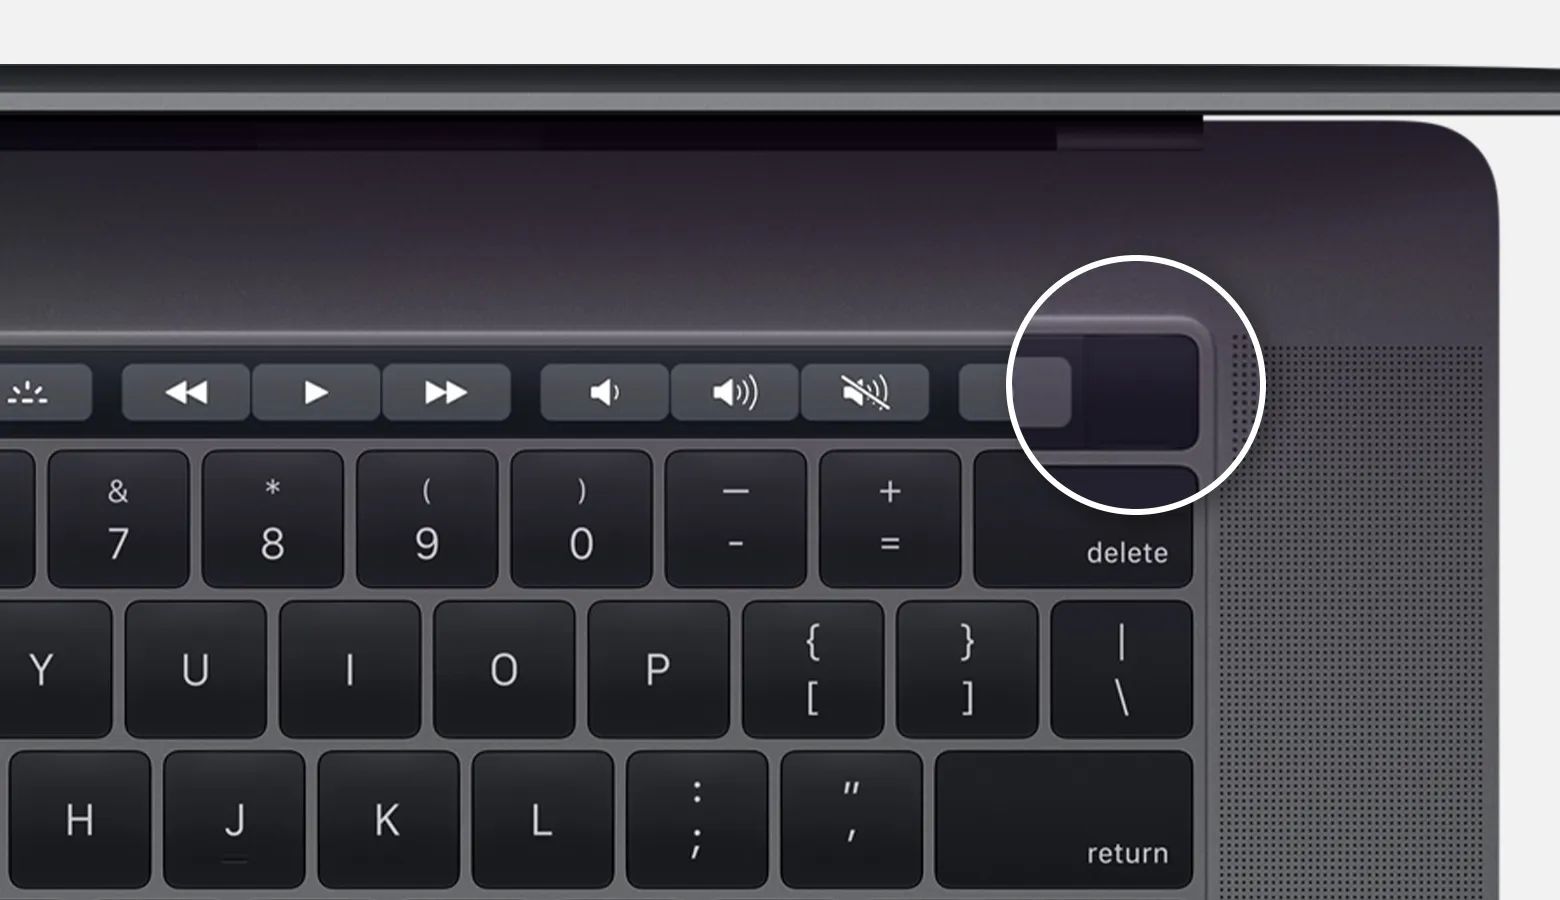
Contrary to what you might think, the Touch ID sensor doesn’t reside on the MacBook Pro OLED Touch Bar screen. It’s built separately and lays on the power button to the screen’s right. However, it’s very inconspicuous so it won’t be immediately noticeable.
Touch ID on the MacBook Pro Touch Bar feels as good as it is on any Apple device. It’s responsive and easy to use, allowing you to unlock your device without having to input a password.
Tips and Tricks to Maximize the MacBook Pro Touch Bar
Despite Apple’s ambitions, the default version of the MacBook Pro Touch Bar isn’t always useful. Moreover, it’s a little complicated to use since it is so deep and has tons of hidden features. That’s why we’ve compiled some tips to help you make use of that Touch Bar to get your money’s worth.
Tap and Slide for Volume and Brightness
Apple has a knack for making everything feel intuitive. However, they don’t always make these intuitive gestures obvious, making users dig into manuals just to find them. One of those gestures is the tap and slide movement to adjust volume and brightness.
If you’ve ever adjusted the volume on the MacBook Pro Touch Bar, you’d know how frustrating it is to use. You normally have to tap on the button and then use the slider afterward to reach the level you want. However, this doesn’t have to be a two-step process because there is a way to cut things short.
That is by tapping, holding, and then sliding on the button you want to adjust. This will automatically change the volume and brightness, depending on which way your finger goes. It’s a great time-saver and one that’s sure to lessen your frustration the next time you adjust the brightness again. However, do note that this doesn’t work when you’re using the expanded controls. Instead, it can only work if you’ve set it to display App Controls.
View the Expanded Control Strip
The MacBook Pro Touch Bar isn’t just great for standard app controls. It also contains an expanded Control Strip if you tap on the “<” button on the left. Once you do, you should see various shortcut keys that you might already be familiar with as a Mac user.
On the other hand, you can also set the expanded control strip as the default on the MacBook Pro Touch Bar. Doing this will allow you to view more control keys anytime. Moreover, this will also trigger the MacBook Pro Touch Bar to adapt to the apps you’re using.
Use the Fn Key to Activate More Touch Bar Controls

Accessing shortcut keys isn’t always easy, especially when there are tons of shortcuts you can use within an app. That’s why setting the Fn/Globe key as a quick shortcut to show app-specific controls is such a useful feature.
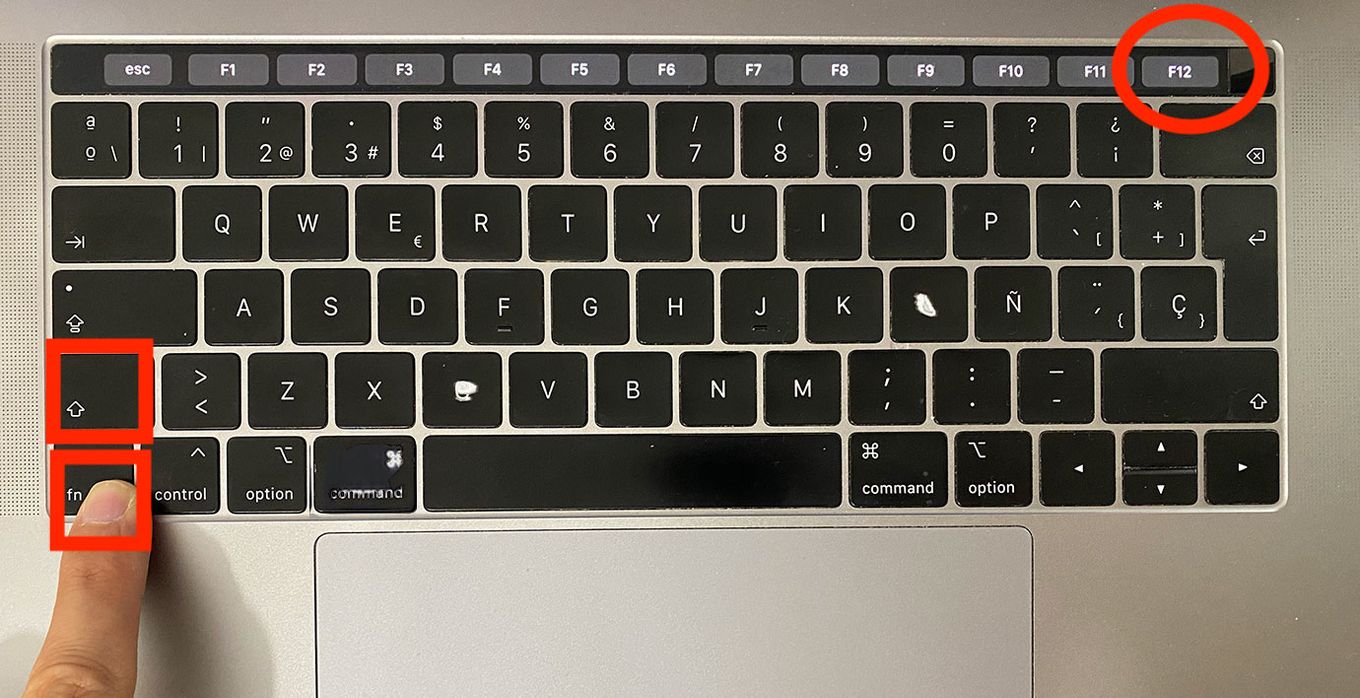
All you have to do is go to System Preferences and select Keyboard. Once you do, find the “Press and hold (globe/fn) to” setting and select the dropdown next to it. Afterward, choose the option to Show App Controls. With this, you should be able to access app-specific shortcut keys on the Touch Bar whenever you press and hold Fn. This is true for every app that provides individual shortcut keys.
On the other hand, you can also set the Fn key to show function keys F1 to F12 instead. You can do this by going to System Preferences > Keyboard > Press and hold (globe/fn to). Once you’re there, just select Show F1, F2, etc. Keys instead of Show App Controls.
Get Predictive Text
Autocomplete is one of the best features on iOS that saves iPhone users tons of time. With the MacBook Pro Touch Bar, you can get the same feature. Moreover, what’s great about it is that predictive text can work in any Apple app. Hence, you can use it in notes, iMessage, Safari, and more.
All you need to do is start typing. Afterward, tap on the keyboard icon that shows up in the MacBook Pro Touch Bar. Then, you’ll be able to see all of the suggested words Apple has conveniently compiled for you through AI. It can even suggest emojis depending on what you type. Moreover, this menu should stay there until you shoo it away using the “>” button.
Use Emojis
Emojis are great for expressing yourself when you’re chatting with friends or posting something online. However, it’s not exactly something you can get on macOS very easily. That is unless you have the MacBook Pro Touch Bar.
Through the Touch Bar, you can tap on the emoji (smiley face) icon anytime you’re typing. Afterward, you should see all the emojis that are normally available on iOS. Of course, what Apple will show you first are the emojis you use most often. However, you can also tap the clock icon to see other emoji categories to find emojis you don’t always use.
Share Files via AirDrop
One of Apple’s biggest Mac/iOS-only features is none other than AirDrop. It’s one of the most convenient ways to share files between Mac devices within a certain radius. With the MacBook Pro Touch Bar, this feature just got even easier because you no longer need the Finder.
Instead, you can simply tap on the Share icon and select the AirDrop button. Afterward, you should see a list of other users who are open to receiving files. With this, you can easily share any file you want without having to open Finder or using drag-and-drop.
Flag Messages in Mail
Contextual keys are some of the best parts of the MacBook Pro Touch Bar. In Mail, you can see its application through the easy-to-reach flag button as one of the options. As a result, you can easily mark any message you want with a red flag for later reference.
Additionally, you can also tap and hold the flag button to show multiple flag colors. Doing this will make your life much easier to organize your flagged messages as you read them in the morning.
Easily Scroll Through the Photos App

Scrolling is one of the biggest advantages the MacBook Pro Touch Bar has. That’s because, apart from scrolling on media and brightness controls, scrolling also has tons of other applications. One example of this is the ability to scroll through the photos app faster than a mouse can.
That’s right. With the MacBook Pro Touch Bar, you can simply scroll your finger left and right through the thumbnail photos displayed. Moreover, you can do this according to the pace you want, whether slow or fast. There’s even a “throw” feature where you flick the scroller to quickly sift through the photos without needing to swipe.
Customize the Touch Bar
The MacBook Pro Touch Bar is one of the most versatile parts of the MacBook Pro lineup. That’s because Apple doesn’t leave you stuck with the default shortcut keys on the Touch Bar. Instead, you can customize the MacBook Pro Touch Bar to your heart’s content to fit your needs.
For example, you might not use the Siri shortcut all that often because you just don’t use voice commands. You might want to swap it for something more versatile like the screenshot button or Escape key. Therefore, you would need to customize the Touch Bar just to swap those two keys.
To do this, just go to System Settings and look for the Keyboard settings. Once you’re there, click on the Customize Control Strip option. Afterward, you can drag and drop the buttons you want to the Touch Bar to personalize the experience. On the other hand, you can also drag the buttons you don’t use as often from the MacBook Pro Touch Bar.
Customize App Controls
Having app-specific controls makes the MacBook ProTouch Bar that much more useful. However, did you know that you could customize these controls, too? Unfortunately, not all apps allow users to do this. However, the apps that do (including Safari, Mail, and Finder) make the user experience much more fluid.
To do this, you’ll have to click the View menu and look for the Customize Touch Bar option. If it’s there, then you can personalize the contextual controls based on what you need the most. However, if the option isn’t present, then the app might not support the feature.
Activate Siri
If you like using Siri but don’t want to activate it through voice command, then you’ll love the Touch Bar. That’s because the Siri button is right there in the default Control Strip. Hence, you can just tap on it anytime and ask for the latest news or run a quick Google search.
Touch Bar Tips for Third-Party Apps
The Touch Bar supports many third-party apps including staples like Adobe Photoshop and Microsoft Word. They come in handy whenever you’re creating content or doing something within the app and need to access a shortcut. Here are just a few tips to help make your life a little bit easier.
Adobe Photoshop
In Photoshop, you can customize your favorite tools under the Touch Bar’s favorites tab. You can add the buttons you want, including those that control transparency, brush sizes, and more. With this, you can quickly adjust your settings without digging into Photoshop’s interface.
On the other hand, the MacBook Pro Touch Bar also provides a handy way of scrubbing through your history. Just tap on the history button and scrub through a timeline of your previous edits without needing to hit Command-Z.
Microsoft Office
There are also several things you can do within Microsoft Office apps through the Touch Bar. For example, Microsoft Word users can easily configure the styles for their font as they’re typing.
Sure, settings like Bold, Italics, and Underlines are a given. However, did you know that you can also select various styles through the MacBook Pro Touch Bar? To do this, just hit the styles (letter A with a brush) icon. This should show MS Word’s various text styles. You can choose normal, no spacing, heading 1, heading 2, and so on, depending on your needs.
On the other hand, there’s also a handy way to open recent files in Microsoft Office. Simply tap on the recent button (document icon with a clock) and swipe through your recent files.
MacBook Pro with Touch Bar Pricing
Have the Touch Bar’s features convinced you of purchasing a new MacBook Pro? While there have been rumors of Apple releasing a MacBook Pro without the Touch Bar, that hasn’t come true just yet. Hence, the MacBook Pros still include the touch bar regardless of which one you buy. How much is a MacBook Pro with a Touch Bar? Here’s what we have so far.
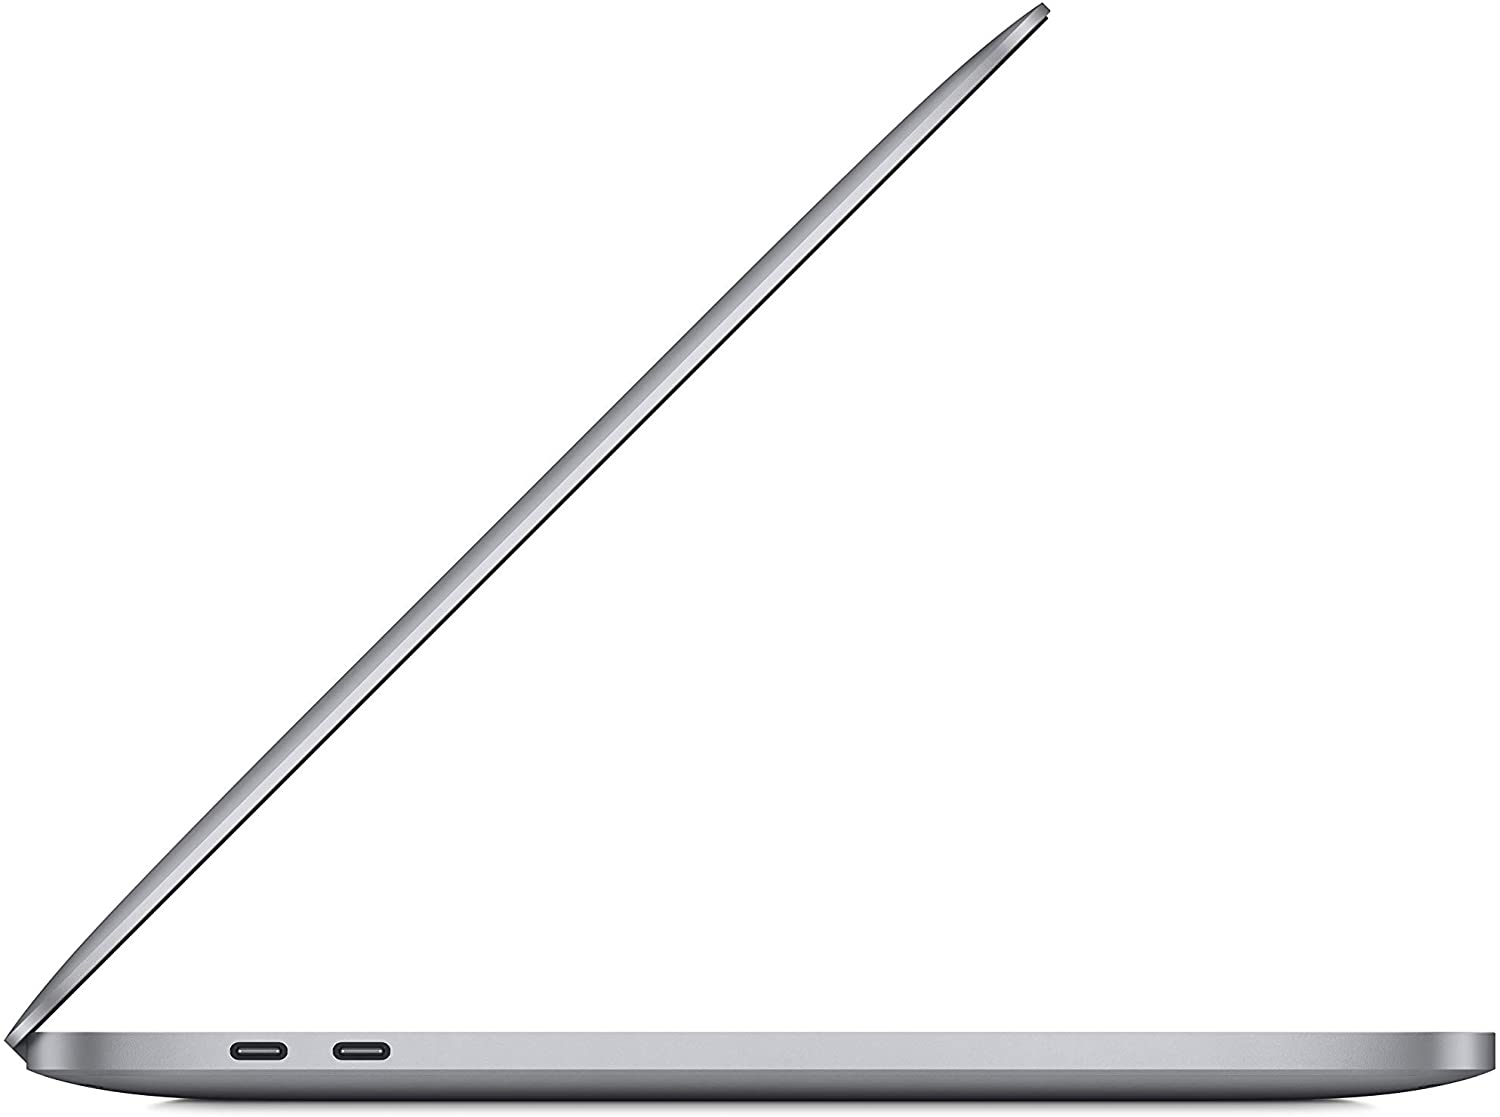
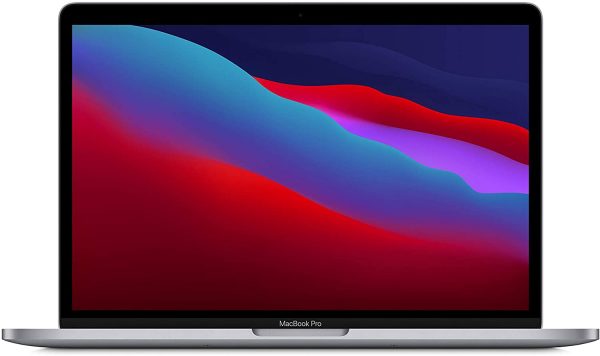
13-Inch MacBook Pro
A MacBook Pro 13-inch model comes in two types: an Intel version and an M1 version. The Intel version comes with an Intel Core i5 processor, 16 GB RAM, and 512 GB of storage for the base model. It starts at $1,699 and can go up to $3,339 depending on your RAM, storage, and processor configurations.
On the other hand, the M1 version comes with Apple’s newly released M1 chip. It starts at under $1,200 but it comes with less storage and RAM for the base model. However, it can go up to $2,120 if you bump up the RAM and storage capacity.
Check out the 13-inch model on Amazon today!
16-Inch MacBook Pro
On the other hand, Apple also sells 16-inch MacBook Pros with the Touch Bar included for users who like bigger screens. What is the Apple laptop price on this model? Well, the base model starts at around $2,200. It has 16 GB of RAM, 512 GB of storage, and an Intel Core i7 processor.
However, you can also bump up the MacBook prices up to under $6,100 with the highest configurations. These include 64 GB of memory, an Intel i9 processor, a higher-end AMD graphics processor, and 8 TB of storage.
See the 16-inch model on Amazon right now!
Final Thoughts
When it came out, the MacBook Pro Touch Bar was controversial, to say the least. Many people hated it while others loved the versatility. However, regardless of which side you’re on, you might as well make use of it if it’s already there. Thankfully, Apple did make the MacBook Pro Touch Bar easily customizable depending on how you want to use it. Just make a few adjustments and you should be working like a pro in no time.