Introduction
Welcome to our guide on how to fix a stuck trackpad. The trackpad is an essential component of any laptop or MacBook, allowing you to navigate and interact with your device seamlessly. However, it can be quite frustrating when your trackpad becomes unresponsive or gets stuck. Fortunately, there are several troubleshooting steps you can take to resolve this issue.
A stuck trackpad can be caused by various factors, such as physical obstructions, dirt or debris on the surface, incorrect trackpad settings, outdated drivers, or even a system glitch. Before deciding to take your laptop for repairs or contacting technical support, it’s worth attempting these simple fixes on your own. In many cases, you can successfully restore your trackpad’s functionality without much hassle.
In this guide, we will walk you through the step-by-step process of troubleshooting a stuck trackpad. We will cover methods that are applicable to both Windows and MacBook systems, providing you with a comprehensive solution regardless of the device you are using.
Please note that if you are experiencing more serious issues with your trackpad, such as physical damage or unresponsive behavior, it may require professional assistance or a hardware replacement. In such cases, it is advisable to consult with the manufacturer or authorized service providers for further guidance.
Now, let’s dive into the troubleshooting methods and help you fix your stuck trackpad so you can get back to using your laptop with ease!
Common Causes of a Stuck Trackpad
Before we proceed with the troubleshooting methods, it’s important to understand the common causes of a stuck trackpad. By identifying the underlying issue, you can better determine the appropriate solution. Here are some possible reasons for a stuck trackpad:
- Physical Obstructions: Dust, dirt, or debris accumulated on or around the trackpad can hinder its movement, resulting in a stuck or unresponsive trackpad.
- Incorrect Trackpad Settings: Sometimes, trackpad settings may need to be adjusted to resolve any issues related to sensitivity or responsiveness.
- Outdated Drivers: If your trackpad drivers are outdated, the trackpad may not work properly. Updating the drivers can often resolve this issue.
- System Glitch: Occasionally, a system glitch or software conflict can cause the trackpad to malfunction.
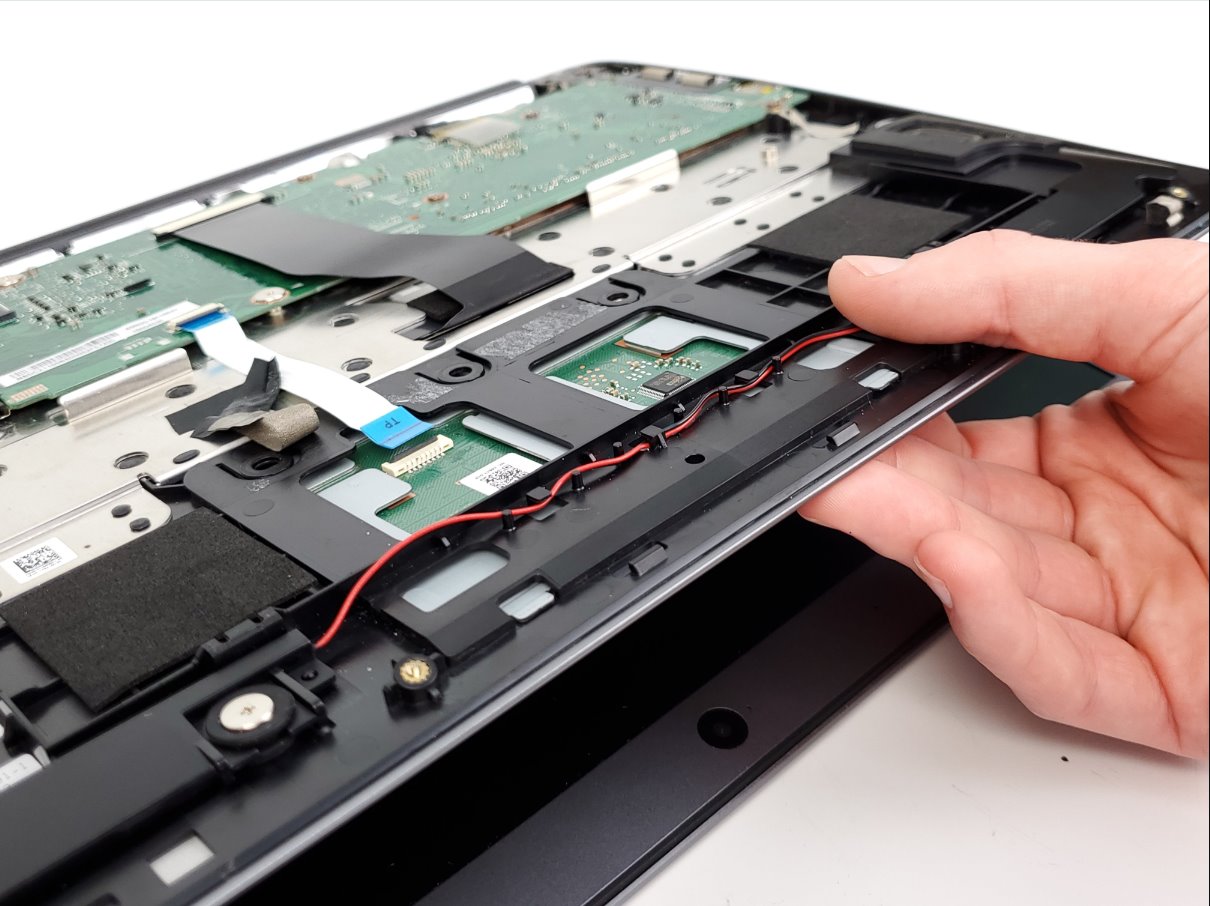
- Hardware Problem: In rare cases, a hardware defect or physical damage to the trackpad itself may be the cause of the issue.
By understanding these common causes, you can troubleshoot the problem more effectively. In the following sections, we will discuss various methods to address each of these issues. It’s important to note that the solutions provided may vary depending on the specific cause of your stuck trackpad.
Now that we have a clear understanding of the potential causes, let’s move on to the steps you can take to fix your stuck trackpad.
Checking for Physical Obstructions
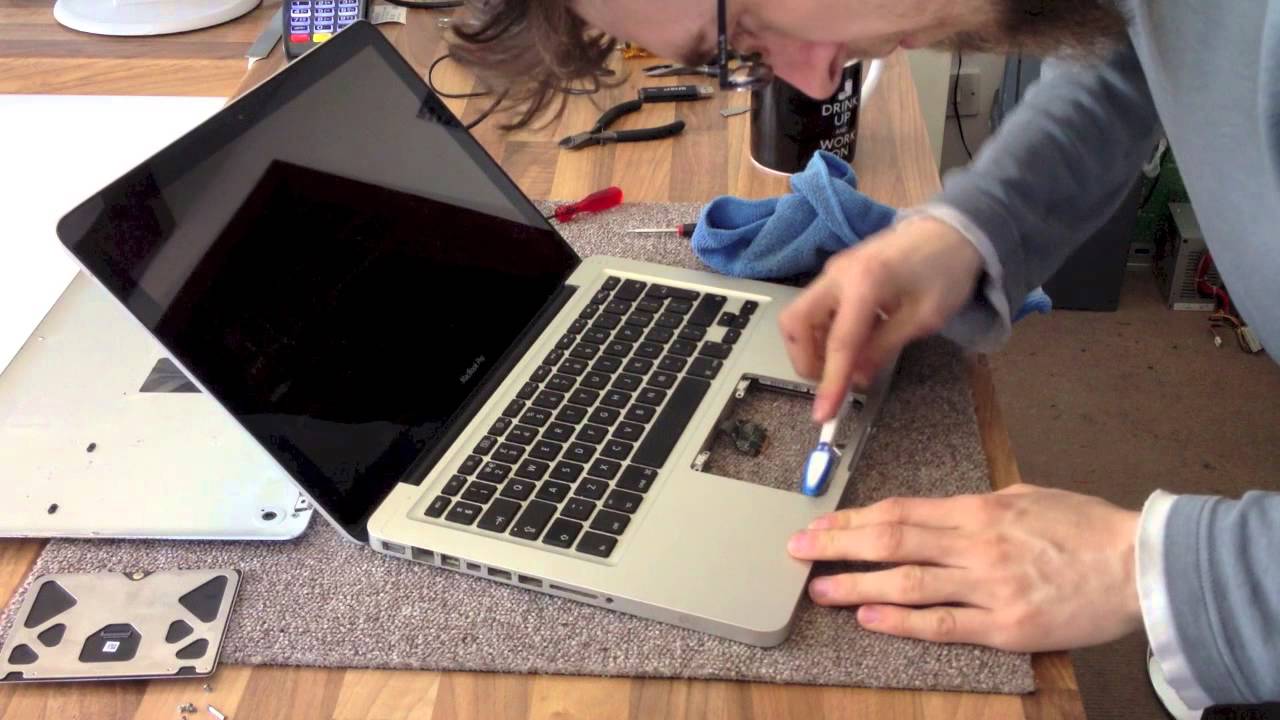
One of the common causes of a stuck trackpad is the presence of physical obstructions on or around the trackpad. Dust, dirt, or debris can accumulate over time, hindering the movement of the trackpad and making it unresponsive. Before trying any other troubleshooting methods, it’s essential to check for and remove any physical obstructions. Here’s how:
- Turn off your laptop: Before inspecting the trackpad, it’s important to turn off your laptop to avoid any accidental input or damage.
- Clean your hands: Make sure your hands are clean and free of any dirt or oils that could transfer onto the trackpad.
- Inspect the trackpad: Carefully examine the trackpad for any visible debris or obstructions. Use a flashlight if necessary to get a better view.
- Remove loose debris: If you notice any loose particles on the trackpad, gently brush them off using a soft, lint-free cloth or a soft brush. Avoid using excessive force to prevent any damage to the trackpad surface.
- Clean the trackpad surface: To remove stubborn dirt or sticky residue, dampen a lint-free cloth with a small amount of water or isopropyl alcohol. Gently wipe the trackpad surface in a circular motion, being careful not to exert too much pressure.
- Dry the trackpad: After cleaning, use a dry cloth to wipe away any moisture and ensure the trackpad is completely dry before turning on your laptop.
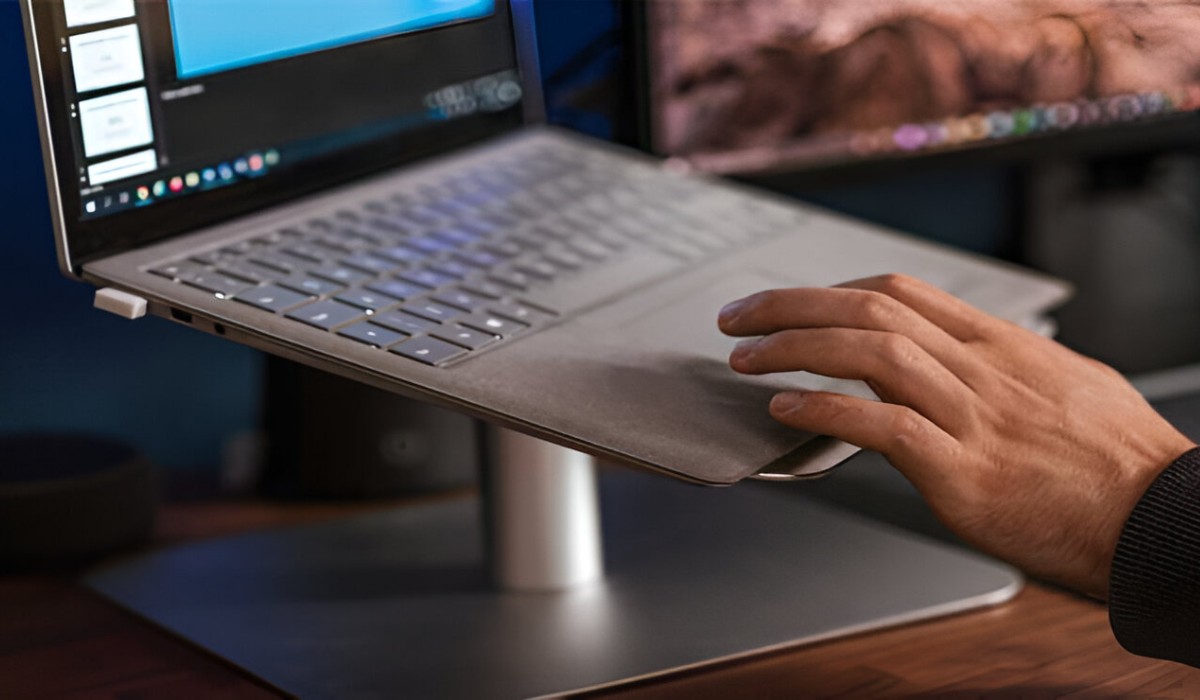
- Test the trackpad: Once the trackpad is cleaned, turn on your laptop and test the trackpad’s responsiveness. Move your finger across the trackpad to check if the movement is smooth and accurate.
If cleaning the trackpad and removing any physical obstructions doesn’t resolve the issue, it’s time to move on to the next troubleshooting step. Keep in mind that other factors, such as incorrect trackpad settings or outdated drivers, can also cause a stuck trackpad. We’ll cover these methods in the following sections.
Cleaning the Trackpad Surface
If you’re experiencing a stuck or unresponsive trackpad, cleaning the trackpad surface may help resolve the issue. Over time, dirt, oils, and other debris can accumulate on the surface, affecting the trackpad’s sensitivity and responsiveness. Here’s how you can clean the trackpad surface:
- Turn off your laptop: Before cleaning the trackpad, ensure your laptop is turned off to prevent any accidental input or damage.
- Clean your hands: Wash your hands thoroughly to remove any oils or dirt that could transfer onto the trackpad.
- Prepare a cleaning solution: Mix a small amount of water or isopropyl alcohol with a mild detergent in a clean container. Avoid using too much liquid, as excess moisture can damage the trackpad.
- Dampen a lint-free cloth: Moisten a lint-free cloth with the cleaning solution. Ensure the cloth is damp, not soaked.
- Gently wipe the trackpad surface: Use the damp cloth to gently wipe the trackpad surface in a circular motion. Be careful not to apply excessive pressure, as it can damage the trackpad.
- Pay attention to the edges: Clean the edges of the trackpad as well, as dirt or debris in these areas can impact its functioning.
- Dry the trackpad: After cleaning, use a dry lint-free cloth to wipe away any moisture from the trackpad surface.
- Test the trackpad: Once the trackpad is dry, turn on your laptop and test the trackpad’s responsiveness by moving your finger across it. Check if the movements are smooth and accurate.
If cleaning the trackpad surface doesn’t resolve the issue, there might be other factors causing the problem, such as incorrect trackpad settings or outdated drivers. We’ll explore these troubleshooting methods in the following sections.
Adjusting Trackpad Settings
If your trackpad is still stuck or unresponsive after checking for physical obstructions and cleaning the surface, adjusting the trackpad settings may help resolve the issue. Sometimes, incorrect settings can impact the trackpad’s sensitivity or responsiveness. Here’s how you can adjust the trackpad settings:
- Windows:
- Open the Control Panel by searching for it in the Windows search bar.
- Click on “Hardware and Sound” and then “Mouse” to open the Mouse Properties window.
- Navigate to the “Touchpad” or “Device Settings” tab, depending on your system.
- Adjust the settings according to your preference. You may find options to customize the sensitivity, gestures, and scrolling behavior of the trackpad.
- Click “Apply” and then “OK” to save the changes.
- Mac:
- Click on the Apple menu in the top-left corner of your screen and select “System Preferences”.
- Choose “Trackpad” from the preferences window.
- Explore the various settings available, such as “Point & Click” and “Scroll & Zoom”. Adjust these settings as needed to improve the trackpad’s responsiveness and accuracy.
- Close the preferences window to save the changes.
After adjusting the trackpad settings, test its functionality to see if the issue has been resolved. Move your finger across the trackpad and perform various gestures to ensure smooth and accurate movements.
If adjusting the trackpad settings doesn’t fix the problem, the issue may be related to outdated drivers. We’ll discuss how to update trackpad drivers in the next section.
Updating Trackpad Drivers
If your trackpad is still stuck or unresponsive, outdated drivers could be the culprit. Trackpad drivers are responsible for enabling the proper functioning of the trackpad on your device. Outdated or incompatible drivers can cause issues with the trackpad’s responsiveness and accuracy. Here’s how you can update trackpad drivers:
- Windows:
- Press the Windows key + X and select “Device Manager” from the list.
- In the Device Manager window, expand the “Mice and other pointing devices” category.
- Locate your trackpad driver and right-click on it. Then, select “Update driver” from the context menu.
- Choose the option to automatically search for driver updates. Windows will search online for the latest driver version and install it if available.
- Restart your laptop to complete the driver update process.
- Mac:
- Click on the Apple menu in the top-left corner of your screen and select “App Store”.
- In the App Store, click on the “Updates” tab.
- If an update for your trackpad driver is available, it will be listed here. Click the “Update” button next to the driver to install the update.
- Follow the on-screen instructions to complete the installation.
- Restart your MacBook to finalize the driver update.
Updating the trackpad drivers ensures that you have the latest software version, which often includes bug fixes and improvements for better trackpad performance. After updating the drivers, test the trackpad to see if it is now working properly.
If the trackpad issue persists even after updating the drivers, it’s time to move on to the next troubleshooting method. We’ll discuss performing a hard reset in the following section.
Performing a Hard Reset
If you’re still facing a stuck trackpad issue after trying the previous troubleshooting methods, performing a hard reset on your device may help resolve the problem. A hard reset involves fully powering off your laptop and then turning it back on, which can reset any temporary software glitches or conflicts. Here’s how you can perform a hard reset:
- Windows:
- Save your work and close any open programs or applications.
- Disconnect any external devices connected to your laptop, such as USB devices or external monitors.
- Press and hold the power button for about 10-15 seconds until your laptop completely shuts down.
- Release the power button and wait for a few seconds.
- Press the power button again to turn on your laptop.
- Mac:
- Save your work and close any open applications.
- Click on the Apple menu in the top-left corner of the screen and select “Shut Down”.
- Once your MacBook is completely turned off, press and hold the power button.
- Release the power button after about 10 seconds.
- Press the power button again to turn on your MacBook.
Performing a hard reset clears out any temporary software issues that may be affecting the trackpad’s functionality. After the reset, test the trackpad to see if it is now responsive and working properly.
If the trackpad issue still persists, it’s time to explore other troubleshooting options. In the next section, we’ll discuss resetting the System Management Controller (SMC) on MacBooks.
Resetting the System Management Controller (SMC)
If you’re encountering a stuck trackpad issue on a MacBook, resetting the System Management Controller (SMC) may help resolve the problem. The SMC is responsible for managing various hardware components, including the trackpad. Resetting it can sometimes resolve issues related to power management and hardware functionality. Here’s how you can reset the SMC:
- Shut down your MacBook: Save your work and close any open applications. Click on the Apple menu in the top-left corner of the screen and select “Shut Down”.
- Disconnect the power adapter: Unplug the power adapter from your MacBook.
- Remove the battery (if applicable): If you have a removable battery, carefully remove it from your MacBook.
- Press and hold specific keys: On newer MacBook models with a non-removable battery, press and hold the “Shift”, “Control”, and “Option” keys on the left side of the keyboard, along with the power button.
- Release the keys and power button: After 10 seconds, release all the keys and the power button.
- Reconnect the power adapter: Plug the power adapter back into your MacBook.
- Power on your MacBook: Press the power button to turn on your MacBook.
After resetting the SMC, test the trackpad to see if it is now functioning properly. Check if the trackpad is responsive and if the stuck issue has been resolved.
If resetting the SMC does not fix the problem, it’s recommended to contact the Apple Support team for further assistance. They can provide additional troubleshooting steps or determine if there is a hardware-related issue with your MacBook’s trackpad.
Contacting Apple Support
If you’ve tried all the previous troubleshooting methods and your trackpad is still stuck or unresponsive, it’s time to reach out to Apple Support for further assistance. Apple Support has a team of trained professionals who can provide specialized guidance and support for resolving hardware and software-related issues with your MacBook’s trackpad.
Before contacting Apple Support, make sure you have the following information handy:
- MacBook model and serial number: Locate the model and serial number of your MacBook, which can be found on the bottom case or in the “About This Mac” section under the Apple menu.
- Detailed description of the issue: Prepare a clear and concise description of the trackpad problem you’re facing. Include any error messages or specific behaviors you’ve observed.
- Documentation of troubleshooting steps taken: It would be helpful to have a record of the troubleshooting methods you have already attempted and their outcomes.
To contact Apple Support, you can visit the Apple Support website and initiate a chat or phone call with a support representative. Alternatively, you can schedule an appointment at an Apple Store or an authorized service provider for an in-person diagnosis and repair.
Remember, Apple Support is knowledgeable and experienced in troubleshooting MacBook hardware and software issues, including trackpad-related problems. They will be able to provide personalized assistance and recommend the most appropriate course of action to resolve the stuck trackpad problem.
If necessary, Apple Support may advise you on potential repair options, such as sending your MacBook for service or visiting an authorized repair center. Be prepared to follow their instructions and provide any additional information they may require to assist you efficiently.
Don’t hesitate to reach out to Apple Support for expert guidance and resolution of your trackpad issue. They are dedicated to ensuring your MacBook operates at its full potential.
Conclusion
A stuck trackpad can be a frustrating issue, but by following the troubleshooting methods outlined in this guide, you can often resolve the problem on your own. Starting with checking for physical obstructions and cleaning the trackpad surface, you can eliminate common causes of a stuck trackpad. Adjusting the trackpad settings and updating the trackpad drivers can also help improve responsiveness. If these steps don’t work, performing a hard reset or resetting the System Management Controller (SMC) on a MacBook can sometimes resolve the issue.
However, if none of these methods fix the stuck trackpad problem, don’t hesitate to reach out to Apple Support or consult with a professional technician. They have the expertise to diagnose and address hardware-related issues with your trackpad or provide further troubleshooting steps specific to your MacBook model.
We hope this guide has been helpful in resolving your stuck trackpad issue and allowing you to regain full functionality of your laptop or MacBook. Remember to always keep your device and trackpad clean and well-maintained to prevent future problems.


