Introduction
Are you having issues with the trackpad on your Chromebook? It can be frustrating when your trackpad doesn’t respond properly or behaves erratically. However, there’s no need to worry. In this guide, we will walk you through several steps to help you fix the trackpad on your Chromebook and get it back to working smoothly.
Chromebooks are known for their sleek and portable design, making them a popular choice among students, professionals, and casual users alike. The trackpad on a Chromebook functions as a primary input device, allowing you to navigate, click, and scroll effortlessly. When the trackpad malfunctions, it can hinder your productivity and disrupt your workflow.
Before diving into the troubleshooting steps, it’s important to note that the solutions provided here are general and may not work in every case. If your trackpad issue persists after following these steps, it may be necessary to contact technical support for further assistance.
Now, let’s get started with the troubleshooting process to fix the trackpad on your Chromebook.
Step 1: Clean the Trackpad
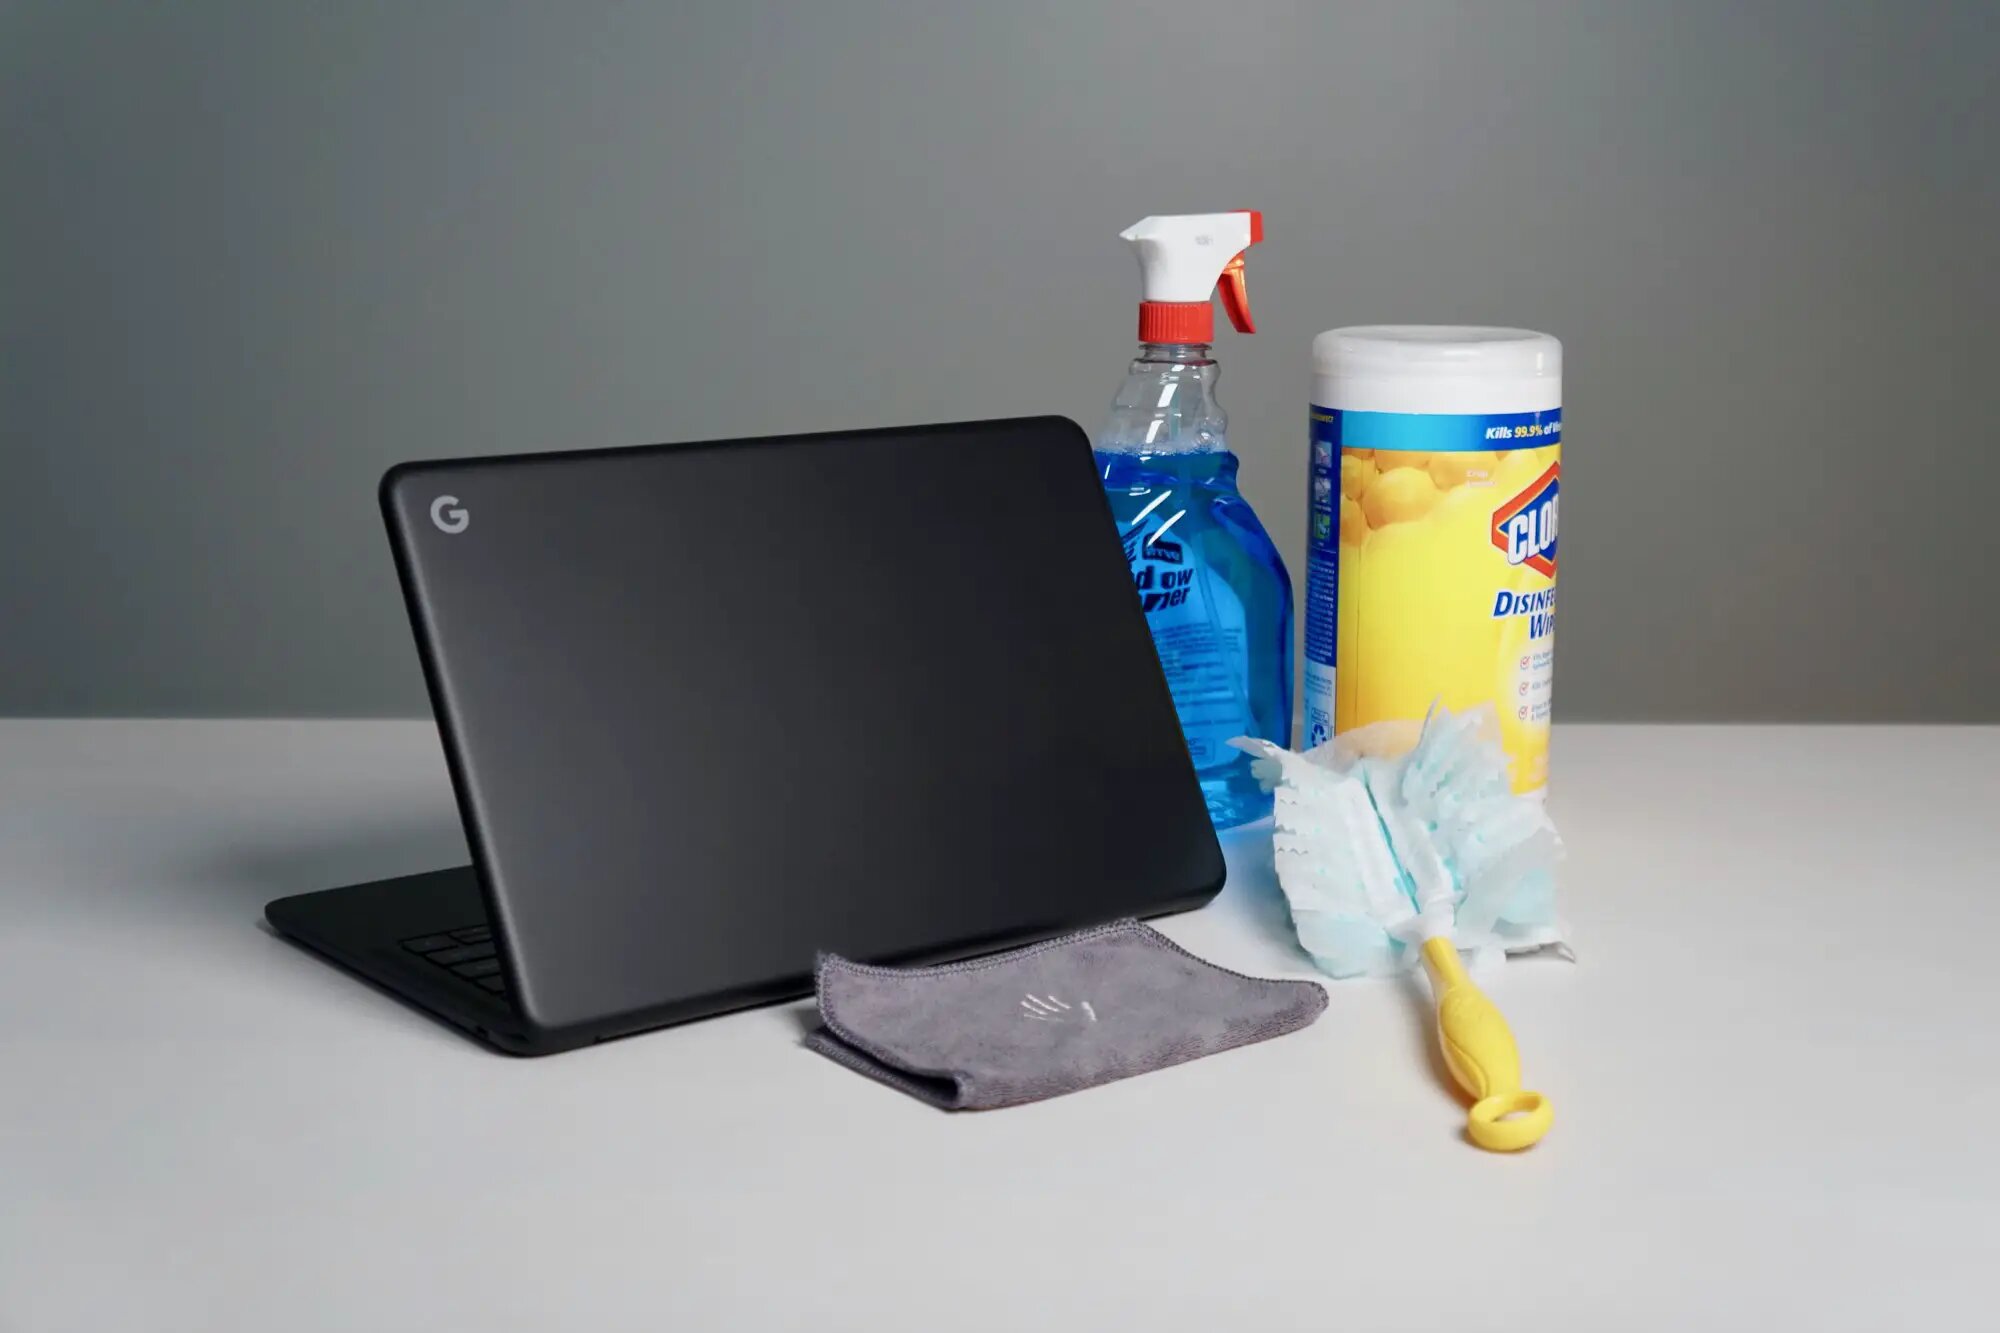
One of the most common reasons for a trackpad not functioning properly is dirt, dust, or debris accumulation. Over time, these particles can interfere with the trackpad’s sensors and cause it to become unresponsive. Cleaning the trackpad is a simple yet effective first step in troubleshooting the issue.
To clean the trackpad, start by turning off your Chromebook and disconnecting it from any power source. Next, use a microfiber cloth or a soft, lint-free cloth to gently wipe the trackpad in circular motions. Avoid using excessive force or liquid cleaners, as this can damage the trackpad. If necessary, slightly dampen the cloth with water or a mild cleaning solution specifically designed for electronics.
After wiping the trackpad, allow it to air dry completely before turning your Chromebook back on and testing the trackpad’s functionality. In many cases, a simple cleaning can resolve trackpad issues and restore its smooth operation.
If cleaning the trackpad doesn’t resolve the problem, move on to the next troubleshooting steps to further diagnose and fix the issue with your Chromebook’s trackpad.
Step 2: Adjust the Trackpad Sensitivity
If your trackpad is too sensitive or not sensitive enough, it can cause difficulties while navigating or clicking. Fortunately, Chrome OS provides an option to adjust the trackpad sensitivity according to your preference.
To adjust the trackpad sensitivity, follow these steps:
- Click on the system tray in the bottom right corner of the screen.
- Select the gear icon to open the Settings menu.
- In the Settings menu, click on “Device” and then select “Touchpad”.
- Under the “Touchpad” settings, you will find the option to adjust the sensitivity. Move the slider to the left to decrease sensitivity or to the right to increase it.
- Test the trackpad after making the adjustment to see if it feels more comfortable and responsive.
Experiment with different sensitivity settings until you find the one that works best for you. It’s worth noting that trackpad sensitivity can vary from one Chromebook model to another, so adjustments may be needed to suit your specific device.
If adjusting the sensitivity doesn’t resolve the trackpad issue, proceed to the next step in troubleshooting your Chromebook’s trackpad.
Step 3: Update Chrome OS
Keeping your Chromebook’s operating system up to date is essential for ensuring optimal performance and resolving any known issues, including trackpad problems. Chrome OS releases regular updates that include bug fixes, security enhancements, and improvements to device functionality.
To update your Chrome OS, follow these steps:
- Click on the system tray in the bottom right corner of the screen.
- Select the gear icon to open the Settings menu.
- In the Settings menu, scroll down and click on “About Chrome OS”.
- Under the “About Chrome OS” section, you will see the current version of Chrome OS installed on your Chromebook.
- Click on “Check for updates”. If an update is available, click on “Update”.
- Wait for the update to download and install. This process may take several minutes.
- Once the update is complete, restart your Chromebook to apply the changes.
After updating Chrome OS, check if the trackpad issue has been resolved. If not, don’t worry—we still have more troubleshooting options to try.
It’s important to regularly update Chrome OS to ensure that your Chromebook has the latest security patches and performance improvements. By keeping your system up to date, you can potentially solve trackpad issues and enjoy a smoother experience on your Chromebook.
Step 4: Powerwash Your Chromebook
If you’re still experiencing trackpad issues on your Chromebook, performing a powerwash can help resolve any software conflicts or corrupted settings that may be causing the problem.
Powerwashing your Chromebook will restore it to its original factory settings, so it’s important to back up any important files or data before proceeding. Once you’re ready, follow these steps to perform a powerwash:
- Click on the system tray in the bottom right corner of the screen.
- Select the gear icon to open the Settings menu.
- In the Settings menu, scroll down and click on “Advanced”.
- Under the “Reset Settings” section, click on “Powerwash”.
- A confirmation window will appear. Click on “Restart” to begin the powerwashing process.
- Follow the on-screen prompts to complete the powerwash.
After the powerwash is complete, set up your Chromebook again and test the trackpad to see if the issue has been resolved. If the trackpad is still not working correctly, there may be a hardware problem that requires further troubleshooting or professional assistance.
Powerwashing your Chromebook can effectively solve a variety of software-related issues, including trackpad problems. However, it’s important to note that performing a powerwash will delete all locally stored files and settings, so be sure to back up any important data beforehand.
If the trackpad issue persists after performing a powerwash, continue to the next step for further troubleshooting.
Step 5: Disable Touchpad Acceleration
Another troubleshooting step you can try to fix the trackpad issue on your Chromebook is to disable touchpad acceleration. Touchpad acceleration is a feature that adjusts the pointer speed based on how fast you move your finger on the trackpad. However, in some cases, it can cause erratic behavior or inconsistent responsiveness.
To disable touchpad acceleration, follow these steps:
- Click on the system tray in the bottom right corner of the screen.
- Select the gear icon to open the Settings menu.
- In the Settings menu, click on “Device” and then select “Touchpad”.
- Under the “Touchpad” settings, locate the option for touchpad acceleration.
- Toggle the switch to disable touchpad acceleration.
After disabling touchpad acceleration, test the trackpad to see if the issue has been resolved. If the trackpad now functions correctly, you can continue using your Chromebook without this feature. However, if the problem persists, re-enable touchpad acceleration and proceed to the next troubleshooting step.
Disabling touchpad acceleration can help eliminate any inconsistencies or erratic behavior associated with the trackpad. It’s worth trying this step if you’re still experiencing issues after performing previous troubleshooting methods.
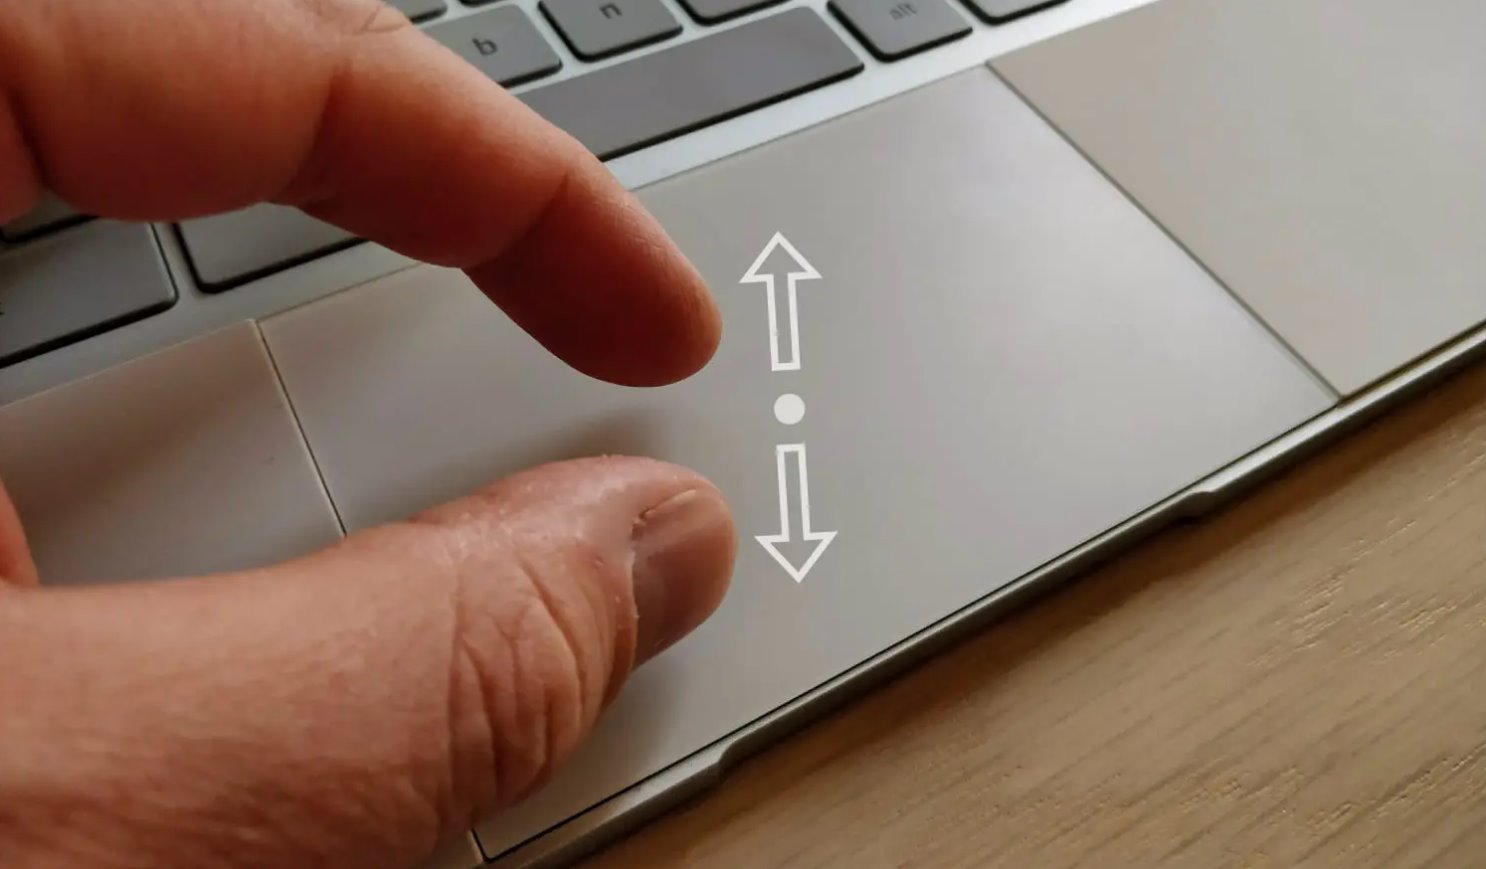
Step 6: Enable Tap-to-Click
If your trackpad is not responding when you physically click on it, you can try enabling the “Tap-to-Click” feature as an alternative method to click on items. Enabling this feature allows you to simply tap on the trackpad instead of pressing it down to register a click.
To enable Tap-to-Click, follow these steps:
- Click on the system tray in the bottom right corner of the screen.
- Select the gear icon to open the Settings menu.
- In the Settings menu, click on “Device” and then select “Touchpad”.
- Under the “Touchpad” settings, look for the option to enable Tap-to-Click.
- Toggle the switch to enable Tap-to-Click.
- Test the trackpad by tapping on it to see if the click functionality is working.
If the trackpad now responds to tap clicks but not physical clicks, it could indicate a hardware issue specifically related to the clicking mechanism. In such cases, using Tap-to-Click can serve as a workaround until the trackpad is repaired or replaced.
Enabling Tap-to-Click provides a convenient alternative for clicking on items without relying on physical pressure. Give it a try and see if it helps resolve your trackpad issues.
Step 7: Check for Physical Damage
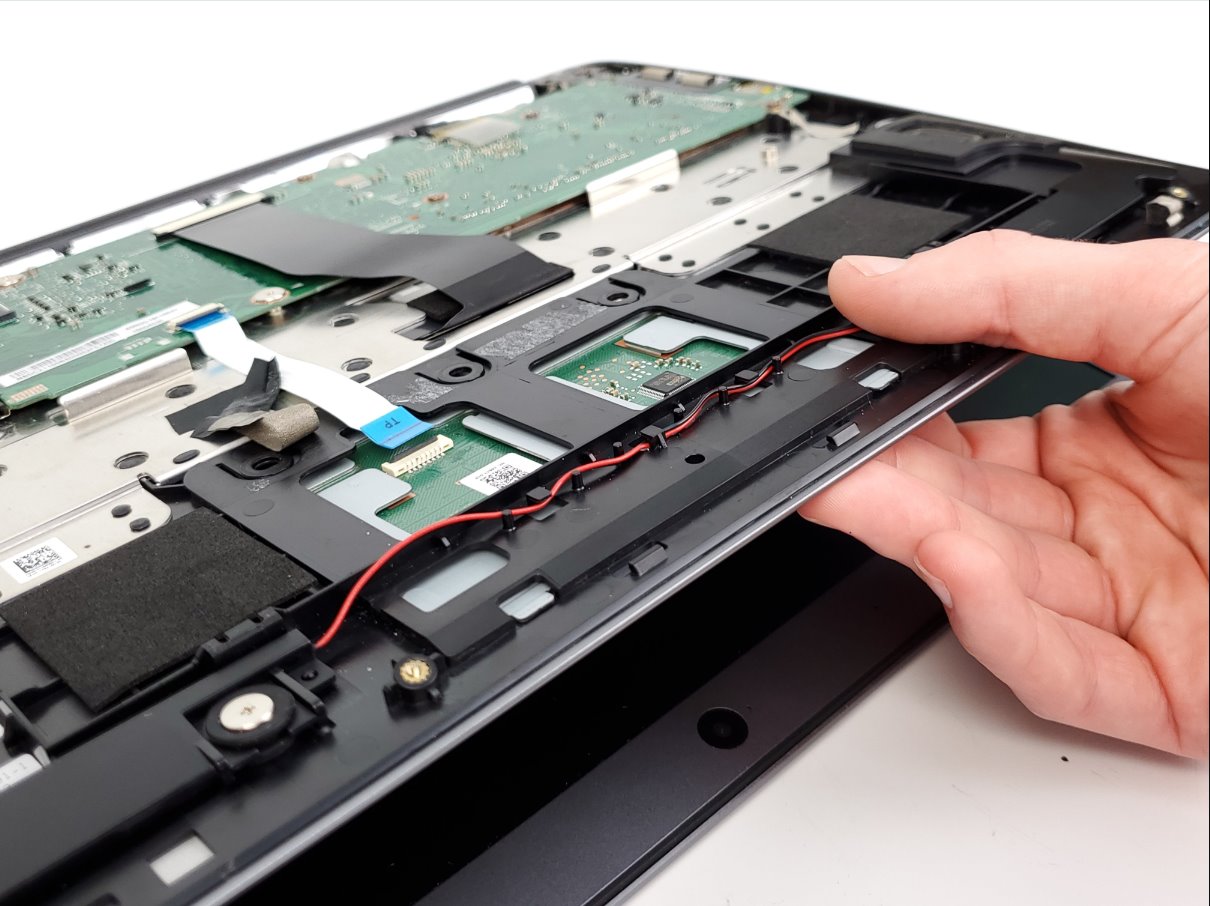
If none of the previous troubleshooting steps have resolved the trackpad issue on your Chromebook, it’s important to check for any physical damage that could be causing the problem. Physical damage can occur from accidental drops, spills, or general wear and tear.
Inspect the trackpad and its surrounding area for any visible signs of damage, such as cracks, dents, or loose components. Check for any debris or foreign objects that may be lodged in the trackpad mechanism. Additionally, make sure that the trackpad is properly seated and securely connected to the Chromebook’s internal components.
If you notice any physical damage or suspect that the trackpad has been affected, it may require professional repair or replacement. Contact the manufacturer’s support or take your Chromebook to an authorized service center for further assessment and assistance.
It’s important to note that attempting to repair the trackpad yourself without proper knowledge or experience could potentially cause further damage to your Chromebook. Consulting a professional is the safest and most effective solution in cases of physical damage.
If there are no visible signs of physical damage and you’re still experiencing trackpad issues, proceed to the next troubleshooting step to explore an alternative solution.
Step 8: Use an External Mouse as a Temporary Solution
If you’ve exhausted all the troubleshooting steps and are still unable to fix the trackpad issue on your Chromebook, using an external mouse can serve as a temporary solution. Connecting a mouse to your Chromebook allows you to navigate and interact with the device effectively.
To use an external mouse, follow these steps:
- Connect the mouse to one of the available USB ports on your Chromebook or use a wireless Bluetooth mouse.
- Your Chromebook should automatically detect the mouse and install any necessary drivers.
- Once the mouse is connected, you can simply start using it to navigate, click, and scroll on your Chromebook.
An external mouse can provide a convenient workaround while you explore further solutions or seek professional assistance for the trackpad issue. It offers greater precision and control compared to a malfunctioning trackpad.
Remember to keep your external mouse handy whenever you’re using your Chromebook, especially if the trackpad issue persists. It will ensure that you can continue using your device effectively and stay productive.
While an external mouse may not be a permanent fix for the trackpad issue, it provides a viable solution to help you continue using your Chromebook until a more permanent solution is found.
Conclusion
Dealing with a trackpad issue on your Chromebook can be frustrating, but fortunately, there are several troubleshooting steps you can take to resolve the problem. In this guide, we have covered various solutions ranging from cleaning the trackpad and adjusting its sensitivity to updating Chrome OS and disabling touchpad acceleration.
If the trackpad issue persists, you can try powerwashing your Chromebook to restore it to its factory settings and potentially fix any software conflicts. Additionally, enabling Tap-to-Click or using an external mouse can provide alternative methods for interacting with your Chromebook.
However, it’s important to note that if you have inspected for physical damage and tried all the recommended troubleshooting steps without success, it may be necessary to seek professional support or contact the manufacturer for further assistance.
Remember to regularly update your Chrome OS and keep your Chromebook clean to prevent trackpad issues in the future. By taking care of your device and following the troubleshooting tips provided, you can enjoy a seamless and responsive trackpad experience on your Chromebook.
We hope that these steps have helped you resolve the trackpad issue on your Chromebook. If you have any further questions or need additional support, don’t hesitate to reach out to the Chromebook community or the manufacturer’s technical support.