Introduction
Welcome to this guide on how to left click on a Chromebook! Chromebooks have become increasingly popular due to their affordability, simplicity, and fast performance. However, if you’re new to using a Chromebook or are transitioning from a different operating system, it can take a little time to get accustomed to the unique trackpad functionality.
The trackpad on a Chromebook is a touch-sensitive pad located below the keyboard. It serves as the primary input device, allowing you to navigate the interface, interact with applications, and perform various actions, including the left click.
In this guide, we will explore different methods to execute a left click on a Chromebook, depending on the type of input device you are using. Whether you prefer to use the trackpad, an external mouse, or even a touch screen, we have you covered.
By the end of this article, you will have a clear understanding of how to effectively perform a left click on your Chromebook and troubleshoot any issues that may arise. So, let’s dive in and explore the various methods!
Understanding the Trackpad
Before we dive into the specifics of how to left click on a Chromebook, it’s important to familiarize yourself with the trackpad and its functionality. The trackpad on a Chromebook is a touch-sensitive pad that allows you to interact with the device using gestures and taps.
The trackpad supports both traditional single-click and two-finger click functions. It is designed to mimic the functionality of a traditional mouse, providing a smooth and responsive experience. To move the cursor on the screen, simply glide your finger across the trackpad surface.
In addition to cursor movement, the trackpad also supports various gestures. For example, you can use two fingers to scroll up and down on webpages or documents. You can also pinch two fingers together or spread them apart to zoom in or out, respectively.
It’s important to note that different Chromebook models may have slightly different trackpad designs and functionality. Some trackpads may feature physical buttons, while others rely solely on touch gestures. However, the basic left-click functionality remains the same across all Chromebooks.
Now that you have an understanding of the trackpad and its capabilities, let’s explore how to perform a left click using this input device.
Enable Tap to Click
One of the most convenient and intuitive ways to perform a left click on a Chromebook is by enabling the “Tap to Click” feature. By enabling this feature, you can simply tap the trackpad surface to register a left click, eliminating the need to physically press down on the trackpad.
To enable Tap to Click on your Chromebook, follow these steps:
- Click on the time in the bottom right corner of the screen to open the system tray.
- Click on the gear icon to access the settings menu.
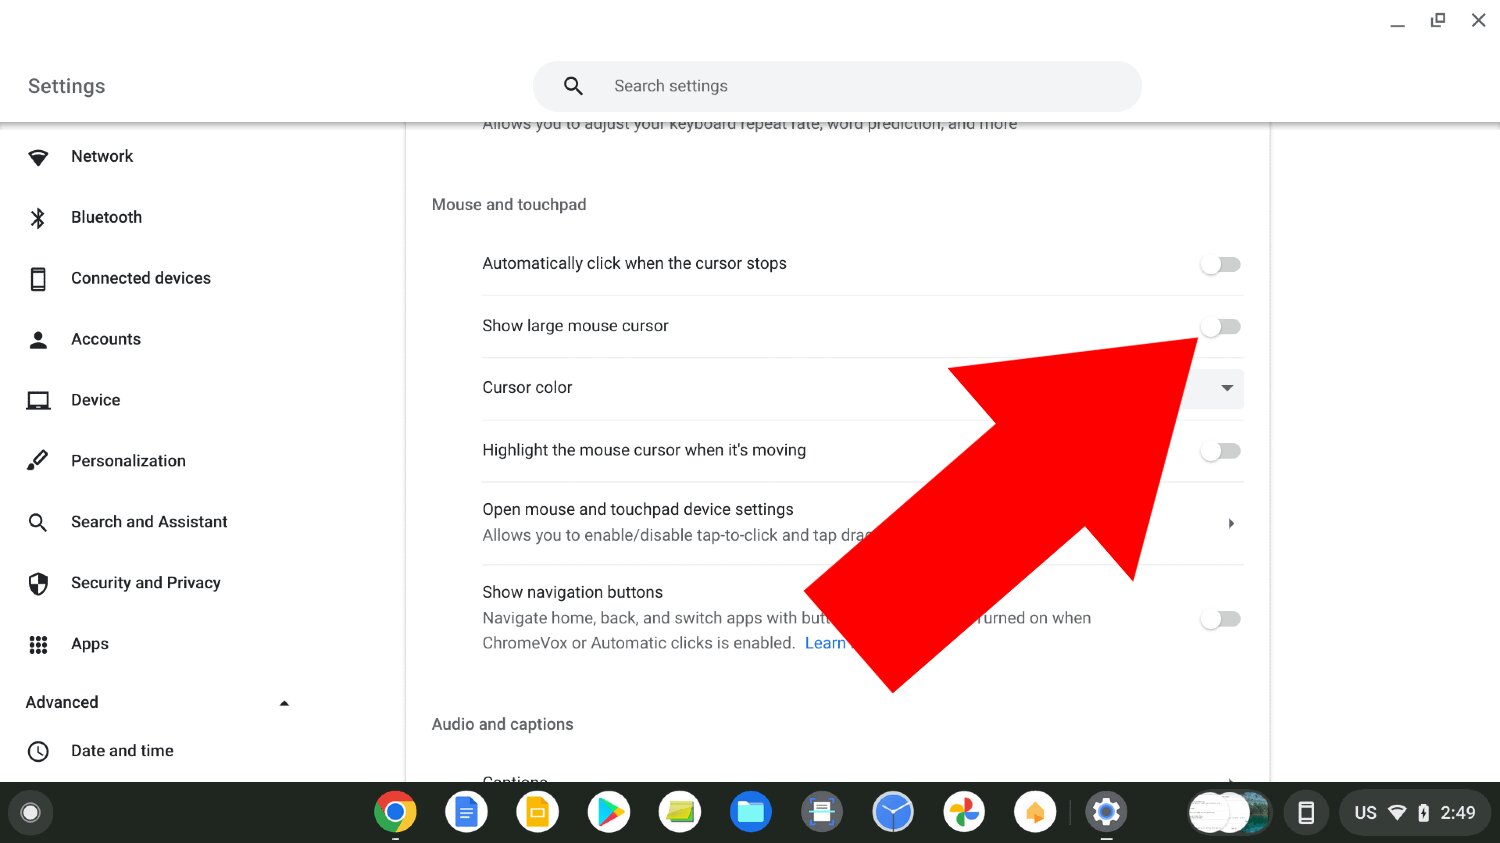
- In the settings menu, select “Device” and then “Touchpad”.
- Toggle the “Tap to Click” switch to the on position.
Once you have enabled Tap to Click, you can now perform a left click by simply tapping the trackpad surface with a single finger. This method provides a seamless and efficient way to navigate and interact with your Chromebook.
It’s worth mentioning that if you prefer the traditional physical click, you can disable Tap to Click by following the same steps and toggling the switch to the off position.
Now that you have Tap to Click enabled on your Chromebook, let’s move on to exploring how to perform a left click with the trackpad itself.
Left Click with the Trackpad
Performing a left click using the trackpad of your Chromebook is quite straightforward. Follow these steps to execute a left click using the trackpad:
- Position the cursor over the item or object you want to click.
- Place your index finger lightly on the trackpad surface, near the bottom of the trackpad.
- Gently press down on the trackpad surface, but do not physically click down like you would on a traditional mouse.
- Keep your finger on the trackpad and release the pressure to register the left click.
When performing a left click with the trackpad, it’s important to maintain a gentle touch and avoid applying too much pressure. The trackpad is designed to register the click without the need for a physical press, making the experience smooth and effortless.
By using the trackpad for left-clicking, you can navigate through applications, open files and folders, interact with web pages, and perform various other actions. The trackpad’s sensitivity ensures accurate cursor movement and provides a seamless user experience.
Now that you have mastered left clicking with the trackpad of your Chromebook, let’s explore how to perform a left click using an external mouse.
Left Click with an External Mouse
If you prefer using an external mouse with your Chromebook, you’ll be glad to know that left-clicking with an external mouse is as simple as it is with a traditional computer. Here’s how you can perform a left click using an external mouse on your Chromebook:
- Connect the external mouse to your Chromebook’s USB port or use a Bluetooth connection to pair it.
- Position the cursor over the item or object you want to click.
- Press down the left button on the external mouse.
When using an external mouse, the left-click functionality works just like any other computer. Simply press down the left button on the mouse, and the click will be registered. Whether you’re selecting files, clicking links in web pages, or interacting with applications, the external mouse provides a familiar and comfortable way to perform left clicks on your Chromebook.
It’s important to note that Chromebooks are compatible with a wide range of external mice, including both wired and wireless options. The Chrome OS has built-in driver support for most popular mouse models, ensuring smooth and seamless integration.
Now that you’re familiar with left-clicking using an external mouse, let’s explore how you can perform a left click on a Chromebook with a touch screen.
Left Click with a Touch Screen
Many Chromebooks come equipped with a touch screen, allowing you to interact with the device using your fingers directly on the screen. Left-clicking with a touch screen is intuitive and straightforward. Here’s how you can perform a left click on a Chromebook with a touch screen:
- Position your finger on the screen over the item or object you want to click.
- Tap the screen once with your finger.
When using a touch screen, a single tap with your finger registers a left click. It’s important to note that you should tap the screen lightly without applying excessive pressure. The touch screen technology is designed to be sensitive, providing accurate and responsive input.
Left-clicking with a touch screen offers a hands-on and interactive way to navigate, select, and interact with content on your Chromebook. This method is particularly useful when using touch-optimized applications, browsing the web, or even playing games that utilize touch controls.
If your Chromebook has a detachable or convertible design, you can also use the touch screen in tablet mode. In tablet mode, you can hold the device like a tablet and interact with the screen using your fingers, making it convenient to perform left clicks in various scenarios.
Now that you know how to left click on a Chromebook with a touch screen, let’s move on to troubleshooting any left click issues you may encounter.
Troubleshooting Left Click Issues
While left-clicking on a Chromebook is typically a seamless experience, you may encounter occasional issues that prevent the left click from registering. Here are a few troubleshooting steps to help you address common left click issues:
1. Clean the trackpad or touch screen: Over time, dirt, dust, and fingerprints can accumulate on the trackpad or touch screen, affecting its sensitivity. Use a clean, lint-free cloth to gently wipe the surface and remove any debris that may be interfering with the left click.
2. Adjust trackpad settings: If you’re using the trackpad, ensure that the sensitivity and click settings are properly configured. You can access these settings through the system tray > settings > device > touchpad. Adjust the sensitivity and check for any specific options related to left click behavior.
3. Update Chrome OS: Keeping your Chromebook’s operating system up to date is important for optimal performance. Check for any available updates by clicking on the time in the bottom right corner > settings > about Chrome OS > check for updates. Install any pending updates and restart your Chromebook if necessary.
4. Restart your Chromebook: Sometimes a simple restart can resolve minor software issues that may be causing left click problems. Click on the time in the bottom right corner > restart to restart your Chromebook and see if the left click functionality is restored.
5. Test with another mouse or touch screen: If you’re using an external mouse or have a touch screen, try connecting a different mouse or using a different touch screen (if available) to determine if the issue is specific to the input device. This will help you identify whether the problem lies with the Chromebook or the particular input device you’re using.
If you’ve tried these troubleshooting steps and are still experiencing left click issues, it may be necessary to seek technical support or contact the manufacturer for further assistance. Fortunately, left click problems on Chromebooks are relatively rare, and most issues can be easily resolved using the steps outlined above.
With these troubleshooting tips in mind, you should now be able to overcome any left click issues and enjoy a smooth and seamless user experience on your Chromebook.
Conclusion
In conclusion, learning how to left click on a Chromebook is essential for navigating and interacting with the device. Whether you use the trackpad, an external mouse, or a touch screen, performing a left click is intuitive and straightforward.
By enabling the “Tap to Click” feature, you can easily perform a left click by simply tapping the trackpad surface. This eliminates the need for a physical press and provides a seamless user experience. If you prefer the traditional physical click, you can disable the Tap to Click feature.
Using the trackpad itself, you can perform a left click by gently pressing down on the trackpad surface with your index finger. This method is simple and effective, allowing you to effortlessly interact with applications and navigate through your Chromebook.
If you prefer using an external mouse, left clicking is as easy as pressing down the left button on the mouse. This method provides a familiar and comfortable way to interact with your Chromebook and is compatible with a wide range of external mouse models.
If your Chromebook has a touch screen, left clicking is as simple as tapping the screen with your finger. This provides a hands-on and interactive way to navigate, select, and interact with content, especially when using touch-optimized applications.
If you encounter any left click issues, you can troubleshoot them by cleaning the trackpad or touch screen, adjusting the settings, updating the Chrome OS, or testing with another input device. By following these troubleshooting steps, you can quickly resolve most common left click problems.
With this comprehensive guide, you now have the knowledge and tools to effectively perform left clicks on your Chromebook using different input devices. Enjoy the seamless navigation, interaction, and productivity that a Chromebook offers.