Introduction
Welcome to this tutorial on how to install Firefox on your Chromebook! While Chromebooks come with Google Chrome as the default browser, you may prefer to use Firefox for its various features and extensions. Fortunately, you can easily install Firefox on your Chromebook and enjoy a different browsing experience. In this guide, we will walk you through the step-by-step process to successfully install and configure Firefox on your Chromebook.
Firefox, developed by Mozilla, is a popular web browser known for its speed, security, and customization options. It offers a wide range of add-ons and extensions that enhance your browsing experience and give you more control over your online activities. By installing Firefox on your Chromebook, you can take advantage of these features and personalize your browsing to suit your preferences.
Keep in mind that installing Firefox on a Chromebook requires the use of Linux (Beta), a feature that allows you to run Linux applications on your Chromebook. Don’t worry if you’re not familiar with Linux – we will guide you through each step of the process. So let’s get started and learn how to install Firefox on your Chromebook!
Step 1: Enabling Linux (Beta) on your Chromebook
Before you can install Firefox on your Chromebook, you need to enable Linux (Beta) on your device. Linux (Beta) allows you to run Linux applications, including Firefox, on your Chromebook.
Here’s how you can enable Linux (Beta) on your Chromebook:
- Click on the system tray at the bottom right corner of your Chromebook’s screen.
- Click on the gear icon to open the Settings menu.
- In the Settings menu, scroll down and click on “Linux (Beta)” in the left-hand menu.
- Click on the “Turn on” button to enable Linux (Beta) on your Chromebook.
- Follow the on-screen instructions to set up Linux (Beta) on your device. This may take a few minutes.
- Once Linux (Beta) is enabled, click on the “Apps” launcher in the bottom left corner of your screen.
- Click on the Terminal icon to open the Linux Terminal.
That’s it! You have successfully enabled Linux (Beta) on your Chromebook, which will allow you to install and run Linux applications like Firefox. Now, let’s move on to the next step where we will install Linux (Beta) on your Chromebook.
Step 2: Installing Linux (Beta) on your Chromebook
Now that you have enabled Linux (Beta) on your Chromebook, it’s time to install the Linux system on your device. The Linux system allows you to run applications like Firefox, which are not natively supported by Chrome OS.
- Open the Linux Terminal on your Chromebook by clicking on the Terminal icon in the “Apps” launcher.
- Type the following command in the Terminal and press Enter to update the Linux environment:
sudo apt update - Wait for the update to finish. This may take a few minutes.
- Once the update is complete, type the following command in the Terminal and press Enter to install the Linux system:
sudo apt install debian-installer-launcher - Follow the on-screen instructions to complete the installation process. This may take some time, so please be patient.
- Once the installation is complete, close the Terminal. You now have Linux (Beta) installed on your Chromebook.
With the Linux system installed, you are now ready to proceed to the next step – installing Firefox on your Chromebook. Let’s move on!
Step 3: Updating the Linux system
Before installing Firefox on your Chromebook, it’s important to ensure that the Linux system is up to date. Updating the Linux system ensures that you have the latest security patches and bug fixes, which is crucial for a smooth and secure browsing experience.
Here’s how you can update the Linux system on your Chromebook:
- Open the Linux Terminal on your Chromebook by clicking on the Terminal icon in the “Apps” launcher.
- Type the following command in the Terminal and press Enter to update the Linux environment:
sudo apt update - Wait for the update to finish. This process may take a few minutes as it fetches the latest package information from the repositories.
- Once the update is complete, type the following command in the Terminal and press Enter to upgrade the Linux system:
sudo apt upgrade - You will be prompted to confirm the upgrade. Type “Y” and press Enter to proceed with the upgrade.
- Wait for the upgrade to complete. This may take some time depending on the number of packages that need to be upgraded.
- Once the upgrade is finished, close the Terminal. Your Linux system is now up to date.
By keeping the Linux system updated, you ensure that you have the latest features and improvements for your Linux applications, including Firefox. Now that your Linux system is updated, let’s move on to the next step to install Firefox on your Chromebook.
Step 4: Installing Firefox on Chromebook
Now that your Linux system is up to date, it’s time to proceed with installing Firefox on your Chromebook. Firefox is a popular web browser known for its speed, privacy features, and extensive range of add-ons.
To install Firefox on your Chromebook, follow these steps:
- Open the Linux Terminal on your Chromebook by clicking on the Terminal icon in the “Apps” launcher.
- Type the following command in the Terminal and press Enter to download the Firefox installation package:
sudo apt install firefox-esr - Wait for the download and installation process to complete. This may take some time, depending on your internet speed.
- Once the installation is complete, close the Terminal. Firefox is now installed on your Chromebook.
Congratulations! You have successfully installed Firefox on your Chromebook. Now, let’s move on to the next step to launch Firefox and start browsing the web.
Step 5: Launching Firefox on Chromebook
With Firefox successfully installed on your Chromebook, it’s time to launch the browser and start exploring the web. Here’s how you can easily launch Firefox on your Chromebook:
- Click on the “Apps” launcher in the bottom left corner of your Chromebook’s screen.
- Scroll through the list of installed applications until you find the Firefox icon.
- Click on the Firefox icon to launch the browser.
Alternatively, you can also search for “Firefox” in the application launcher search bar at the top of the screen. As you start typing, the search results will display the Firefox icon. Click on the icon to launch Firefox.
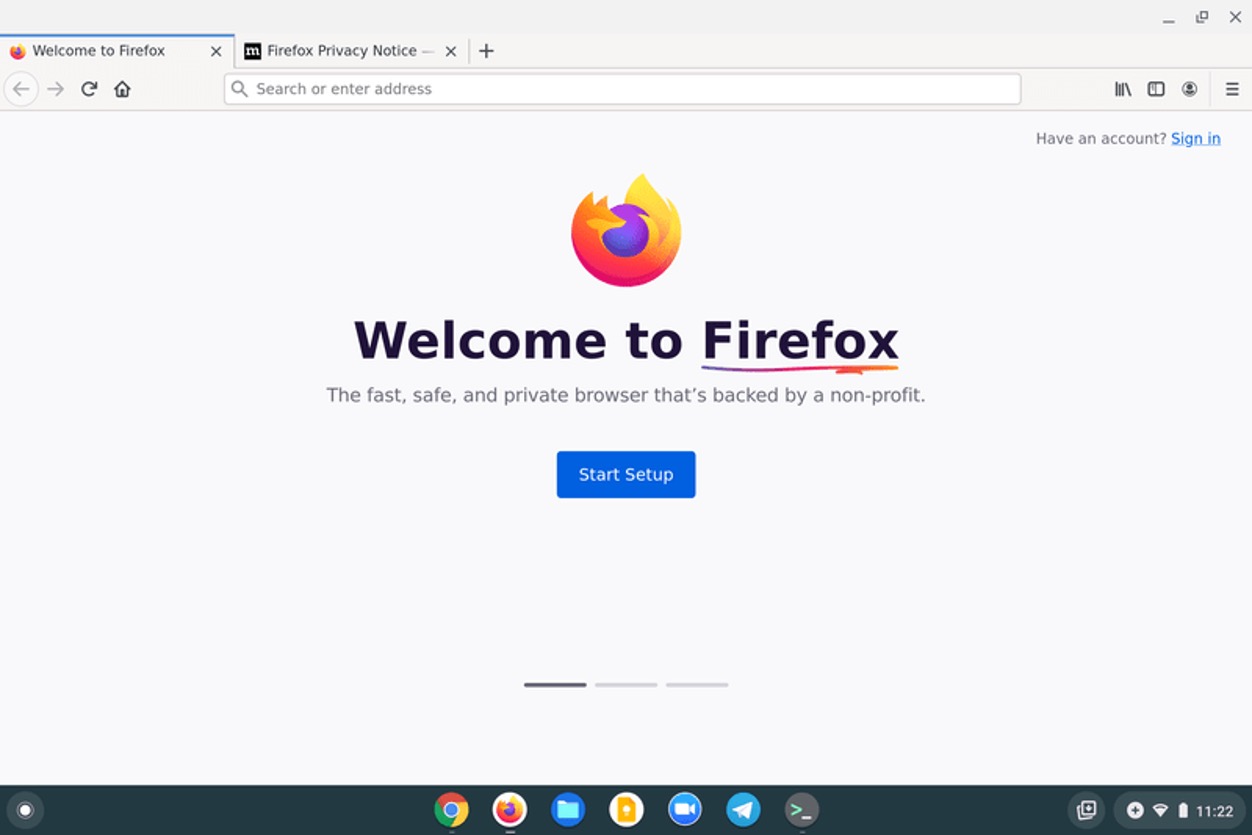
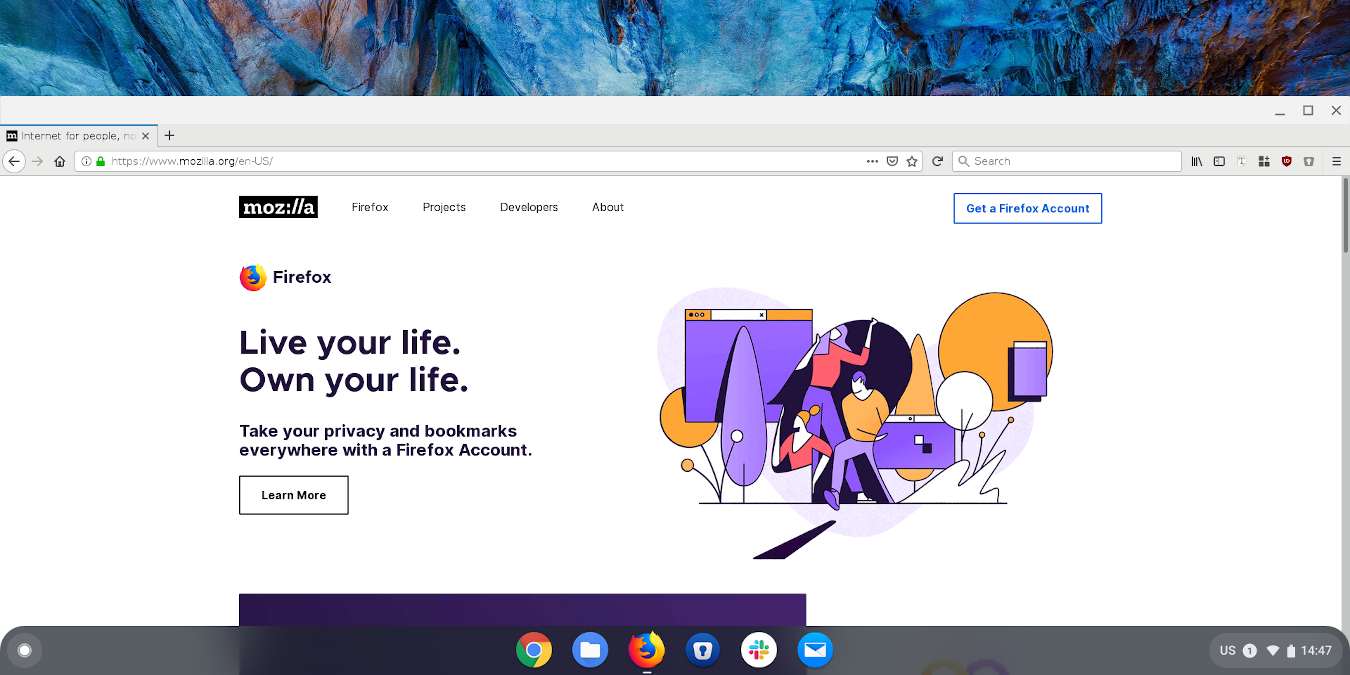
After launching Firefox, you will be greeted with the Firefox welcome page. Here, you can choose to import your bookmarks, history, and other settings from another browser, or you can proceed with the default Firefox settings.
Once the welcome page is displayed, you are ready to start browsing the web with Firefox on your Chromebook. Enjoy the fast and secure browsing experience that Firefox offers!
Now that you have launched Firefox, let’s move on to the next step to configure Firefox on your Chromebook.
Step 6: Configuring Firefox on Chromebook
After launching Firefox on your Chromebook, it’s important to take some time to configure the browser according to your preferences. Firefox offers various customization options that allow you to personalize your browsing experience. Here are some essential configurations to consider:
- Set Firefox as your default browser: If you prefer using Firefox as your default browser, you can set it as the default option on your Chromebook. To do this, click on the system tray at the bottom right corner of your screen, then click on the gear icon to open the Settings menu. Scroll down and click on “Apps” in the left-hand menu. Under the “Default Apps” section, click on the drop-down menu next to “Web browser” and select Firefox.
- Customize your Firefox interface: Firefox allows you to customize the browser interface to suit your preferences. You can change the theme, rearrange the toolbar, and add or remove buttons. To access the customization options, click on the menu icon in the top right corner of the Firefox window (three horizontal lines), then click on “Customize”.
- Install add-ons and extensions: One of the greatest advantages of Firefox is its extensive collection of add-ons and extensions. You can enhance your browsing experience by installing add-ons that offer additional functionality, security, or productivity features. To explore and install add-ons, click on the menu icon, then click on “Add-ons”. From there, you can explore the add-ons library and install the ones you find useful.
- Manage privacy and security settings: Firefox offers robust privacy and security features. You can customize the browser’s privacy settings, manage cookies and tracking, enable enhanced tracking protection, and more. To access privacy and security settings, click on the menu icon, then click on “Preferences”. From there, navigate to the “Privacy & Security” section to configure the settings.
Take some time to explore the various configuration options in Firefox and tailor the browser to your liking. Adjust settings, install add-ons, and customize the interface to create a browsing experience that aligns with your needs and preferences.
With Firefox configured to your liking, you are now ready to fully enjoy the features and capabilities of Firefox on your Chromebook.
Conclusion
Congratulations! You have successfully installed and configured Firefox on your Chromebook. By following the step-by-step instructions in this guide, you have gained the ability to enjoy the features, customization options, and enhanced security that Firefox offers.
Installing Firefox on your Chromebook involved enabling Linux (Beta), installing the Linux system, updating it, and finally, installing Firefox itself. With Firefox up and running on your Chromebook, you can now browse the web with the browser of your choice.
Remember, Firefox provides a wide range of customization options. You can personalize your browser by setting it as the default, customizing the interface, installing add-ons, and managing privacy and security settings. Take advantage of these features to create a browsing experience that suits your needs and preferences.
We hope that this tutorial has been helpful in guiding you through the process of installing and configuring Firefox on your Chromebook. Enjoy your new browsing experience with Firefox, and make the most of the extensive features and capabilities it offers.
Happy browsing!