Introduction
Welcome to the world of Leaf Browser! If you’re a student using a Chromebook at school, you may have experienced restrictions that limit your access to certain websites. However, with Leaf Browser, you can bypass these restrictions and unlock a whole new world of browsing possibilities.
Leaf Browser is a lightweight, efficient, and user-friendly web browser that was specifically designed to work on Chromebooks. It offers a multitude of features and functions that can greatly enhance your browsing experience. Whether you want to access blocked websites, customize your browsing preferences, or enjoy a faster and more secure browsing experience, Leaf Browser has got you covered.
In this article, we will guide you through the process of getting Leaf Browser on your school Chromebook. Please note that some methods we discuss may involve making changes to your Chromebook’s settings, so proceed with caution and make sure to follow the instructions carefully.
Before we delve into the steps, it’s important to check if your school Chromebook has any restrictions in place that prevent you from installing or using third-party browsers. Some schools may have locked down their Chromebooks to only allow the use of approved apps and browsers. Therefore, it’s crucial to ensure that you are permitted to make changes to your Chromebook’s settings.
Now that we’ve covered the necessary introduction, let’s move on to checking your Chromebook’s restrictions to determine if you can proceed with installing Leaf Browser.
What is Leaf Browser?
Leaf Browser is a powerful web browsing tool specifically designed for Chromebooks. It offers a range of features and benefits that make it an excellent alternative to the default Chrome browser. Developed with students in mind, Leaf Browser aims to provide a seamless and unrestricted browsing experience.
One of the key advantages of Leaf Browser is its ability to bypass certain website restrictions that may be in place on school Chromebooks. This means students can access websites that are typically blocked, allowing for more comprehensive research and a wider range of educational resources.
Furthermore, Leaf Browser is known for its lightweight nature, which ensures fast and efficient browsing performance. It doesn’t consume excessive system resources, allowing for smooth multitasking and minimal slowdown on your Chromebook.
Another noteworthy feature of Leaf Browser is its customization options. Users can personalize their browsing experience by choosing from a variety of user interface themes and adjusting various settings, such as font sizes and zoom levels. This level of customization ensures a comfortable and personalized browsing experience.
Leaf Browser also offers enhanced privacy and security features to protect users while they browse the web. With built-in ad-blockers and anti-tracking measures, your online activities are less likely to be monitored and your data is better protected from intrusive advertising practices.
Additionally, Leaf Browser supports advanced web technologies, allowing you to enjoy the latest features and functionalities that may not be fully supported by the default Chrome browser. This includes compatibility with HTML5, CSS3, and JavaScript, ensuring a seamless browsing experience on a wide range of websites and web applications.
In summary, Leaf Browser is a specialized web browser for Chromebooks that offers unrestricted access to websites, a lightweight and customizable interface, enhanced privacy and security features, and compatibility with advanced web technologies. By using Leaf Browser, students can maximize their online research capabilities and enjoy a more personalized and efficient browsing experience on their school Chromebooks.
Checking the Chromebook’s Restrictions
Before you proceed with installing Leaf Browser on your school Chromebook, it’s important to check if there are any restrictions in place that might hinder the installation or use of third-party browsers. Many schools have policies in place to limit the software and applications that can be used on their Chromebooks for security and educational purposes.
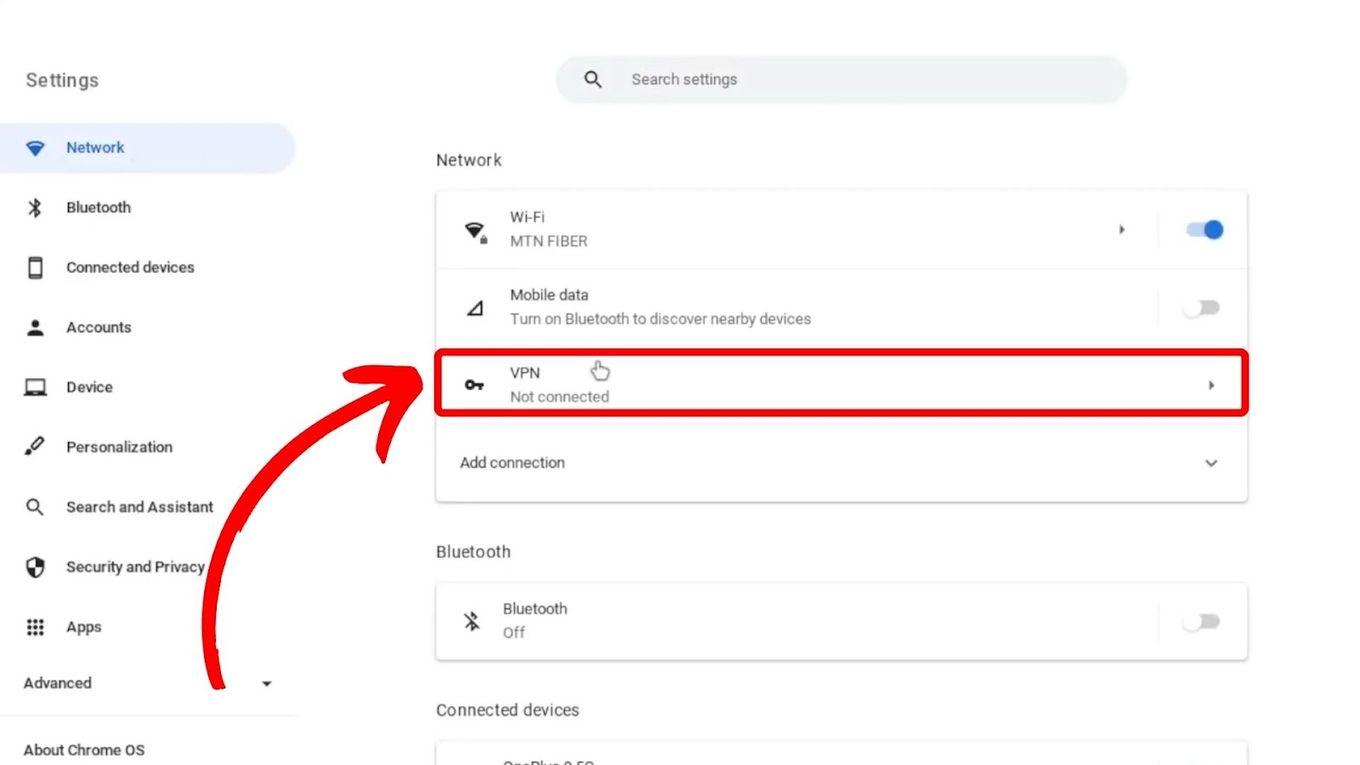
To check if your Chromebook has any restrictions, follow these steps:
- Open your Chromebook and sign in to your account.
- Click on the clock icon in the bottom right corner of the screen to open the system tray.
- Click on the gear icon to access the settings menu.
- In the settings menu, scroll down and click on “Settings.”
- On the left-hand side, click on “Advanced.”
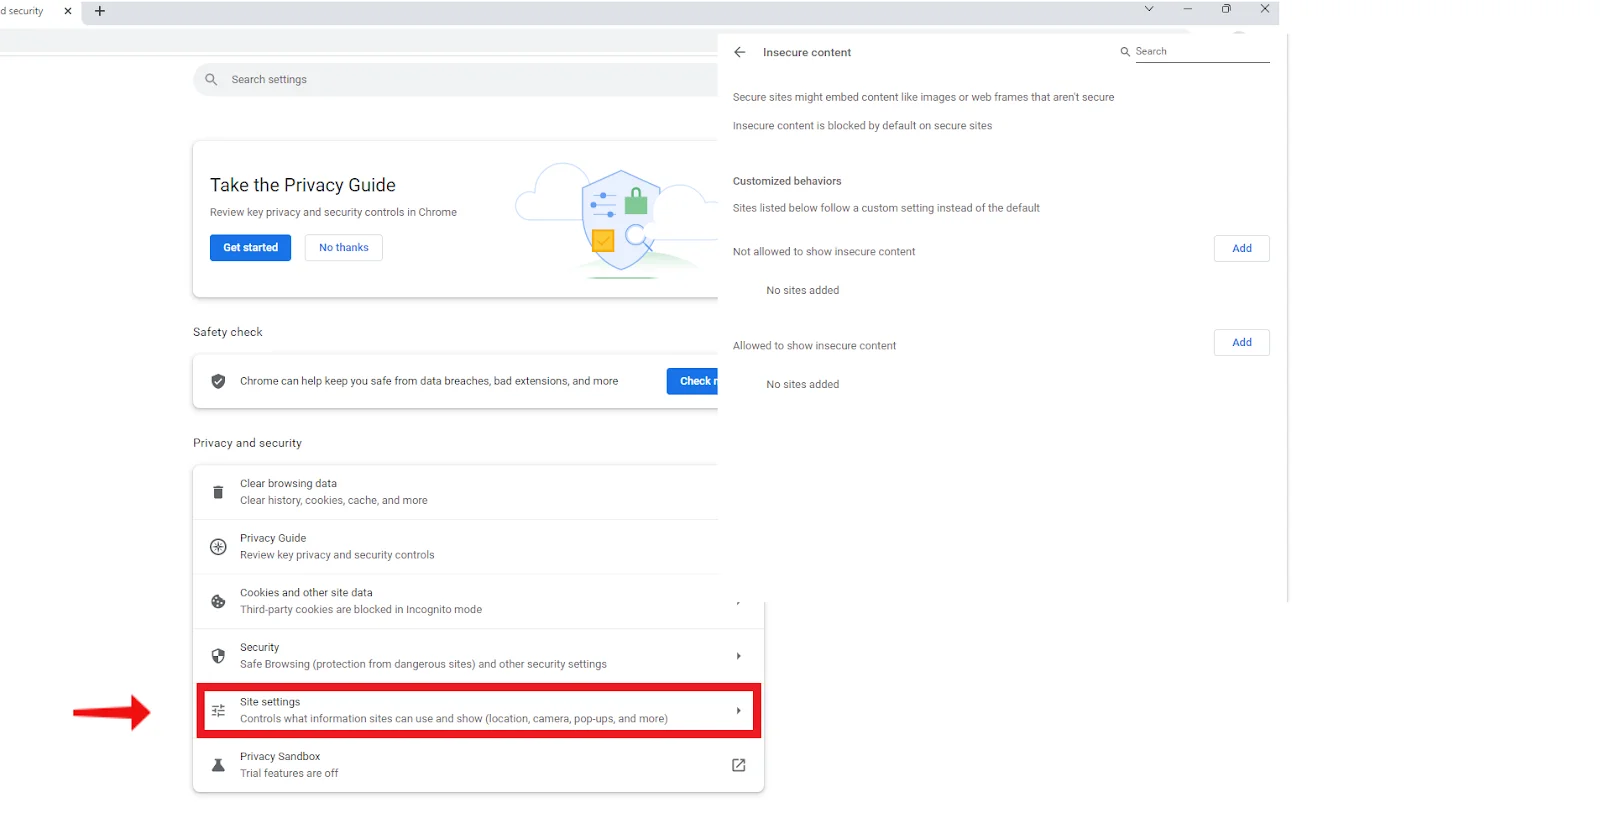
- Under the “Privacy and security” section, look for a setting called “Site settings” or “Content settings.”
- Click on “Site settings” or “Content settings” to access the site permissions.
- Look for any restrictions or permissions that are set for installing or using third-party browsers.
If you find restrictions that prevent the installation or use of third-party browsers, you may need to seek permission from your school’s IT department or system administrator. They may be able to provide guidance or make the necessary adjustments to allow you to install Leaf Browser.
It’s essential to remember that it is not recommended to bypass any restrictions or violate your school’s policies without proper authorization. Always follow the guidelines and regulations set by your educational institution to ensure the responsible and appropriate use of your school Chromebook.
Once you have confirmed that there are no restrictions or have obtained the necessary permissions, you can proceed to the next steps, which involve enabling developer mode on your Chromebook. This will allow us to make the necessary changes to install and use Leaf Browser.
Enabling Developer Mode
In order to install and use Leaf Browser on your school Chromebook, you’ll need to enable Developer Mode. Enabling Developer Mode allows you to make changes to your Chromebook’s settings that are not typically accessible in normal mode.
Here’s a step-by-step guide to enable Developer Mode on your Chromebook:
- Make sure your Chromebook is powered off.
- Press and hold the “Escape” key (Esc) and “Refresh” key (the key with a circular arrow) simultaneously.
- While holding these keys, press the “Power” button to turn on your Chromebook.
- When a warning screen appears, release all the keys.
- Press “Ctrl” and “D” on your keyboard.
- On the next screen, press “Enter” to enable Developer Mode.
- Your Chromebook will reboot and the transition to Developer Mode will begin. This process may take a few minutes.
- After the transition is complete, your Chromebook will restart in Developer Mode.
It’s important to note that enabling Developer Mode will cause your Chromebook to undergo a powerwash, which erases all local data and resets the device to factory settings. Therefore, make sure to backup any important files or data before proceeding. Once Developer Mode is enabled, you will need to set up your Chromebook again, just like when you first received it.
Enabling Developer Mode on your Chromebook is a necessary step to gain more control over the device and install third-party applications like Leaf Browser. Once Developer Mode is enabled, you can move on to the next steps, which involve downloading and installing Linux on your Chromebook.
Downloading and Installing Linux on the Chromebook
Before you can install Leaf Browser on your Chromebook, you’ll need to install Linux as a separate operating system. Linux provides the necessary environment to run Leaf Browser and other third-party applications on your Chromebook.
Follow these steps to download and install Linux on your Chromebook:
- Ensure your Chromebook is connected to the internet.
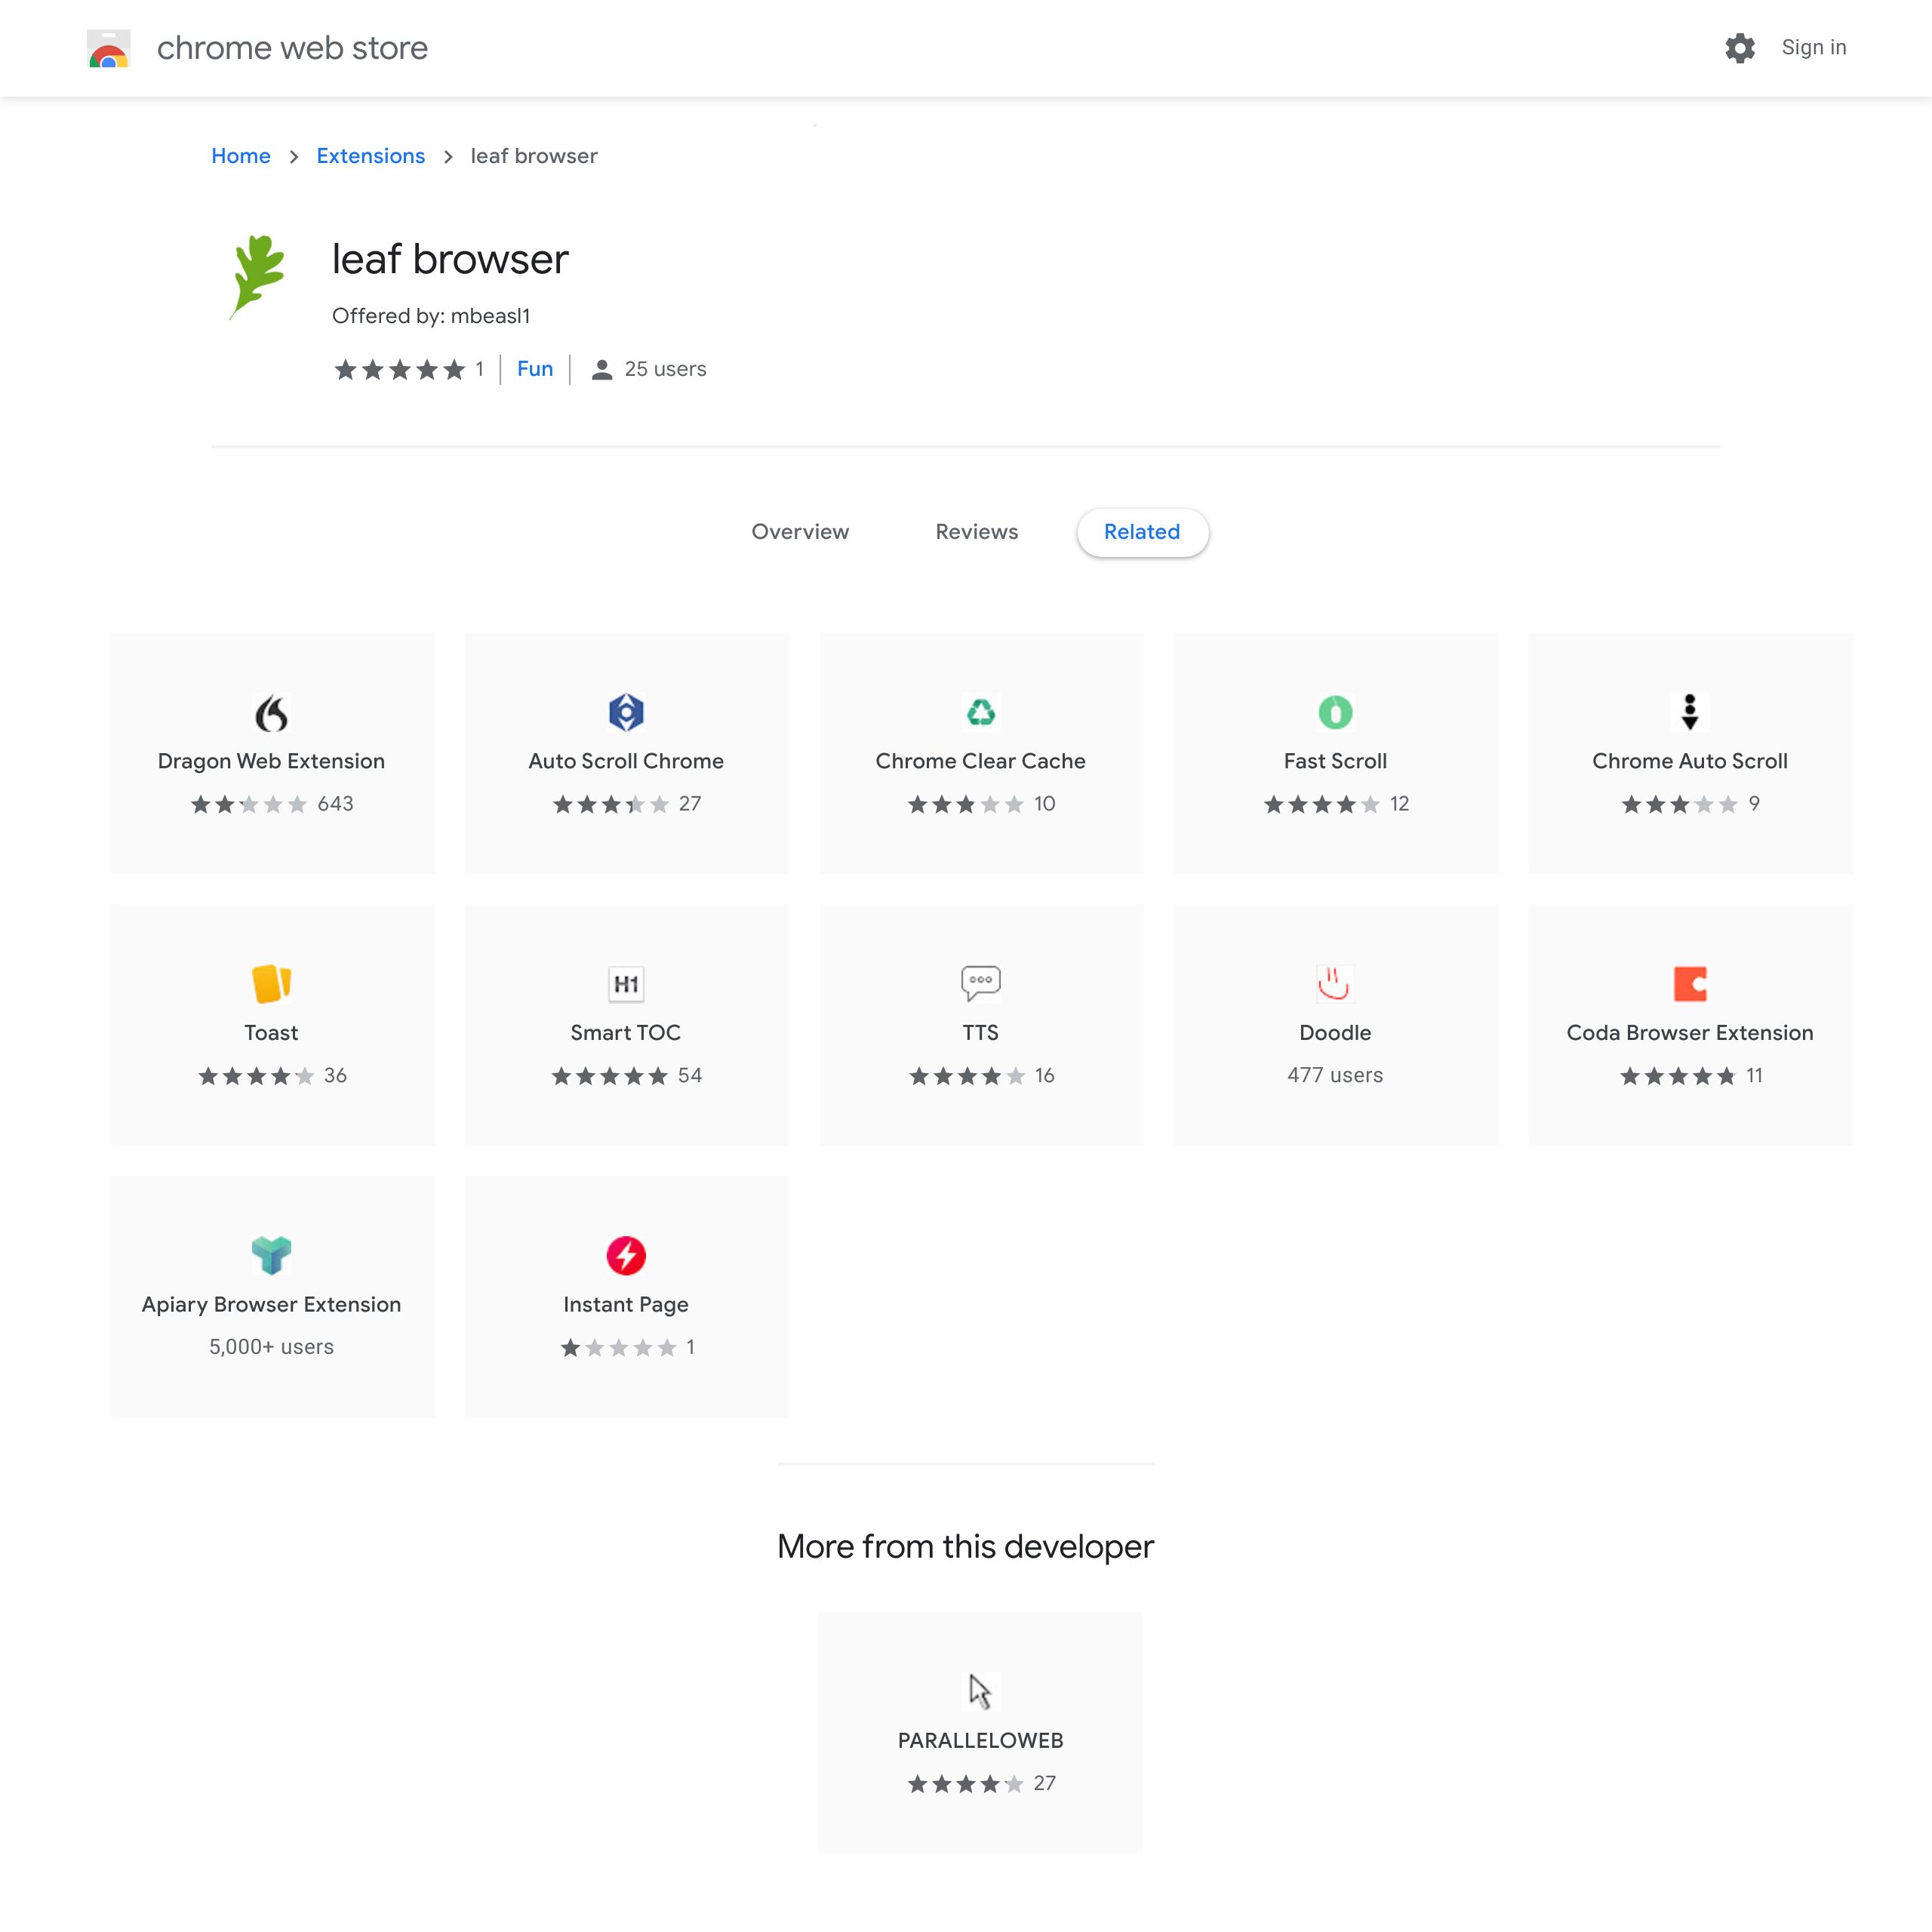
- Go to the Chrome Web Store and search for “Linux (Beta)”.
- Click on the “Linux (Beta)” app and then choose “Install” to start the installation process.
- Once the installation is complete, click on the “Linux (Beta)” app from the app launcher.
- Follow the on-screen prompts to set up Linux on your Chromebook.
- During the installation, you will be asked to set a username and password for your Linux environment.
- After the setup is finished, your Linux environment will be ready to use.
With Linux installed, you now have the foundation to install Leaf Browser and other Linux-compatible applications. The next step is to download and install Leaf Browser itself.
Keep in mind that the process of downloading and installing Linux on your Chromebook may vary slightly depending on the model and version of your Chrome OS. If you encounter any difficulties or have questions, refer to the official Chromebook support resources or consult with your school’s IT department.
Now that Linux is installed on your Chromebook, let’s move on to the final steps of downloading and installing Leaf Browser.
Downloading and Installing Leaf Browser
With Linux installed on your Chromebook, you’re ready to download and install Leaf Browser, the browser specifically designed for Chromebooks. Follow these steps to get Leaf Browser up and running:
- Launch the Linux environment on your Chromebook.
- Open the default web browser within Linux (usually Chrome or Firefox).
- Visit the official Leaf Browser website (www.leafbrowser.com) or search for “Download Leaf Browser for Linux” in your preferred search engine.
- Locate the download link for the Linux version of Leaf Browser on the official website or trusted software download platforms.
- Click on the download link to start the download process.
- Once the download is complete, locate the downloaded file in your file manager.
- Double-click on the downloaded file to start the installation process.
- Follow the on-screen instructions to complete the installation of Leaf Browser.
After the installation is finished, you can open Leaf Browser from the application launcher within the Linux environment. Customize the browser settings according to your preferences and enjoy a seamless browsing experience on your school Chromebook.
It’s worth noting that Leaf Browser regularly releases updates to improve performance and security. Make sure to periodically check for updates within the browser and install them as they become available to ensure you are using the latest version of Leaf Browser.
If you encounter any issues during the installation or while using Leaf Browser, refer to the official Leaf Browser support documentation or reach out to their support team for assistance.
Congratulations! You have successfully downloaded and installed Leaf Browser on your school Chromebook. Enjoy the freedom to browse the web without restrictions and explore all the features Leaf Browser has to offer.
Troubleshooting
While the installation process of Leaf Browser on your school Chromebook should go smoothly, it’s possible to encounter some issues along the way. Here are a few common troubleshooting tips to help you resolve any problems that may arise:
1. Check your Chromebook’s compatibility: Ensure that your Chromebook model and version are compatible with Linux and third-party applications like Leaf Browser. Refer to the official Chromebook documentation or consult with your school’s IT department to confirm compatibility.
2. Update your Chromebook: Make sure your Chromebook is running the latest version of Chrome OS. Updates often resolve system issues and improve compatibility with external applications.
3. Restart your Chromebook: Sometimes a simple restart can fix minor glitches or conflicts that may be preventing the successful installation or functioning of Leaf Browser.
4. Reinstall Leaf Browser: If you encounter any unexpected behavior or errors, try uninstalling Leaf Browser and then reinstalling it. This can resolve any installation-related issues that may have occurred.
5. Check for updates: Regularly check for updates within Leaf Browser to ensure you have the latest version. Updates often include bug fixes and performance improvements.
6. Clear cache and cookies: Over time, cached data and cookies can accumulate and cause issues with browser performance. Clearing your cache and cookies can help resolve these issues and improve overall browsing experience.
7. Disable conflicting extensions or plugins: Some Chrome extensions or plugins may conflict with Leaf Browser. Try disabling or removing any unnecessary extensions or plugins to see if that resolves any issues.
8. Contact Leaf Browser support: If you have tried the above troubleshooting steps and are still experiencing issues, it’s recommended to reach out to the Leaf Browser support team for further assistance. They can provide specific guidance and help resolve any technical difficulties you may encounter.
Remember that troubleshooting is a process of identifying and resolving issues, and it may involve some trial and error. Stay patient and persistent, and don’t hesitate to seek help from the appropriate support channels when needed.
Conclusion
Congratulations! You have successfully learned how to get Leaf Browser on your school Chromebook. By following the steps outlined in this article, you have bypassed browsing restrictions and gained access to a wide range of websites while enjoying the benefits of Leaf Browser’s features.
Leaf Browser offers a lightweight and efficient browsing experience specifically designed for Chromebooks. With its ability to bypass website restrictions, customizable interface, enhanced privacy and security features, and compatibility with advanced web technologies, Leaf Browser provides an excellent alternative to the default Chrome browser.
Remember to always check your school Chromebook’s restrictions before making changes to the settings. It is essential to obtain the necessary permissions to ensure responsible and appropriate use of your school-provided device.
We covered important steps in this article, including enabling Developer Mode, downloading and installing Linux, and finally installing Leaf Browser. By following these steps, you have unlocked the full potential of your school Chromebook and expanded your browsing capabilities.
If you encounter any issues during the installation or while using Leaf Browser, refer to the troubleshooting section for helpful tips. Additionally, don’t hesitate to reach out to the Leaf Browser support team for further assistance.
Now, enjoy a seamless browsing experience with Leaf Browser on your school Chromebook, free from restrictions and with enhanced features to support your educational endeavors.
Happy browsing!