How To Download Stuff On School Chromebook
Yes, you can download on a school Chromebook, but with limits. School Chromebooks are managed by administrators who can block downloads, yet several workarounds exist for saving files you need, from direct file saves to cloud storage and USB transfers. If you're specifically looking for entertainment, you can also download games on a school Chromebook using methods that bypass typical restrictions. This guide covers every practical method to download on school Chromebook, including what to do when restrictions block your path.
Can you download on a school Chromebook?
School Chromebooks are locked down by IT administrators using the Google Admin Console. They can block downloads entirely, restrict certain file types, or only allow approved apps and extensions. That said, most schools permit basic file downloads for educational purposes, like saving a PDF, image, or document, because students need these for assignments. The key is knowing which methods work within your school's specific policies.
If you're reading this because your downloads are blocked, don't panic. There are multiple ways to get files onto your device, and we'll cover them all, from simple right-click saves to cloud-based workarounds that bypass local storage limits entirely.
How to download files directly from the internet
The most straightforward way to download on a school Chromebook is to save files directly from websites. Here are four methods that work on most managed devices:
Method 1: Right-click and Save Link As
When you see a downloadable link (like a PDF or document), right-click on it and select "Save Link As..." from the context menu. A window will appear asking where to save the file. Choose your Downloads folder or any other location, then click Save. This works for most file types, including PDFs, images, and documents.
Method 2: Use the website's download button
Many sites, like Google Docs, Slides, or educational platforms, have explicit download buttons. Look for a downward arrow icon or text like "Download" or "Export." Click it, and the file will save automatically to your Downloads folder unless you've changed the default location.
Method 3: Long-press on touchscreens
If your school Chromebook has a touchscreen, press and hold on a link or image until a context menu appears. Then select "Save link" or "Save image." This is the touchscreen equivalent of right-clicking and works exactly the same way.
Method 4: Keyboard shortcut Ctrl + S
For pages, images, or documents you want to save, press Ctrl + S (or Command + S on a Mac-connected keyboard). This opens a save dialog where you can choose the destination. Note that this saves the current page or file, not necessarily the underlying data, so it's best for web pages and images rather than complex documents.
By default, all files save to the "Downloads" folder under "My files" on your Chromebook's local hard drive. You'll see a download notification in the bottom-right corner when the process completes.
Where to find your downloaded files
After downloading, you need to know where your files went. Here's how to access them:
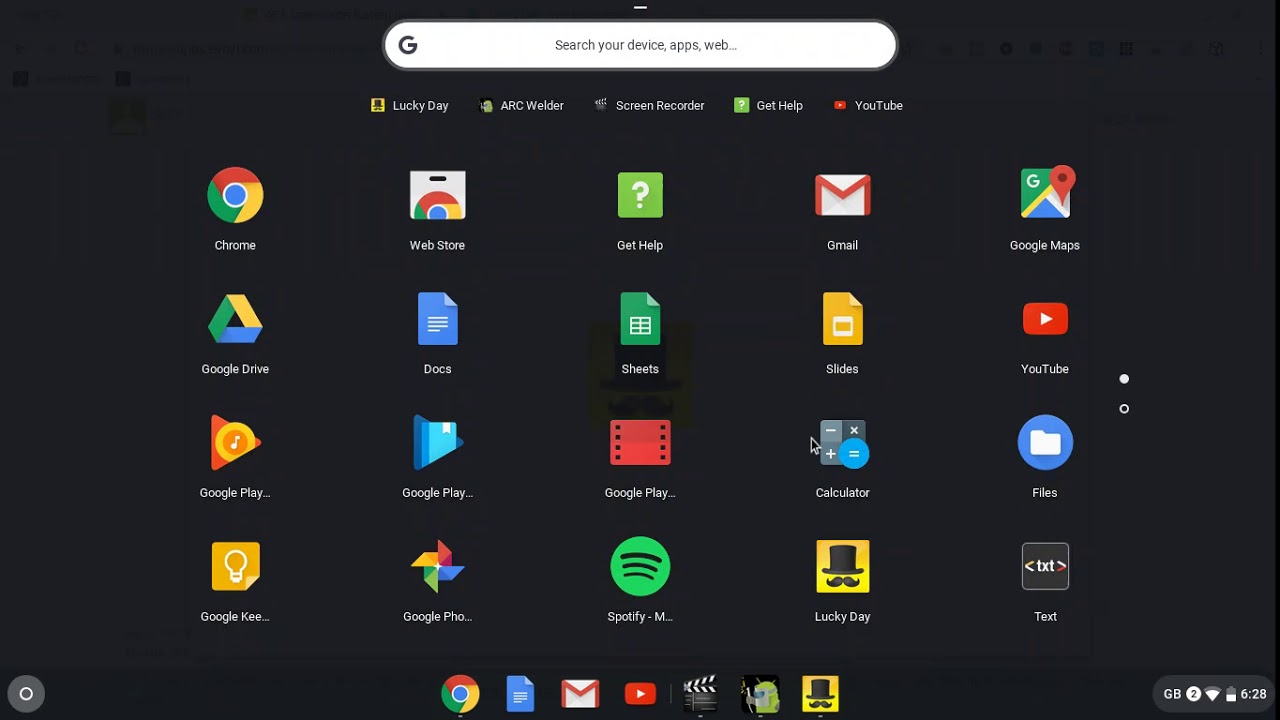
Click the Launcher (the circle icon in the bottom-left corner of your screen), then open the Files app (the blue folder icon). In the left sidebar, you'll see "My files" with a "Downloads" subfolder, that's where your downloads land by default. Double-click any file to open it, or right-click to move, rename, or delete it.
Important warning: Chromebooks have limited local storage, and the system may automatically delete files from the Downloads folder to free up space. Additionally, if your Chromebook is reset or you forget your Google password (which triggers a reset), all locally stored files are lost forever. This is why we recommend saving important files to cloud storage (see below) rather than relying on local storage.
Save downloads directly to Google Drive
One of the best ways to download on a school Chromebook without losing files is to change your default download location to Google Drive. This way, every file you save goes straight to the cloud, where it's safe from local storage limits and resets.
Here's how to change the default download location:
1. Open Chrome and click the three-dot menu in the top-right corner.
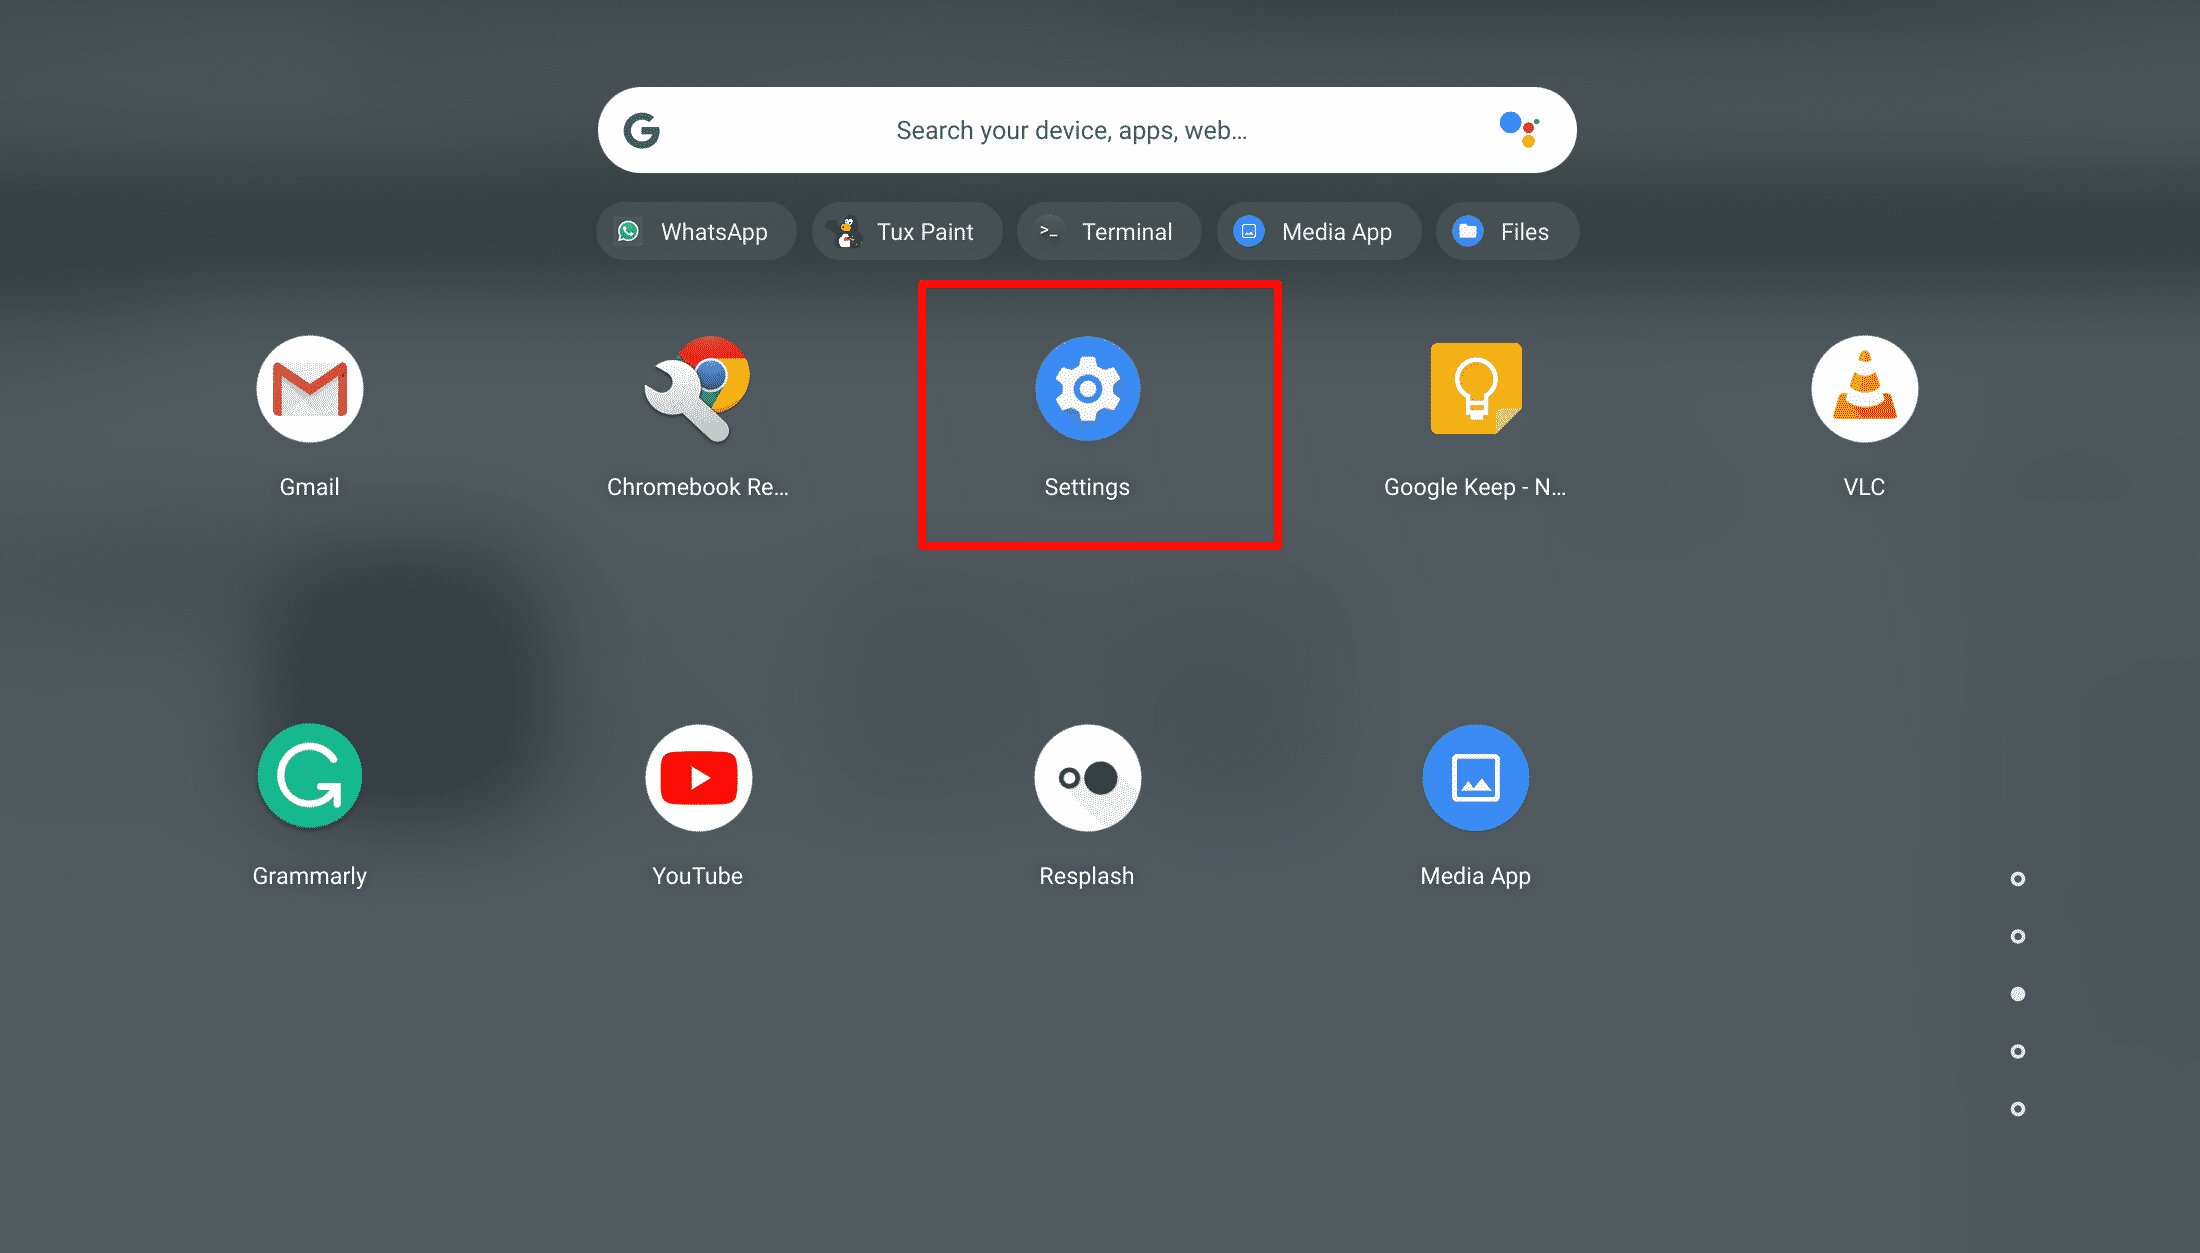
2. Select "Settings" from the dropdown menu.
3. Scroll down and click "Downloads" in the left sidebar.
4. Next to "Location," click "Change."
5. In the file picker, select "Google Drive" from the left column, then choose a folder (or create a new one).
6. Click "Select" to confirm.
Alternatively, when you're saving a file and the save dialog appears, you can click "Google Drive" in the left column and choose a folder before hitting Save. This works on a per-file basis without changing your global settings.
Google Drive gives you 15 GB of free storage (often more for school accounts), which is far more than the local storage on most Chromebooks. Plus, your files are accessible from any device with your Google account, so you can work on them at home or on your phone.
Transfer files using cloud storage services
If your school blocks changing the download location or you need to get files from another device, cloud storage services are your best friend. Services like Google Drive, Dropbox, and OneDrive all work on school Chromebooks, provided your admin hasn't blocked them.
Google Drive (already built-in): You can upload files from any device to Google Drive, then access them on your Chromebook. On the Chromebook, open drive.google.com, right-click the file, and select "Download" to save it locally, or simply open it directly in the browser without downloading.
Dropbox or OneDrive: These work similarly. On your home computer or phone, upload files to your Dropbox or OneDrive account. On the school Chromebook, go to the service's website, log in, and either open files directly or download them to your local storage. Some services offer Android apps that work on Chromebooks, check if your school allows installing apps from the Play Store.
The advantage of cloud storage is that your files are always backed up and accessible from anywhere. Even if your school Chromebook resets, your files remain safe in the cloud. The only downside is that you need internet access to retrieve them, but that's rarely a problem in a school setting.
Transfer files with a USB drive
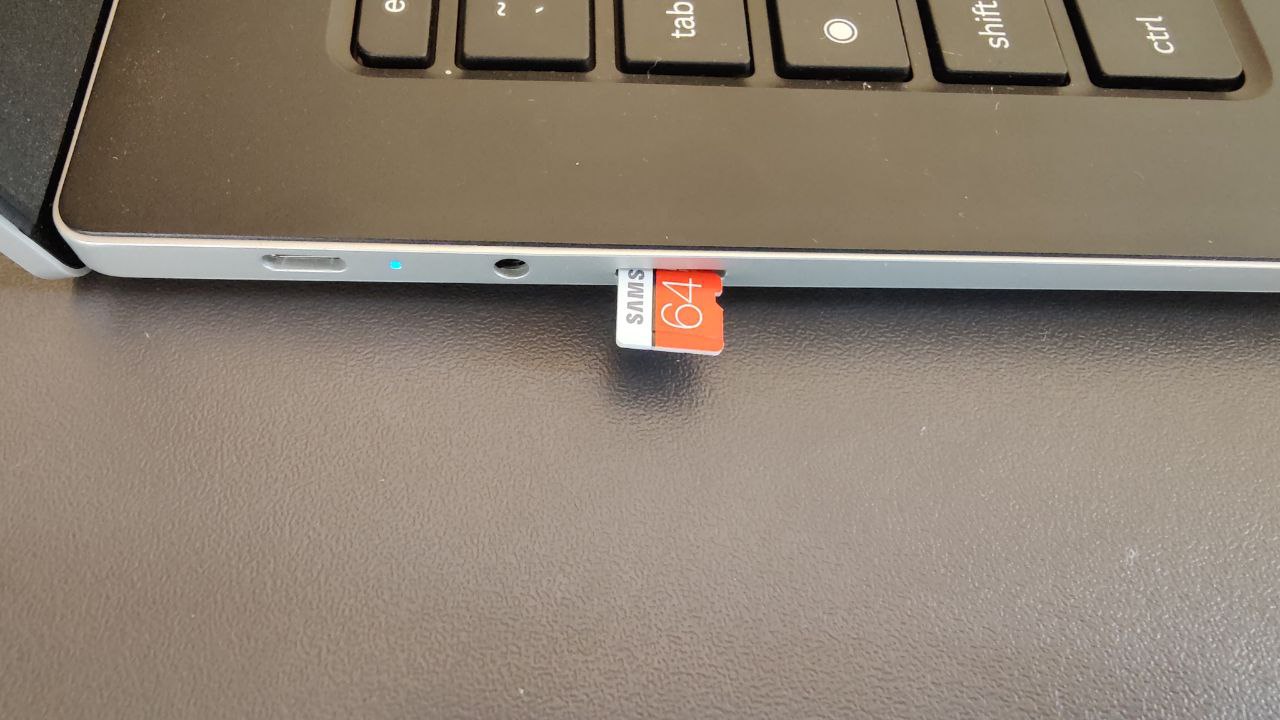
When cloud storage isn't an option, say you have no internet access or your school blocks cloud services, a USB drive is a reliable physical alternative. Here's how to transfer files using a USB drive on your school Chromebook:
Step 1: Insert the USB drive. Plug a compatible USB drive into one of your Chromebook's USB ports. A notification should appear, and the drive will show up in the Files app under "Devices."
Step 2: Locate the files to transfer. Open the Files app and navigate to the files you want to copy, likely in your Downloads folder. Select them by clicking each file while holding the Ctrl key (for multiple files) or just click one file.
Step 3: Copy the files. Right-click on the selected files and choose "Copy" from the context menu.
Step 4: Paste to the USB drive. In the Files app, click on your USB drive in the left sidebar. Right-click inside the drive's main area and select "Paste." The files will copy over, this may take a few seconds or minutes depending on file size.
Step 5: Safely eject the USB drive. Once the transfer is complete, right-click on the USB drive icon in the Files app and select "Eject." Wait for the notification that it's safe to remove, then pull out the drive.
USB drives work well for moving files between school and home, especially if you need to submit assignments or bring documents from another computer. Just make sure the files are in formats the receiving device can open, PDF, DOCX, and JPG are universally compatible.
What to do when downloads are blocked
If your school has locked down downloads entirely, meaning right-click saving doesn't work, the Downloads folder is disabled, or you get an error message saying "Download blocked by admin", you still have options.
First, ask for permission. Many schools block downloads to prevent students from installing games or unauthorized software, but they'll grant exceptions for legitimate educational needs. Talk to your teacher or the school's IT department. Explain what you're trying to download and why. They may whitelist a specific site or file type, or they might provide the file directly through a school-approved platform like Google Classroom.
Second, use the web-based versions. If you can't download a file, check if there's an online version you can use directly in the browser. Google Docs, Sheets, and Slides all have web-based editors. Many textbooks and educational resources have online portals that don't require downloads. You can also use online tools like Canva (for design) or Photopea (for image editing) without downloading anything.
Third, understand the admin policies. School administrators use the Google Admin Console to enforce policies that block certain file types (like .exe or .apk) or specific websites. These restrictions are often permanent and apply to all students. If you're trying to download something that's blocked, it's likely against school policy, not just a technical glitch. Respect the rules, but also know that you can request exceptions for legitimate academic needs.
Fourth, use your personal devices. If you absolutely need a file that's blocked on the school Chromebook, download it on your phone or home computer, then transfer it via USB drive or cloud storage. This isn't bypassing security, it's just using the tools you have access to. Many students do this for music, ebooks, or personal documents that aren't available through school-approved channels.
Tips and tricks for downloading on school Chromebooks
To make the most of your downloading experience on a school Chromebook, keep these practical tips in mind:
Organize your Downloads folder. Create subfolders for different subjects or projects (e.g., "Math," "Science," "English"). This makes it easier to find files later and reduces clutter. Right-click in the Downloads folder and select "New folder" to create one.
Use keyboard shortcuts. Ctrl + J opens your downloads list instantly. Ctrl + Shift + J opens the Downloads folder in the Files app. Alt + Shift + L opens the system menu. Learning these shortcuts saves time and helps you manage files more efficiently.
Clear unwanted downloads regularly. School Chromebooks have limited storage, and old downloads can pile up quickly. Periodically review your Downloads folder and delete files you no longer need. This prevents storage warnings and keeps your device running smoothly.
Stay within approved apps and extensions. The Chrome Web Store is the only app source on school Chromebooks. Stick to apps and extensions that are education-approved, many schools have a whitelist of allowed items. If you need something specific, request it through your teacher or IT department.
Be mindful of file formats. Some file types (like .exe or .zip) may be blocked by school policies. If you need to transfer such files, use cloud storage or USB drives instead of trying to download them directly.
Respect school policies. These restrictions exist to keep you safe and focused. While workarounds exist, using them to bypass security for non-educational purposes could get you in trouble. Always prioritize following your school's rules.
Final thoughts
Downloading on a school Chromebook is entirely possible with the right approach. Start with direct downloads using right-click or Ctrl + S. If local storage is a concern, change your default download location to Google Drive. For files from other devices, use cloud storage services or a USB drive. And if downloads are blocked entirely, ask for permission or use web-based alternatives.
The key takeaway: school Chromebooks aren't designed to be fully open devices, but they're powerful educational tools when you understand their limitations. By using these methods, you can save the files you need, keep them safe in the cloud, and work efficiently within your school's framework. Whether you're saving a research paper, transferring a project, or accessing class materials, you now have the knowledge to get it done.
So go ahead, download what you need, organize your files, and make your school Chromebook work for you. With these strategies, you'll never be stuck without a file you need again.
For the wider topic, see get sims 4 on Chromebook.