Introduction
It’s a scenario familiar to many students: you’re working on a school project on your Chromebook and suddenly realize you need to download a file or install a useful app. However, school Chromebooks often come with restrictions that limit the ability to freely download and install software. But fear not! In this article, we will explore various methods that will help you download files and apps on your school Chromebook.
Before we delve into the solutions, let’s take a moment to understand the limitations of school Chromebooks. These devices are typically managed by educational institutions to ensure a secure and distraction-free learning environment. As a result, they often come with certain restrictions that prevent students from downloading and installing unauthorized software.
However, despite these limitations, there are still ways to work around them. The Chrome Web Store, for example, offers a wide range of apps and extensions that are approved for use on Chromebooks. Additionally, cloud storage services can be utilized to transfer files between devices, and USB drives can provide a physical way to transfer files.
Throughout this article, we will guide you through the step-by-step process of downloading files and apps on your school Chromebook. Whether you need to download a research paper, install a productivity app, or transfer files to and from your device, we’ve got you covered with a range of solutions and helpful tips.
So, let’s get started! In the following sections, we’ll walk you through the different methods you can use to download files and apps on your school Chromebook, making your educational pursuits more convenient and efficient.
Understanding the Limitations of School Chromebooks
Before we dive deeper into downloading files and apps on your school Chromebook, it’s important to have a clear understanding of the limitations that are typically imposed on these devices. Educational institutions often impose restrictions to ensure a focused and secure learning environment for students.
One of the main limitations on school Chromebooks is the inability to freely download and install software from external sources. This means that you may encounter difficulties when trying to download files or install apps not available through the approved channels.
By default, school Chromebooks are set to use a managed configuration, which enables administrators to control various aspects of the device, including what software can be installed. This configuration restricts the installation of unauthorized applications to prevent potential security risks and ensure compliance with school policies.
Furthermore, school Chromebooks often have limited storage capacity. This constraint is intended to promote cloud-based storage solutions, as these devices are designed to work seamlessly with tools like Google Drive and other cloud storage services. While this limitation can be frustrating, it encourages students to leverage cloud storage and access their files from any device with an internet connection.
Additionally, school Chromebooks may have restrictions on accessing certain websites or online services that are deemed inappropriate or distracting. This limitation is in place to maintain a productive learning environment and prevent students from accessing content that could be harmful or disruptive.
Despite these limitations, it’s important to remember that school Chromebooks are powerful educational tools designed to facilitate learning and collaboration. The restrictions imposed on these devices are intended to ensure a safe and focused learning environment for students, while still providing opportunities for productivity and creativity.
Now that we have a better understanding of the limitations of school Chromebooks, let’s explore the various methods and workarounds that you can use to download files and apps on your device. So, let’s move on to the next section to discover the possibilities!
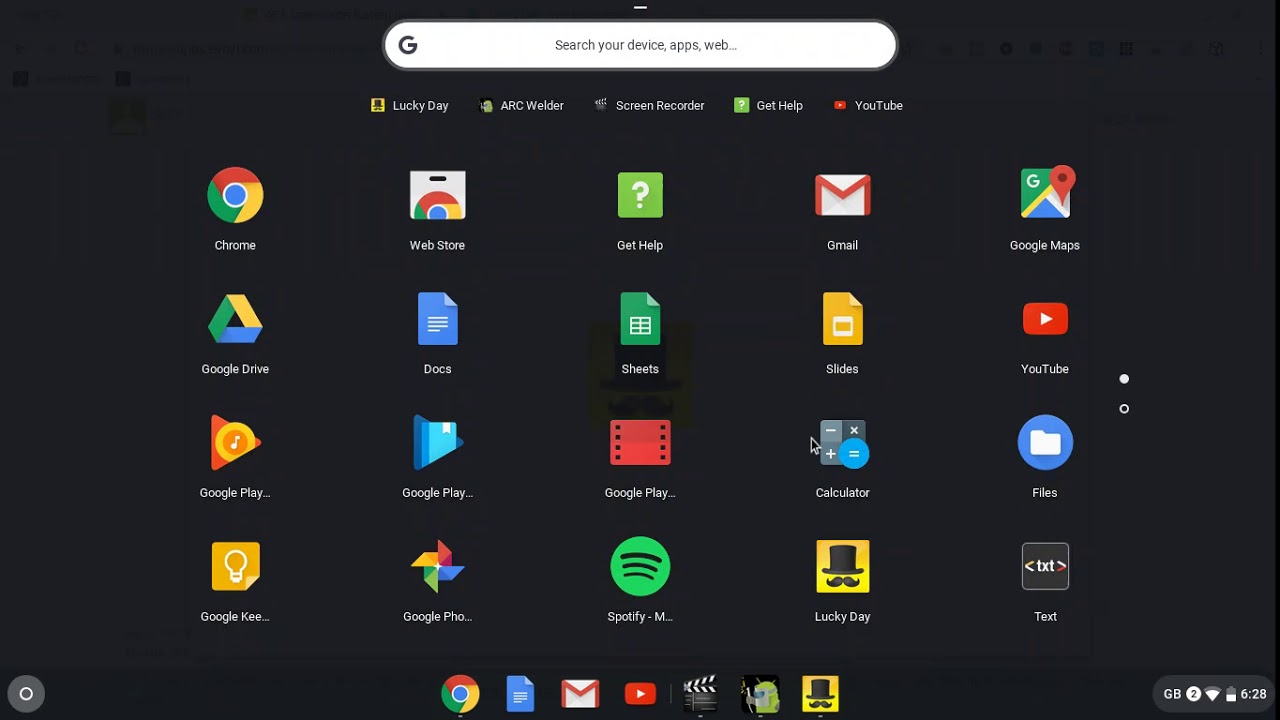
Exploring the Chrome Web Store
When it comes to downloading apps and extensions on your school Chromebook, the Chrome Web Store is your go-to destination. The Chrome Web Store is a digital marketplace specifically designed for Chromebook users, offering a wide range of apps and extensions that are optimized for use on these devices.
To access the Chrome Web Store, simply open the Chrome browser on your school Chromebook and click on the “Apps” icon located in the bookmarks bar or on the New Tab page. This will take you to the Chrome App Launcher, where you can easily find the Chrome Web Store icon.
Once you’re in the Chrome Web Store, you can explore a plethora of apps and extensions across various categories, such as productivity, education, entertainment, and more. Whether you need note-taking apps, language learning tools, image editors, or even games, you’re bound to find something that suits your needs.
Navigating the Chrome Web Store is intuitive and user-friendly. You can browse through the featured apps and extensions on the homepage, or use the search bar to find specific titles or keywords. Each app or extension has its own page, providing you with information about its features, reviews from other users, and compatibility details.
When selecting an app or extension, it’s important to pay attention to its permissions and user reviews. Reading through the reviews can give you insights into its functionality and reliability. Additionally, take note of any permissions required by the app or extension and consider whether they align with your privacy preferences.
To install an app or extension from the Chrome Web Store, simply click on the “Add to Chrome” or “Install” button on the respective page. The app or extension will then be downloaded and added to your Chromebook’s app launcher, making it easily accessible whenever you need it.
It’s worth noting that some apps and extensions available on the Chrome Web Store may be paid or require a subscription. However, there are plenty of free options to choose from that can enhance your productivity and enrich your learning experience.
Now that you know how to explore and install apps and extensions from the Chrome Web Store, you’re ready to enhance your Chromebook’s functionality and make your educational journey more efficient and enjoyable. Let’s move on to the next section to learn more about installing apps and extensions on your school Chromebook!
Installing Apps and Extensions
Installing apps and extensions from the Chrome Web Store is a simple and straightforward process that allows you to enhance the capabilities of your school Chromebook. These apps and extensions can provide additional functionality, improve productivity, and make your educational experience more efficient.
To install an app or extension from the Chrome Web Store, follow these steps:
- Open the Chrome Web Store by clicking on the “Apps” icon in the bookmarks bar or on the New Tab page, and then selecting the Chrome Web Store.
- Browse or search for the app or extension you want to install.
- Click on the app or extension’s page to access its details, reviews, and compatibility information.
- Click on the “Add to Chrome” or “Install” button on the app or extension’s page.
- A confirmation dialog box will appear. Click on “Add” to proceed with the installation.
- Once the installation is complete, the app or extension will be added to your Chromebook’s app launcher for easy access.
It’s important to note that some apps and extensions may require additional permissions to function properly. When installing, be sure to review the permissions requested by the app or extension and consider whether they align with your privacy preferences.
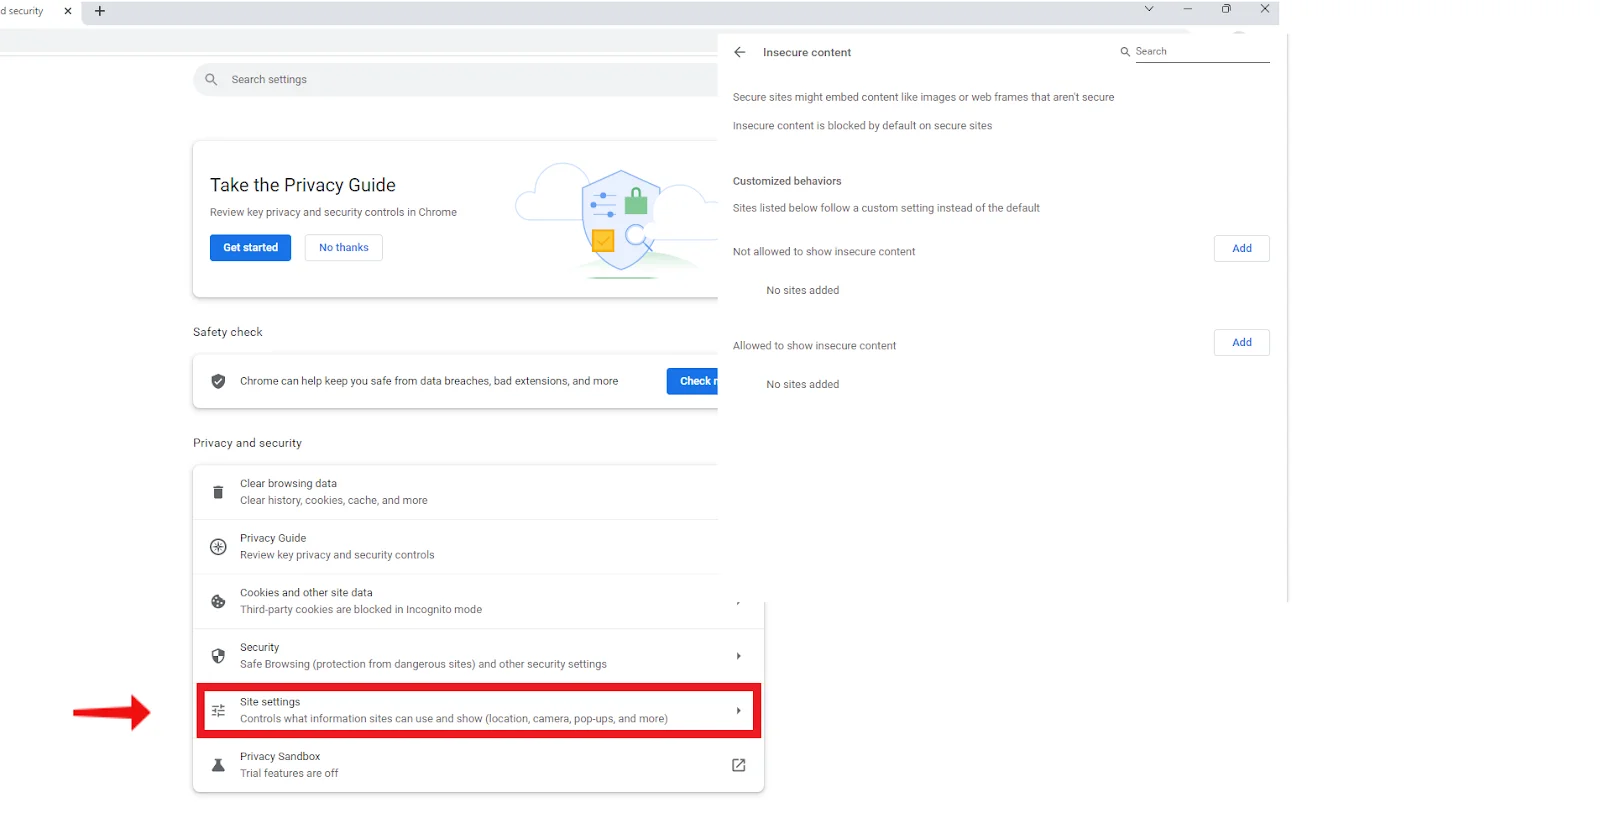
If you encounter any issues with an installed app or extension, you can easily manage them from the Chrome browser’s settings menu. Simply click on the three-dot menu icon located in the top-right corner of the browser window, go to “More Tools,” and select “Extensions.” From there, you can enable, disable, or remove installed apps and extensions as needed.
Remember to regularly update your installed apps and extensions to ensure you have the latest features, bug fixes, and security patches. Chromebooks typically handle updates automatically, but you can also manually check for updates by going to the Chrome browser’s settings menu, selecting “About Chrome OS,” and clicking on the “Check for Updates” button.
By taking advantage of the wide range of apps and extensions available on the Chrome Web Store, you can personalize your school Chromebook and tailor it to suit your unique educational needs. Whether you’re looking for tools to help with note-taking, research, language learning, or task management, there’s a wealth of options to explore.
Now that you know how to install apps and extensions on your school Chromebook, let’s move on to the next section to learn about downloading files from the internet!
Downloading Files from the Internet
Downloading files from the internet is an essential task for students working on their school Chromebooks. Whether it’s accessing research articles, downloading class materials, or saving important documents, knowing how to efficiently download files is crucial.
There are several methods you can use to download files from the internet on your school Chromebook:
1. Right-click and Save: The simplest way to download a file is by right-clicking on a link or image and selecting “Save link as” or “Save image as”. This will prompt you to choose a location on your Chromebook where you want to save the file.
2. Use the Download Button: Many websites provide a dedicated download button or icon for files they offer. Look for a download button next to the file or a link labeled “Download”. Clicking on it will initiate the download process.
3. Long-press and Save: On touchscreen Chromebooks, you can long-press on a link or image and select “Save link” or “Save image” from the context menu to download the file.
4. Keyboard Shortcut: For quick file downloads, you can use the keyboard shortcut Ctrl + S (or Command + S on a Mac). This will open the save dialog box, allowing you to specify the location to save the file.
Once the download is initiated, you may see a progress bar indicating the download status. Once the file is fully downloaded, it will be saved to your designated location on the Chromebook, such as the “Downloads” folder.
It’s important to note that some websites or file types may be blocked or restricted by your school’s network or content filters. In such cases, you may need to seek permission from your teacher or IT department to access or download specific files.
Remember to stay cautious when downloading files from the internet. Be wary of unofficial or untrustworthy websites, as they may contain harmful or malicious files that could harm your Chromebook or compromise your data. Stick to reputable sources and ensure that your Chromebook’s security features, such as built-in antivirus protection, are up to date.
With these methods at your disposal, you can confidently download files from the internet on your school Chromebook. Whether it’s gathering research materials, accessing class assignments, or saving important documents, you’ll be able to manage your files efficiently.
Next, let’s explore how you can utilize cloud storage services to easily transfer files between devices on your school Chromebook!
Using Cloud Storage Services for File Transfers
Cloud storage services have become an essential tool for students, offering a convenient and efficient way to transfer files between devices, including your school Chromebook. These services allow you to store your files securely in the cloud and access them from any device with an internet connection.
Here’s how you can use cloud storage services for file transfers on your school Chromebook:
1. Sign up for a Cloud Storage Service: Choose a cloud storage service that suits your needs and create an account. Popular options include Google Drive, Dropbox, Microsoft OneDrive, and Box. Many of these services offer free storage, allowing you to store a substantial amount of files without any cost.
2. Install the Cloud Storage App or Extension: To access your cloud storage on your school Chromebook, install the corresponding app or extension for the service you chose. These apps and extensions provide seamless integration with your Chromebook, allowing you to easily manage and transfer files.
3. Upload Files to the Cloud: Once you have installed the cloud storage app or extension, you can begin uploading files to your cloud storage account. Simply open the app or access the extension, select the files you want to upload, and choose the “Upload” or “Add” option. The files will be securely stored in your cloud storage account.
4. Access and Download Files: To download files from your cloud storage on your school Chromebook, open the cloud storage app or extension and navigate to the file you want to download. Right-click on the file and select “Download” or choose the download option provided. The file will be downloaded to your designated location on the Chromebook.
5. Share Files with Others: Cloud storage services also enable you to share files and collaborate with others. You can create shareable links to specific files or folders and send them to your classmates or teachers. This makes it easy to collaborate on group projects or share important documents with your peers.
Using cloud storage services for file transfers provides multiple benefits. First, it allows you to access your files from any device, not just your school Chromebook. Whether you’re working on a computer at home or using a mobile device, you’ll have access to your files as long as you have an internet connection.
Second, cloud storage services provide peace of mind by backing up your files automatically. In case anything happens to your Chromebook, your files will still be safely stored in the cloud, ensuring that you don’t lose any important documents or projects.
Lastly, cloud storage services offer synchronization across devices. If you make changes to a file on your school Chromebook, those changes will be reflected on other devices that have access to the same cloud storage account. This makes it easy to work seamlessly across multiple devices without worrying about file versioning or inconsistency.
Now that you understand how cloud storage services can facilitate file transfers on your school Chromebook, let’s explore another method of transferring files via a USB drive!
Transferring Files via USB Drive
If you need to transfer files between your school Chromebook and another device that doesn’t support cloud storage or internet connectivity, using a USB drive is a reliable and straightforward option. Transferring files via USB drive allows you to physically transfer data between devices without relying on internet access or cloud storage services.
Here’s how you can transfer files via USB drive on your school Chromebook:
1. Prepare the USB Drive: Insert a compatible USB drive into one of the USB ports on your school Chromebook. Ensure that the USB drive is properly formatted and has sufficient free space to accommodate the files you want to transfer.
2. Locate the Files to Transfer: Open the file manager on your school Chromebook by clicking on the “Files” app in the app launcher or taskbar. Navigate to the location where the files you want to transfer are located, such as the “Downloads” folder or a specific folder within your Chromebook’s storage.
3. Copy the Files: Select the files you want to transfer by clicking on them while holding the “Ctrl” key. Right-click on one of the selected files and choose the “Copy” option from the context menu.
4. Paste the Files to the USB Drive: Open the USB drive from within the file manager. Right-click inside the USB drive folder and select the “Paste” option. The files you copied in the previous step will be transferred to the USB drive.
5. Safely Eject the USB Drive: Once the file transfer is complete, make sure to safely eject the USB drive from your school Chromebook. This will ensure that all data is written and that it can be safely removed. Right-click on the USB drive icon in the file manager and choose the “Eject” option.
Now, you can remove the USB drive from your school Chromebook and insert it into the other device where you want to access the transferred files.
It’s important to note that files transferred via USB drive will only be accessible on devices that support the file formats and have the necessary software installed. For example, if you transfer a document file, you will need a compatible document editing software on the destination device to open and work with the file.
In some cases, it may be necessary to convert or save files in a more universal format, such as PDF or plain text, to ensure compatibility across different devices and operating systems.
Transferring files via USB drive is a reliable method when internet connectivity or cloud storage services are not available or feasible. It provides a convenient way to physically transfer data between devices and ensures that you can access your files without the need for network access.
Now that you know how to transfer files via USB drive, let’s explore some tips and tricks that can help you make the most out of downloading on your school Chromebook!
Tips and Tricks for Downloading on School Chromebooks
Downloading files and apps on your school Chromebook can sometimes be challenging due to the restrictions and limitations imposed by educational institutions. However, with the right tips and tricks, you can make the most out of your downloading experience. Here are some helpful suggestions:
1. Use Approved Apps and Extensions: Stick to the apps and extensions available on the Chrome Web Store that are approved for use on school Chromebooks. These apps and extensions have gone through a vetting process and are deemed safe and appropriate for educational purposes.
2. Explore Educational Resources: Many educational websites offer downloadable resources and materials specifically designed for students. Look for reliable educational websites that provide free and safe downloads to supplement your learning.
3. Check with your Teacher or IT Department: If you need to download a specific file or software that is not readily available, consult with your teacher or IT department. They may be able to provide guidance or grant permissions to access and download the required files.
4. Organize your Downloads: Create a dedicated folder in your Chromebook’s file manager to keep your downloaded files organized. This will make it easier for you to locate and access the files you need, especially if you download a large number of files.
5. Utilize Cloud Storage Services: Take advantage of cloud storage services, such as Google Drive or Dropbox, to store and access your files. This way, you can access your files from any device with an internet connection and avoid the need to download files frequently.
6. Update your Chromebook: Keep your Chromebook’s operating system and browser up to date to ensure compatibility with the latest file formats and security fixes. Regular updates can also provide new features and functionalities that enhance your downloading experience.
7. Stay Safe while Downloading: Exercise caution when downloading files from the internet. Only download files from trusted sources, and be wary of websites that seem untrustworthy or suspicious. Install and regularly update security software, such as antivirus, to protect your Chromebook from potential threats.
8. Clear Unwanted Downloads: Periodically review and clear your downloads folder to remove unwanted or unnecessary files. This will help free up storage space on your Chromebook and keep your downloads folder more organized.
9. Learn Keyboard Shortcuts: Familiarize yourself with keyboard shortcuts for common actions like opening the Downloads folder (Ctrl + J), opening the system menu (Alt + Shift + L), or refreshing a webpage (F5). These shortcuts can save you time and improve your efficiency when downloading files.
10. Follow School Policies: Always adhere to your school’s acceptable use policies when downloading files or installing software on your Chromebook. Respect the guidelines provided by your educational institution to ensure a safe and secure learning environment for everyone.
By implementing these tips and tricks, you can navigate the limitations of downloading on your school Chromebook more effectively and make the most out of the resources available to you.
Now that you’re armed with these helpful tips, you’re ready to optimize your downloading experience and make the most out of your school Chromebook!
Conclusion
Downloading files and apps on your school Chromebook may come with its limitations, but with the right knowledge and tools, you can navigate these restrictions and make the most out of your device. In this article, we explored various methods and tips to ensure a smooth downloading experience.
We began by understanding the limitations of school Chromebooks, acknowledging the managed configuration and restricted software installation. However, we also emphasized that these limitations exist to create a secure and distraction-free learning environment.
We then discussed how to explore the Chrome Web Store, a dedicated marketplace for Chromebook users. The Chrome Web Store offers a wide range of apps and extensions that are optimized for use on these devices. By carefully selecting and installing these approved tools, you can enhance your Chromebook’s functionality and productivity.
Next, we explored different methods of downloading files from the internet. Whether it’s right-clicking and saving, using the download button on websites, or employing keyboard shortcuts, you can efficiently download files and keep them organized on your Chromebook.
We then delved into cloud storage services, which provide a convenient and accessible way to transfer files between devices. By utilizing services like Google Drive, Dropbox, or OneDrive, you can securely store your files in the cloud and access them from any device with an internet connection.
Moreover, we examined the option of transferring files via USB drive when internet access or cloud storage services aren’t available. This physical transfer method allows you to share files between your Chromebook and other devices without dependency on network connectivity.
Lastly, we provided some valuable tips and tricks to optimize your downloading experience on school Chromebooks. These tips included staying within approved apps and extensions, organizing your downloads, utilizing cloud storage services, staying safe while downloading, and following school policies.
By applying these methods and tips, you can navigate the limitations of school Chromebooks and fully leverage the capabilities of your device for educational purposes. Remember to always respect the policies set by your educational institution and exercise caution when downloading files from the internet.
So, go ahead and confidently download files, install apps, and enhance your learning experience on your school Chromebook. Embrace the possibilities, stay organized, and make the most out of your educational journey!