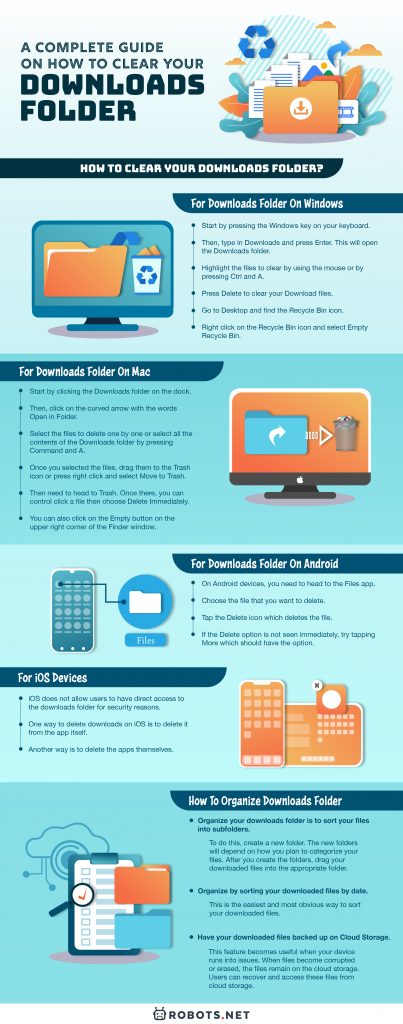
The downloads folder is one of the most used folders on your computer. This is due to the folder being the place where all our downloaded files get stored. It is also the same folder where we can access all our downloaded files.
But, this is also one of the least maintained folders. We tend to leave the downloads folder in an unorganized mess. This folder is also left to keep on piling downloaded files even if they are no longer needed. The lack of downloads folder maintenance makes it hard to sort through the folder’s files. It can also affect how your computer or mobile device operates. But, you can fix this by knowing how to clear your downloads folder and how to keep it organized.
In this guide, we will teach you how to clear your downloads folder. We will also teach you how to keep your downloads folder organized. This guide will also include other things you need to know about your downloads folder.
How to clear your downloads folder?
The process for clearing your downloads folder depends on your operating system or device.
For Downloads folder on Windows
For Windows Vista, 7, 8 and 10 users, you start by pressing the Windows key on your keyboard. Then, type in Downloads and press Enter. This will open the Downloads folder.
Once you open the folder, highlight the files to clear by using the mouse or by pressing Ctrl and A. Then, press Delete to clear your Download files. But, your files are not yet deleted yet. You can see these files stored in the Recycle Bin folder.
Go to Desktop and find the Recycle Bin icon. Then, right click on the Recycle Bin icon and select Empty Recycle Bin. You can set Windows to clear your downloads folder in an automatic way. To do this, go to Settings, then to System and to Storage. Turn the Storage sense feature and click on Change how we free up space.
After this, click on the following settings:
- Delete temporary files that my apps aren’t using
- Delete files in my Downloads folder that haven’t changed for over 30 days
- Delete files that have been in the recycle bin for over 30 days
Delete temporary files that my apps aren’t using
The first setting is meant to deal with temporary files. Temporary files are files created to hold data when files are being created or modified. This is the case when there are files are being downloaded or there are items being installed on your device.
Usually, your device deletes any temporary files once files have been created or modified. This is also the case for completed file downloads and finished installations. But, things such as your device not shutting down properly can lead to temporary files to remain. This is even if files have been created or modified or downloads and installations are completed.
The first setting aims to solve this problem when temporary files are not deleted automatically. Usually, temporary files are of no use to the device or to any apps. So, this setting detects these temporary files and deletes them right away.
Delete files in my Downloads folder that haven’t changed for over 30 days
The second setting is meant to deal with files of no use in your Downloads folder. The files that fall under this are those that are not opened, used or modified in the past 30 days. You should think of this setting as a way to sort and organize your Downloads folder.
While the setting is useful in sorting and organizing your Downloads folder, it also comes with its own problems. You should only use this setting if you do not keep your files sitting on the Downloads folder. Before activating this setting, make sure that you transfer the downloaded files you use on another folder.
When this setting is activated, you should no longer think of your Downloads folder as a permanent storage. Think of it as a temporary storage for your files. Also, this setting also means that you intend to delete all files in this folder.
For additional info, remember that the 30-day limit can be reset. You can do this by simply opening, using or modifying a file. This resets the timer back to 0 days.
Delete files that have been in the recycling bin for over 30 days
This third setting is for files that are in your Recycling Bin. While it is no longer in the Downloads file, the Recycling Bin stores any deleted files. To fully delete a file, you would need to empty your Recycling Bin. This setting allows you to do that automatically.
Before thinking of activating this setting, know what the Recycling Bin does first. While it can be a hassle for files to go to the Recycling Bin before deleting, it has its own benefits. The Recycling Bin is particularly useful when you accidentally delete files. By temporary storing deleted files, the Recycling Bin acts as safety net for file deletions. It also acts a place for final sorting before permanently deleting files. If you have files on the Recycling Bin that you do not want to delete, you can simply recover it. If you are sure in deleting files in the Recycling Bin, you can choose to empty the bin.
But, take note that not all deleted files go to the Recycling Bin. Files deleted while holding down the Shift key will bypass the Recycling Bin which will delete it permanently. Also permanently deleted are files that are larger than the size of the Recycling Bin. There are also drives that do not have recycling folders which means that permanent delete is possible for files deleted from such drives. You can also do permanent deletion for files deleted through the use of command prompts as they don’t make use of the Recycling Bin. Also, turning off the Recycling Bin also automatically does a permanent delete for any deleted files. Before emptying out the Recycling Bin, double check if you have any important files. Additionally, you can back-up your files to an external hard drive.
For Downloads folder on Mac
On the Mac, you can start by clicking the Downloads folder on the dock. Clicking on the folder will make some of the downloads appear. Then, click on the curved arrow with the words Open in Folder. A list of all your downloads will appear in a window named Downloads.
After this, you can select the files to delete one by one. You can also select all the contents of the Downloads folder by pressing Command and A. Once you selected the files, drag them to the Trash icon. You can also press right click and select Move to Trash.
You then need to head to Trash as all the deleted files are still there. Once there, you can control click a file then choose Delete Immediately. Click Delete in the warning message that appears.
You can also click on the Empty button on the upper right corner of the Finder window. Also, try clicking Empty Trash when clicking on the Finder icon on the dock. You can have deleted items that end up in Trash deleted in an automatic way after 30 days. You can set this up by going to Finder, then clicking on Preferences then Advanced. Once there, select Remove items from trash after 30 days.
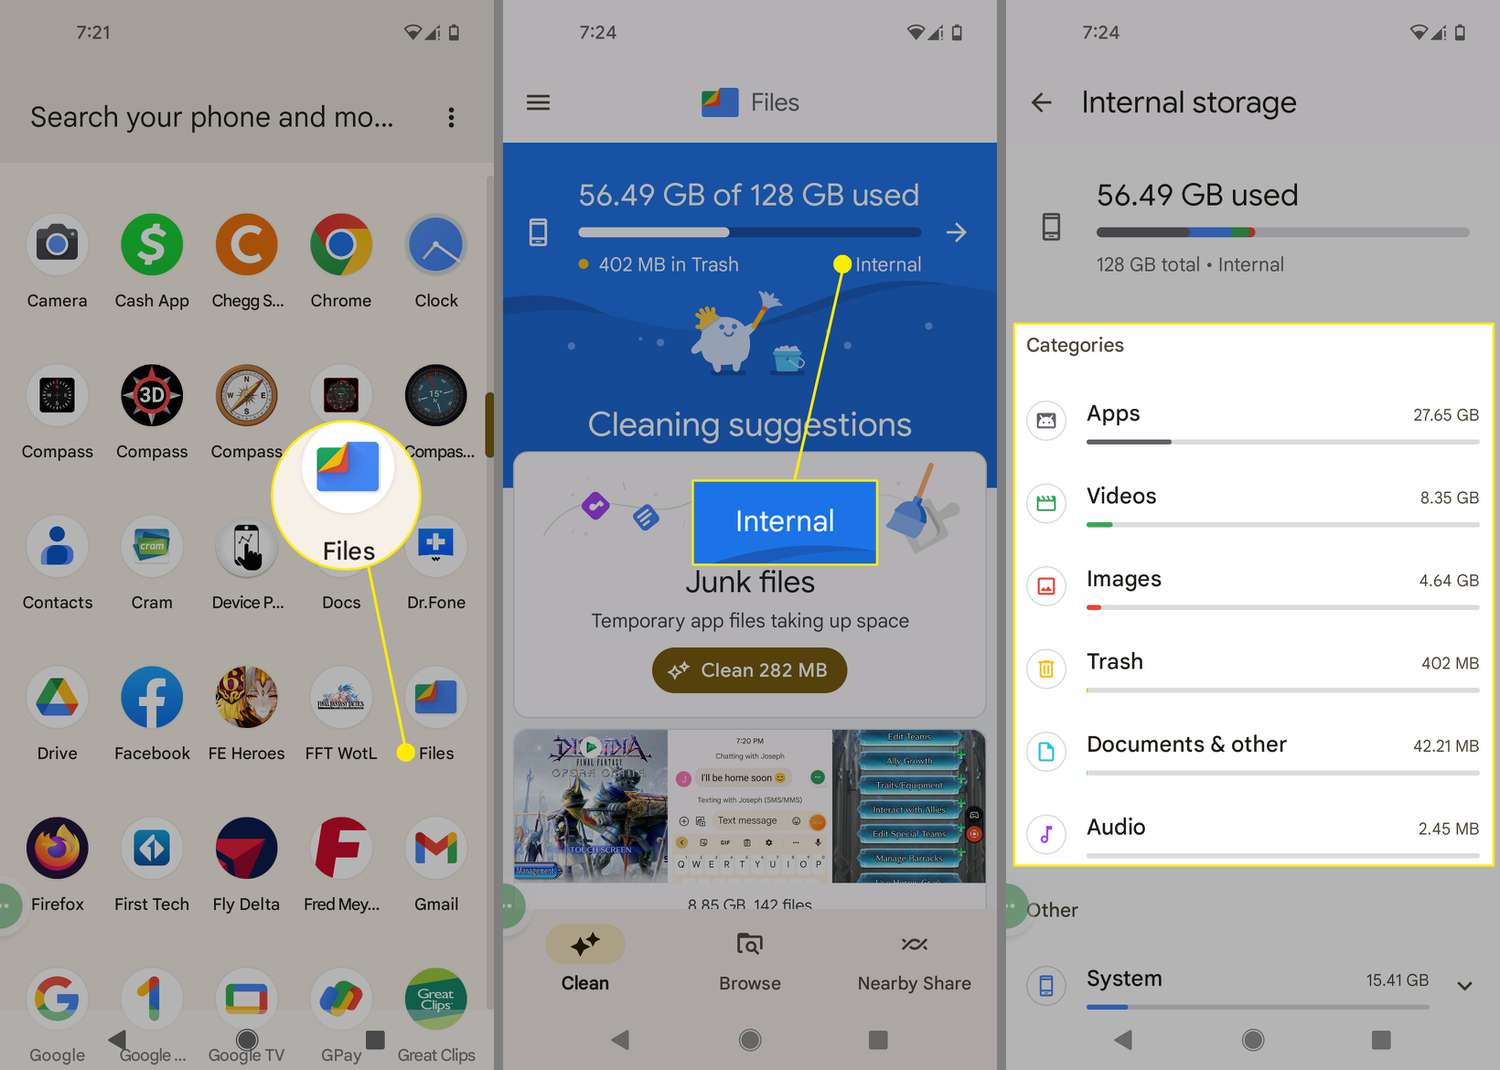
For Downloads folder on Android
On Android devices, you need to head to the Files app. Then, choose the file that you want to delete. Tap the Delete icon which deletes the file. If the Delete option is not seen immediately, try tapping More which should have the option.
For iOS devices
iOS does not allow users to have direct access to the downloads folder for security reasons. But, there is still a way to clear your downloads on iOS. Though, these processes can be a little bit tedious and time-consuming.
One way to delete downloads on iOS is to delete it from the app itself. For example, you need to delete a PDF file. You would need to go to the app that can open the PDF file and delete it from there.
Another way is to delete the apps themselves. To do this, you can tap the icon of the app to delete and hold. A small X will appear on the icon which will allow you to delete the app when pressed.
You can also delete apps using the Settings. Go to Settings then head to General. Click on Storage & iCloud Usage and go to Manage Storage. Select the app to delete and press Delete App.
What happens when you clear your downloads folder?
One of the effects of clearing your downloads folder is that it clears up space on your computer. Downloading files takes up your computer’s storage space. Clearing up your download folders creates more storage space for future file downloads.
This clearing up of storage space is relevant, especially for temporary files. File downloads create temporary files on your computer. Usually, the computer removes them when it shuts off. But, improper computer shutdowns can lead to temporary files remaining on your computer. Clearing out your download folders can help in removing these temporary files.
Another effect of clearing your downloads folder is that it improves computer performance. Downloading more files leads to hard disk fragmentation. This happens as the hard drive stores different files in different places. More hard disk fragmentation leads to inefficiency for your computer. Clearing your download folder leads to less hard disk fragmentation. This will help improve computer performance.
The only downside to clearing your downloads folder is irretrievable files. This may seem like a minor issue as you can always re-download a deleted file. But, a file in your download folder may be essential to how another program on your computer works. Deleting such a file can lead to that program not working as intended.
Where to find downloads folder
There are many ways to find the Downloads folder depending on the platform or device.
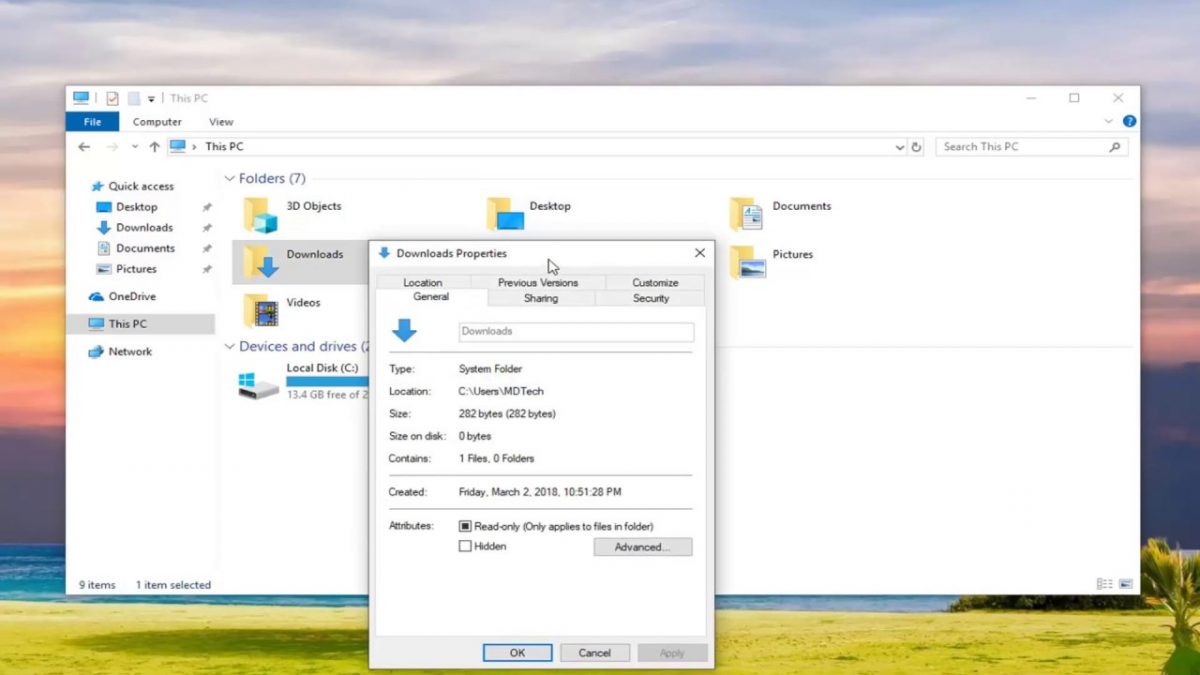
For Windows
Start finding the Downloads folder on Windows by clicking on the Files Explorer icon. You can find this on the task bar. The Files Explorer is also accessible by pressing Control and E. You can find Downloads under Quick Access or This PC.
You can pin the Downloads folder on the Start menu. To do this, find the Downloads folder. Right click on the folder and select Pin to Start.
For Mac
On Mac, you can start finding the Downloads folder by heading to Finder. After that, click on Go and look for Downloads. You can also find the Downloads folder on your Mac’s dock.
If the Downloads folder is not yet on the dock, there is a way to set this. First, open Finder. Then, head to Go and click on Home. Locate the Downloads folder on the Home window and drag it to the dock.
For Android
On Android devices, go to your default file manager app. You can also install other file manager apps depending on your preferences. Depending on the file manager app, you can see the downloads folder as Downloads or Download history.
For iOS
iOS does not give its users the option to see and access the downloads folder. But, there is a way to see something like a downloads folder on the iOS.
The nearest thing to a downloads folder on iOS is the Storage Usage settings. You can access this under Settings.
First, go to your device’s Settings. Then, press General and look for Storage & iCloud Usage. Under this, go to Manage Storage.
Manage Storage will let you see what are the stored data on your phone and their storage size. This includes the photo library and the apps downloaded on your phone.
iOS devices also have a built-in Files app that allows you to see your downloaded files. Opening the Files app will let you immediately see the downloaded files.
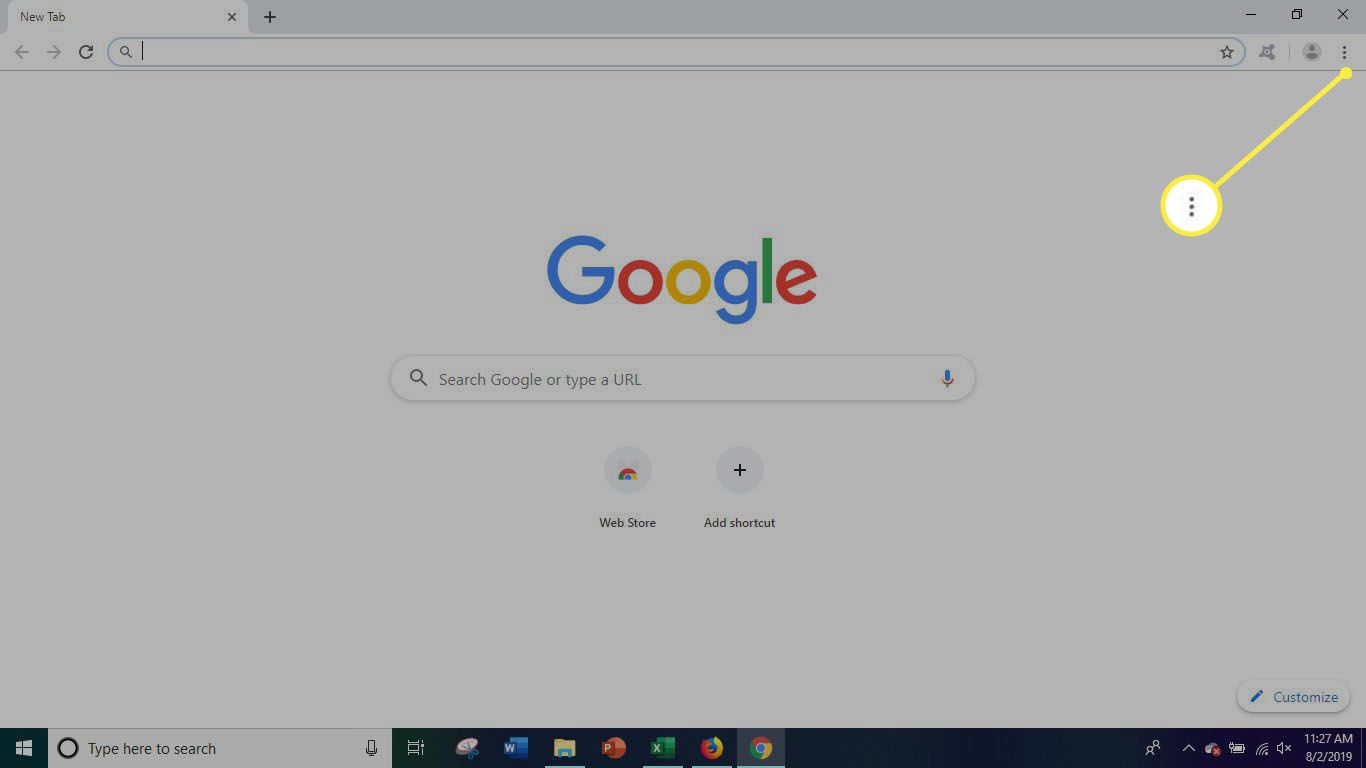
On Google Chrome
On Google Chrome, click the Customize and control Google Chrome button. This is shown as three vertical dots on the upper right side of the browser. Then, click on Downloads.
Clicking on Downloads will lead to seeing a list of downloads arranged by how recent they are. There is also a search bar that allows you to search for a specific download file. You can also access Downloads on Google Chrome by pressing Ctrl and J.
On Firefox
On Firefox, there are two ways to see the downloads folder.
There is a way to see your downloads during your current browsing session. Do this by clicking on the Downloads button. This button is a downwards arrow pointing on a horizontal line. This will show a short list of your recent downloaded files. To see all your downloaded files for the current session, click on Show All Downloads.
There is also a way to see all the downloads you did through Firefox. Click on the Library button. This button is a set of lines meant to look like a set of books. Then, click on Downloads, followed by Show All Downloads.
On other Browsers
On Internet Explorer, click on the Tools button. After this, select View Downloads.
On Safari, you can see your downloads by clicking on the Show Downloads button. This is a downward arrow icon located on the upper right corner of the screen. This icon is not present when you are not downloading anything.
How to organize downloads folder
If you’re someone who downloads a lot, your downloads folder can get messy. With a lot of files on your downloads folder, it can be hard to sort through it. This could prove difficult when trying to find specific files.
One way to organize your downloads folder is to sort your files into subfolders. This involves organizing your files into specific categories.
To do this, create a new folder. The new folders will depend on how you plan to categorize your files. After you create the folders, drag your downloaded files into the appropriate folder.
Another way to organize is by sorting your downloaded files by date. This is the easiest and most obvious way to sort your downloaded files. This option to sort downloaded files by date is usually set as default.
While this is the most obvious way to sort, it does come with its disadvantages. First, your files remain cluttered as different file types are still mixed in one place. Second, you would have to rely on your memory when you downloaded a file to find it.
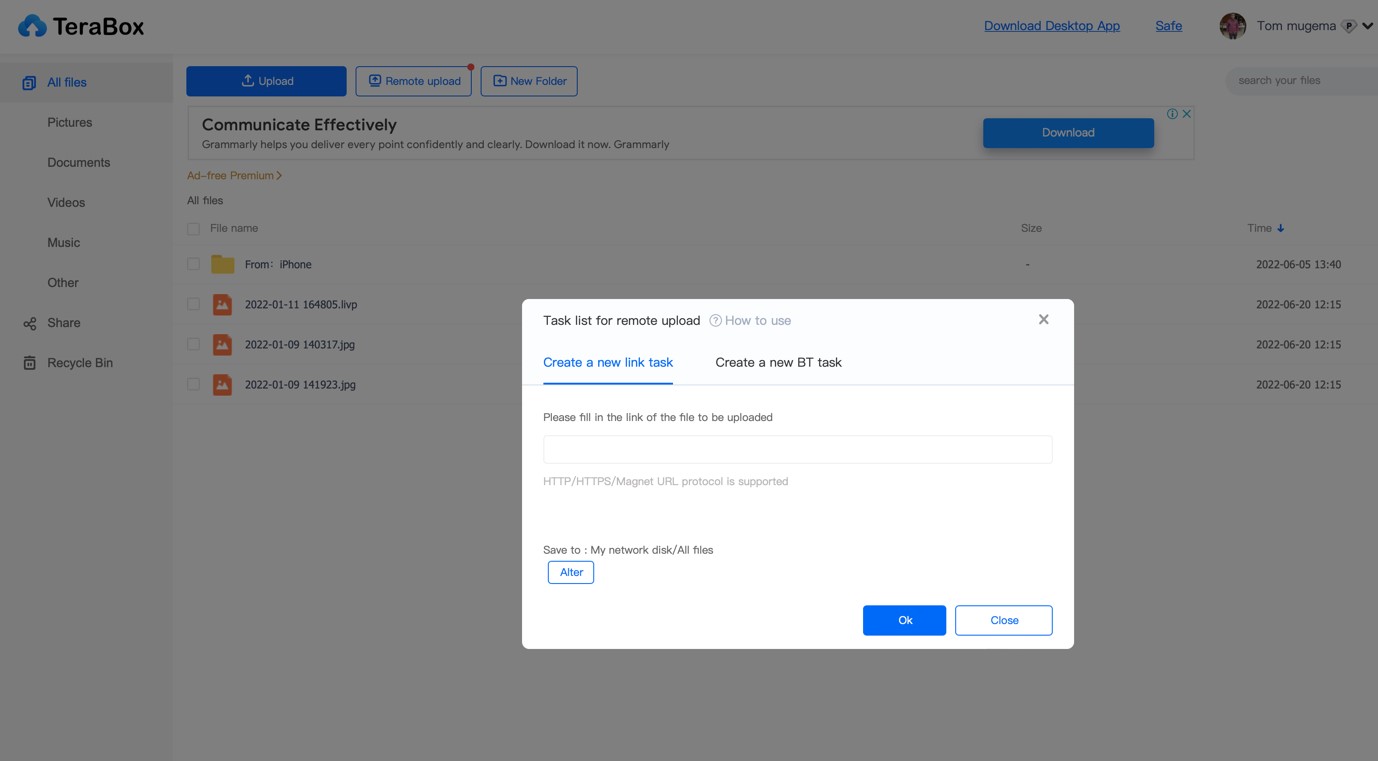
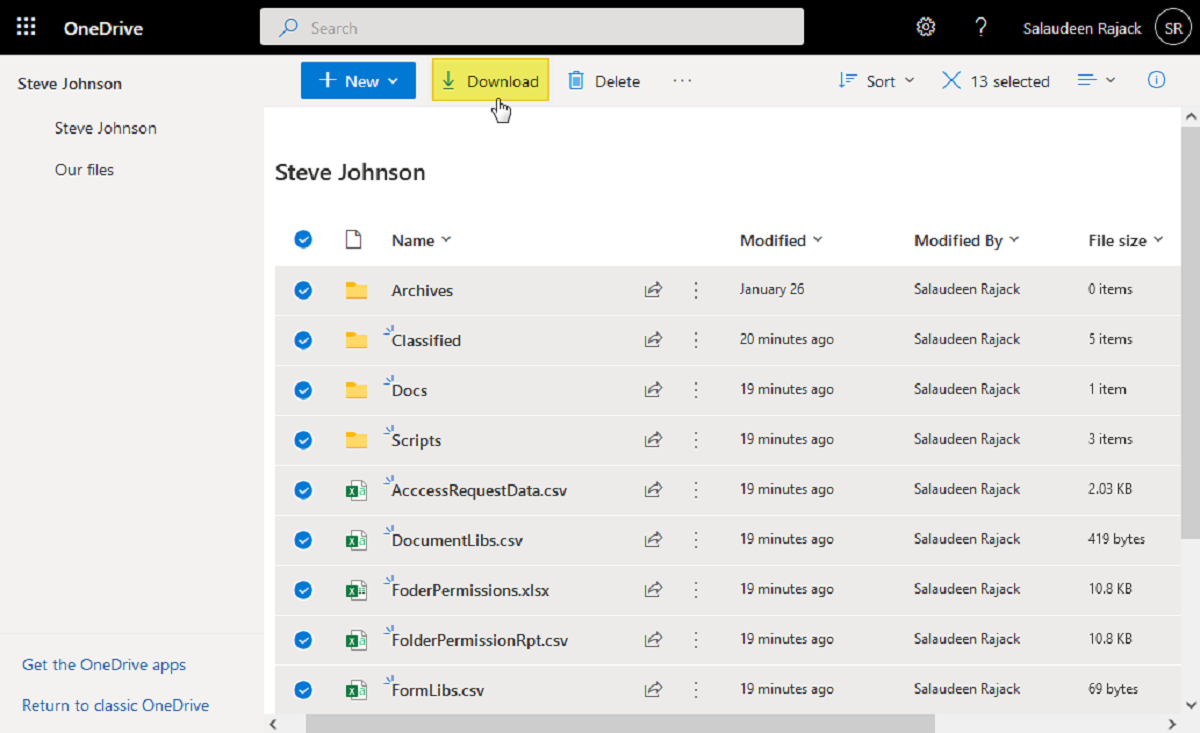
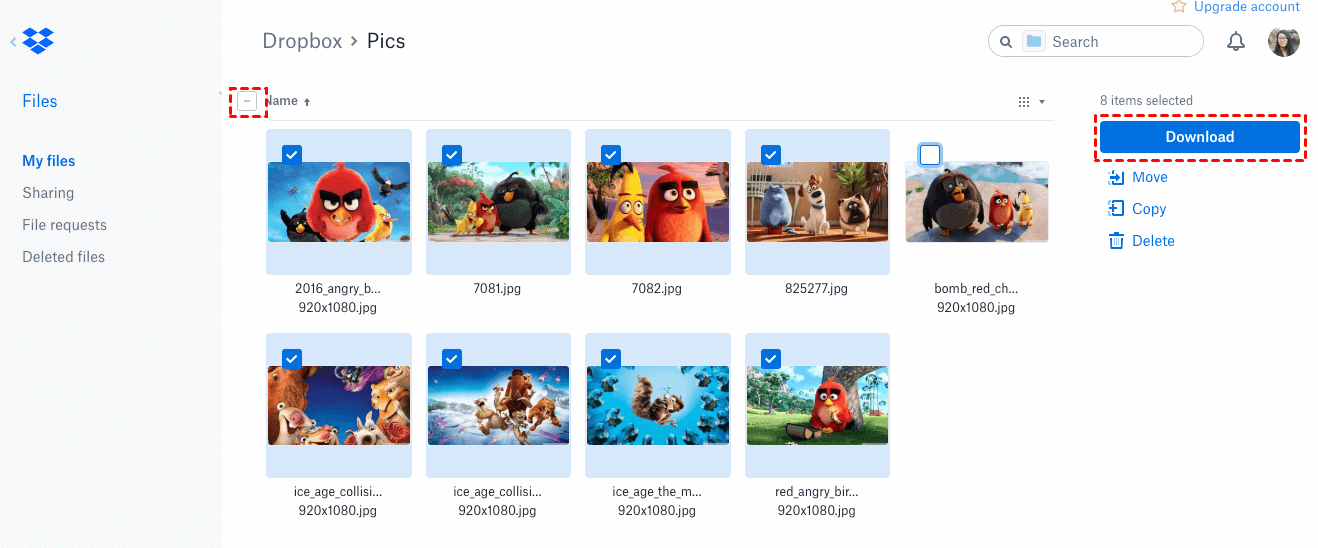
The last way to organize it is to have your downloaded files backed up on cloud storage. Cloud storage happens when Internet-accessible remote servers store data. This is usually used when users want to have backups of their data.
Cloud storage can come as something default on your device. Files are then automatically backed up on cloud storage. You can upload your files to Google Drive or any cloud-based storage provider.
This feature becomes useful when your device runs into issues. When files become corrupted or erased, the files remain on the cloud storage. Users can recover and access these files from cloud storage.