Introduction
Are you a music lover who wants to enjoy Spotify on your school Chromebook? You’re in the right place! While Chromebooks are known for their secure and streamlined nature, they do come with certain limitations when it comes to downloading third-party applications like Spotify. However, with a few simple steps, you can overcome these restrictions and get Spotify up and running on your Chromebook in no time.
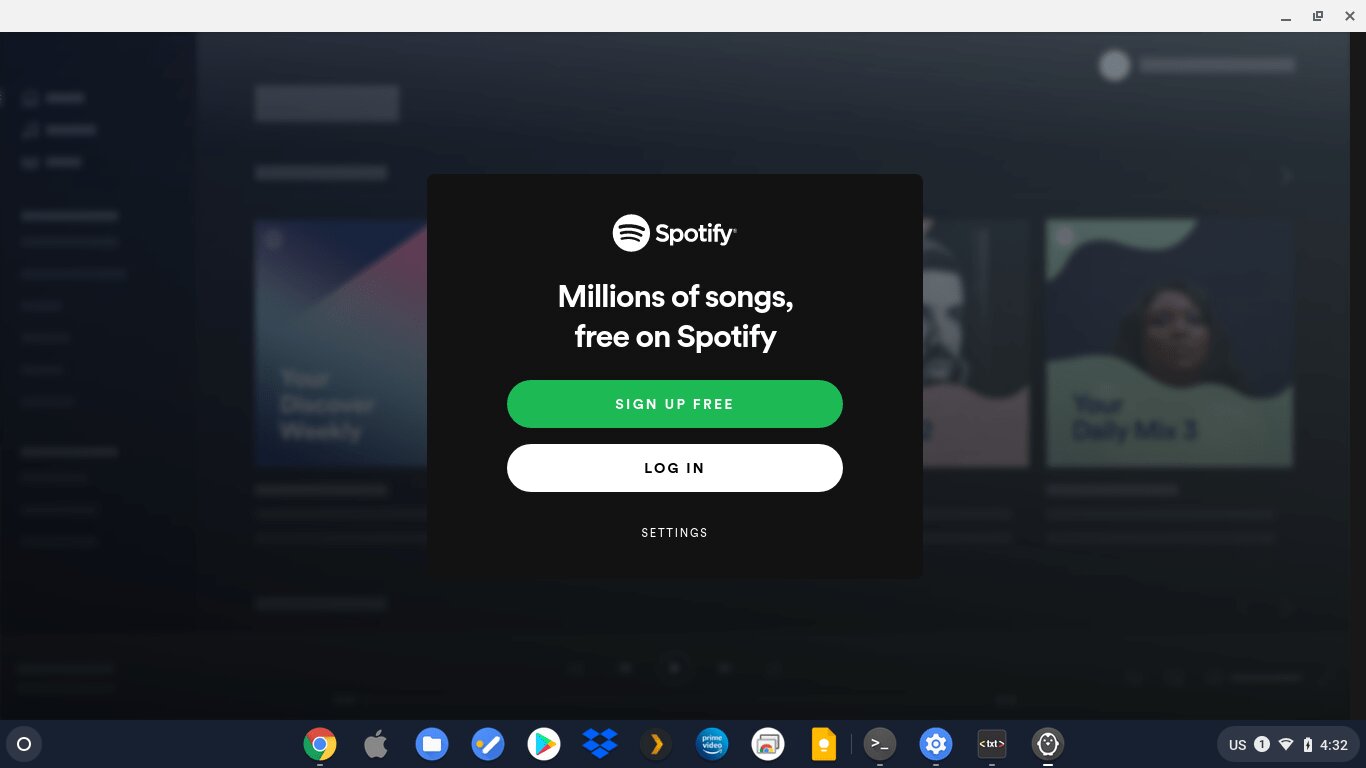
Spotify is a popular music streaming platform that gives you access to millions of songs, podcasts, and playlists. Its user-friendly interface and extensive library make it a favorite among music enthusiasts. Unfortunately, many schools block the installation of Spotify on school devices like Chromebooks to maintain focus and prevent distractions.
But don’t worry, there is a way around it! By following the methods outlined in this guide, you can download Spotify on your school Chromebook and enjoy your favorite tunes during study breaks or free time.
In this step-by-step guide, we’ll walk you through the process of unlocking Spotify on a school Chromebook. Please note that these methods may require you to have administrative access or make changes to your Chromebook’s settings, so make sure to check with your school’s IT department or obtain the necessary permissions before proceeding. Let’s get started on your musical journey!
Step 1: Check if you have administrative access
Before you begin the process of downloading Spotify on your school Chromebook, you need to determine if you have administrative access. Administrative access allows you to make changes to your Chromebook’s settings, necessary for the installation of third-party applications.
To check if you have administrative access, follow these steps:
- Open your Chromebook’s settings by clicking on the clock in the bottom-right corner of the screen, then selecting the gear icon.
- In the settings menu, scroll down and click on “About Chrome OS” located in the left-hand sidebar.
- Find the “Device Overview” section and look for “Registered owner” or “Enterprise owner” information. If your name or your school’s name is listed as the owner, you likely have administrative access.
If you don’t have administrative access, you may need to seek permission from your school’s IT department or the person responsible for managing Chromebooks. Explain your intentions and ask if they can grant you the necessary access to proceed with the installation of Spotify.
It’s important to note that not all schools allow students to have administrative access to their Chromebooks. In such cases, you may need to explore alternative options or consider using a different device that allows you more flexibility in installing applications.
Once you have confirmed that you have administrative access, you can proceed to the next step of enabling Developer Mode on your Chromebook. This mode will allow you to make further modifications to your device’s settings, necessary for installing Spotify as a third-party application.
Step 2: Enable Developer Mode on your Chromebook
To install Spotify on your school Chromebook, you’ll need to enable Developer Mode. This mode allows you to make advanced modifications to your Chromebook’s system settings, giving you greater control over its functionality.
Before proceeding, please note that enabling Developer Mode will reset your Chromebook to factory settings, erasing all locally stored data. Therefore, it is important to back up any important files or documents to an external storage device or cloud storage before continuing.
To enable Developer Mode on your Chromebook, follow these steps:
- Power off your Chromebook completely.
- Press and hold the Esc + Refresh + Power buttons simultaneously.
- When the “Chrome OS is missing or damaged” message appears, release the buttons.
- Press Ctrl + D to enter Developer Mode.
- Read the warning message that appears and press Enter to proceed.
- Wait for your Chromebook to transition into Developer Mode. This may take a few minutes.
- Once the transition is complete, your Chromebook will restart and display a screen with a red exclamation mark.
Congratulations! You have successfully enabled Developer Mode on your Chromebook. Remember, every time you power on your device, you will see a warning screen indicating that Developer Mode is enabled. You can bypass this screen by pressing Ctrl + D.
Now that you have Developer Mode enabled, you’re ready to move on to the next step: installing Linux (Beta) on your Chromebook. This will provide you with the necessary environment to run Spotify on your device.
Step 3: Install Linux (Beta) on your Chromebook
In order to run Spotify on your school Chromebook, you’ll need to install Linux (Beta) on your device. Linux (Beta) provides a Linux environment within your Chromebook, allowing you to install and run Linux applications, including Spotify.
To install Linux (Beta) on your Chromebook, follow these steps:
- Open the Chrome browser on your Chromebook.
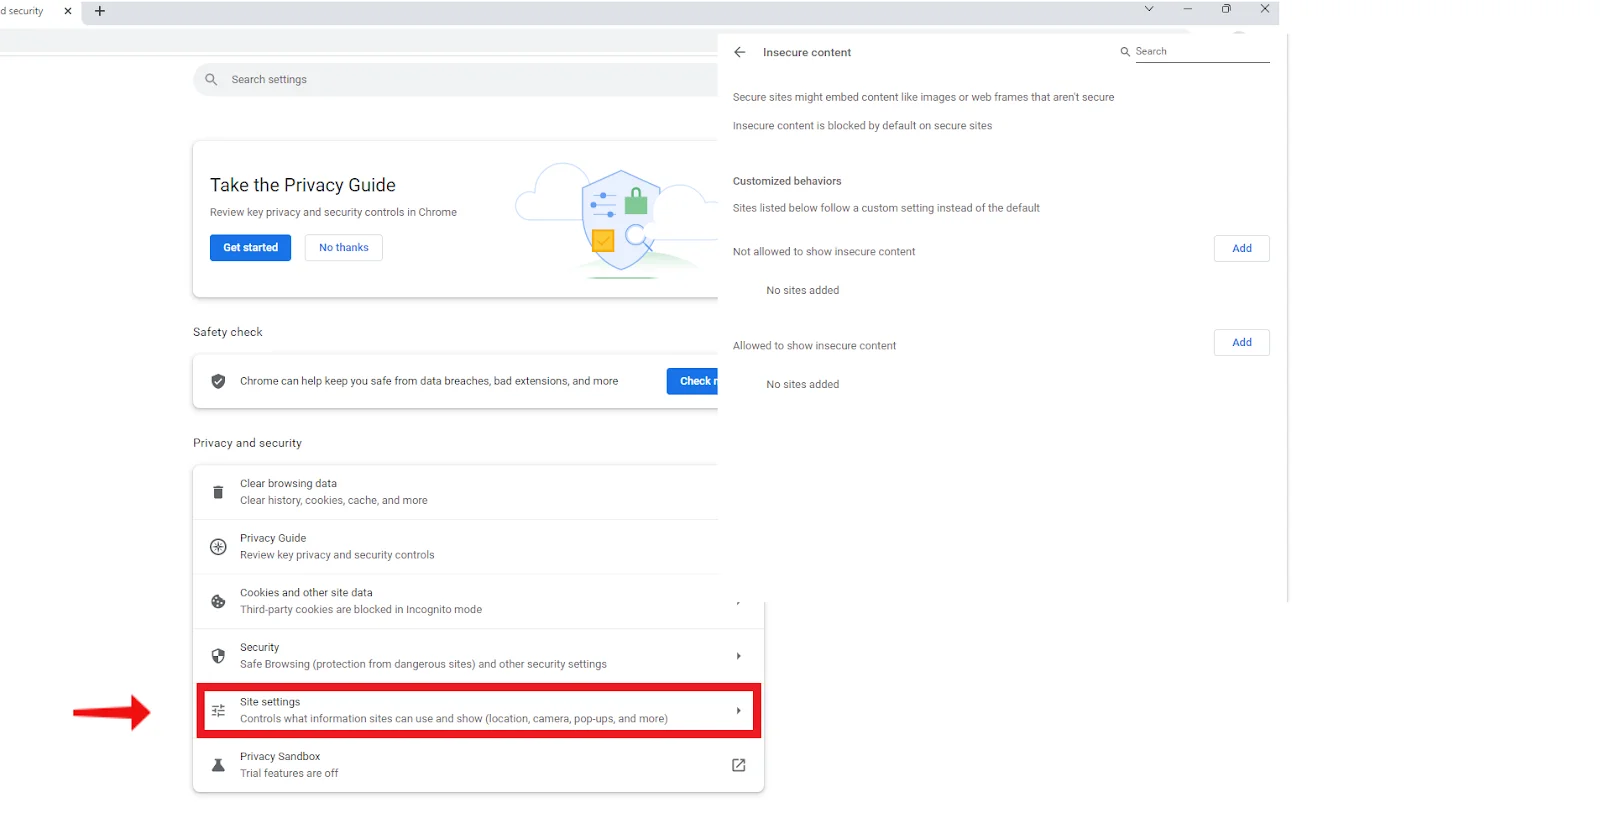
- Click on the bottom-right corner menu (three vertical dots) and select “Settings”.
- In the settings menu, scroll down and click on “Advanced” to expand the options.
- Under the “Linux (Beta)” section, click on “Turn on” to enable Linux (Beta).
- Follow the on-screen instructions to set up Linux (Beta). This may take a few minutes.
- Once Linux (Beta) is installed, you’ll have access to a Linux terminal.
Great job! You have successfully installed Linux (Beta) on your Chromebook. With Linux (Beta) enabled, you can now proceed to the next step of installing Wine, a compatibility layer that allows you to run Windows applications on your Chromebook, including the Spotify installer.
Remember, Linux (Beta) is a separate environment within your Chromebook, and you can switch between Chrome OS and Linux by opening the Terminal app or clicking on the app drawer and selecting Linux (Beta). Make sure to familiarize yourself with the Linux environment and commands before proceeding with the installation of Wine.
Now that you have Linux (Beta) installed, you’re ready for the next step: downloading and installing Wine on your Chromebook.
Step 4: Download and install Wine
To run the Spotify installer on your Chromebook, you’ll need to install Wine. Wine is a compatibility layer that allows you to run Windows applications on a Linux system, such as your Chromebook’s Linux (Beta) environment.
Here’s how you can download and install Wine on your Chromebook:
- Open the Linux terminal on your Chromebook. You can do this by clicking on the bottom-left corner menu, searching for “Terminal”, and selecting the terminal app.
- Once the terminal is open, update the package lists by running the following command:
sudo apt update - Next, install Wine by entering the following command:
sudo apt install wine - Press “Y” when prompted to confirm the installation.
- Wait for Wine to download and install on your Chromebook. This may take a few minutes depending on your internet connection speed.
Congratulations! You have successfully downloaded and installed Wine on your Chromebook. Wine provides the necessary compatibility for running the Spotify installer, which we’ll be downloading in the next step.
It’s important to note that Wine isn’t perfect and may not work flawlessly with all Windows applications. However, it is widely used and has a good track record for running popular software like Spotify on Linux systems.
Now that Wine is installed, you’re ready for the next step: downloading the Spotify installer and preparing to install Spotify on your Chromebook.
Step 5: Download the Spotify installer
With Wine installed on your Chromebook, it’s time to download the Spotify installer. The installer is a Windows executable file that you’ll need to run using Wine in order to install Spotify on your Chromebook.
Here’s how you can download the Spotify installer on your Chromebook:
- Open the Chrome browser on your Chromebook and search for “Spotify Windows installer” in a search engine.
- Look for the official Spotify website or a trusted source to download the installer. Be cautious of unofficial or potentially unsafe websites.
- Click on the download link for the Windows installer file. Make sure to choose the appropriate version for your system (32-bit or 64-bit).
Once the download is complete, the Spotify installer file should be saved in your Downloads folder or the designated download location on your Chromebook.
Before proceeding to the next step, it’s a good idea to verify that the downloaded installer file is valid and hasn’t been tampered with. To do this, you can perform a checksum verification using the file’s MD5 or SHA256 hash. Online tools and command-line utilities are available to facilitate this verification process.
Now that you have successfully downloaded the Spotify installer, let’s move on to the final step: installing Spotify on your Chromebook using Wine.
Step 6: Install Spotify on your Chromebook
Now that you have the Spotify installer and Wine set up on your Chromebook, it’s time to install Spotify and start enjoying your favorite music. Follow these steps to complete the installation process:
- Open the Linux terminal on your Chromebook.
- Navigate to the folder where you downloaded the Spotify installer using the
cdcommand. For example, if the installer is in the Downloads folder, entercd Downloads. - Run the Spotify installer with Wine by entering the following command:
wine SpotifyInstaller.exe. Replace “SpotifyInstaller.exe” with the actual name of the downloaded installer file if it’s different. - Follow the prompts in the Spotify installer to complete the installation. You can usually accept the default settings unless you have specific preferences.
- Once the installation is complete, you can launch Spotify by searching for it in the app launcher or by running the
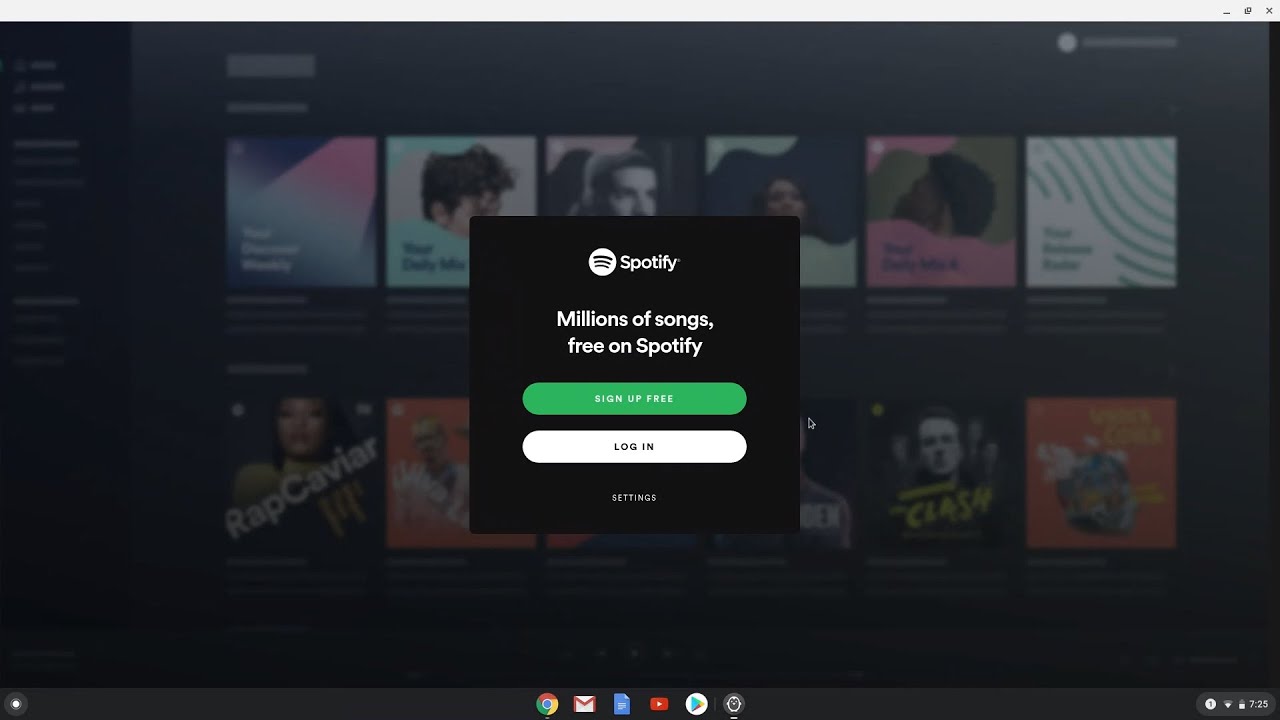
wine spotify.execommand in the terminal. - Sign in to your Spotify account or create a new one if you don’t have an account already.
Congratulations! You have successfully installed Spotify on your Chromebook using Wine. You can now enjoy unlimited access to your favorite songs, podcasts, and playlists directly on your Chromebook, even at school.
Remember, each time you want to launch Spotify, you will need to open the Linux terminal and run the wine spotify.exe command, unless you create a shortcut or pin Spotify to your app launcher for easier access.
By following these steps, you’ve overcome the restrictions that may have prevented you from enjoying Spotify on your school Chromebook. Enjoy the music and happy listening!
Conclusion
Congratulations! You have successfully learned how to download and install Spotify on your school Chromebook. By following the steps outlined in this guide, you have overcome the limitations and restrictions that may have prevented you from enjoying Spotify on your device.
We started by checking if you have administrative access, as this is crucial for making the necessary changes to install third-party applications. If you don’t have this access, we advised you to seek permission from your school’s IT department or the relevant authorities.
Next, we enabled Developer Mode on your Chromebook, allowing you to make advanced modifications to the system settings. This was followed by installing Linux (Beta), which provided the Linux environment needed to run Spotify.
We then installed Wine, the compatibility layer that allowed you to run Windows applications like the Spotify installer on your Chromebook. Following that, we successfully downloaded the Spotify installer and verified its integrity.
Finally, we installed Spotify using Wine and completed the installation process. Now you can enjoy all the music, playlists, and podcasts that Spotify has to offer directly on your Chromebook, even at school.
Remember, running Spotify on a school Chromebook may be against your school’s policies, so it’s important to use this knowledge responsibly and comply with any regulations in place. Always prioritize your academic responsibilities and use Spotify as a source of entertainment during appropriate times.
Thank you for following this guide. We hope you have found it helpful and that you’re now able to enjoy Spotify on your school Chromebook. Happy listening!