Introduction
Spotify has become one of the most popular music streaming platforms, offering millions of songs from various genres to its users. However, accessing Spotify on a school Chromebook can be quite challenging due to the restrictions imposed by the school’s network and device management settings. Fortunately, with a few simple steps, you can get Spotify up and running on your school Chromebook.
In this guide, we will walk you through the process of enabling developer mode on your Chromebook, installing Linux, and finally, installing and launching Spotify. Please note that these steps may vary slightly depending on the specific model and manufacturer of your Chromebook.
Before we dive into the details, it is important to mention that while these methods are effective, they do involve certain risks. Enabling developer mode and installing Linux on your Chromebook will void the warranty and may expose your device to potential security vulnerabilities. Proceed with caution and make sure to back up any important files before proceeding.
With that said, let’s get started on getting Spotify on your school Chromebook and enjoy your favorite music during those study breaks!
Step 1: Enabling Developer Mode on Your Chromebook
To install Linux and bypass the restrictions on your school Chromebook, you need to first enable developer mode. Here’s how you can do it:
- Start by shutting down your Chromebook completely.
- Once your Chromebook is powered off, press and hold the Esc and Refresh keys simultaneously.
- While holding the keys, press the Power button.
- A screen with a yellow exclamation mark will appear. Release the Esc and Refresh keys.
- Press Ctrl + D on your keyboard.
- A warning message will appear. Press Enter to continue.
- Your Chromebook will reboot and enable developer mode. This process may take a few minutes.
- Once your Chromebook restarts, you will see a screen that says “OS Verification is OFF.” This confirms that developer mode is enabled.
It is important to note that enabling developer mode will remove all the data on your Chromebook. Therefore, it’s essential to back up any important files before proceeding with this step.
Once you have successfully enabled developer mode on your Chromebook, you are now ready to install Linux and proceed to the next step.
Step 2: Installing Linux On Your Chromebook
Now that developer mode is enabled on your Chromebook, you can proceed with installing Linux. Here’s how:
- Press Ctrl + Alt + T on your keyboard to open the Crosh shell.
- Type “shell” and hit Enter to enter the Linux container.
- Next, enter the following command: “sudo apt-get update“. This will update the package repositories.
- After the update is complete, enter the command: “sudo apt-get install -y curl“. This will install the necessary curl package.
- Once the installation is finished, enter the command: “curl -sSL https://get.docker.com/ | sh“. This will download and install Docker.
- After Docker is installed, enter the command: “sudo usermod -aG docker $USER“. This will grant your user access to Docker.
- Finally, reboot your Chromebook by entering the command: “sudo reboot“.
Once your Chromebook restarts, you will now have Linux installed and ready to use. This step is crucial as it allows you to run applications, such as Spotify, that are not natively supported on Chrome OS.
With Linux successfully installed on your Chromebook, you are one step closer to enjoying Spotify during your school sessions. Let’s move on to the next step and install Spotify on Linux!
Step 3: Installing Spotify on Linux
Now that you have Linux installed on your Chromebook, it’s time to install Spotify and start jamming to your favorite tunes. Follow these steps:
- Open the Linux terminal by pressing Ctrl + Alt + T on your keyboard.
- Enter the command: “curl -sS https://download.spotify.com/debian/pubkey.gpg | sudo apt-key add –“. This command imports the Spotify repository signing key.
- Next, enter the command: “echo “deb http://repository.spotify.com stable non-free” | sudo tee /etc/apt/sources.list.d/spotify.list“. This command adds the Spotify repository to the package sources.
- Afterward, update the package list by entering: “sudo apt-get update“.
- Finally, install Spotify with the command: “sudo apt-get install spotify-client“.
Wait for the installation process to complete. Once it’s finished, you will have Spotify installed on your Chromebook running Linux. You can now start using Spotify to listen to your favorite music whenever and wherever you want.
Note that you may need to sign in to your Spotify account to access your personalized playlists and saved music.
Congratulations! You have successfully installed Spotify on your school Chromebook. Now it’s time to move on to the final step and launch Spotify.
Step 4: Launching Spotify on Your Chromebook
With Spotify installed on your Chromebook running Linux, it’s time to launch the app and start enjoying your favorite music. Here’s how:
- Open the Linux terminal by pressing Ctrl + Alt + T on your keyboard.
- Type “spotify” in the terminal and press Enter.
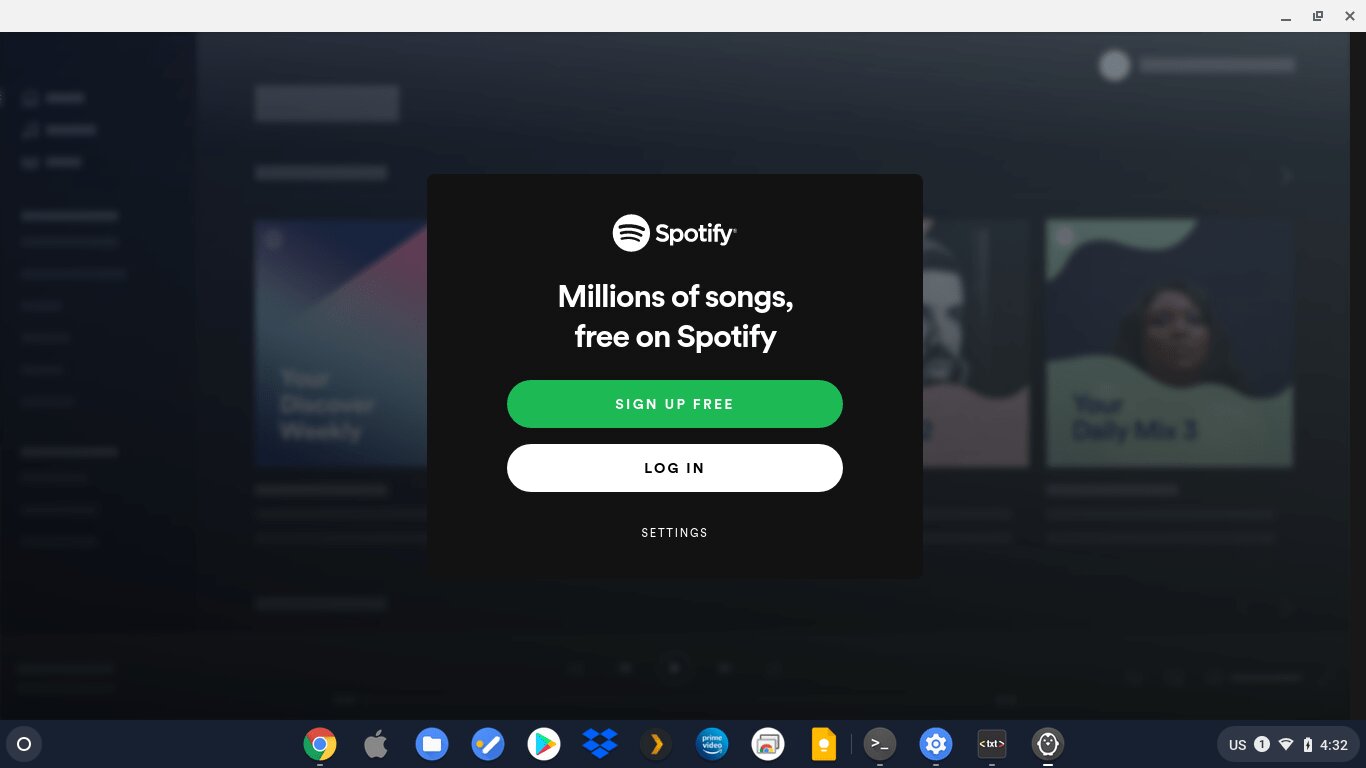
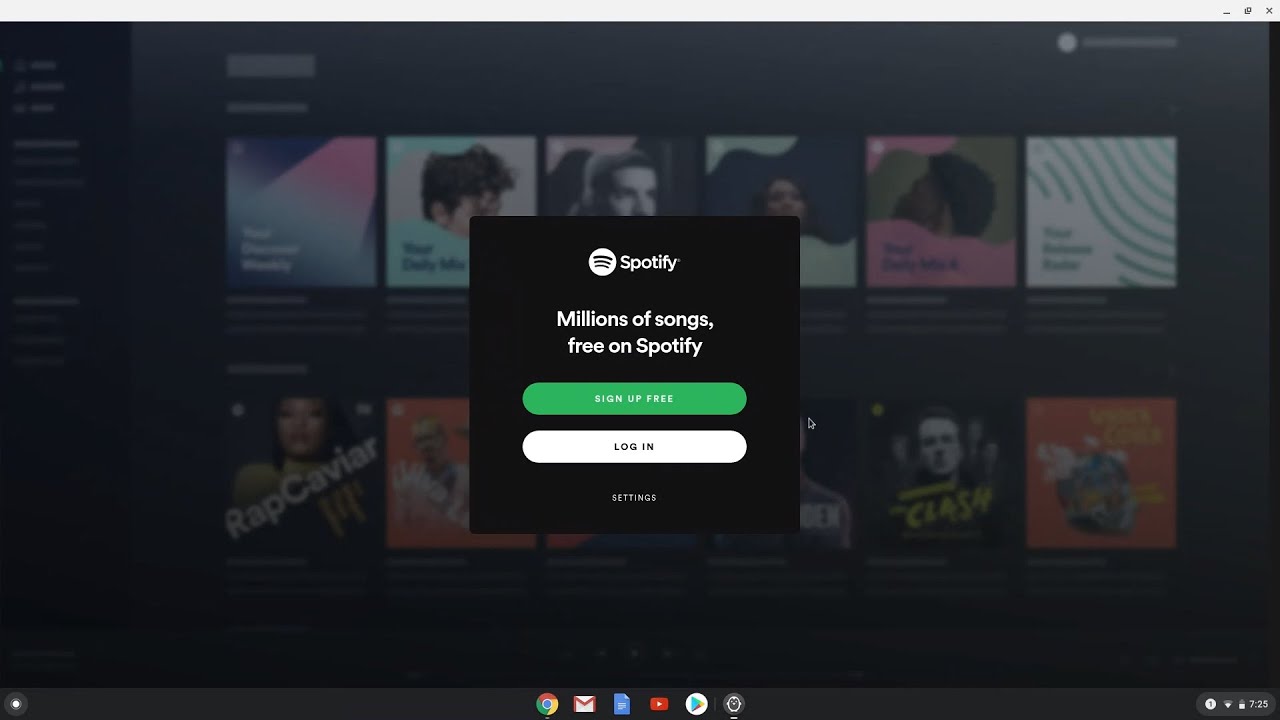
- The Spotify app will launch, and you can now sign in with your Spotify account credentials.
- Once you have successfully signed in, you can browse through the vast library of music, create playlists, and explore countless songs and artists.
- Use the search feature to find specific songs, albums, or artists, or explore curated playlists and discover new music.
- Click on a song, album, or playlist to start playing your desired music. You can control playback options, such as play, pause, skip, and adjust volume directly within the Spotify app.
- Enjoy your favorite music on Spotify while using your school Chromebook!
Remember to respect your school’s policies and guidelines regarding the use of technology and streaming services during school hours. Use Spotify responsibly and enjoy the music during appropriate times.
Now that you have successfully launched Spotify on your Chromebook, you can enjoy your favorite tunes and make studying and breaks even more enjoyable.
Congratulations! You have now completed all the necessary steps to get Spotify on your school Chromebook. Make sure to follow the guidelines and use Spotify responsibly while enjoying the versatility and convenience it provides.
Conclusion
Getting Spotify on your school Chromebook may seem like a daunting task, but with the steps outlined in this guide, you can enjoy your favorite music without any restrictions. By enabling developer mode, installing Linux, and then installing Spotify, you have successfully bypassed the limitations imposed by your school’s network and device management settings.
Remember, the methods discussed in this guide involve risks, such as voiding the warranty of your Chromebook and potential security vulnerabilities. It’s crucial to approach these steps with caution and backup important files before proceeding.
Once you have installed Spotify on your Chromebook, you can launch the app through the Linux terminal and start listening to your favorite songs, creating playlists, and discovering new music. Enjoy the versatility and convenience of having Spotify on your school Chromebook to enhance your study sessions and make those much-needed breaks more enjoyable.
However, do remain mindful of your school’s policies regarding the use of technology and streaming services during school hours. Use Spotify responsibly and respect your school’s guidelines.
We hope this guide has been helpful in getting Spotify on your school Chromebook. Now, you can bring your favorite music wherever you go and add a soundtrack to your school days! Happy listening!