Introduction
Chromebooks have become increasingly popular in schools due to their affordability, durability, and ease of use. However, one common concern among students and teachers alike is the limited number of extensions available on school-issued Chromebooks. Extensions can greatly enhance the functionality and productivity of a Chromebook, allowing users to customize their browsing experience and add useful features.
In this article, we will explore how to download extensions on a school Chromebook. While the process may be slightly different compared to personal Chromebooks, it is still possible to access and install a wide range of extensions that can greatly improve your online experience.
Whether you’re looking to install ad blockers, note-taking tools, language translators, or other helpful extensions, we’ve got you covered. With a few simple steps, you’ll be able to unlock the full potential of your school Chromebook and make your browsing experience more efficient and enjoyable.
Before we get started, it’s important to note that some school-issued Chromebooks may have certain restrictions in place. These restrictions could limit your ability to install certain extensions or grant permissions for specific features. If you encounter any issues during the installation process, it’s best to reach out to your school’s IT department for assistance.
Now, let’s dive into the steps for downloading extensions on your school Chromebook.
Step 1: Open the Chrome Web Store
The first step to downloading extensions on your school Chromebook is to open the Chrome Web Store. The Chrome Web Store is a digital marketplace where you can find and download various extensions, themes, and apps for your Chromebook.
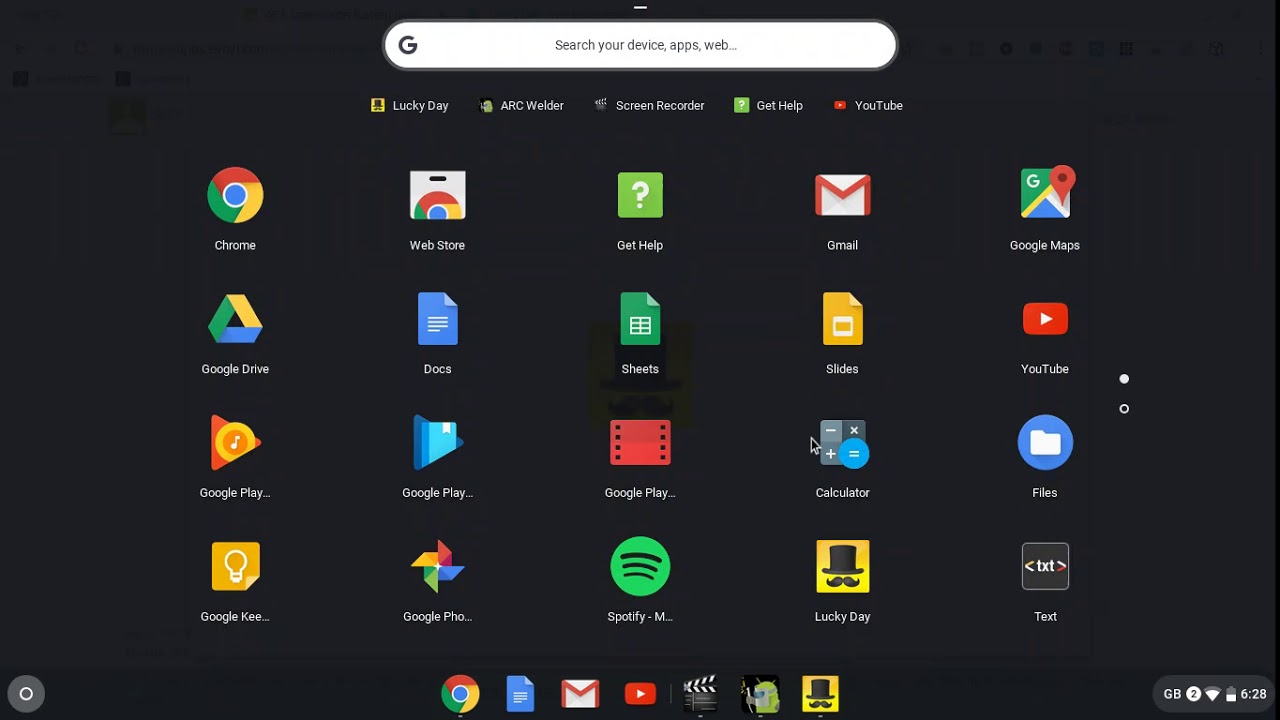
To access the Chrome Web Store, open the Google Chrome browser on your school Chromebook. You can find the Chrome browser icon in the app launcher or on the taskbar. Simply click on the icon to launch the browser.
Once the Chrome browser is open, you will see the address bar at the top of the window. Type in “chrome.google.com/webstore” and press Enter. This will take you directly to the Chrome Web Store.
Alternatively, you can also access the Chrome Web Store by clicking on the Apps icon located on the bookmarks bar or the new tab page. This will display a list of installed apps, and you can click on the “Web Store” icon to open it.
Upon reaching the Chrome Web Store, you will be presented with a wide variety of extensions, themes, and apps. The homepage showcases popular and recommended items, but you can also browse categories or use the search bar to find specific extensions.
Before proceeding to the next step, take some time to explore the Chrome Web Store and familiarize yourself with the different types of extensions available. This will help you make informed decisions when choosing which extensions to download and install on your school Chromebook.
Step 2: Search for the Extension
Once you have accessed the Chrome Web Store on your school Chromebook, the next step is to search for the extension you want to download. The search feature allows you to easily find extensions based on their names, keywords, or functionality.
To search for an extension, locate the search bar at the top-left corner of the Chrome Web Store page. Click on the search bar and enter the name or keywords related to the extension you are looking for. As you type, the search results will automatically update.
Take your time to carefully review the search results and find the extension that best meets your needs. When evaluating an extension, consider factors such as its ratings, reviews, and number of downloads. These indicators can give you a sense of its reliability, usefulness, and popularity among other users.
If you already know the name of the extension you want, you can quickly navigate to it by typing its name directly into the search bar. This will narrow down the results and display the specific extension you are looking for.
Additionally, you can explore different categories by clicking on the “Extensions” dropdown menu located at the top-left corner of the Chrome Web Store page. This will display a list of categories such as productivity, education, entertainment, and more. Clicking on a category will show you a curated list of extensions relevant to that category.
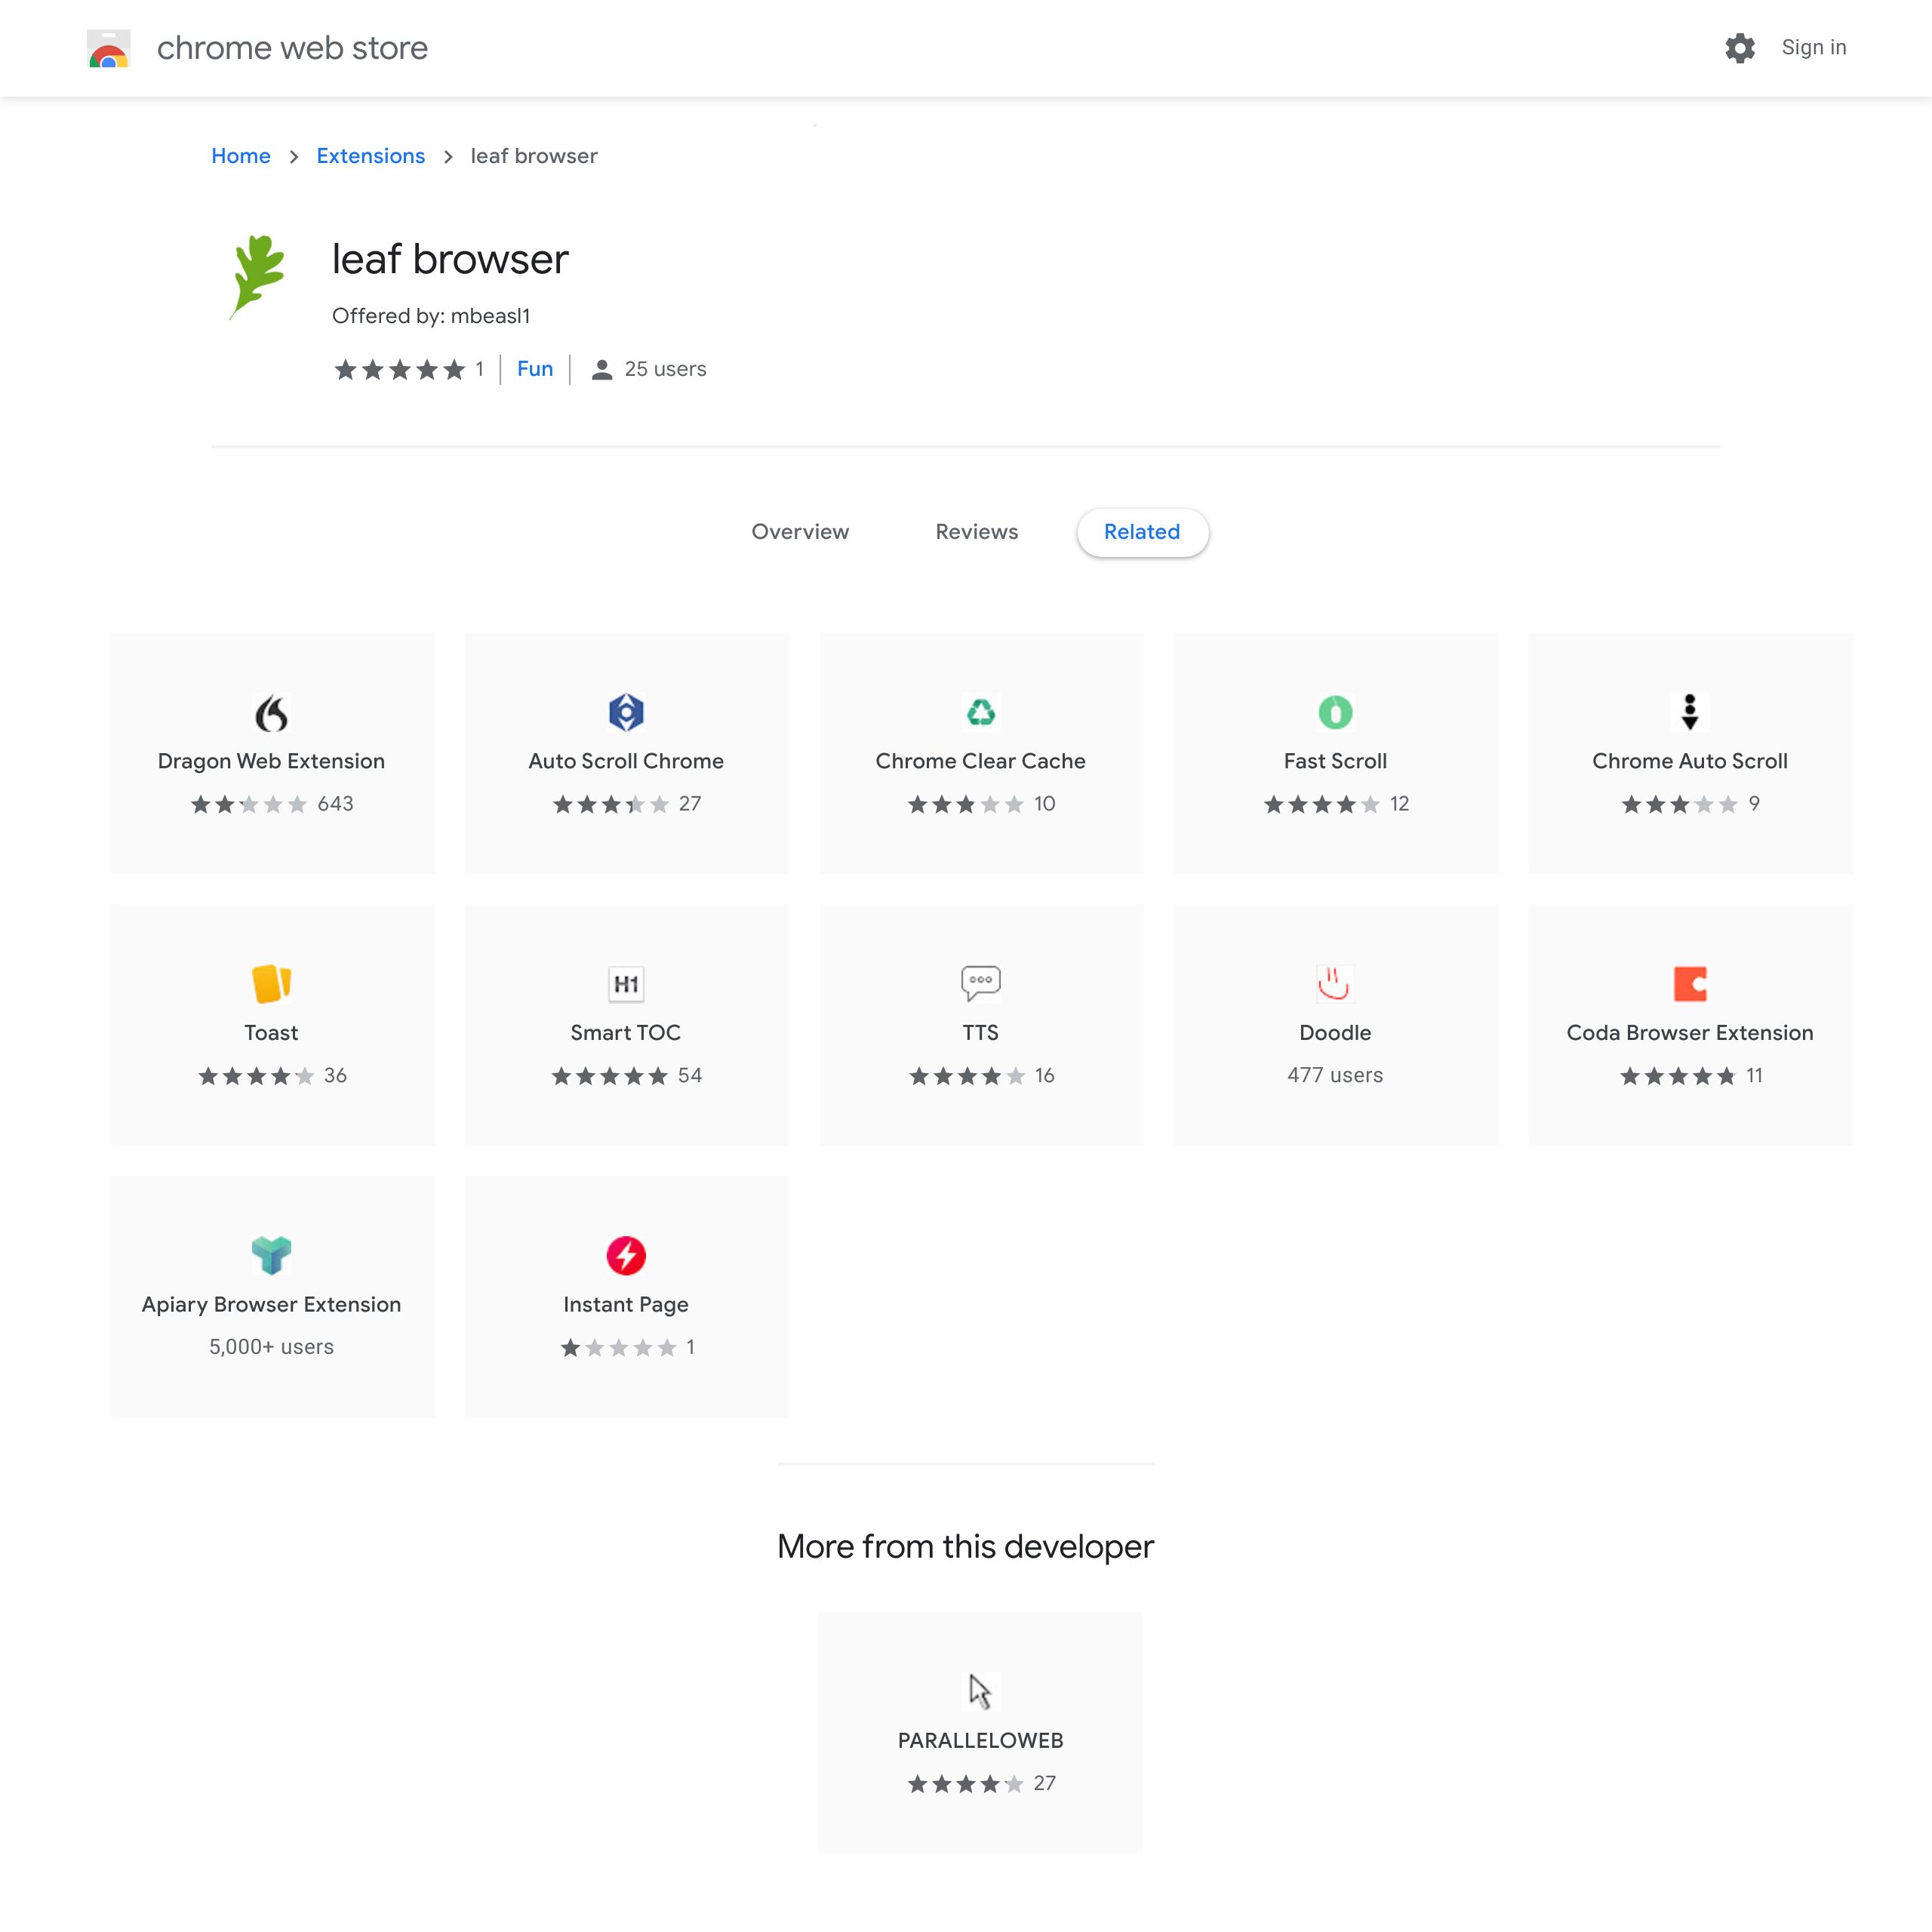
Once you have found the desired extension, click on its name or thumbnail to access its detailed page. The extension page will provide you with more information about its features, compatibility, and user reviews. This will help you make an informed decision before proceeding with the installation.
With the search feature, you can quickly find and explore a wide range of extensions on the Chrome Web Store to enhance your school Chromebook experience.
Step 3: Review the Extension
Before you proceed with the installation, it’s important to review the extension to ensure that it meets your requirements and is safe to use on your school Chromebook. This step allows you to evaluate the extension’s features, permissions, and user reviews.
When you are on the extension’s detailed page in the Chrome Web Store, take the time to read the description provided by the developer. This will give you an overview of what the extension does and how it can enhance your browsing experience.
Next, scroll down to the “Additional Information” section, where you can find more specific details about the extension. Pay attention to the compatibility information to ensure that the extension is compatible with your school Chromebook’s operating system version.
Beneath the compatibility information, you will find the user ratings and reviews. These ratings are based on feedback from other users who have already installed and used the extension. Take note of the overall rating and read a few reviews to gain insights into the extension’s performance, usability, and potential issues it may have.
While reading the reviews, keep in mind that some extensions may have mixed reviews as users’ experiences can differ. Look for patterns in the reviews and consider both positive and negative feedback to make an informed decision.
Additionally, pay attention to the “Permissions” section. This lists the access and permissions the extension requires to function properly. Ensure that the requested permissions align with the features you expect from the extension and that you are comfortable granting those permissions.
Reviewing the extension before installation helps you understand its capabilities and potential drawbacks. It allows you to make an informed decision and choose extensions that align with your needs and preferences.
Step 4: Install the Extension
After reviewing the extension and ensuring that it meets your requirements, it’s time to proceed with the installation. Installing an extension on your school Chromebook is a straightforward process.
On the extension’s detailed page in the Chrome Web Store, you will see a blue “Add to Chrome” button. Click on this button to initiate the installation process.
A confirmation dialog will appear, asking for your permission to add the extension to your Chromebook. The dialog will provide information about the permissions the extension requires and what it can access on your Chromebook.
Take a moment to review the permissions and ensure that you are comfortable granting the necessary access to the extension. If you are satisfied, click on the “Add extension” button to proceed with the installation.
The extension will begin downloading and installing on your school Chromebook. The progress will be displayed in a small pop-up window. Once the installation is complete, a notification will appear confirming that the extension has been added to your Chromebook.
After the installation, you will typically see the extension’s icon appear in the top-right corner of the Chrome browser, next to the address bar. Some extensions may also provide additional options or features in the form of a dropdown menu when you click on their icon.
Remember that not all extensions require an icon in the browser’s toolbar. Some extensions, such as theme-related or background/task management extensions, may not have a visible presence in the toolbar.
With the extension successfully installed, you can now start exploring its features and customizing it to suit your preferences. You may need to configure the extension’s settings or follow any additional setup instructions provided by the developer.
By following these steps, you can easily install extensions on your school Chromebook and enhance its functionality.
Step 5: Grant Permissions
After installing an extension on your school Chromebook, you may need to grant certain permissions to enable its functionality. These permissions allow the extension to access certain features or information on your device, enhancing its capabilities and providing a more seamless user experience.
To grant permissions to the extension, click on the extension’s icon in the top-right corner of the Chrome browser. This will open a dropdown menu that provides access to the extension’s settings and options.
In the dropdown menu, select “Options” or “Settings” to access the extension’s configuration page. Here, you will find a list of permissions that the extension requests.
Take a moment to review the permissions and ensure that you are comfortable granting the extension access to specific features or data on your school Chromebook. It’s essential to understand what information the extension requires and how it will be used.
If you are satisfied with the permissions, click on the checkboxes next to each permission to grant them. If there are any permissions that you prefer not to grant, you can simply uncheck the corresponding checkboxes.
Keep in mind that some extensions may not require any additional permissions beyond the original installation, while others may have multiple permissions that you need to agree to.
Remember, it’s important to exercise caution and only grant permissions that you are comfortable with. If you have any concerns about the extension’s permissions or how it could impact your privacy or security, it’s best to consult with your school’s IT department for guidance.
Once you have granted the necessary permissions, the extension will be able to fully utilize its features and provide you with the desired functionality on your school Chromebook.
By carefully managing and reviewing the permissions of your installed extensions, you can ensure a secure and personalized browsing experience.
Step 6: Manage and Remove Extensions
As you continue to use your school Chromebook, you may find that your needs and preferences change over time. Some extensions may no longer be relevant or necessary, or you may simply want to streamline your browsing experience.
Managing and removing extensions from your school Chromebook is a simple process that allows you to keep your device organized and optimize its performance.
To manage your installed extensions, click on the Chrome menu icon in the top-right corner of the browser. From the dropdown menu, navigate to “More tools” and select “Extensions”.
This will open a new tab in your Chrome browser dedicated to managing your installed extensions.
In the Extensions tab, you will see a list of all the extensions you have installed on your school Chromebook. Each extension will have a toggle switch or other buttons that allow you to control its behavior.
To disable an extension temporarily, simply toggle the switch next to it to the off position. This will deactivate the extension without uninstalling it, giving you the option to reactivate it later if needed.
If you want to remove an extension completely, click on the “Remove” or trash can icon next to the extension. Confirm the removal when prompted.
It’s a good practice to periodically review your installed extensions and remove any that you no longer use or need. This can help improve the performance of your school Chromebook and reduce clutter in your browser.
Keep in mind that removing an extension will also remove its associated settings and data from your Chromebook. If you wish to reinstall the extension later, you may need to reconfigure its settings.
By managing and removing extensions as necessary, you can keep your school Chromebook organized and ensure that you are only utilizing the extensions that provide value to your browsing experience.
Conclusion
Downloading and installing extensions on your school Chromebook can greatly enhance your browsing experience by adding additional features and capabilities. While the process may be slightly different compared to personal Chromebooks, it is still possible to access and install a wide range of extensions that can improve productivity and customization.
In this article, we have discussed the step-by-step process of downloading extensions on a school Chromebook. We started by opening the Chrome Web Store and searching for the desired extension. We then reviewed the extension, ensuring that it meets our requirements and is safe to use.
After reviewing the extension, we proceeded with the installation, granting the necessary permissions along the way. Finally, we learned how to manage and remove extensions to keep our school Chromebook organized and optimize its performance.
As you explore the Chrome Web Store and install various extensions, it’s important to remember that not all extensions are created equal. It’s always a good idea to carefully review the permissions and user reviews before installing an extension to ensure that it aligns with your needs and respects your privacy.
Additionally, in a school setting, there may be certain restrictions in place or guidelines from your school’s IT department regarding the use of extensions. It’s crucial to adhere to these restrictions and consult with your school’s IT department if you encounter any issues or have questions about specific extensions.
By following the steps outlined in this article and being mindful of the extensions you install, you can make the most of your school Chromebook and customize it to suit your needs. Whether you are looking to improve productivity, organize your tasks, or enhance your browsing experience, extensions can play a valuable role in helping you achieve your goals.


