Introduction
Chromebook, with its lightweight design and ease of use, has gained popularity among users looking for a portable and efficient device for web browsing. However, one common issue that Chromebook users may encounter is having extensions blocked by the administrator. This restriction can be frustrating, especially when you rely on certain extensions to enhance your browsing experience or improve productivity.
In this article, we will explore the reasons behind extensions being blocked by the administrator on Chromebook and provide you with several methods to bypass these restrictions and download the desired extensions. Whether you need to access a specific tool, enhance your productivity, or enjoy additional features, we’ve got you covered with practical solutions.
It’s important to note that while the methods described here are effective, it is crucial to use them responsibly and in accordance with your organization’s policies or any applicable laws. Always seek permission or consult your administrator before making any changes to your Chromebook’s settings.
Now, let’s dive into the reasons why extensions may be blocked by the administrator on your Chromebook and explore the various methods to overcome this restriction.
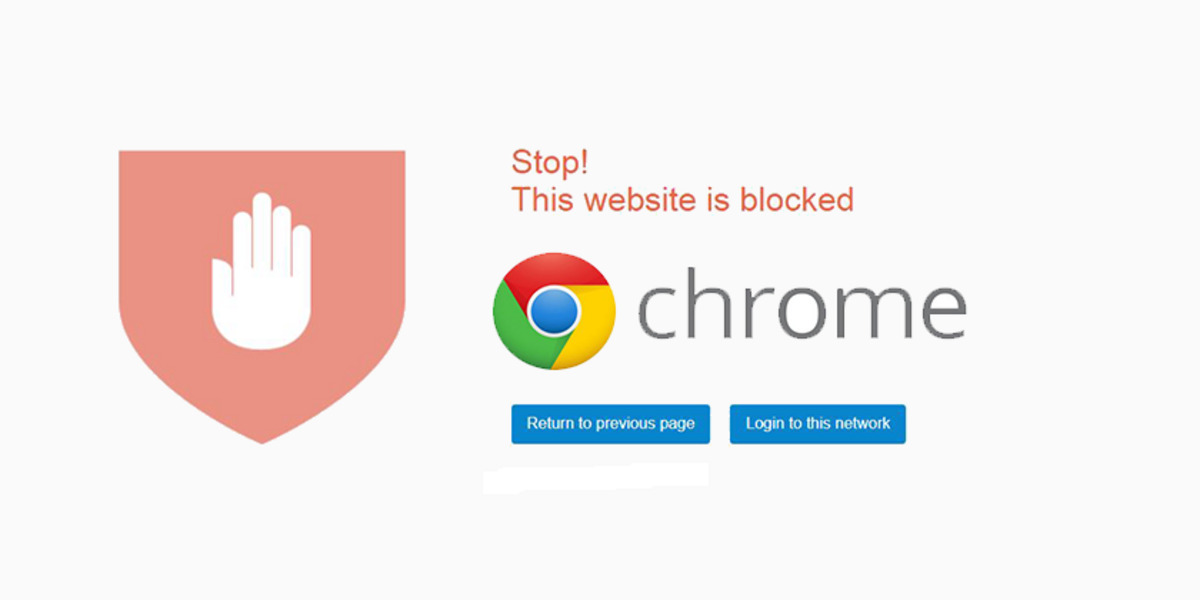
Why are extensions blocked by administrator on Chromebook?
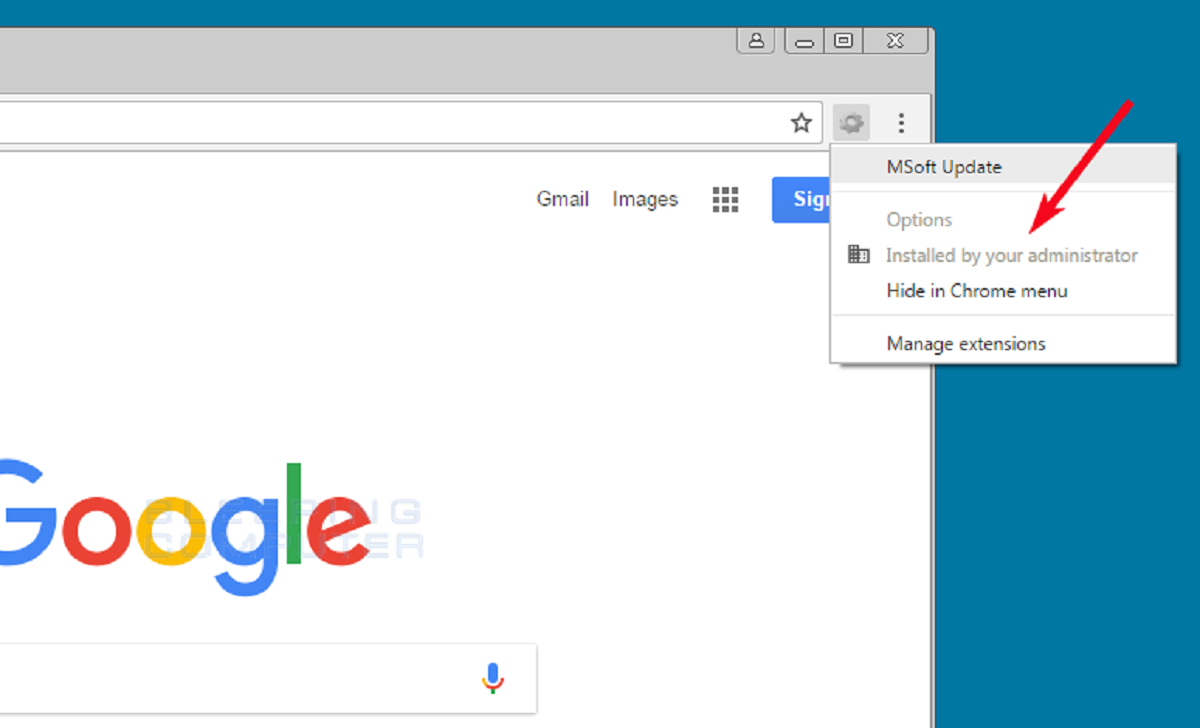
The administrator of a Chromebook device has the ability to block or restrict certain extensions for various reasons. These restrictions are typically put in place to ensure the security and integrity of the device, protect sensitive information, and maintain the productivity and efficiency of the users. Here are some common reasons why extensions may be blocked by the administrator on your Chromebook:
-
Security concerns: Administrators may block certain extensions if they pose a security risk to the device or network. Malicious extensions can compromise the system’s security and expose sensitive data to unauthorized individuals. To safeguard the Chromebook and its users, administrators restrict the installation of such extensions.
-
Incompatible or disruptive extensions: Certain extensions may not be compatible with the Chromebook’s operating system or can disrupt its functionality. These extensions might cause crashes, slow down the device, or interfere with other applications. To maintain a stable and reliable environment, administrators may choose to block the installation of such extensions.
-
Content filtering and compliance: In educational or corporate settings, administrators often enforce content filtering policies to prevent students or employees from accessing inappropriate or distracting content. In such cases, they may block specific extensions that override these restrictions or enable access to prohibited websites or services.
-
Licensing and legal obligations: Some extensions may require licenses or violate legal obligations, such as copyright infringement or data privacy laws. Administrators block these extensions to ensure compliance with licensing agreements and legal requirements, protecting both the users and the organization from potential legal consequences.
Understanding these reasons can help you navigate the limitations imposed by the administrator on your Chromebook. In the following sections, we will explore various methods to bypass these restrictions and download the blocked extensions, providing you with greater control and customization options for your Chromebook experience.
Method 1: Ask your administrator for permission
The simplest and most straightforward solution to access blocked extensions on your Chromebook is to seek permission from your administrator. Depending on the policies and restrictions in place, your administrator may be willing to grant you permission to install specific extensions that are currently blocked. Here’s how you can approach this:
-
Identify the extension you need: Before approaching your administrator, have a clear understanding of the extension you want to install and how it will enhance your productivity or browsing experience. Prepare a brief explanation of the benefits the extension provides.
-
Contact your administrator: Reach out to your administrator through the designated channels, such as email or a ticketing system, and explain your requirement. Be respectful and provide a compelling case for why the extension would be beneficial without compromising security or violating policies.
-
Follow any administrative procedures: Some organizations may require you to go through an approval process or fill out a request form. Make sure you adhere to these procedures and provide any necessary information or documentation to support your request.
-
Wait for a response: Once you’ve made your request, patiently wait for a response from your administrator. They may need time to evaluate your request, considering factors such as security implications, compatibility, and the organization’s policies. Be prepared for the possibility that your request may be denied, especially if it conflicts with the organization’s objectives or poses potential risks.
-
Respect the decision: If your administrator grants permission to install the requested extension, follow any instructions provided and install the extension as directed. If your request is denied, respect the decision and explore alternative options outlined in the following methods to achieve similar functionalities or features.
Remember, communication is key when seeking permission from your administrator. Explain your needs, demonstrate how the extension can benefit you, and express your understanding of the organization’s concerns. Open dialogue can often lead to compromises or alternative solutions that meet both your requirements and the organization’s security and policy guidelines.
Method 2: Making use of Developer Mode
If you have a need for installing extensions that are blocked by the administrator on your Chromebook, another option is to enable Developer Mode. Developer Mode allows you to bypass certain restrictions and gain more control over your device. However, it’s important to note that enabling Developer Mode will remove some security features and can void your device’s warranty. Follow these steps to enable Developer Mode on your Chromebook:
-
Backup your data: Before proceeding, make sure to backup any important files or data stored on your Chromebook. Enabling Developer Mode will wipe all the data on your device, so it’s crucial to have a backup to avoid losing any valuable information.
-
Turn off your Chromebook: Shut down your Chromebook completely by selecting the Power icon in the bottom-right corner of the screen and choosing “Shut down.
-
Enter Recovery Mode: Press and hold the Esc key, Refresh key (circular arrow), and the Power button simultaneously. Release the keys when you see a screen with a yellow exclamation mark.
-
Enable Developer Mode: Press Ctrl+D on your keyboard to enter Developer Mode. You’ll see a confirmation screen explaining the risks associated with enabling this mode. Press Enter to proceed.
-
Complete the process: The Chromebook will now reboot and may take several minutes to enable Developer Mode. Follow the on-screen instructions, and your device will eventually reboot into Developer Mode.
-
Install the blocked extension: Once in Developer Mode, you can download and install extensions that were previously blocked by the administrator. Visit the Chrome Web Store, find the extension you want, and click on “Add to Chrome” to install it.
-
Disable Developer Mode (optional): If you no longer need Developer Mode or want to revert your Chromebook to its original state, you can disable Developer Mode by repeating the steps to enter Recovery Mode and pressing the spacebar when prompted. This will erase all data on your device, so be sure to back up any important files again.
Enabling Developer Mode on your Chromebook allows you to take control of your device and install extensions that were previously blocked. However, keep in mind that this mode can expose your device to potential security risks, so only enable it if you fully understand the implications and accept the associated risks.
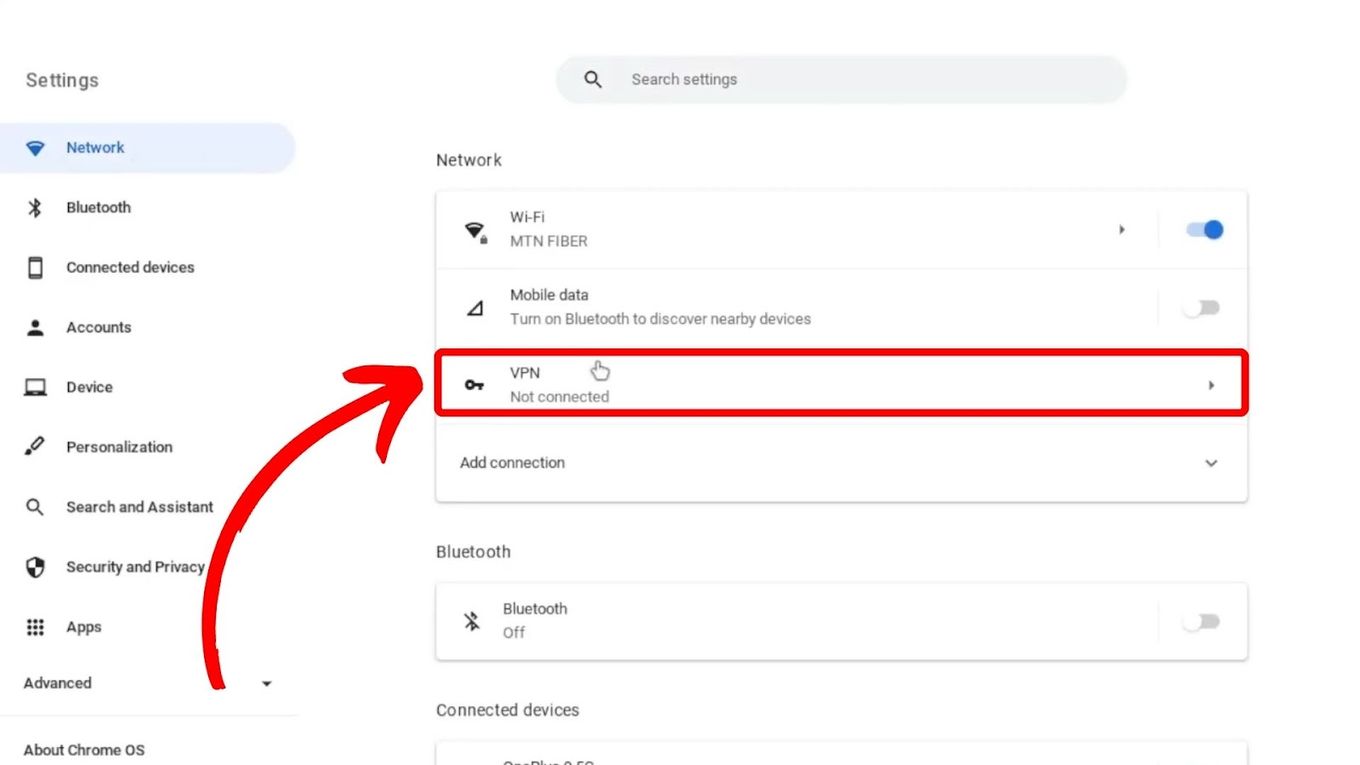
Method 3: Using a VPN or Proxy server
If you’re unable to install blocked extensions directly on your Chromebook, you can try bypassing the administrator’s restrictions by using a VPN (Virtual Private Network) or a Proxy server. These tools can help you mask your IP address and bypass filtering or blocking mechanisms implemented by the administrator. Here’s how you can use a VPN or Proxy server to access blocked extensions:
-
Research and select a reliable VPN or Proxy server: There are many VPN and Proxy providers available, so do some research to find a reputable and trustworthy service. Look for options that have good reviews, reliable performance, and strong security features.
-
Install and configure the VPN or Proxy server: Follow the instructions provided by the chosen VPN or Proxy service to install the necessary software or browser extensions on your Chromebook. Configure the settings according to your preferences, such as selecting a server location or setting up authentication if required.
-
Connect to the VPN or Proxy server: Open the VPN or Proxy software or extension and connect to the server of your choice. This will create a secure and encrypted connection to the server, hiding your IP address and making it appear as if you’re browsing from a different location.
-
Access the Chrome Web Store: With your VPN or Proxy server connected, open the Chrome Web Store and search for the blocked extension you want to install. Since your browsing activity is now routed through the server, you may be able to download and install the extension without being blocked by the administrator.
-
Install the extension: Click on “Add to Chrome” or the equivalent button to initiate the installation of the desired extension. Follow any prompts or instructions that appear to complete the installation process.
-
Disconnect from the VPN or Proxy server: Once you’ve successfully installed the blocked extension, you can disconnect from the VPN or Proxy server if you no longer need it. However, if you want to continue using the extension or accessing blocked content, you may need to keep the VPN or Proxy connection active.
Using a VPN or Proxy server can help bypass the administrator’s restrictions and access blocked extensions on your Chromebook. However, it’s important to note that the use of VPNs or Proxy servers may be against your organization’s policies or local laws. Always consider the potential risks and legal implications before utilizing such tools, and consult your organization’s guidelines or seek permission from your administrator if necessary.
Method 4: Enabling Linux on your Chromebook
Enabling Linux on your Chromebook provides you with a powerful platform and greater flexibility in installing and running applications, including extensions that may be blocked by the administrator. By leveraging Linux support, you can access a wide range of software and customize your Chromebook experience. Here’s how you can enable Linux on your Chromebook:
-
Check Linux compatibility: Before proceeding, ensure that your Chromebook model supports Linux. Visit the Chrome OS Systems Supporting Linux page provided by Google to verify if your device is compatible.
-
Enable Linux: Open the “Settings” menu on your Chromebook and navigate to “Linux (Beta)” in the left-hand sidebar. Click on “Turn On” to start the installation process. Follow the on-screen instructions to set up and configure Linux on your Chromebook. This may take a few minutes.
-
Install a Linux package manager: Once Linux is enabled, open the Linux terminal or command prompt and install a package manager, such as apt or yum, depending on your Linux distribution. This package manager will allow you to install additional software and extensions.
-
Install the necessary dependencies: Some extensions may require certain libraries or dependencies to function properly. Use your package manager to install these dependencies based on the extension’s requirements. This will ensure that the extension functions as intended.
-
Download and install the extension: With Linux enabled and the necessary dependencies installed, open a web browser within the Linux environment on your Chromebook. Navigate to the Chrome Web Store and search for the blocked extension you wish to install. Click on “Add to Chrome” to initiate the installation process.
-
Configure the extension: After the extension is installed, follow any prompts or instructions provided to configure it as per your preferences. This may involve granting necessary permissions or setting up specific preferences for the extension to work optimally.
-
Enjoy the extension on your Chromebook: Once installed and configured, you can now utilize the blocked extension within your Chromebook’s Linux environment. Launch the extension as you would any other application and explore its features and functionalities.
Enabling Linux on your Chromebook opens up a world of possibilities, allowing you to install and use extensions that were previously blocked by the administrator. However, it’s important to note that enabling Linux involves technical steps and may void your device’s warranty. Ensure that you understand the risks involved and consult your administrator or refer to your organization’s policies before proceeding.
Conclusion
Dealing with blocked extensions on your Chromebook can be frustrating, but there are several methods to overcome these restrictions and download the desired extensions. In this article, we explored four effective methods to bypass administrator restrictions and gain access to blocked extensions on your Chromebook.
We started by suggesting that you try asking your administrator for permission. By explaining the benefits and demonstrating responsible usage, you may be able to secure their approval. However, if that doesn’t work, you can consider enabling Developer Mode, which allows for more control over your device but increases security risks.
Another option is to utilize a VPN or Proxy server, which can help mask your IP address and bypass filtering mechanisms. This method can allow you to download and install blocked extensions by making it appear as if you are browsing from a different location.
Enabling Linux on your Chromebook provides a powerful platform for installing and running applications, including extensions. By following the necessary steps, you can access a wide range of software, bypassing any administrator restrictions.
It’s important to remember that while these methods are effective, they should be used responsibly and in accordance with your organization’s policies or any applicable laws. Always seek permission or consult your administrator before making any changes to your Chromebook’s settings.
By leveraging these methods, you can enhance your browsing experience, increase productivity, and unlock the full potential of your Chromebook. It’s time to take control and customize your device to suit your needs. Happy browsing!