Introduction
Welcome to the beginner’s guide on how to download an auto clicker on your Chromebook! If you’ve ever found yourself in a situation where you need to automate repetitive clicking tasks, an auto clicker can be a game-changer. Whether you want to automate mouse clicks for gaming, web testing, or any other task, this guide will walk you through the process step-by-step.
Chromebooks are popular for their simplicity and security, but they are primarily designed for web browsing and productivity tasks. However, with the introduction of Linux (Beta) on Chrome OS, users now have the ability to install and run various applications, including auto clickers. By leveraging this Linux compatibility, we will show you how to install an auto clicker on your Chromebook and streamline your workflow.
Please note that installing Linux (Beta) and using auto clickers may void your Chromebook’s warranty or violate the terms of service set by the manufacturer. It’s essential to proceed with caution and understand the implications of modifying your device. Additionally, keep in mind that the availability and compatibility of auto clickers may vary depending on the Chrome OS version and Chromebook model you are using.
In this guide, we will cover the process of enabling Linux (Beta) on your Chromebook, installing Wine (a compatibility layer that allows running Windows applications on Linux), downloading and installing an auto clicker, configuring its settings, and finally, running the auto clicker on your Chromebook.
Let’s get started and turn your Chromebook into a productivity powerhouse with the help of an auto clicker!
Understanding Auto Clickers
Before we dive into the technicalities of downloading and installing an auto clicker on your Chromebook, let’s take a moment to understand what an auto clicker is and how it can benefit you.
Simply put, an auto clicker is a software program that automates mouse clicks or keystrokes. It allows you to set up predefined clicking patterns and intervals, eliminating the need for manual clicking. Auto clickers are invaluable tools in various scenarios, such as performing repetitive tasks in games, automating web testing, or even completing mundane tasks like filling out forms.
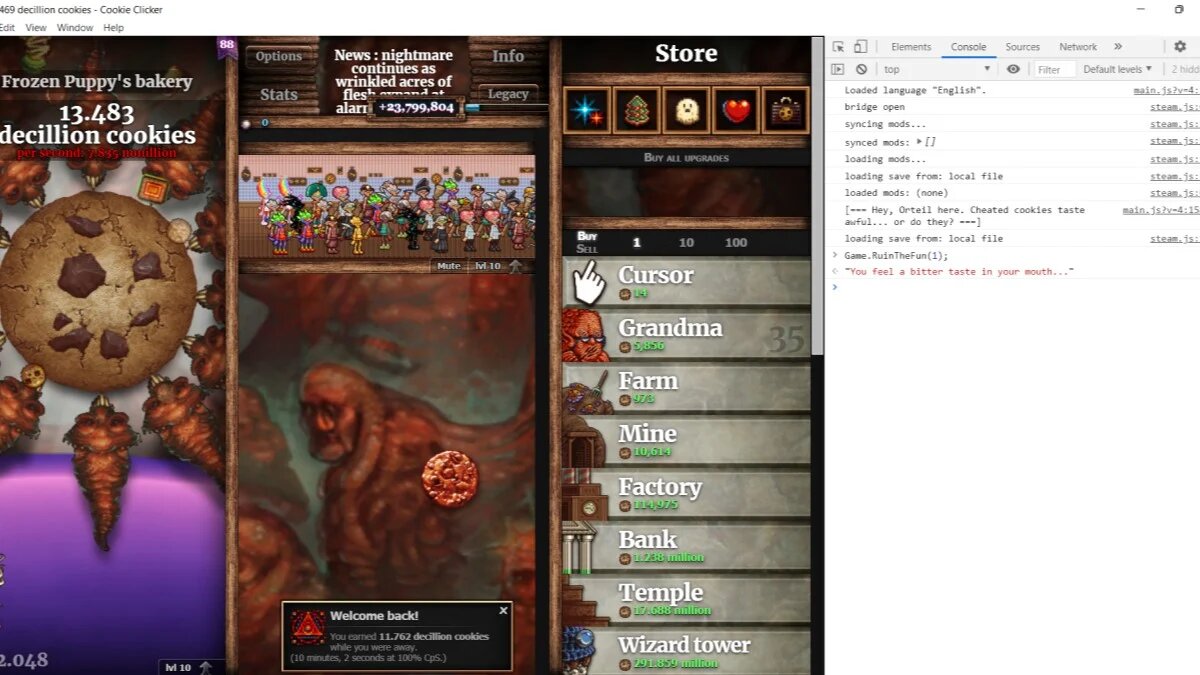
One of the primary use cases for auto clickers is in gaming. Many games require constant clicking for actions like attacking, gathering resources, or leveling up. With an auto clicker, you can automate these repetitive actions and save yourself from the strain of continuous clicking. This not only improves efficiency but also reduces the risk of wrist or hand fatigue.
Auto clickers also find utility in web testing and data entry. When working with web applications or performing data-intensive tasks, there may be instances where you need to repeatedly click on specific elements or enter the same values. An auto clicker can automate these actions, saving you time and reducing the chances of errors.
It’s important to note that while auto clickers offer convenience and productivity gains, they should be used responsibly and ethically. Some games and online platforms may have strict policies against the use of automation tools, and their misuse can result in consequences like account suspensions or bans. Always ensure to use auto clickers in accordance with the rules and regulations set by the game or software provider.
Now that you have a better understanding of auto clickers and their potential applications, let’s proceed to the next section, where we will discuss the steps to enable Linux (Beta) on your Chromebook.
Step 1: Enabling Linux (Beta) on your Chromebook
The first step in installing an auto clicker on your Chromebook is to enable Linux (Beta) on your device. Linux (Beta) is a feature that allows you to run a Linux distribution alongside Chrome OS. Enabling Linux (Beta) will give you access to a wide range of applications, including the one we need to install the auto clicker.
Follow these steps to enable Linux (Beta) on your Chromebook:
- Open the “Settings” app on your Chromebook. You can usually find it in the app launcher or by clicking on the system tray at the bottom-right corner of the screen and selecting “Settings”.
- In the settings menu, scroll down and click on “Advanced” to expand the advanced settings.
- Look for the “Developers” section and click on “Developers’ options”.
- In the “Developers’ options” section, toggle the switch next to “Linux (Beta)” to turn it on.
- A pop-up window will appear, informing you about the installation process. Click on “Next” to proceed.
- Choose a username and password for your Linux (Beta) installation. These credentials will be separate from your Chrome OS account.
- The installation process will begin, and it may take a few minutes to complete. Once the installation is finished, you will have Linux (Beta) enabled on your Chromebook.
Congratulations! You have successfully enabled Linux (Beta) on your Chromebook. In the next section, we will walk you through the process of installing Wine, which is necessary to run Windows applications on Linux.
Step 2: Installing Wine on your Chromebook
After enabling Linux (Beta) on your Chromebook, the next step is to install Wine. Wine is a compatibility layer that allows you to run Windows applications on Linux. Since most auto clickers are built for Windows, installing Wine will enable us to run the auto clicker software on your Chromebook.
Follow these steps to install Wine on your Chromebook:
- Launch the Linux (Beta) terminal on your Chromebook. You can do this by clicking on the app launcher and searching for “Terminal”.
- In the Linux terminal, enter the following commands one by one to add the Wine repository:
- Once the Wine repository is added, update the package list by entering the following command:
- Now, install Wine by running the following command:
- The installation process will begin, and you may be prompted to confirm the installation and agree to any terms and conditions. Follow the on-screen instructions to complete the installation.
sudo dpkg --add-architecture i386
wget -qO- https://dl.winehq.org/wine-builds/winehq.key | sudo apt-key add -
sudo apt-add-repository 'deb https://dl.winehq.org/wine-builds/debian/ buster main'sudo apt updatesudo apt install --install-recommends winehq-stableAfter the installation is complete, Wine will be installed on your Chromebook, allowing you to run Windows applications. In the next section, we will guide you through the process of downloading and installing an auto clicker on your Chromebook.
Step 3: Downloading and Installing Auto Clicker
Now that you have Linux (Beta) enabled and Wine installed on your Chromebook, it’s time to download and install the auto clicker software. There are several auto clicker options available, but in this guide, we will use “OP Auto Clicker” as an example.
Follow these steps to download and install an auto clicker on your Chromebook:
- Open a web browser within your Linux (Beta) environment on your Chromebook.
- Search for “OP Auto Clicker download” or directly visit the official website of the auto clicker software you want to use.
- On the website, look for the “Download” or “Get” button to initiate the download.
- Once the download is complete, locate the downloaded file (typically in the “Downloads” folder).
- Right-click on the downloaded file and select “Open with Wine Windows Program Loader”.
- Wine will launch the installer, and you can proceed with the installation process. Follow the on-screen instructions to complete the installation of the auto clicker software.
After the installation is finished, the auto clicker software will be ready to use on your Chromebook. In the next step, we will guide you through the process of configuring the auto clicker settings to meet your requirements.
Step 4: Configuring Auto Clicker
Once you have successfully downloaded and installed the auto clicker software on your Chromebook, it’s time to configure its settings according to your needs. Configuring the auto clicker will allow you to customize the clicking interval, target area, and other parameters to ensure optimal performance.
Follow these steps to configure the auto clicker:
- Launch the auto clicker software on your Chromebook. You can usually find it in the app launcher within your Linux (Beta) environment.
- Upon launching the software, you will be presented with a user interface that provides various options for customizing the clicking behavior.
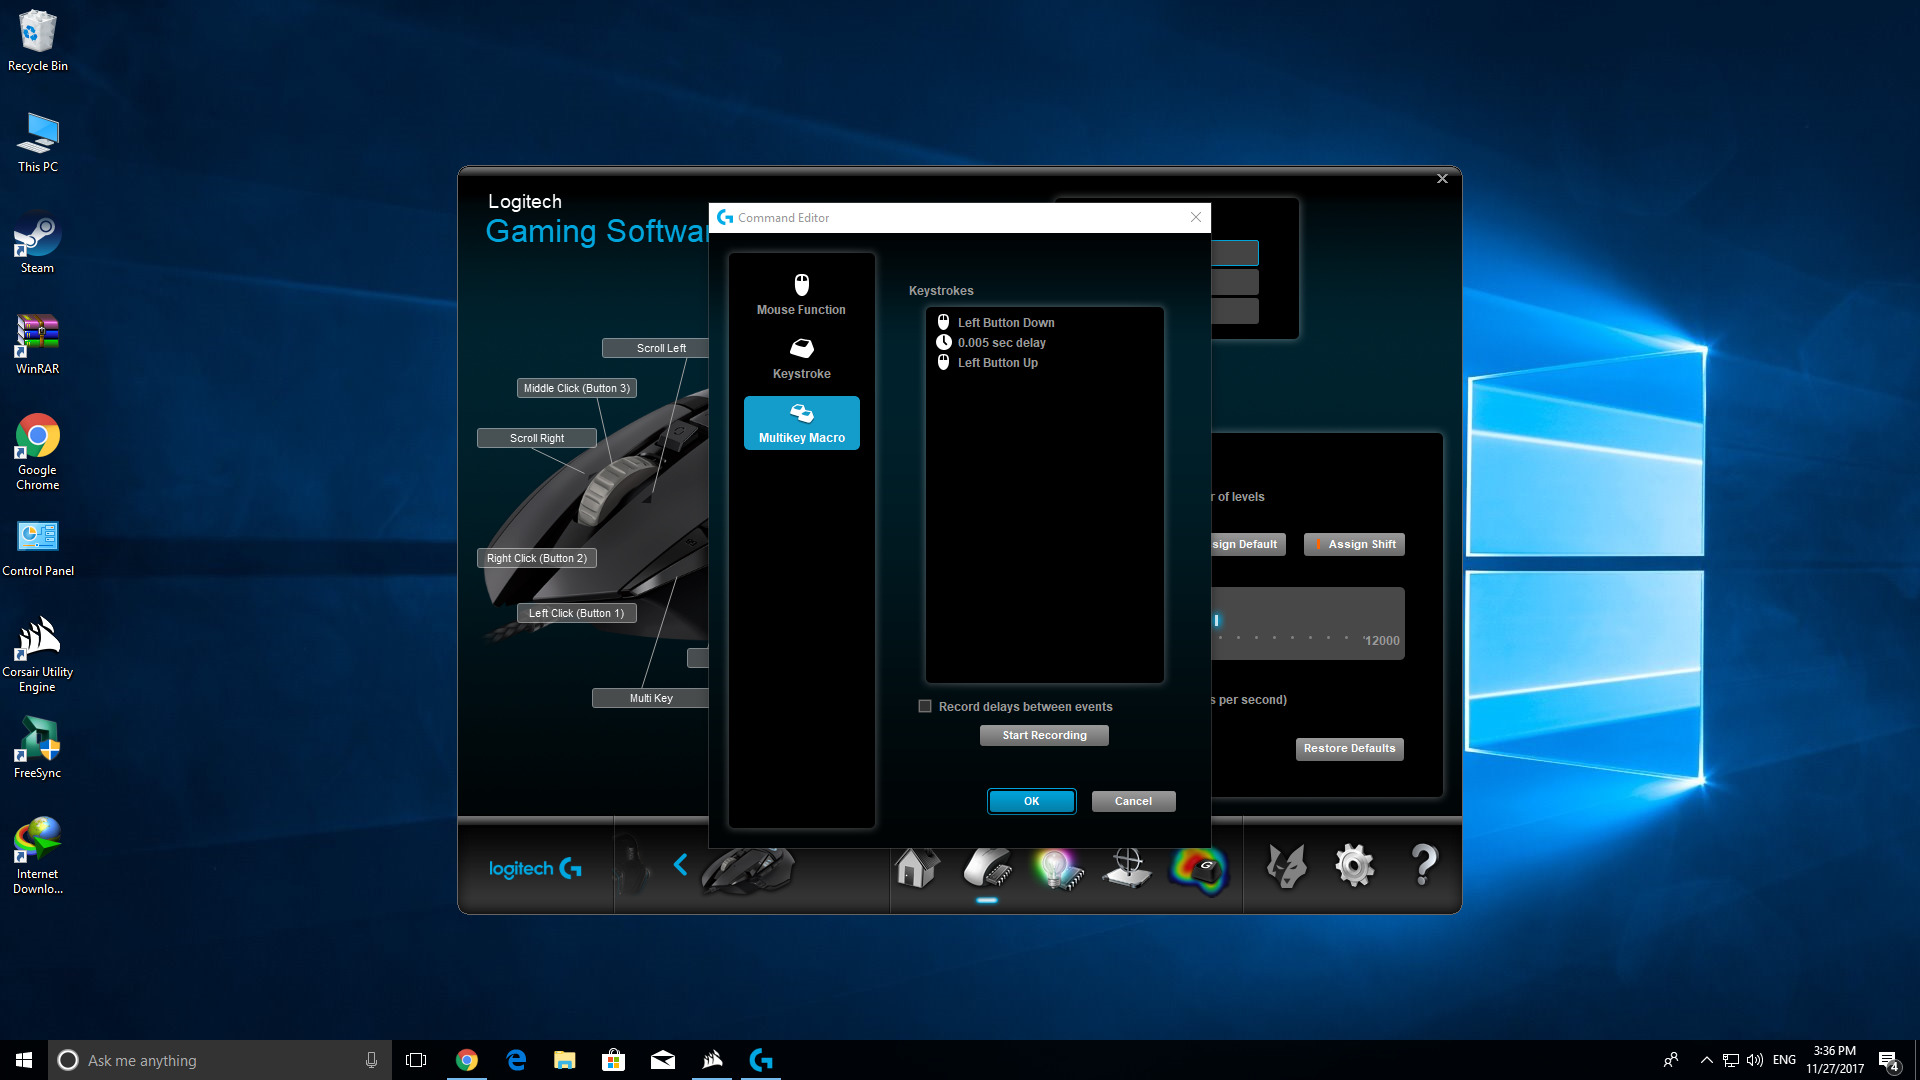
- Explore the settings and options provided by the auto clicker software. You may find options to adjust the clicking interval (time between each click), choose the target area on the screen for clicking, and define keyboard shortcuts for starting and stopping the auto clicker.
- Take some time to experiment with different settings and parameters to find the configuration that suits your requirements.
- Once you are satisfied with the settings, save your configuration or apply the changes.
It’s important to note that the options and configuration settings may vary depending on the auto clicker software you are using. Make sure to refer to the documentation or user guide provided with the software for detailed instructions on configuring specific settings.
With the auto clicker software configured to your liking, you are now ready to run the auto clicker and automate your clicking tasks on your Chromebook. In the next step, we will guide you through the process of running the auto clicker.
Step 5: Running Auto Clicker on your Chromebook
Now that you have downloaded, installed, and configured the auto clicker software, it’s time to run it and start automating your clicking tasks on your Chromebook. By following these simple steps, you’ll be able to make the most out of the auto clicker:
- Launch the auto clicker software on your Chromebook from the Linux (Beta) environment. You can find it in the app launcher or by searching for its name.
- Once the auto clicker software is open, double-check your configuration settings to ensure they are set correctly for your specific task.
- Position your mouse cursor over the desired area where you want the auto clicker to perform clicks.
- Activate the auto clicker by pressing the assigned keyboard shortcut or clicking the designated start button within the software’s interface.
- The auto clicker will now start executing the clicking pattern based on the configured settings. You can sit back and let it perform the repetitive clicking tasks for you.
- To stop the auto clicker, press the assigned keyboard shortcut or click the stop button within the software’s interface.
It’s important to use the auto clicker responsibly and ethically, ensuring that you comply with the terms and conditions set by the software provider or the platform you are using it on. Auto clickers should only be used in scenarios where they are allowed and do not violate any rules or regulations.
Now that you know how to run the auto clicker on your Chromebook, you can harness its power to automate your clicking tasks and increase your productivity. In the next section, we will conclude this guide with some final thoughts and recommendations.
Final Thoughts and Recommendations
Congratulations! You have successfully learned how to download, install, configure, and run an auto clicker on your Chromebook. By leveraging the power of Linux (Beta) and Wine, you have expanded the capabilities of your device and streamlined your workflow. Now, let’s summarize the key takeaways and provide some recommendations:
– Auto clickers are valuable tools for automating repetitive clicking tasks in various scenarios, such as gaming, web testing, and data entry.
– Enabling Linux (Beta) on your Chromebook allows you to install and run a wide range of applications, including auto clickers.
– Wine, a compatibility layer, facilitates running Windows applications on Linux, making it possible to use auto clickers originally designed for Windows on your Chromebook.
– When downloading and installing an auto clicker, be cautious of the source and ensure you are getting it from a reputable and trusted website.
– Configuring the auto clicker settings according to your specific needs will help optimize its performance and ensure it aligns with the task at hand.
– It is essential to use auto clickers responsibly and ethically, adhering to the rules and regulations set by the game or software provider.
– Regularly update your auto clicker software and keep an eye out for any security patches or enhancements released by the developers.
Lastly, always exercise caution while using automation tools and respect the terms of service set by the platforms and applications you are using. Automating tasks can provide immense convenience and productivity gains, but it’s crucial to use these tools in a responsible and ethical manner.
With your newly acquired knowledge, you can now make the most of an auto clicker on your Chromebook and save yourself time and effort by automating repetitive clicking tasks. Happy clicking!