Introduction
As technology continues to advance, the way we use our devices is constantly evolving. Chromebooks have become increasingly popular due to their portability and ease of use. While Chromebooks are known for their efficiency and reliability, some users may find themselves in need of additional functionality. One such feature that users may seek is the ability to use an auto clicker on their Chromebook.
An auto clicker is a software tool that automates repetitive clicking tasks. It can be incredibly useful in a variety of situations, from gaming to web browsing and even software testing. With an auto clicker, you can save time and reduce the strain on your fingers by automating repetitive clicking tasks.
However, since Chrome OS is a lightweight operating system, it does not have native support for auto clickers. But fear not! If you’re wondering how to get an auto clicker on your Chromebook, we’ve got you covered. In this article, we’ll explore various methods that you can use to get an auto clicker up and running on your Chromebook.
Whether you’re a gamer looking to automate certain actions or a productivity enthusiast seeking to simplify repetitive tasks, we’ll guide you through the steps to unleash the power of an auto clicker on your Chromebook. So, let’s dive in and explore the different methods you can use to get an auto clicker on your Chromebook.
What is an auto clicker?
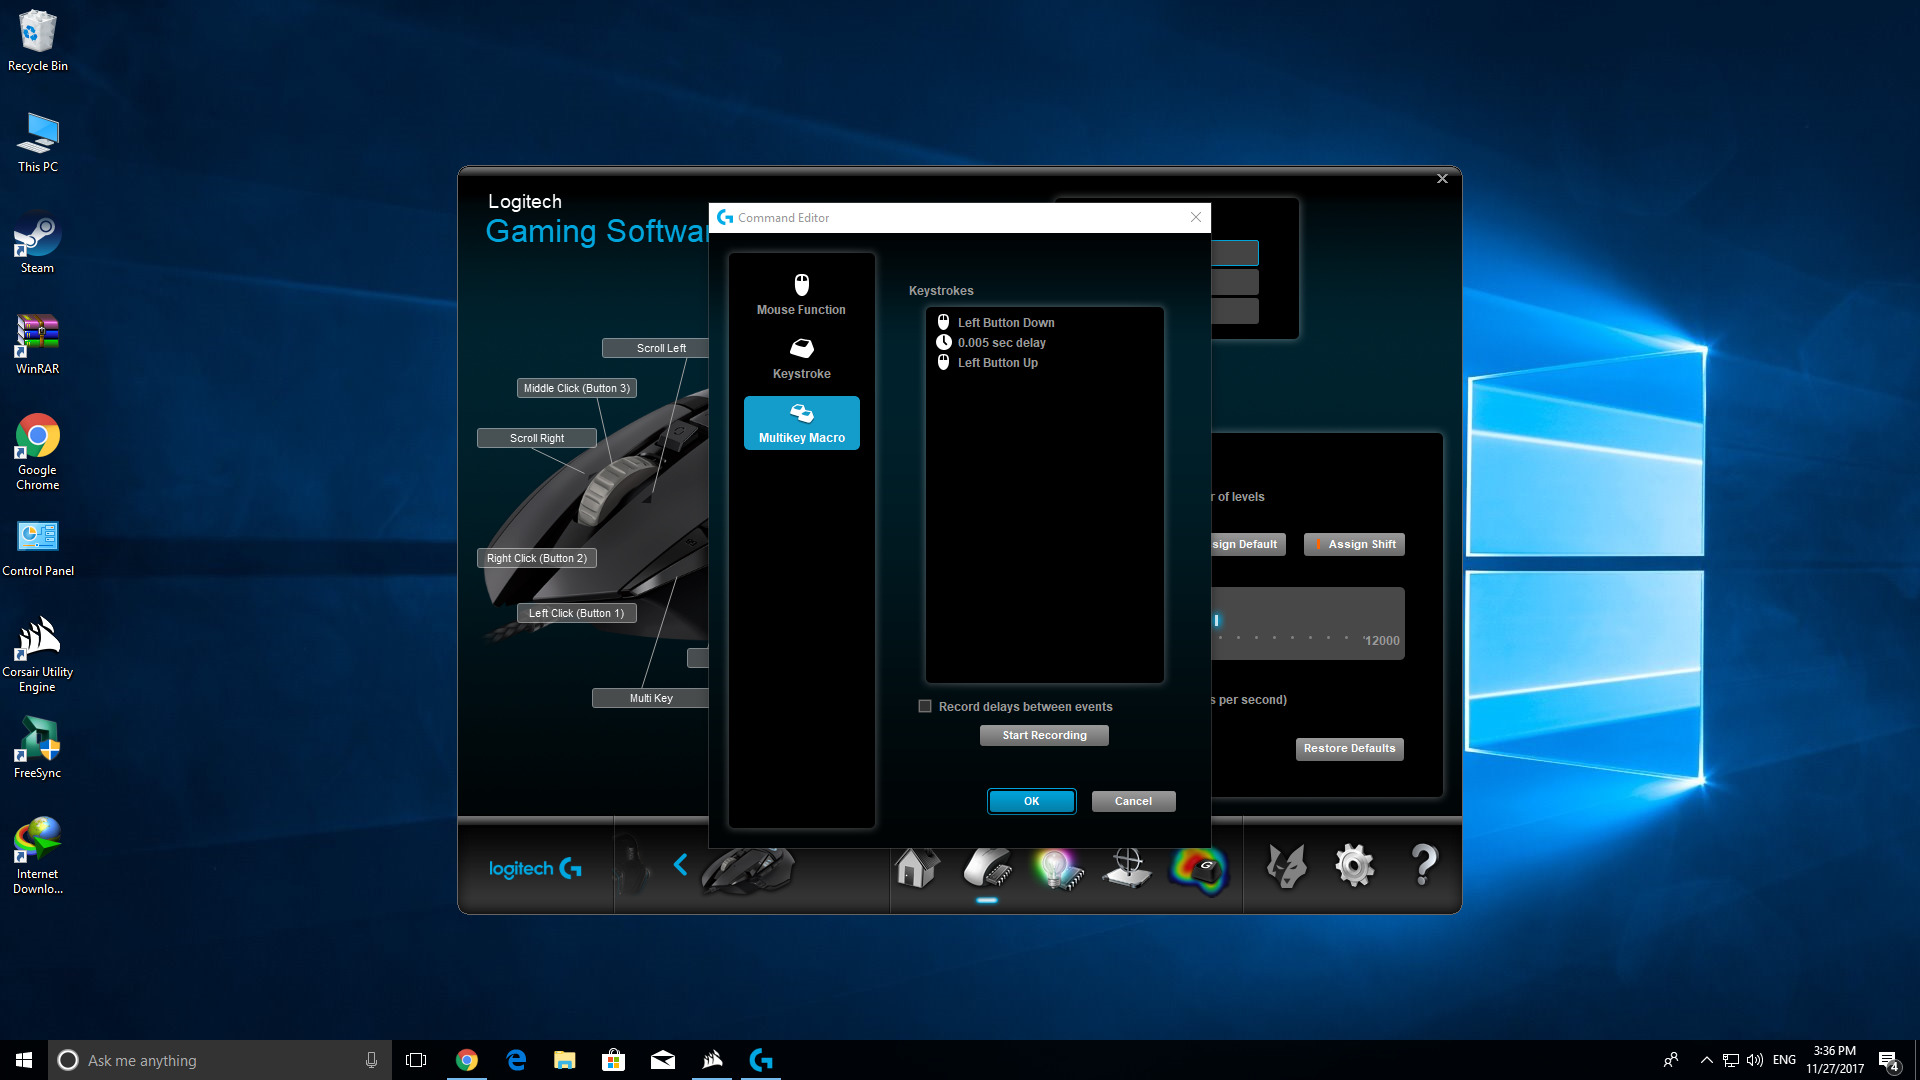
An auto clicker is a software tool that automatically clicks on your behalf, replicating mouse actions at specified intervals. It essentially simulates the act of clicking your mouse repeatedly, saving you time and effort on tasks that require repetitive clicking. Auto clickers are commonly used in various scenarios, such as gaming, web browsing, and automation testing.
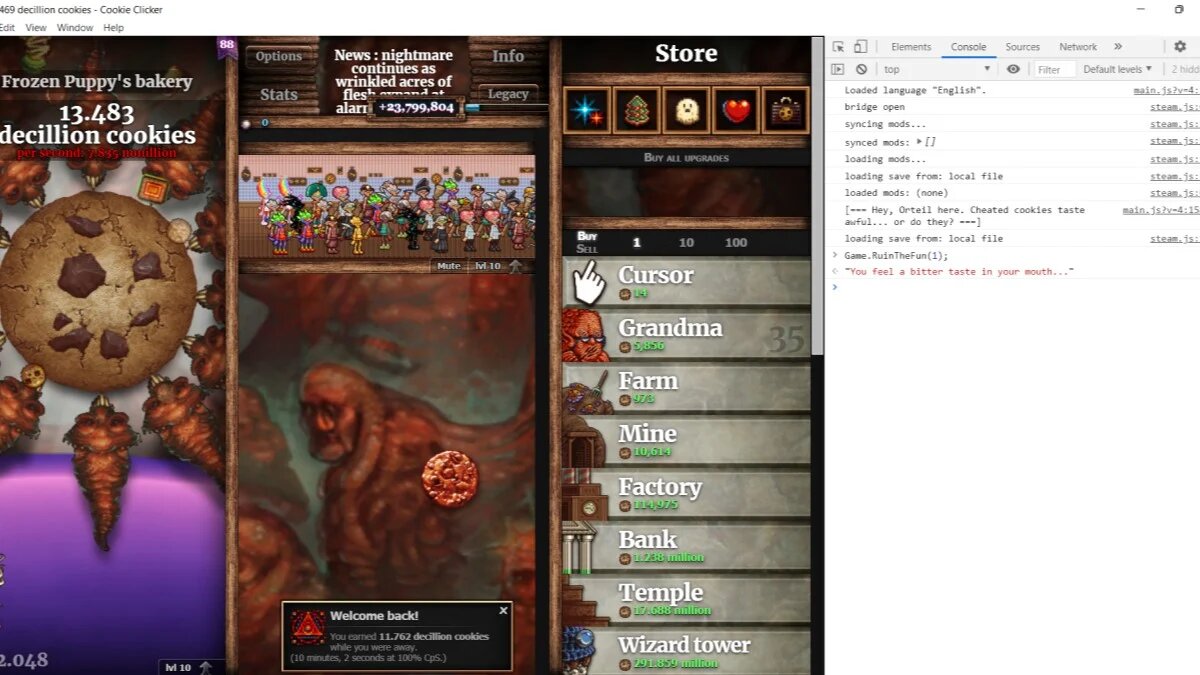
In the gaming world, auto clickers can be a valuable asset. They can automate tasks like leveling up characters, collecting resources, or performing repetitive actions required in certain games. By setting up an auto clicker, you can focus on the strategic aspects of the game while the tool handles the monotonous clicking tasks.
Auto clickers are not limited to gaming alone. They can also be incredibly useful during web browsing. For example, when participating in online surveys, clicking through multiple pages, or trying to complete tasks that involve repeated clicks, an auto clicker can expedite the process and save you valuable time.
Moreover, auto clickers can be employed for automation testing purposes. In software development, testing requires executing repetitive actions to ensure that a program functions as expected. By using an auto clicker, developers can automate the testing process, allowing them to focus on analyzing the results rather than performing manual clicks.
Auto clickers typically offer various features and customization options, such as specifying the delay between clicks, the number of clicks, and even defining specific click patterns. This flexibility allows users to tailor the auto clicker to their specific needs and optimize their workflow accordingly.
However, it is essential to use auto clickers responsibly, as they can potentially be used for malicious activities or violate the terms of service of certain applications. Always ensure that you are using auto clickers ethically and within the bounds of legality and appropriateness.
Now that we have a clear understanding of what an auto clicker is and its potential applications, let’s explore the different methods you can use to get an auto clicker on your Chromebook.
Why would you need an auto clicker on a Chromebook?
While Chromebooks are known for their simplicity and dependability, there are certain tasks and situations where having an auto clicker can greatly enhance your productivity and convenience. Here are a few reasons why you might need an auto clicker on your Chromebook:
1. Gaming: If you’re an avid gamer, especially in games that require repetitive clicking actions, an auto clicker can be a game-changer. Whether you’re farming resources, leveling up, or participating in click-intensive tasks, having an auto clicker can save you time and effort. It allows you to focus on the strategic aspects of the game while automating the repetitive clicking tasks.
2. Web browsing: Many online activities, such as participating in surveys, clicking through multiple pages, or completing forms, involve repetitive clicking actions. With an auto clicker, you can expedite these tasks and breeze through them more efficiently. Instead of manually clicking through each step, simply set up the auto clicker, sit back, and watch it perform the necessary clicks on your behalf.
3. Automation testing: If you’re a software developer and need to test the functionality of certain applications or websites, an auto clicker can be an invaluable tool. It allows you to automate the execution of repetitive test cases, reducing human error and saving you time. By automating the clicking actions, you can focus on analyzing the results and identifying any issues or bugs.
4. Productivity: In certain work scenarios, there may be tasks that require repetitive clicks. This could include data entry, form filling, or even performing routine operations on specific websites or applications. With an auto clicker, you can streamline these tasks and complete them more efficiently. By automating the clicking actions, you reduce the chances of errors and free up your time to focus on more critical aspects of your work.
Overall, having an auto clicker on your Chromebook can be immensely beneficial in various situations. It can save you time, reduce the strain on your fingers, and enhance your productivity. However, it’s important to use auto clickers responsibly and within the guidelines of the applications or websites you are interacting with.
Now that we understand the potential benefits of using an auto clicker on a Chromebook, let’s explore the different methods to get an auto clicker up and running on your device.
Method 1: Using a Chrome extension
One of the easiest ways to get an auto clicker on your Chromebook is by using a Chrome extension. The Chrome Web Store offers a variety of auto clicker extensions that you can install and use directly within your Chrome browser. Here’s how you can do it:
Step 1: Open your Chrome browser and navigate to the Chrome Web Store.
Step 2: In the search bar, type “auto clicker” and press Enter. This will display a list of auto clicker extensions available for Chrome.
Step 3: Browse through the available extensions and choose the one that best suits your needs. Make sure to read the reviews and check the ratings to get an idea of the extension’s reliability and effectiveness.
Step 4: Once you have selected an auto clicker extension, click on the “Add to Chrome” button. A pop-up window will appear, asking for confirmation to add the extension. Click “Add extension” to proceed.
Step 5: After the extension is added, a new icon will appear in your browser toolbar, representing the auto clicker. Click on this icon to access the extension’s settings and customize its behavior as per your requirements.
Step 6: The auto clicker extension will typically allow you to configure parameters such as the click interval, the number of clicks, and the click type (left, right, or middle click). Customize these settings according to your specific needs.
Step 7: Once you have configured the settings, navigate to the page or application where you want to use the auto clicker. Click on the extension’s icon in the toolbar and choose the option to start the auto clicker.
Step 8: The auto clicker will now perform the specified number of clicks at the configured interval. You can pause or stop the auto clicker at any time by clicking on the extension’s icon.
Using a Chrome extension is a straightforward and convenient method to get an auto clicker on your Chromebook. However, it’s important to remember that not all extensions may be reliable or safe. Be sure to choose a reputable extension from the Chrome Web Store and exercise caution when granting permissions to any extension.
Now that we’ve explored the first method of using a Chrome extension for an auto clicker, let’s move on to the next method: installing Linux on your Chromebook.
Method 2: Installing Linux on your Chromebook
If you’re looking for a more powerful and versatile solution to get an auto clicker on your Chromebook, you can consider installing Linux on your device. This method requires enabling developer mode and installing a Linux distribution, such as Ubuntu or GalliumOS, on your Chromebook. Here’s a step-by-step guide:
Step 1: Before proceeding, it’s important to note that enabling developer mode and installing Linux on your Chromebook will remove all local data, so be sure to back up any important files.
Step 2: Turn off your Chromebook and turn it back on while holding down the Esc + Refresh + Power keys simultaneously.
Step 3: When the “Chrome OS is missing or damaged” screen appears, press Ctrl + D to enter developer mode. You’ll see a warning that developer mode may void your warranty. Press Enter to proceed.
Step 4: Your Chromebook will beep and display a screen showing the transition to developer mode. This process may take a few minutes. Once it’s complete, your Chromebook will reset, and you’ll see a screen prompting you to press Ctrl + D to continue.
Step 5: Press Ctrl + D to boot into developer mode. Your Chromebook will go through the setup process again. Follow the on-screen instructions to configure your language, keyboard layout, and network settings.
Step 6: Once you’re back on the desktop, open the Chrome browser and search for instructions on how to install your chosen Linux distribution on a Chromebook. Each distribution may have slightly different installation steps, so it’s important to follow a guide specific to your chosen Linux distribution.
Step 7: Once Linux is installed and set up on your Chromebook, open the Linux terminal or command prompt.
Step 8: In the terminal, use the package manager to install an auto clicker tool. For example, if you’re using Ubuntu, you can use the following command to install the “xautoclick” package:
sudo apt-get install xautoclick
Step 9: Once the auto clicker software is installed, you can configure and use it as needed. Refer to the documentation or user guide of the specific auto clicker tool for instructions on customization and usage.
Installing Linux on your Chromebook provides a more robust platform for running auto clicker tools and a variety of other software. However, the process of enabling developer mode and installing Linux requires technical knowledge and may void your warranty. Proceed with caution and ensure that you follow reputable guides specific to your Chromebook model and chosen Linux distribution.
Now that we’ve explored the method of installing Linux on your Chromebook, let’s move on to the next method: using Android apps on your Chromebook.
Method 3: Using Android apps on your Chromebook
If you own a Chromebook that supports Android apps, another method to get an auto clicker is by utilizing Android apps available on the Google Play Store. This method allows you to leverage the wide range of Android apps that offer auto clicker functionality. Here’s how you can use Android apps on your Chromebook:
Step 1: Make sure your Chromebook is compatible with Android apps. To check, go to Settings, then click on “Apps” or “Google Play Store” in the menu. If you see an option to enable the Play Store, your Chromebook supports Android apps.
Step 2: Enable the Google Play Store on your Chromebook by following the on-screen instructions. You may need to sign in with your Google account and agree to the terms of service.
Step 3: Once the Play Store is enabled, open it and search for “auto clicker” in the search bar.
Step 4: Browse through the available auto clicker apps and choose one that meets your requirements. Pay attention to the app’s ratings, reviews, and features to ensure it’s suitable for your needs.
Step 5: Click on the app’s listing and then click on the “Install” button to download and install the auto clicker app on your Chromebook.
Step 6: Once the app is installed, open it from your app drawer or by clicking on its icon in the “Apps” section of your Chromebook.
Step 7: Configure the settings of the auto clicker app according to your needs. You should be able to set parameters such as click interval, number of clicks, and click type.
Step 8: Navigate to the desired screen or application where you want to use the auto clicker. Activate the auto clicker app and let it perform the clicking actions on your behalf.
Using Android apps on your Chromebook provides a wide range of auto clicker options and allows you to take advantage of the multitude of apps available on the Google Play Store. However, not all Chromebook models support Android apps, so make sure to check your device’s compatibility.
Now that we’ve explored the three methods of getting an auto clicker on your Chromebook, you’re ready to choose the one that best fits your needs and start automating those repetitive clicking tasks.
Conclusion
In this article, we have explored three different methods to get an auto clicker on your Chromebook. Whether you’re a gamer, a productivity enthusiast, or a software tester, having an auto clicker can save you time and effort by automating repetitive clicking tasks.
The first method we discussed was using a Chrome extension. This is the easiest and most convenient way to get an auto clicker on your Chromebook. By installing a reputable auto clicker extension from the Chrome Web Store, you can quickly set up and customize the clicking actions to suit your needs.
The second method involved installing Linux on your Chromebook. This method provides a more powerful and versatile platform for running auto clicker tools and other software. However, enabling developer mode and installing Linux requires technical knowledge and may void your warranty, so proceed with caution.
The third method was utilizing Android apps on your Chromebook. If your Chromebook supports Android apps, you can take advantage of the wide range of auto clicker apps available on the Google Play Store. This method allows you to leverage the familiarity and functionality of Android apps on your Chromebook.
Before using any auto clicker, remember to use them responsibly and within the boundaries of legality and ethical use. Always ensure that you are not violating any terms of service or engaging in activities that may be considered unethical or malicious.
Now that you are equipped with the knowledge of how to get an auto clicker on your Chromebook, choose the method that best suits your needs and start automating those repetitive clicking tasks. Whether you’re a hardcore gamer, a multitasking enthusiast, or a software developer, an auto clicker can significantly enhance your productivity and efficiency on your Chromebook.
So, go ahead and unleash the power of auto clicking on your Chromebook!


