Introduction
Welcome to the wonderful world of Chromebooks! If you’re new to Chromebooks, you may be wondering how to turn on your device and get started. Look no further because this article will guide you through the steps to turn on your Chromebook successfully.
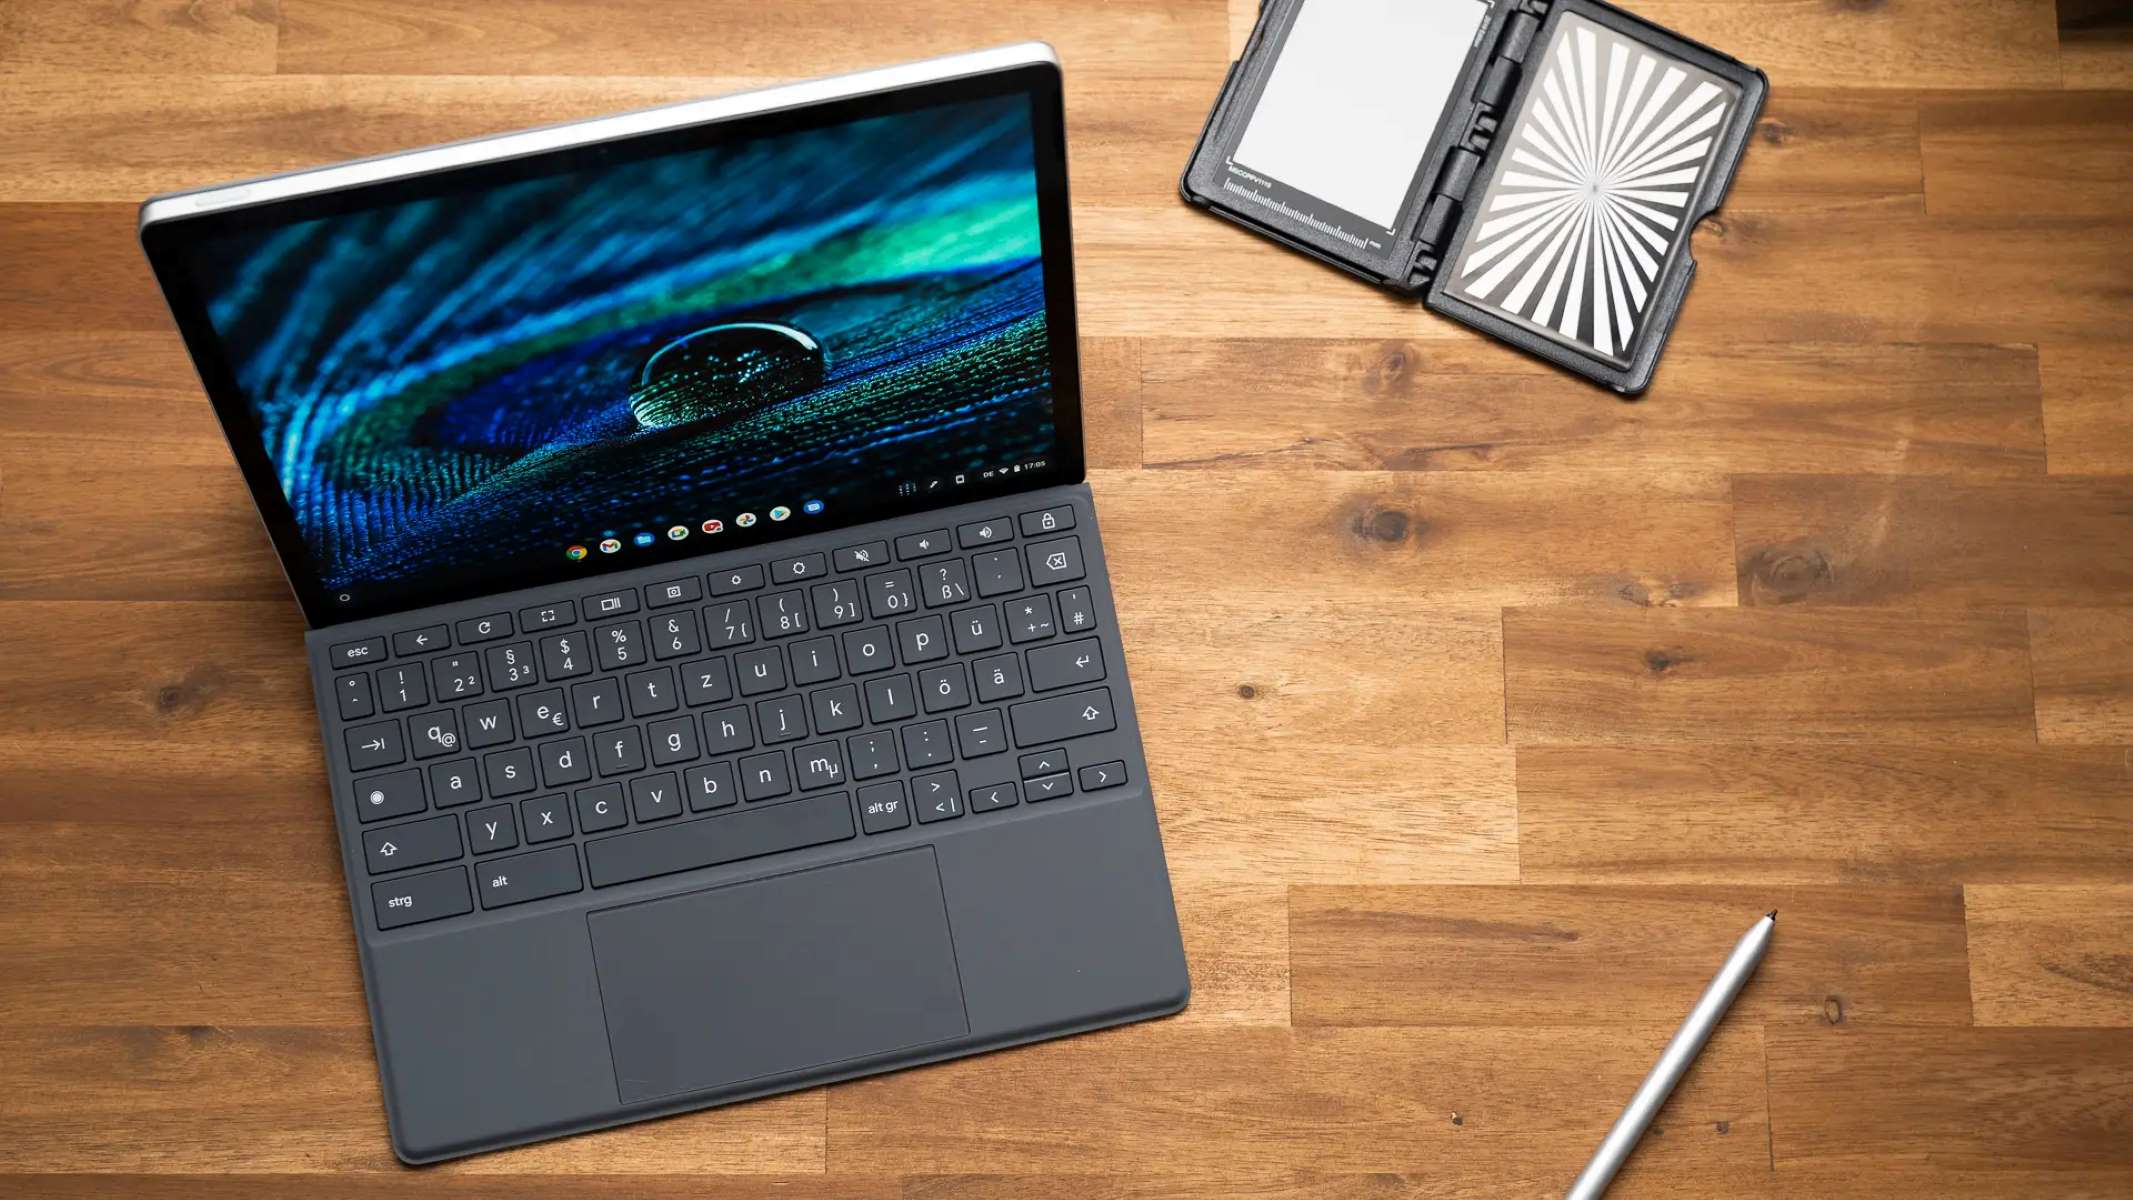
A Chromebook is a type of laptop that runs on Google’s Chrome OS operating system. It offers a streamlined and straightforward computing experience, perfect for browsing the web, creating documents, and enjoying multimedia content. Whether you’re a student, professional, or simply looking for a user-friendly device, a Chromebook is an excellent choice.
Before we dive into the steps, ensure that your Chromebook is charged or connected to a power source. Ready? Let’s get started on how to turn on your Chromebook!
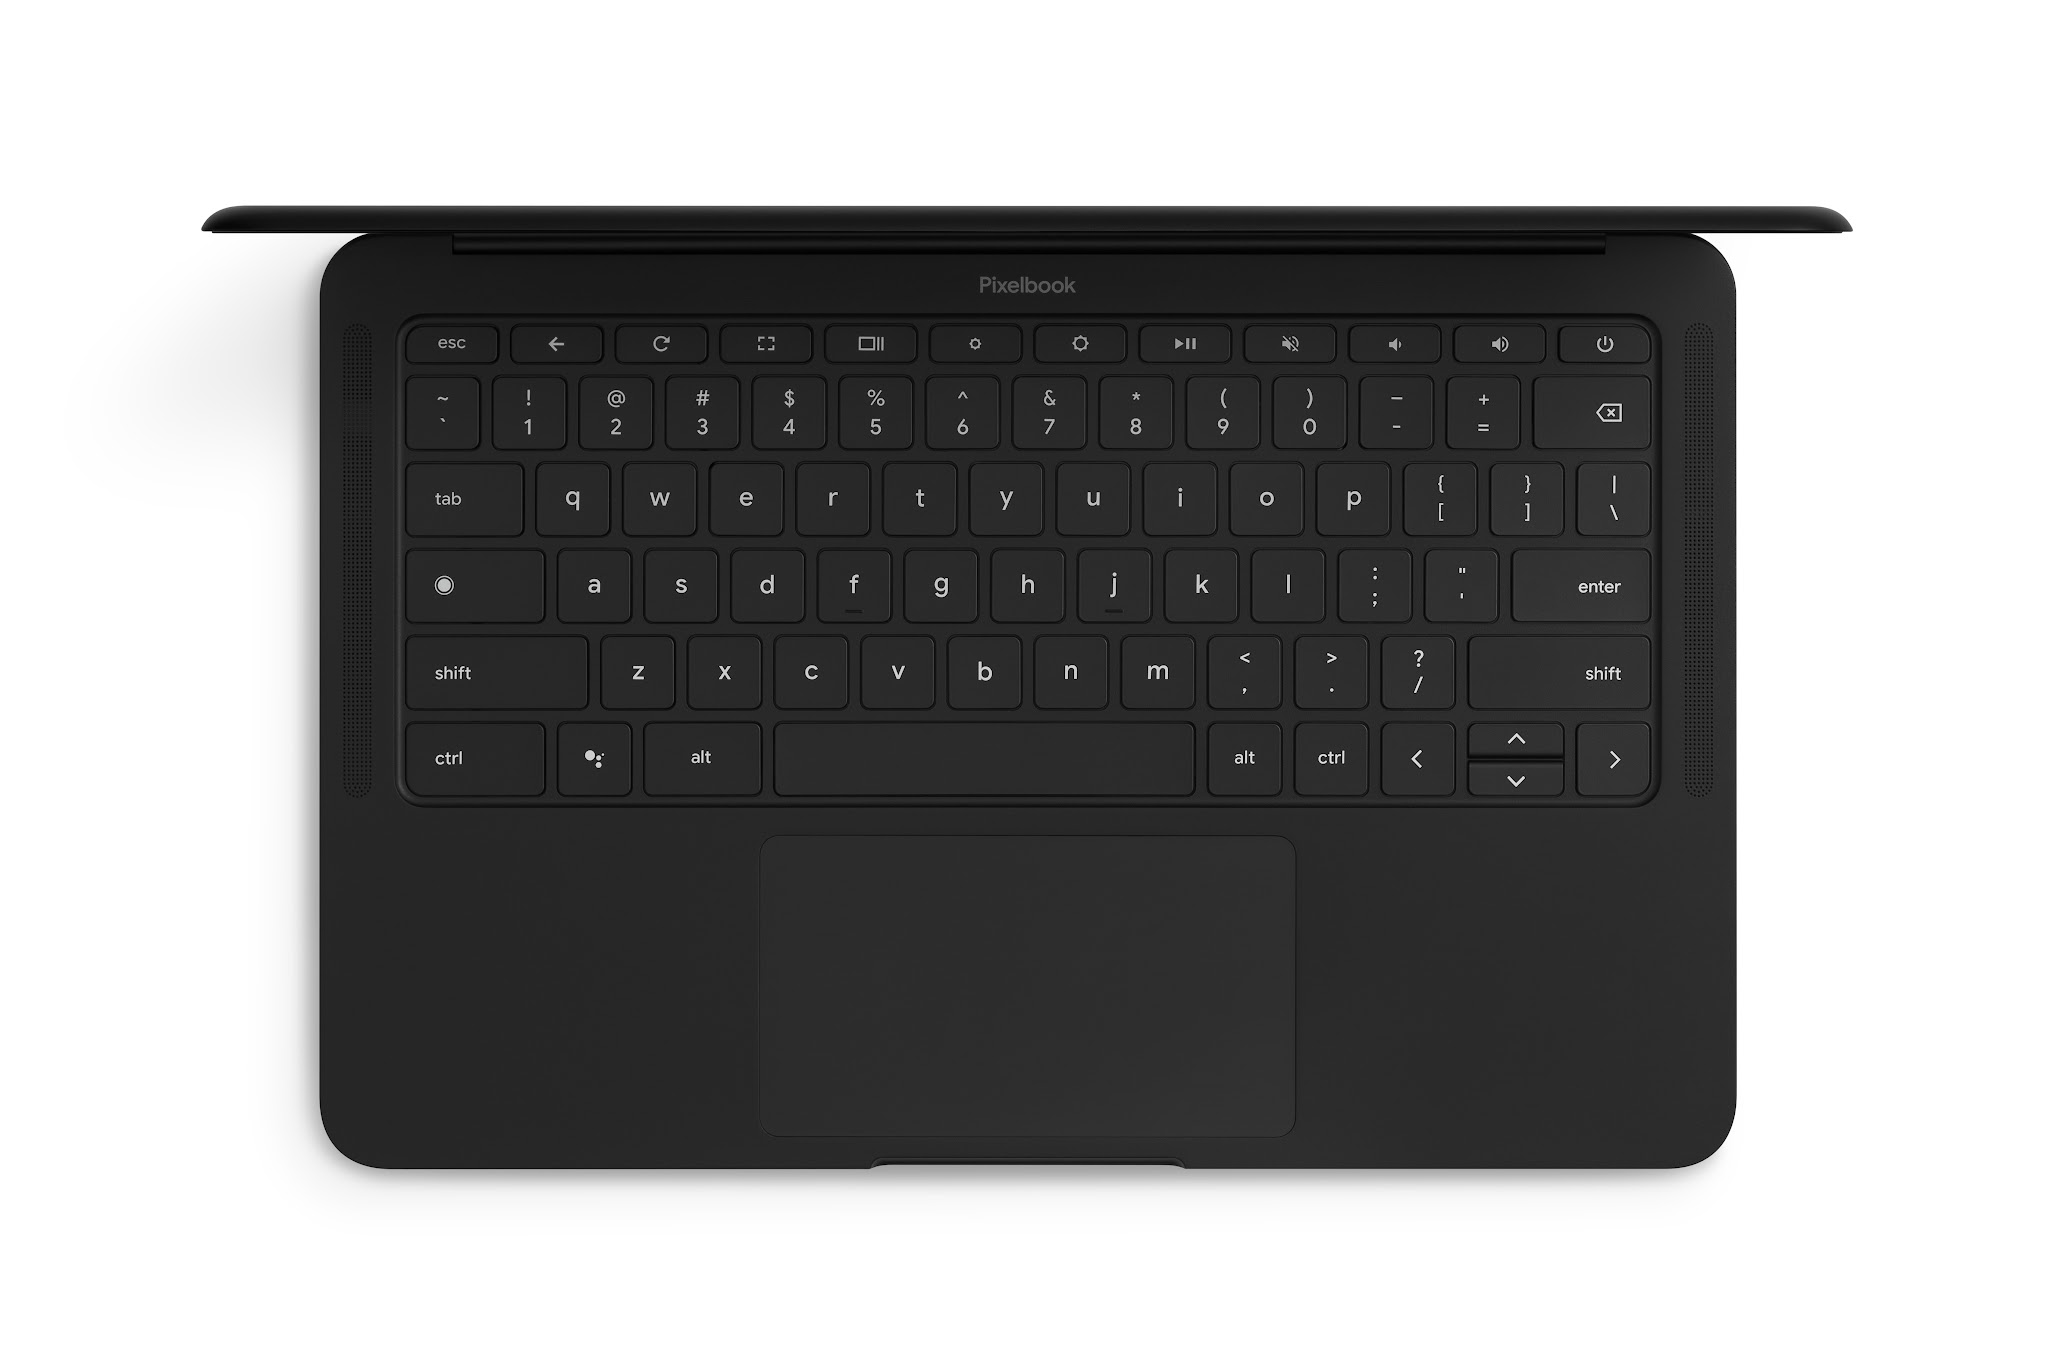
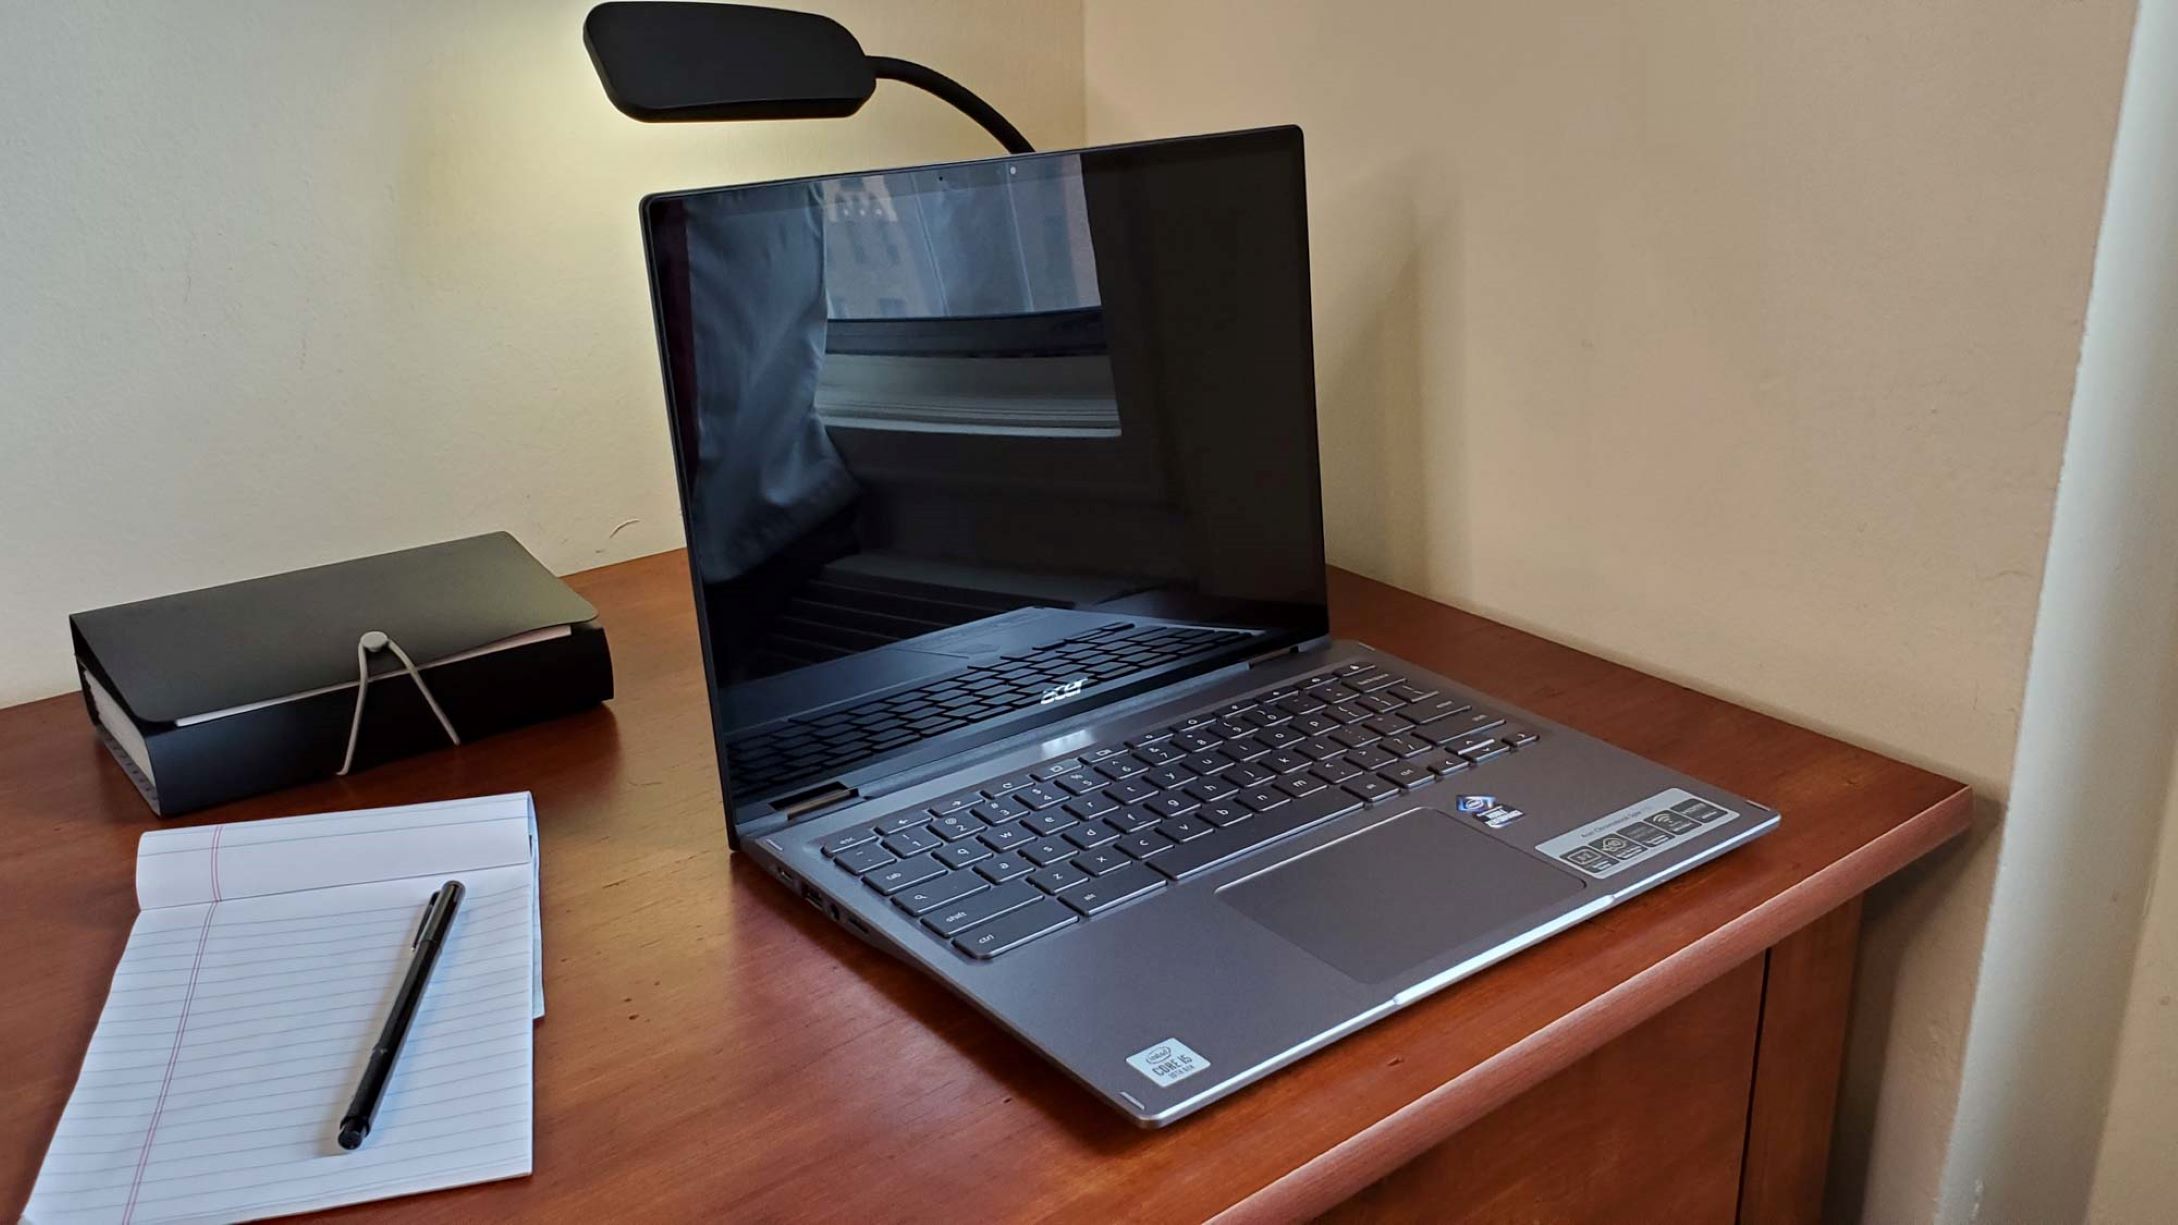
Your Chromebook may have a power button located either on the side or at the top of the keyboard. Look for a small button with a power symbol, which typically looks like a circle with a vertical line inside. Once you’ve located the power button, it’s time to power on your Chromebook.
Simply press and hold the power button for a few seconds until you see the screen light up. You may also hear a startup sound or notice the keyboard backlight turning on if your Chromebook has one. After a few moments, the Chromebook will boot up, and you’ll be greeted with the Chrome OS login screen.
Now that your Chromebook is powered on, it’s time to sign in with your Google account. Chromebooks rely heavily on Google services, so having a Google account is essential. If you don’t have one, you can easily create a new account by following the on-screen prompts.
Once you’ve signed in, your Chromebook will synchronize all your settings, bookmarks, and extensions, ensuring a personalized experience across devices. You can also choose to enable guest mode for anyone who wants to use your Chromebook without signing in.
In the next section, we’ll explore how to set up your Wi-Fi connection and customize your Chromebook settings. So, keep reading to make the most out of your Chromebook experience!
Step 1: Power on your Chromebook
To begin using your Chromebook, the first step is to power it on. The power button is typically located on the side or at the top of the keyboard, and it will have a power symbol, which looks like a circle with a vertical line inside.
To turn on your Chromebook, simply press and hold the power button for a few seconds. You may see the screen light up, and you might also hear a startup sound or notice the keyboard backlight turning on, depending on your specific Chromebook model.
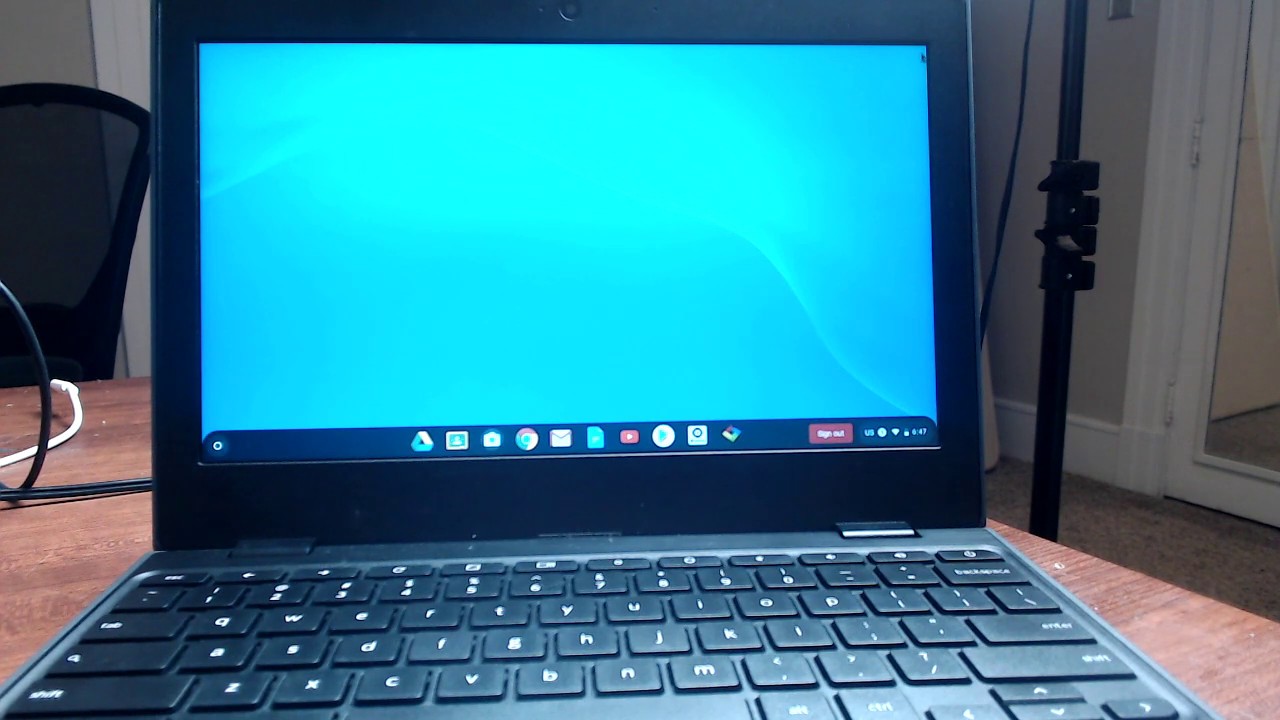
After a few moments, the Chromebook will boot up, and you will be greeted with the Chrome OS login screen. At this point, the device is powered on and ready to use.
If you’re not sure where the power button is located on your Chromebook, refer to the user manual or the manufacturer’s website for detailed instructions. It’s essential to locate the power button properly to avoid accidentally pressing other buttons while trying to turn on your device.
Some Chromebooks also have a power indicator light, which will illuminate when the device is powered on. This can be helpful if you’re in a dimly lit environment and need confirmation that your Chromebook is on.
Remember that if your Chromebook is not turning on even after pressing the power button, it could be due to various reasons, such as a drained battery or a hardware issue. In such cases, you may need to connect your Chromebook to a power source or seek technical assistance from the manufacturer.
In the next step, we will guide you through the process of signing in with your Google account, which is essential for using a Chromebook. So, let’s move on to Step 2: Sign in with your Google account!
Step 2: Sign in with your Google account
Signing in with your Google account is a crucial step to unlock the full functionality of your Chromebook. Chromebooks heavily rely on Google services and cloud-based storage, so having a Google account is essential.
When you power on your Chromebook and reach the login screen, you will see a prompt to sign in with your Google account. If you already have a Google account, simply enter your email address and password to proceed.
If you don’t have a Google account, you can easily create one by clicking on the “Create account” option. Follow the instructions provided to set up a new Google account, including entering your personal information and selecting a unique email address and password.
Once you’ve entered your Google account details, click on the “Next” or “Sign in” button, and your Chromebook will synchronize all your settings, bookmarks, and extensions, ensuring a personalized experience across devices.
It’s worth noting that you can also enable guest mode on your Chromebook, allowing others to use the device without signing in with their Google account. Guest mode provides a temporary session that doesn’t save any data, ensuring privacy and security for multiple users.
If you’re using a Chromebook provided by your school or workplace, you may have an organizational or educational Google account. In this case, you will need to enter your school or work email address and password to sign in. This account may have additional restrictions or settings configured by your organization.
Signing in with your Google account not only grants you access to all the Chromebook features but also ensures that your data is securely saved in the cloud. This means you can seamlessly switch between different Chromebooks and have all your files, settings, and preferences readily available.
With your Google account signed in, you’re now ready to explore the Chrome OS interface and make the most out of your Chromebook experience. Let’s move on to Step 3: Set up your Wi-Fi connection!
Step 3: Set up your Wi-Fi connection
Now that you’ve signed in with your Google account, the next step is to set up your Wi-Fi connection on your Chromebook. A stable internet connection is necessary for many Chromebook features, such as browsing the web, accessing online apps, and syncing your files to the cloud.
When you first log in to your Chromebook, you will typically see a Wi-Fi icon in the bottom-right corner of the screen, near the clock and battery indicator. This icon represents the status of your Wi-Fi connection. If the icon has a small “X” or is greyed out, it means you’re not connected to a Wi-Fi network.
To connect to a Wi-Fi network, click on the Wi-Fi icon. A list of available networks will appear, along with signal strength and security information. Locate your desired Wi-Fi network from the list and click on its name. If the network is password-protected, you will be prompted to enter the Wi-Fi password.
After entering the correct password, click on the “Connect” button. Your Chromebook will then attempt to connect to the Wi-Fi network. Once connected, the Wi-Fi icon will turn blue or show signal bars to indicate a successful connection.
If you’re unable to find your Wi-Fi network, try clicking on the “Refresh” or “Scan for networks” option to see if it appears. You can also move closer to the Wi-Fi router to improve the signal strength.
In some cases, you may need to manually enter the Wi-Fi network details, such as the network name (SSID) and security type. This is necessary when connecting to hidden networks or networks that require specific settings. To manually add a Wi-Fi network, click on the “Add network” option and enter the required information.
Once your Chromebook is connected to a Wi-Fi network, it will automatically connect to the same network in the future, whenever it’s within range. This eliminates the hassle of manually connecting each time you power on your Chromebook.
Now that your Wi-Fi connection is set up, you can fully enjoy the online capabilities of your Chromebook. In the next step, we will explore how to customize your Chromebook settings to personalize your experience. So, let’s move on to Step 4: Customize your Chromebook settings!
Step 4: Customize your Chromebook settings
Now that you have set up your Wi-Fi connection, it’s time to customize your Chromebook settings to make it tailored to your preferences. Customizing your settings ensures that your Chromebook works the way you want it to and allows you to personalize your experience.
To access the Chromebook settings, click on the clock in the bottom-right corner of the screen. This will open a pop-up with several options, including the “Settings” option. Click on “Settings” to open the Chrome OS settings menu.
In the settings menu, you will find various sections where you can modify different aspects of your Chromebook. Let’s explore some key customization options:
- Appearance: In this section, you can change the wallpaper of your Chromebook’s desktop. You have the option to select a preloaded wallpaper or upload your own image. You can also set the theme color, adjust the default font size, and enable or disable the night light mode.
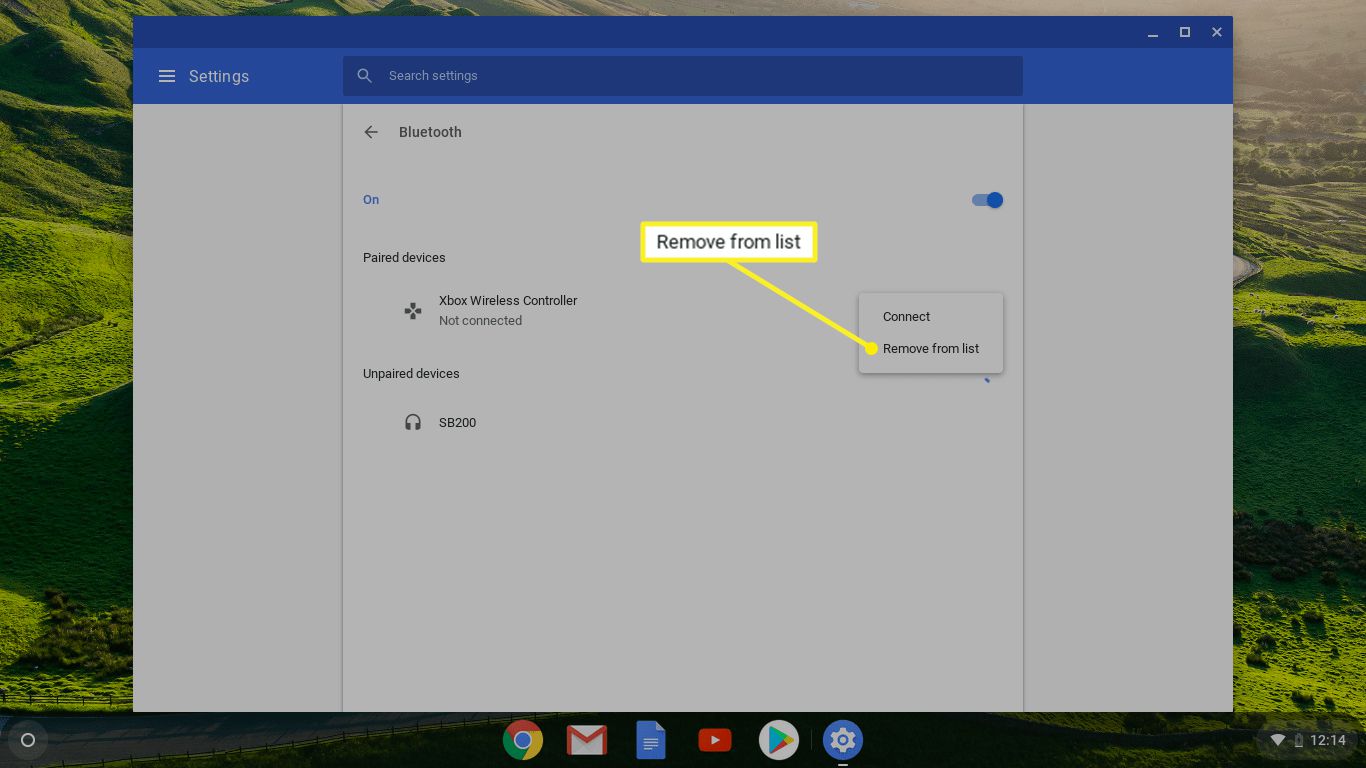
- Accounts: The accounts section allows you to manage the Google accounts associated with your Chromebook. You can add or remove accounts, switch between accounts, and modify sync settings. You can also enable the “Smart Lock” feature, which allows your Chromebook to automatically unlock when it’s in proximity to your Android phone or other trusted devices.
- Privacy and Security: This section is vital for configuring privacy and security settings on your Chromebook. You can control how your Chromebook handles cookies, pop-ups, and other website settings. You can also enable or disable various security features, such as Safe Browsing and automatic updates.
- Keyboard and Input: In this section, you can customize the keyboard settings based on your preferences. You can modify the keyboard language, enable or disable certain keyboard shortcuts, and configure input methods for different languages.
- Display: The display section allows you to adjust the screen brightness, screen resolution, and screen orientation. You can also enable or disable display options such as mirroring or extending your display to an external monitor.
These are just a few examples of the customization options available on your Chromebook. Explore the settings menu to discover additional options that suit your needs and preferences.
Remember to save any changes you make in the settings menu by clicking the “Apply” or “OK” button. Your Chromebook will automatically update and apply the new settings.
With your Chromebook settings customized, you can now enjoy a personalized and optimized computing experience. In the next step, we will delve into the Chrome OS interface and explore its features. So, let’s move on to Step 5: Explore the Chrome OS interface!
Step 5: Explore the Chrome OS interface
Now that you have customized your Chromebook settings, it’s time to familiarize yourself with the Chrome OS interface. The Chrome OS interface provides a clean, simple, and intuitive environment for you to navigate and perform various tasks seamlessly.
After signing in to your Chromebook and accessing the desktop, you will notice the taskbar located at the bottom of the screen. The taskbar contains several key elements, including the application launcher, which is represented by a circular icon known as the “Launcher” button. Clicking on the Launcher button will open the app launcher, where you can find and launch your installed apps.
Next to the Launcher button, you will see icons for the applications currently running on your Chromebook. These icons serve as a way to switch between different open apps quickly.
In the bottom-right corner of the taskbar, there are several system icons, including the Wi-Fi icon, battery indicator, volume control, and the clock. These icons provide easy access to settings and allow you to monitor and manage essential aspects of your Chromebook.
At the bottom-right corner of the screen, you will also find a notifications area where you can view and interact with incoming notifications such as new emails, system updates, and app alerts.
When you click on the time in the lower-right corner, a pop-up window will appear, displaying the date, time, and a calendar. You can also access the full settings menu from this pop-up window.
In the bottom-left corner of the screen, you will find a “Search” button represented by a magnifying glass icon. Clicking on the Search button opens the Chrome OS search bar, allowing you to search for files, apps, settings, or even search the internet directly from your Chromebook.
Besides the taskbar, the desktop area provides a clean slate for you to place shortcuts to your favorite apps, files, or websites. You can organize the desktop by dragging and arranging these shortcuts anywhere on the screen.
Chrome OS also offers a variety of gestures and keyboard shortcuts to enhance your productivity. For example, you can swipe vertically on the trackpad to view all open windows, or swipe horizontally to switch between virtual desktops.
Overall, the Chrome OS interface is designed to be intuitive and user-friendly, making it easy for you to navigate, launch apps, and multitask efficiently.
Now that you’re familiar with the Chrome OS interface, let’s move on to Step 6: Download and install apps from the Chrome Web Store to expand the capabilities of your Chromebook!
Step 6: Download and install apps from the Chrome Web Store
One of the great advantages of using a Chromebook is the ability to download and install apps from the Chrome Web Store. These apps can enhance the functionality of your Chromebook and allow you to customize it to suit your needs and interests.
To access the Chrome Web Store, click on the Launcher button located in the taskbar. Then, click on the “Web Store” icon to open the store in a new tab in your web browser.
In the Chrome Web Store, you will find a wide range of apps, extensions, and themes that you can download and install on your Chromebook. Apps can provide additional features or services, while extensions can add functionality and improve your browsing experience. Themes allow you to personalize the appearance of your Chromebook.
You can browse the apps in different categories, search for specific apps, or explore the curated collections and recommendations. Each app or extension has a detailed description, user ratings, and reviews to help you make an informed decision.
To download and install an app or extension, simply click on its listing in the Chrome Web Store. This will open a dedicated page for that app or extension, where you can read more information and see screenshots. If you decide to install it, click on the “Add to Chrome” or “Install” button.
Once the app or extension is installed, you can access it from the Launcher or from the Apps section in the Launcher page. Some apps may also create shortcuts on your desktop for easy access.
It’s important to note that Chromebook apps and extensions are designed to work seamlessly with the Chrome OS environment. They are typically lightweight and optimized for performance, allowing you to enjoy a smooth user experience.
Additionally, many popular web-based applications, such as Google Docs, Sheets, and Slides, are available as standalone apps in the Chrome Web Store. These apps provide an offline mode, where you can work on your documents even without an internet connection.
Remember to keep your installed apps and extensions up to date by regularly checking for updates in the Chrome Web Store. This ensures that you have the latest features, bug fixes, and security patches.
With the Chrome Web Store, you can expand the capabilities and personalize your Chromebook to suit your unique needs and preferences. Explore the store and discover apps and extensions that enhance your productivity, creativity, and entertainment.
Now that you know how to download and install apps from the Chrome Web Store, you have successfully completed all the essential steps to get the most out of your Chromebook. Enjoy your new device and embrace the seamless, reliable, and user-friendly experience it offers!
Conclusion
Congratulations on successfully setting up and getting acquainted with your Chromebook! In this article, we covered the essential steps to turn on your Chromebook, sign in with your Google account, set up your Wi-Fi connection, customize your Chromebook settings, explore the Chrome OS interface, and download apps from the Chrome Web Store.
Chromebooks offer a seamless and user-friendly computing experience, perfect for browsing the web, creating documents, and enjoying multimedia content. The Chrome OS interface provides a clean and intuitive environment, allowing you to navigate and perform tasks effortlessly.
By signing in with your Google account, your Chromebook synchronizes your settings, bookmarks, and extensions, ensuring a personalized experience across devices. You can also enable guest mode for others to use your Chromebook without signing in.
Setting up your Wi-Fi connection ensures you have a stable internet connection to take full advantage of Chromebook features. With a reliable internet connection, you can browse the web, access online apps, and sync your files to the cloud.
Customizing your Chromebook settings allows you to tailor your device to your preferences. From appearance and accounts to privacy and security, you have control over various aspects of your Chromebook to enhance your experience.
The Chrome Web Store offers a plethora of apps, extensions, and themes to expand the capabilities and personalize your Chromebook. Explore the store and find apps and extensions that improve your productivity, creativity, and entertainment.
Now that you have completed all the essential steps, it’s time to enjoy your Chromebook to the fullest. Whether you’re a student, professional, or simply looking for a user-friendly device, your Chromebook offers a reliable and seamless computing experience.
Continue exploring the features, discovering new apps, and utilizing the cloud-based services to enhance your productivity and entertainment. With regular updates and new features being introduced, your Chromebook will continue to evolve and provide an optimal user experience.
Embrace the flexibility, simplicity, and reliability that your Chromebook offers, and let it be your reliable companion for work and play. Whether you’re browsing the web, creating documents, or streaming your favorite shows, your Chromebook is designed to keep up with your needs.
Thank you for following this guide, and we hope you enjoy your Chromebook journey! If you have any further questions or need assistance, refer to the manufacturer’s support resources or reach out to the Chromebook community for additional help.