Introduction
Having a functional keyboard is essential for any computer user. Whether you’re typing up a document, editing photos, or playing your favorite video game, a working keyboard is a must. However, sometimes we encounter issues with our keyboards, such as keys not responding or the entire keyboard not working. In these situations, it can be frustrating and hinder our productivity.
This article aims to provide you with a comprehensive guide on how to turn your keyboard on and troubleshoot common keyboard issues. We will cover various troubleshooting steps, including checking the physical connection, enabling the keyboard in Device Manager, updating or reinstalling keyboard drivers, adjusting keyboard settings in Control Panel, and using the on-screen keyboard as a temporary solution.
By following these steps, you can potentially resolve the issue with your keyboard and get back to using your computer without any interruptions. However, please note that some issues may require professional assistance, and we’ll discuss when it’s necessary to seek help. Now, let’s dive into the basics of a keyboard to understand its functionality before we begin troubleshooting.
Understanding the Basics of a Keyboard
Before we delve into troubleshooting keyboard issues, it’s helpful to have a basic understanding of how a keyboard works. A keyboard is an input device that allows you to communicate with your computer by pressing keys to input data or commands.
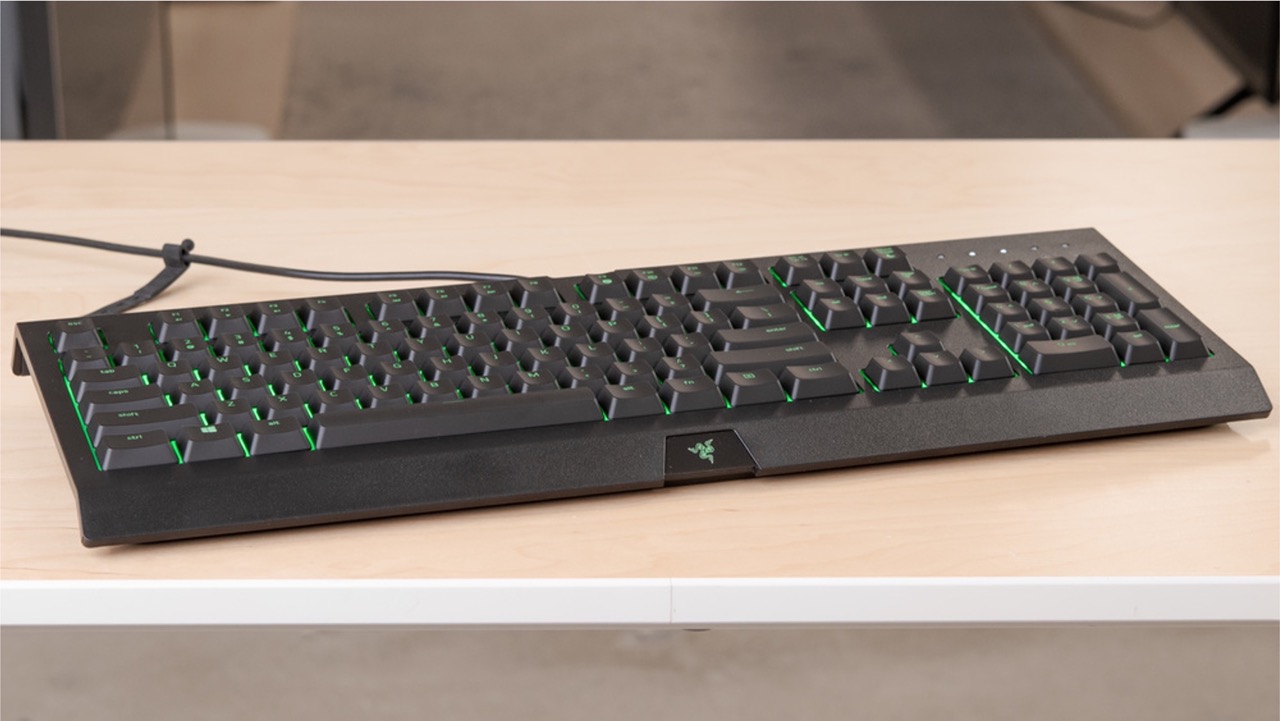
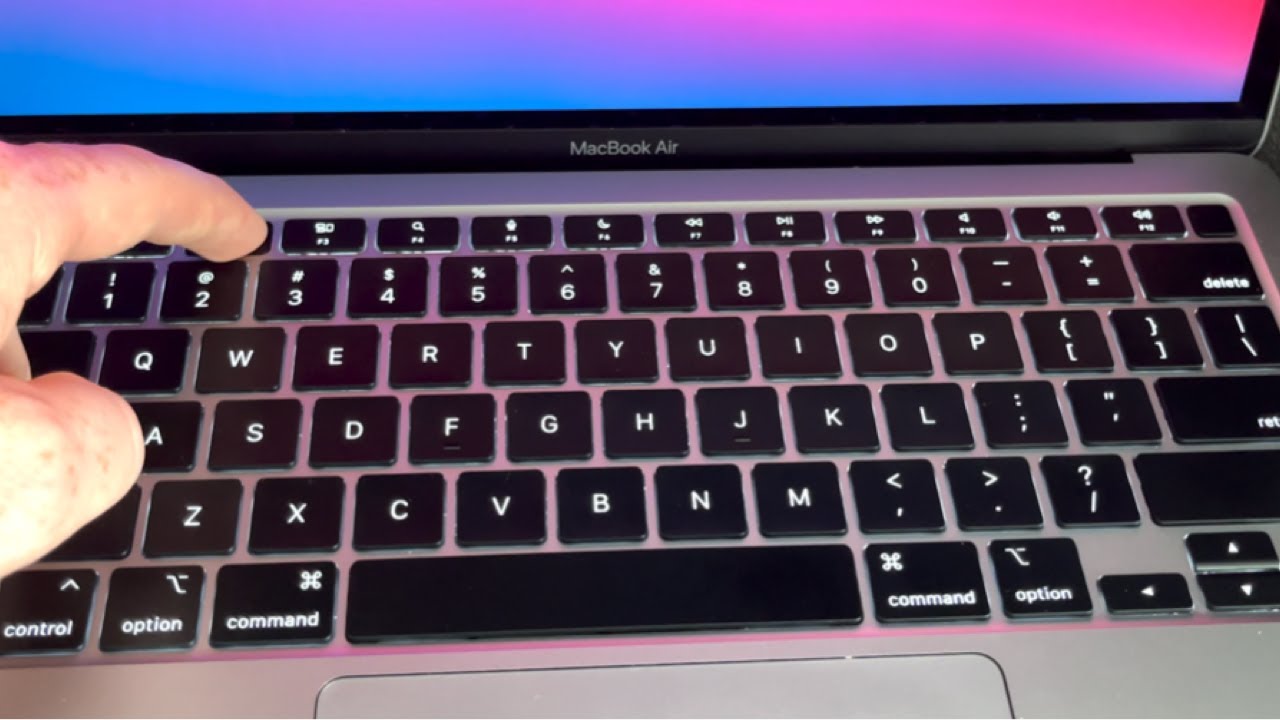
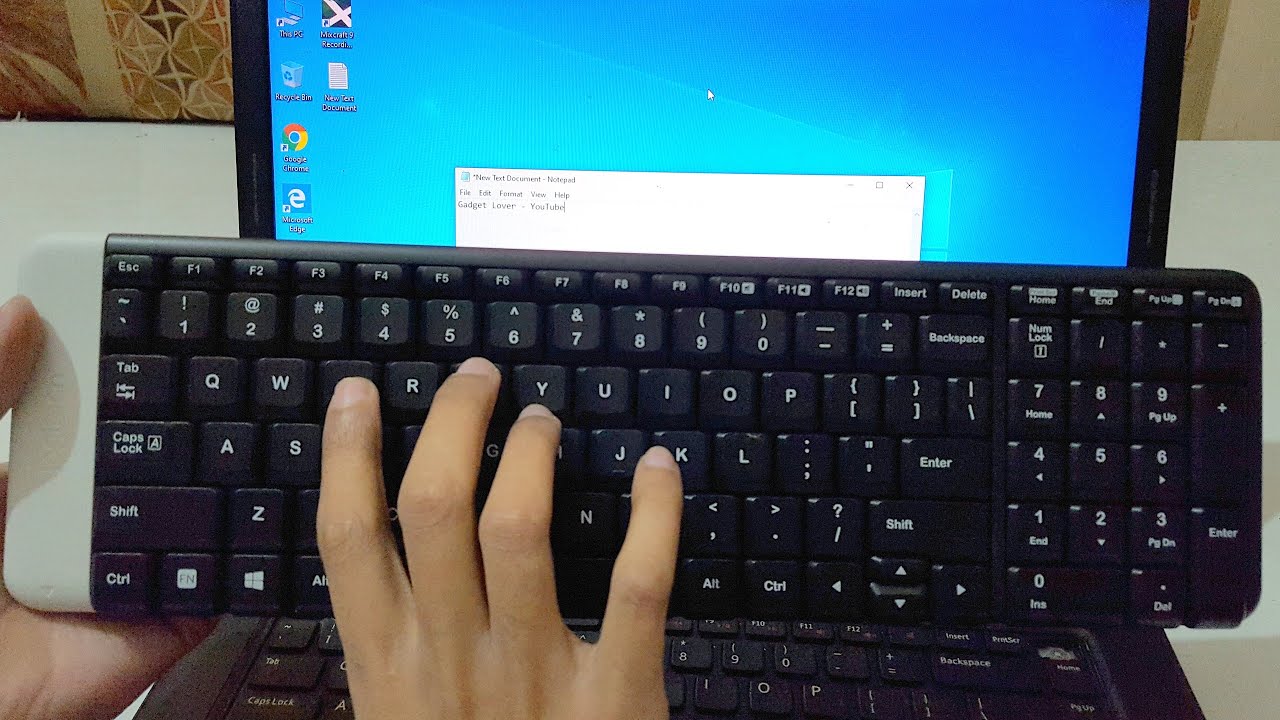
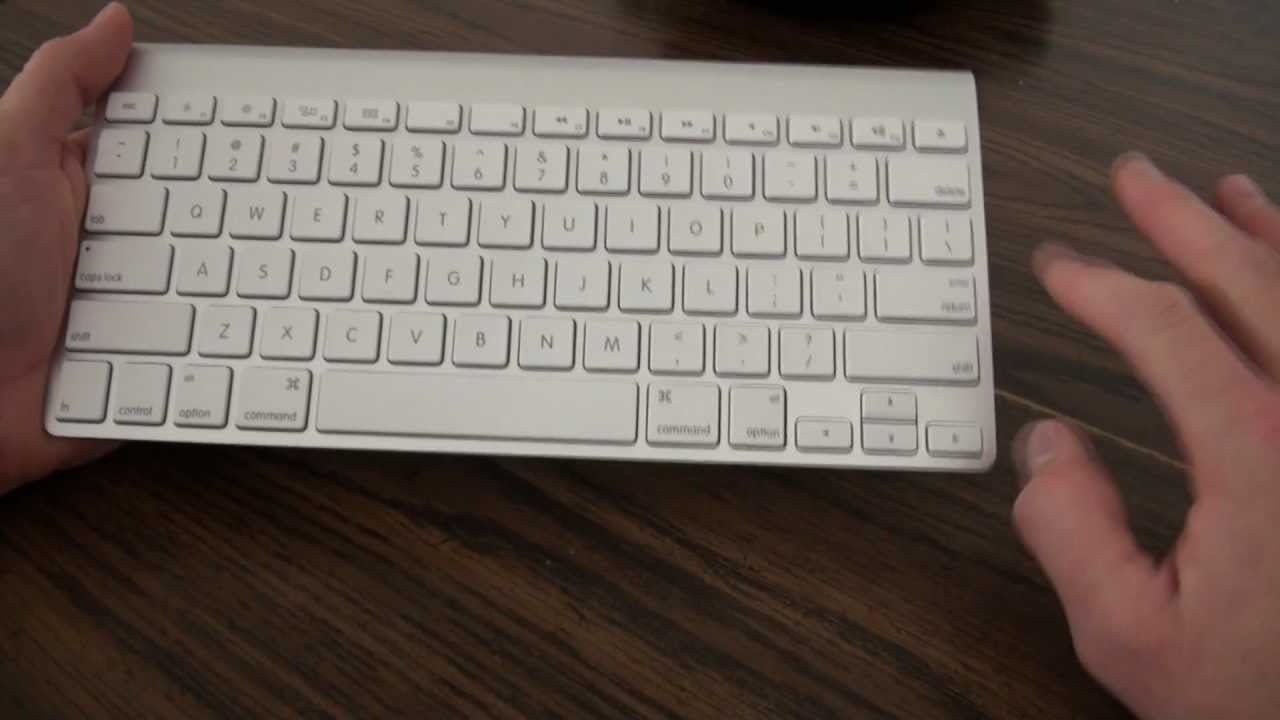
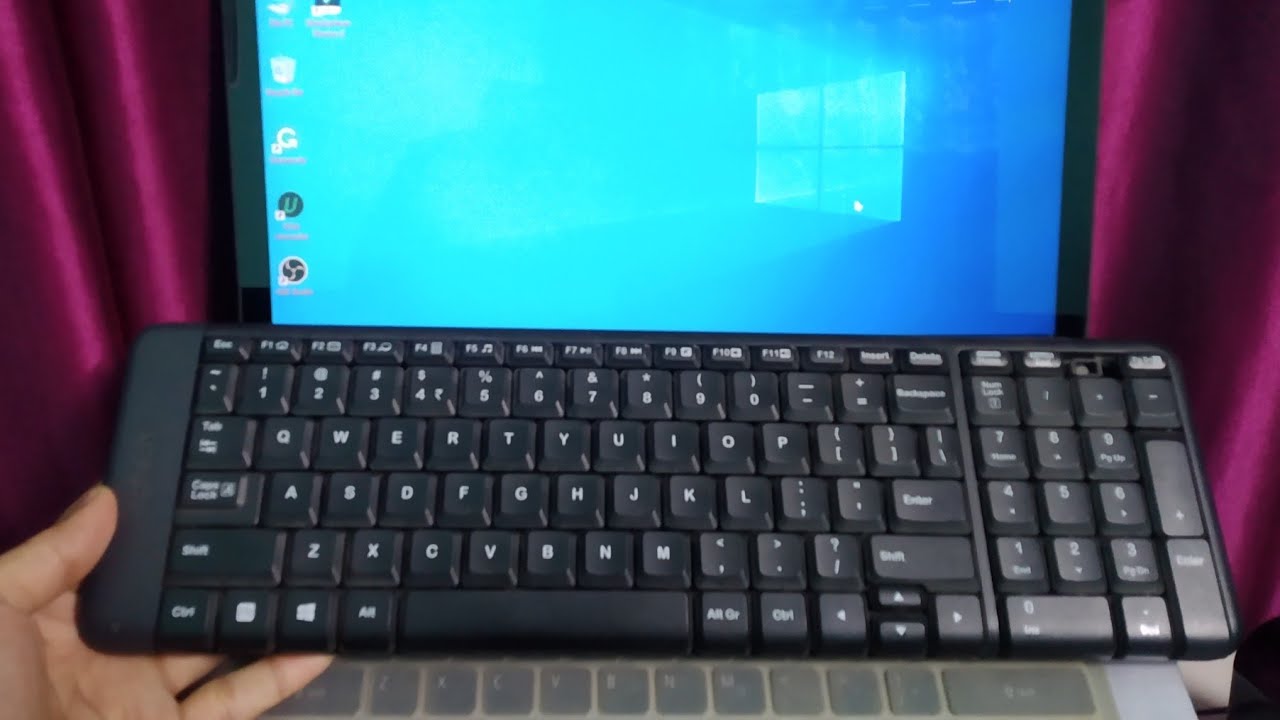
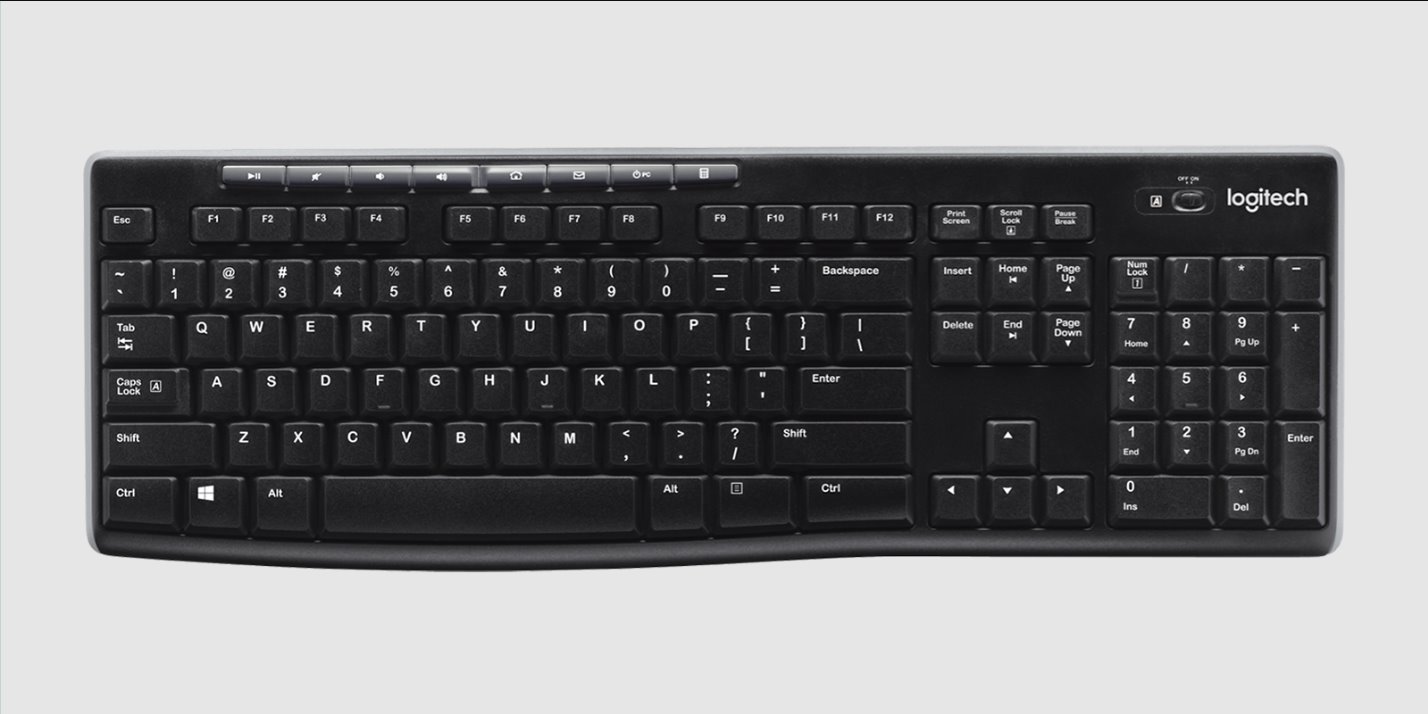
Keyboards typically consist of a set of alphanumeric keys, function keys, modifier keys, and special keys. The alphanumeric keys include letters, numbers, and symbols, which allow you to type texts and characters. Function keys are located at the top row of the keyboard and are labeled as “F1” to “F12”. These keys have different functions, depending on the software or operating system you’re using.
Modifier keys, such as Ctrl, Alt, and Shift, are used in combination with other keys to perform specific actions or access shortcuts. For example, pressing Ctrl+C copies selected text, while Ctrl+V pastes it.
Special keys include the Enter/Return key, Backspace key, Delete key, and arrow keys, which provide additional functionality for editing and navigating through documents or web pages.
Keyboards can connect to a computer via different interfaces, including USB, PS/2, Bluetooth, or wireless connections. It’s important to ensure that the keyboard is correctly connected to the computer and recognized by the system.
Now that you have a basic understanding of how a keyboard works, let’s move on to troubleshooting common keyboard issues and getting your keyboard up and running again.
Troubleshooting Common Keyboard Issues
When it comes to troubleshooting common keyboard issues, it’s important to follow a systematic approach to identify and resolve the problem. Here are some steps you can take to troubleshoot and fix common keyboard issues:
- 1. Check the physical connection: Make sure that the keyboard is securely connected to the computer. If you’re using a wired keyboard, check if the USB or PS/2 connector is properly inserted into the corresponding port. If you’re using a wireless keyboard, ensure that the receiver is plugged in and working correctly.
- 2. Enable the keyboard in Device Manager: If the keyboard is not working at all or certain keys are unresponsive, you may need to enable the keyboard in the Device Manager. To do this, right-click on the Start button, select “Device Manager,” expand the “Keyboards” category, right-click on your keyboard, and choose “Enable Device.
- 3. Update or reinstall keyboard drivers: Outdated or corrupted keyboard drivers can cause issues with your keyboard. You can update the drivers manually through the Device Manager or download the latest drivers from the manufacturer’s website. If updating the drivers doesn’t work, try uninstalling and reinstalling them.
- 4. Adjust keyboard settings in Control Panel: Sometimes, incorrect keyboard settings can cause problems. Open the Control Panel, navigate to “Hardware and Sound,” and click on “Keyboard.” Here, you can customize keyboard settings such as character repeat rate, keyboard language, and layout.
- 5. Use the on-screen keyboard as a temporary solution: If your physical keyboard is still not functioning properly, you can use the on-screen keyboard as a temporary workaround. You can access the on-screen keyboard by searching for “On-Screen Keyboard” in the Start menu or by going to the Control Panel and selecting “Ease of Access” and then “On-Screen Keyboard.”
- 6. Seek professional help: If none of the above steps resolve your keyboard issues, it may be time to seek professional assistance. Contact your computer manufacturer’s support or a reputable computer technician who can diagnose and fix the problem.
By following these troubleshooting steps, you can often resolve common keyboard issues and regain full functionality. Remember, the specific steps may vary depending on your operating system and keyboard model, so always refer to the user manual or the manufacturer’s website for detailed instructions.
Checking the Physical Connection
When a keyboard is not working, the first step is to check the physical connection between the keyboard and the computer. A loose or improperly connected cable can often be the cause of the issue. Follow these steps to check the physical connection:
- Wired keyboards: If you’re using a wired keyboard, start by ensuring that the USB or PS/2 connector is securely inserted into the corresponding port on your computer. Disconnect the keyboard cable and plug it back in, making sure it is inserted all the way. Additionally, try using a different USB port or a different cable if available.
- Wireless keyboards: For wireless keyboards, check if the receiver is properly plugged into a USB port. If it is connected to a USB hub, try connecting it directly to a USB port on the computer. It’s also worth replacing the batteries in your wireless keyboard, as depleted batteries can cause connectivity issues.
- Clean the connections: Over time, dust and debris can accumulate on the connectors. Use compressed air or a soft brush to clean the USB or PS/2 ports on the computer and the connectors on the keyboard. Ensure that there is no debris hindering the connection.
- Check for physical damage: Inspect the keyboard cable for any signs of damage, such as cuts or fraying wires. If you notice any damage, it may be necessary to replace the keyboard or the cable.
- Restart your computer: Sometimes, a simple restart can resolve connectivity issues. Shut down your computer completely, unplug the keyboard, and wait for a few minutes. Plug the keyboard back in and boot up your computer to see if the issue is resolved.
After performing these steps, test the keyboard to see if it is functioning properly. If the keyboard is still not working, try the next troubleshooting steps mentioned in this article.
Remember, proper physical connection is crucial for the keyboard to work correctly. By checking and ensuring a secure and clean connection, you can eliminate the possibility of a faulty physical connection as the cause of the issue.
Enabling the Keyboard in Device Manager
If your keyboard is not working at all or certain keys are unresponsive, one possible cause could be that the keyboard is disabled in the Device Manager. The Device Manager is a Windows utility that allows you to manage and control hardware devices connected to your computer. Follow these steps to enable the keyboard in Device Manager:
- Open Device Manager: Right-click on the Start button in the Windows taskbar and select “Device Manager” from the context menu. Alternatively, you can press the Windows key + X and choose “Device Manager” from the pop-up menu.
- Expand the Keyboards category: In the Device Manager window, locate and click the arrow next to “Keyboards” to expand the category and display the list of keyboards connected to your computer.
- Enable the keyboard: Right-click on your keyboard from the list and select “Enable Device” from the context menu. If you have multiple keyboards listed, you may need to repeat this step for each keyboard.
- Restart your computer: After enabling the keyboard, it’s a good idea to restart your computer to ensure that the changes take effect properly. Save any open files and click “Restart” to reboot your system.
Once your computer restarts, test the keyboard to see if it is functioning correctly. Try typing in different applications to ensure that all keys are responsive.
If the keyboard still doesn’t work, or if the option to enable the device is grayed out in Device Manager, you may need to try other troubleshooting steps mentioned in this article.
Enabling the keyboard in Device Manager should resolve the issue if it was disabled accidentally or due to a system glitch. By following these steps, you can ensure that the keyboard is recognized and enabled by your computer’s operating system.
Updating or Reinstalling Keyboard Drivers
If your keyboard is still not working properly after checking the physical connection and enabling it in Device Manager, outdated or corrupted keyboard drivers may be the culprit. Keyboard drivers are software programs that facilitate communication between the keyboard hardware and the operating system.
Follow these steps to update or reinstall the keyboard drivers:
- Open Device Manager: Right-click on the Start button in the Windows taskbar and select “Device Manager” from the context menu. Alternatively, you can press the Windows key + X and choose “Device Manager” from the pop-up menu.
- Expand the Keyboards category: In the Device Manager window, locate and click the arrow next to “Keyboards” to expand the category and display the list of keyboards connected to your computer.
- Update the keyboard drivers: Right-click on your keyboard from the list and select “Update driver” from the context menu. Choose the option to search automatically for updated driver software. Windows will then search for available updates and install them if found. Follow any additional on-screen instructions, if prompted. After the driver update is complete, restart your computer.
- Reinstall the keyboard drivers: If updating the drivers didn’t resolve the issue, you can try reinstalling them. Right-click on your keyboard from the Device Manager list and select “Uninstall device” from the context menu. Confirm the uninstallation. After the driver is uninstalled, restart your computer. Windows will automatically reinstall the keyboard drivers when it detects the keyboard hardware. Test the keyboard after the installation is complete.
If Windows doesn’t automatically find and install the drivers during the restart, you can manually download the latest drivers from the manufacturer’s website. Visit the support section of the keyboard manufacturer’s website, locate the drivers for your specific model, download them, and follow the installation instructions provided.
Updating or reinstalling the keyboard drivers can often resolve issues related to driver conflicts, outdated software, or corruption. After performing these steps, test the keyboard to check if it is functioning correctly.
If the keyboard is still not working, you may need to proceed with other troubleshooting methods mentioned in this article or seek professional help.
Adjusting Keyboard Settings in Control Panel
If your keyboard is working but certain keys are not functioning as expected or there are issues with the keyboard settings, adjusting the keyboard settings in the Control Panel can help resolve the problem. The Control Panel in Windows allows you to customize various settings, including those related to your keyboard. Follow these steps to adjust keyboard settings:
- Open Control Panel: Click on the Start button in the Windows taskbar, search for “Control Panel,” and select it from the search results.
- Navigate to the Keyboard settings: In the Control Panel window, select the “Hardware and Sound” category. Under the “Devices and Printers” section, click on “Keyboard.”
- Customize keyboard settings: In the Keyboard Properties window, you will find various tabs and options to customize keyboard settings. Explore the different tabs to adjust settings such as character repeat rate, cursor blink rate, keyboard language, and keyboard layout. Make any necessary changes based on your preferences or to troubleshoot specific issues.
- Apply the changes: After adjusting the keyboard settings, click on the “Apply” or “OK” button to save the changes. Some settings may require a system restart to take effect.
After making the adjustments, test your keyboard to see if the issues have been resolved. Try typing in different applications and ensure that the keys function as expected.
If adjusting the keyboard settings didn’t resolve the issue, you may need to try other troubleshooting steps discussed in this article or seek professional assistance.
Remember, keyboard settings vary depending on your operating system version and keyboard model, so the options and steps mentioned above may differ slightly. Always refer to the user manual or the manufacturer’s website for specific instructions related to your keyboard.
Using On-Screen Keyboard as a Temporary Solution
If your physical keyboard is not functioning properly and you need a temporary solution to input data or commands, you can make use of the on-screen keyboard. The on-screen keyboard is a virtual keyboard that allows you to input text and access various keyboard functions using your mouse or touchscreen. Here’s how you can use the on-screen keyboard:
- Access the on-screen keyboard: In the Windows operating system, search for “On-Screen Keyboard” in the Start menu or click on the Start button, go to “All Programs” (or “Windows Accessories”), and select “Accessibility.” From there, you should find the on-screen keyboard.
- Use the virtual keys: The on-screen keyboard will display a layout similar to that of a physical keyboard. To input text, simply click on the virtual keys using your mouse or tap them if you’re using a touchscreen device. You can also access additional functionality such as modifier keys and special keys by clicking on the buttons provided on the on-screen keyboard interface.
- Customize the on-screen keyboard: You can customize the on-screen keyboard by clicking on the “Options” or “Settings” button on the interface. Here, you can adjust settings such as key size, key layout, and other preferences to suit your needs.
- Close the on-screen keyboard: When you no longer need the on-screen keyboard, you can close it by clicking on the “X” button or the close button provided on the interface. The on-screen keyboard will disappear from the screen.
The on-screen keyboard can be a useful temporary solution when your physical keyboard is not working. However, keep in mind that it may not be as efficient or comfortable as using a physical keyboard for extended periods. Therefore, it’s important to continue troubleshooting your physical keyboard or seek professional help to resolve the underlying issue.
Remember that the availability and functionality of the on-screen keyboard may vary depending on the operating system you’re using. If you’re using a different operating system or device, refer to the respective user manual or online resources for instructions on using the on-screen keyboard.
Seeking Professional Help
If you’ve tried the troubleshooting steps mentioned in this article and your keyboard problem persists, it may be time to seek professional assistance. Professional help can be invaluable in determining and resolving complex keyboard issues. Here’s when you should consider seeking professional help:
- Hardware malfunction: If you suspect a hardware malfunction, such as a faulty keyboard cable, damaged connector, or defective keys, a professional technician can thoroughly diagnose and repair the hardware issue.
- Complex software issues: Some keyboard problems may stem from complex software-related issues, such as conflicts with other programs, incompatible drivers, or operating system errors. A professional can analyze and troubleshoot these issues more effectively.
- Specialized keyboards: If you’re using specialized keyboards for gaming, editing, or programming, and the issues are specific to these keyboards, seeking assistance from experts in those fields can be helpful. They can provide specialized knowledge and solutions to address the problem.
- Warranty and technical support: If your keyboard is still under warranty, contacting the manufacturer’s technical support is advisable. They can guide you through the troubleshooting process, provide specific instructions, or arrange a repair or replacement if necessary.
- Time constraints and urgency: If you rely heavily on your keyboard for work or other important tasks and you cannot afford to waste time troubleshooting, seeking professional help can provide a quicker and more efficient solution.
When seeking professional help, consider contacting your computer manufacturer’s support, a reputable local computer repair service, or contacting the keyboard manufacturer directly. Explain the issues you’re experiencing in detail and provide any relevant information about your keyboard model, operating system, and steps you have already taken.
Remember, while seeking professional help may incur additional costs, it can save you time, frustration, and ensure a proper resolution for your keyboard issues.
If all else fails, and the cost of repair or replacement outweighs the benefits, it may be time to consider purchasing a new keyboard. Nevertheless, seeking professional advice beforehand can help you determine whether replacement is indeed necessary.
Conclusion
A functional keyboard is essential for productivity and a smooth computing experience. When faced with keyboard issues, it’s important to follow a step-by-step troubleshooting process to pinpoint and resolve the problem. In this article, we’ve covered various troubleshooting steps, including checking the physical connection, enabling the keyboard in Device Manager, updating or reinstalling keyboard drivers, adjusting keyboard settings in Control Panel, and using the on-screen keyboard as a temporary solution.
By carefully following these steps, you can often resolve common keyboard issues and get your keyboard up and running again. However, it’s important to recognize that some issues may require professional assistance. Whether it’s hardware malfunctions, complex software-related problems, or specialized keyboard issues, professional technicians can provide necessary expertise and solutions.
Remember to consult your computer or keyboard manufacturer’s support, local computer repair services, or the manufacturer directly if you need professional assistance. They can guide you in solving the problem or advise you on warranty coverage or potential repair/replacement.
Ultimately, maintaining a properly functioning keyboard is crucial for optimal computer usage. Regularly cleaning your keyboard, keeping software updated, and following best practices for keyboard usage can help prevent issues and extend the lifespan of your keyboard.
We hope that this article has been helpful in guiding you through troubleshooting common keyboard issues. By following the steps outlined here, you’ll be better equipped to diagnose and address keyboard problems, ensuring a seamless and efficient computing experience.


