Introduction
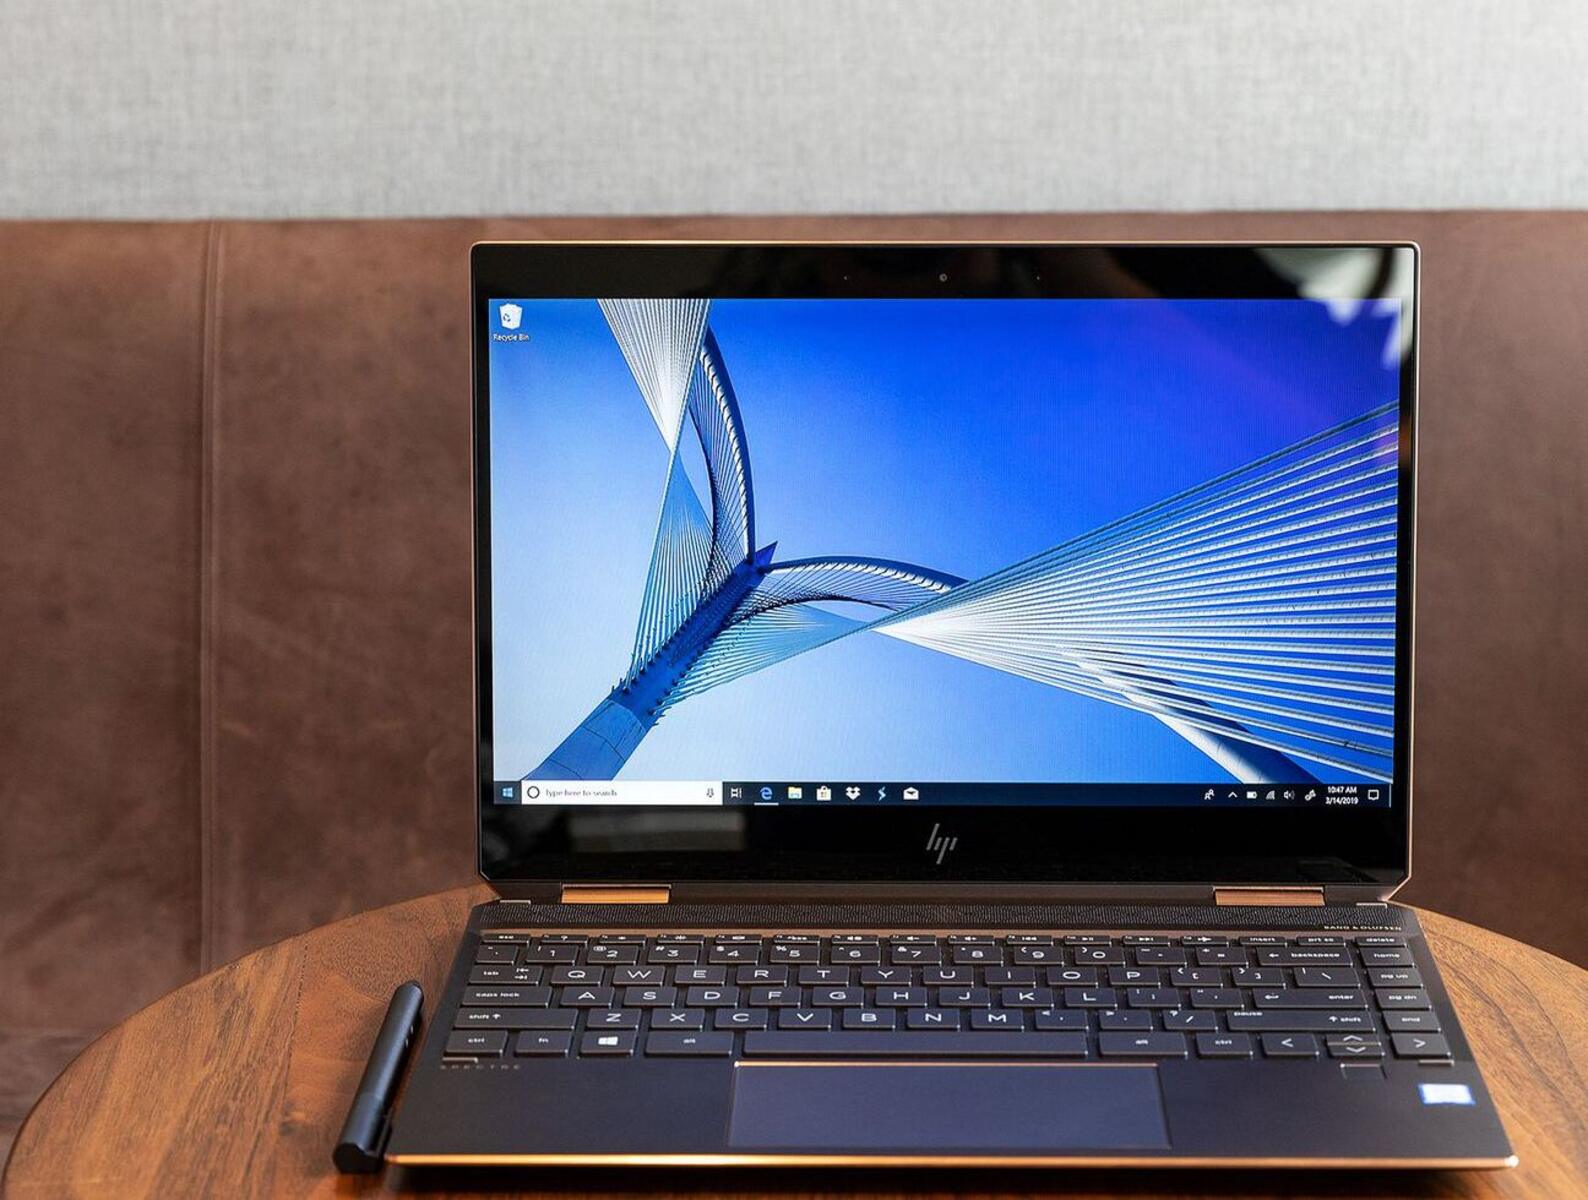
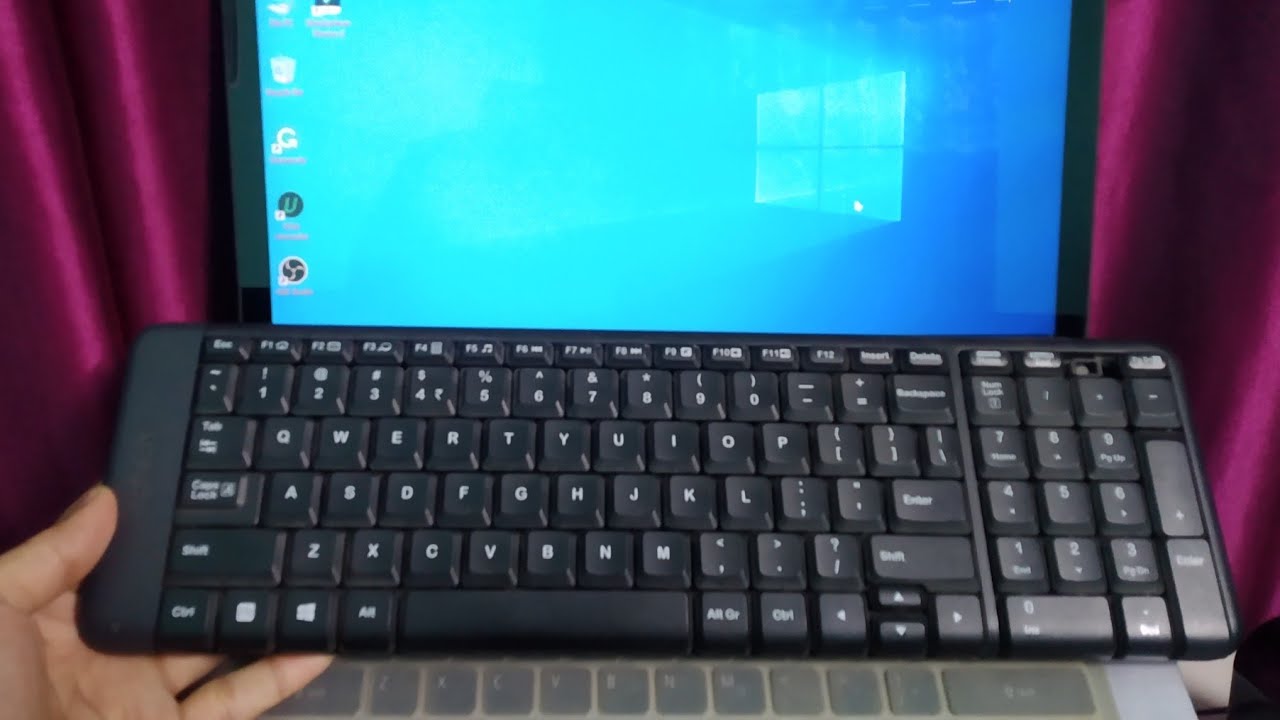
Wireless keyboards have become increasingly popular due to their convenience and flexibility. They provide a clutter-free workspace and allow you to work from a distance without any physical limitations. Connecting a wireless keyboard to your laptop is a straightforward process and can greatly enhance your typing experience.
In this article, we will guide you through the steps to connect a wireless keyboard to your laptop. Whether you’re using a Windows laptop or a MacBook, the process remains relatively similar.
Before you begin, it’s important to ensure that your laptop has built-in Bluetooth capabilities. Most modern laptops come equipped with Bluetooth, but it’s always prudent to double-check. If your laptop does not have built-in Bluetooth, you can purchase an external Bluetooth dongle to enable wireless connectivity.
Once you’ve confirmed that your laptop has Bluetooth, you can proceed with the pairing process. This involves turning on the wireless keyboard, enabling Bluetooth on your laptop, and establishing a connection between the two devices.
The specific steps may vary slightly depending on the make and model of your wireless keyboard and laptop, but the general process remains the same. By following these instructions, you’ll quickly be able to connect your wireless keyboard to your laptop and start enjoying the benefits of a wireless typing experience.
Step 1: Check if your laptop has built-in Bluetooth
The first step in connecting a wireless keyboard to your laptop is to ensure that your laptop has built-in Bluetooth capabilities. Bluetooth allows your laptop to communicate wirelessly with external devices like the keyboard.
To check if your laptop has built-in Bluetooth, follow these steps:
- Click on the Start menu or press the Windows key and search for “Device Manager”.
- In the Device Manager window, look for a category called “Bluetooth” or “Bluetooth Radios”.
- If you see either of these categories, it means your laptop has built-in Bluetooth. You can proceed to the next step. If you don’t see these categories, it means your laptop doesn’t have built-in Bluetooth and you’ll need to purchase an external Bluetooth dongle.
If your laptop has built-in Bluetooth, make sure it is enabled. Here’s how:
- Go to the Start menu, type “Settings”, and click on the “Settings” app.
- In the Settings window, click on “Devices”.
- In the Devices window, click on “Bluetooth & other devices” in the left sidebar.
- On the right side of the window, toggle the switch to turn on Bluetooth.
Once Bluetooth is enabled, your laptop is ready to connect to the wireless keyboard. Proceed to the next step to learn how to turn on the keyboard and put it in pairing mode.
Step 2: Turn on the wireless keyboard
Before you can connect the wireless keyboard to your laptop, you need to ensure that the keyboard itself is turned on. Most wireless keyboards have a power button or switch located on the bottom or side.
Here are the steps to turn on the wireless keyboard:
- Locate the power button or switch on the wireless keyboard. It may be labeled with a power symbol or have an icon that resembles a power button.
- Press and hold the power button or switch for a few seconds. You may see a light indicator on the keyboard indicating that it is powered on.
- Once the keyboard is turned on, it is ready to be paired with your laptop.
Keep in mind that some wireless keyboards may have additional features or settings that can be customized. Refer to the user manual or documentation that came with your keyboard for more information on specific features and functions.
Now that your wireless keyboard is turned on, let’s move on to the next step: enabling Bluetooth on your laptop.
Step 3: Enable Bluetooth on your laptop
Before your laptop can connect to the wireless keyboard, you need to make sure that Bluetooth is enabled on your laptop. Enabling Bluetooth allows your laptop to discover and connect to nearby Bluetooth devices, including the wireless keyboard.
Here’s how to enable Bluetooth on your laptop:
- Click on the Start menu or press the Windows key and search for “Settings”.
- In the Settings window, click on “Devices”.
- In the Devices window, click on “Bluetooth & other devices” in the left sidebar.
- On the right side of the window, toggle the switch to turn on Bluetooth.
Once Bluetooth is enabled, your laptop is ready to search for and connect to the wireless keyboard. In the next step, we will guide you on putting the keyboard in pairing mode. This allows your laptop to discover and establish a connection with the keyboard.
Note: On a Mac laptop, the process to enable Bluetooth may vary slightly. You can usually find the Bluetooth settings in the System Preferences menu. Refer to your specific Mac model’s documentation for more details on enabling Bluetooth.
Now that Bluetooth is enabled on your laptop, let’s move on to the next step: putting the wireless keyboard in pairing mode.
Step 4: Put the keyboard in pairing mode
In order for your laptop to recognize and connect to the wireless keyboard, you need to put the keyboard in pairing mode. Pairing mode allows the keyboard to broadcast its presence and allows your laptop to detect it.
The process to put the keyboard in pairing mode may vary depending on the brand and model of your wireless keyboard. Typically, you can follow these general steps:
- Refer to the user manual or documentation that came with your wireless keyboard for specific instructions on how to put it in pairing mode. Look for keywords like “pairing”, “connect”, or “Bluetooth mode”.
- Usually, you need to press and hold a specific button or a combination of buttons on the keyboard to activate pairing mode. The button may be labeled with a Bluetooth symbol or have an icon indicating pairing.
- While holding down the button(s), observe the keyboard for any visual indicators, such as LED lights blinking or a change in color, to confirm it has entered pairing mode.
Once the keyboard is in pairing mode, it is ready to be discovered by your laptop. Keep in mind that some keyboards may automatically enter pairing mode when they are turned on. Refer to the user manual for your specific keyboard to determine if this is the case.
In the next step, we will guide you on how to search for the keyboard on your laptop and establish a connection.
Note: If you are not sure how to put your specific keyboard in pairing mode, refer to the manufacturer’s website or customer support for assistance.
Step 5: Search for the keyboard on your laptop
Now that your wireless keyboard is in pairing mode, you can search for it on your laptop and establish a connection. Your laptop will scan for nearby Bluetooth devices and display a list of available devices, including your wireless keyboard.
Follow these steps to search for the keyboard on your laptop:
- Click on the Start menu or press the Windows key and search for “Settings”.
- In the Settings window, click on “Devices”.
- In the Devices window, click on “Bluetooth & other devices” in the left sidebar.
- On the right side of the window, click on the “Add Bluetooth or other device” button.
- A new window will appear with options for adding a device. Click on “Bluetooth”.
- Your laptop will start scanning for nearby Bluetooth devices. Wait for your wireless keyboard to appear in the list of available devices.
Once the wireless keyboard appears in the list, click on it to select it. Your laptop will initiate the pairing process and establish a connection with the keyboard.
Note: The time it takes for the keyboard to appear in the list may vary. If you do not see the keyboard initially, try turning the keyboard off and on again to refresh the list. Also, make sure the keyboard is in close proximity to your laptop for a stronger Bluetooth signal.
In the next step, we will guide you through the process of connecting the keyboard to your laptop.
Note: On a Mac laptop, the process to search for Bluetooth devices may vary slightly. Refer to your specific Mac model’s documentation for more details on searching for Bluetooth devices.
Step 6: Connect the keyboard to your laptop
After you have selected your wireless keyboard from the list of available devices, it’s time to connect it to your laptop. The connection process may slightly differ depending on your operating system, but the general procedure remains the same.
Follow these steps to connect the wireless keyboard to your laptop:
- Click on the wireless keyboard that appears in the list of available devices.
- Once selected, your laptop will attempt to establish a connection with the keyboard. During this process, you may see a pairing code displayed on your laptop screen and/or the keyboard itself.
- If prompted, carefully enter the pairing code using the keyboard. This step is necessary to ensure a secure connection between the devices.
- Once the pairing code is entered correctly, your laptop will finalize the connection with the keyboard.
- After a successful connection, you will see a confirmation message on your laptop indicating that the wireless keyboard is connected and ready to use.
Congratulations! You have now successfully connected your wireless keyboard to your laptop. You can now start using the keyboard for typing, gaming, or any other tasks that require keyboard input.
It’s worth mentioning that most wireless keyboards will automatically reconnect to your laptop when both devices are turned on and within range. This eliminates the need for repeated pairing every time you want to use the keyboard.
In the next step, we will advise you to test the connection and ensure that the keyboard is functioning correctly with your laptop.
Note: If you encounter any issues during the connection process or after connecting the keyboard, refer to the user manual or contact the manufacturer’s customer support for troubleshooting assistance.
Step 7: Test the connection
After connecting the wireless keyboard to your laptop, it’s essential to test the connection and ensure that everything is functioning correctly. Testing the connection will allow you to verify that the keyboard is sending input to your laptop without any issues.
Here are a few steps to test the connection between your wireless keyboard and your laptop:
- Open a text editor or any application where you can type.
- Place your hands on the wireless keyboard and start typing. Make sure that the letters and characters appear on the screen as you press the corresponding keys on the keyboard.
- Test all the keys, including modifier keys (Ctrl, Shift, Alt), function keys (F1, F2, etc.), and any additional buttons or features on the keyboard.
- If the keyboard is responsive and the input is registering correctly, then the connection is successful.
- If you encounter any issues with the keyboard not registering input or certain keys not working, try troubleshooting steps such as restarting your laptop, checking the batteries of the keyboard, or re-pairing the keyboard with your laptop.
It’s also a good idea to test the range of your wireless keyboard. Move away from your laptop gradually while typing and check if the input still registers accurately. This will help you determine the maximum distance within which you can use the wireless keyboard without any signal loss.
Once you’ve confirmed that the wireless keyboard is working correctly and the connection is stable, you can enjoy the freedom and convenience of using a wireless keyboard with your laptop.
Congratulations! You have successfully learned how to connect and test a wireless keyboard on your laptop. Now you can type away to your heart’s content without being constrained by wires.
Remember, if you experience any ongoing issues with the wireless keyboard, refer to the user manual or reach out to the manufacturer’s customer support for further assistance.
Conclusion
Connecting a wireless keyboard to your laptop is a simple process that can greatly enhance your productivity and comfort. By following the steps outlined in this article, you can enjoy the convenience of a clutter-free workspace and the freedom to work or play from a distance.
First, ensure that your laptop has built-in Bluetooth or purchase an external Bluetooth dongle if needed. This will allow your laptop to communicate wirelessly with the keyboard. Then, turn on the wireless keyboard and enable Bluetooth on your laptop.
Putting the keyboard in pairing mode is the next step, allowing your laptop to detect and establish a connection with the keyboard. Once the keyboard is in pairing mode, search for it on your laptop and select it from the list of available devices.
After selecting the keyboard, your laptop will initiate the connection process. Follow any prompts to enter the pairing code if required. Once the connection is established, you will receive a confirmation message on your laptop.
To ensure the connection is working properly, test the keyboard by typing in a text editor or any application where you can type. Verify that the input from the keyboard registers accurately on your laptop screen. If any issues arise, try troubleshooting steps or seek assistance from the manufacturer’s support.
Throughout the process, remember to refer to the user manual or documentation provided with your specific wireless keyboard for any additional instructions or troubleshooting guidance.
Now that you have successfully connected and tested your wireless keyboard, you can enjoy the benefits of a wireless typing experience on your laptop. Work or play with ease and comfort, enjoying the freedom to move and the flexibility of a wire-free setup.
We hope this guide has been helpful in assisting you with connecting your wireless keyboard to your laptop. Happy typing!