Introduction
Welcome to the world of illuminated keyboards! Whether you’re a late-night worker, a gaming enthusiast, or simply someone who enjoys typing in low-light conditions, a backlit keyboard can be a game-changer. This innovative feature not only adds a touch of style to your laptop but also provides functional benefits that enhance your typing experience.
Imagine sitting in a dimly lit room, your fingers dancing across the keys as the backlit illumination casts a soft glow, guiding your way through countless keystrokes. With a backlit keyboard, typing becomes easier, more efficient, and visually appealing. So, if you’re tired of accidentally hitting the wrong keys in the dark or squinting to see the characters on your keys, it’s time to consider upgrading to a keyboard that lights up.
In this article, we’ll explore the different types of backlit keyboards, guide you through the process of installing an external backlit keyboard, and show you how to install a backlit keyboard for your laptop. We’ll also provide troubleshooting tips and offer advice on how to maintain your backlit keyboard for long-term enjoyment.
But first, let’s examine why you might need a backlit keyboard in the first place. Whether you’re a student, professional, or casual user, the benefits of a backlit keyboard can greatly enhance your user experience and make everyday tasks more enjoyable.
Why Do You Need a Backlit Keyboard?
Have you ever found yourself struggling to type on a laptop keyboard in a dimly lit room? Or perhaps you enjoy working or gaming late into the night and need a way to clearly see the keys without straining your eyes? This is where a backlit keyboard comes to the rescue.
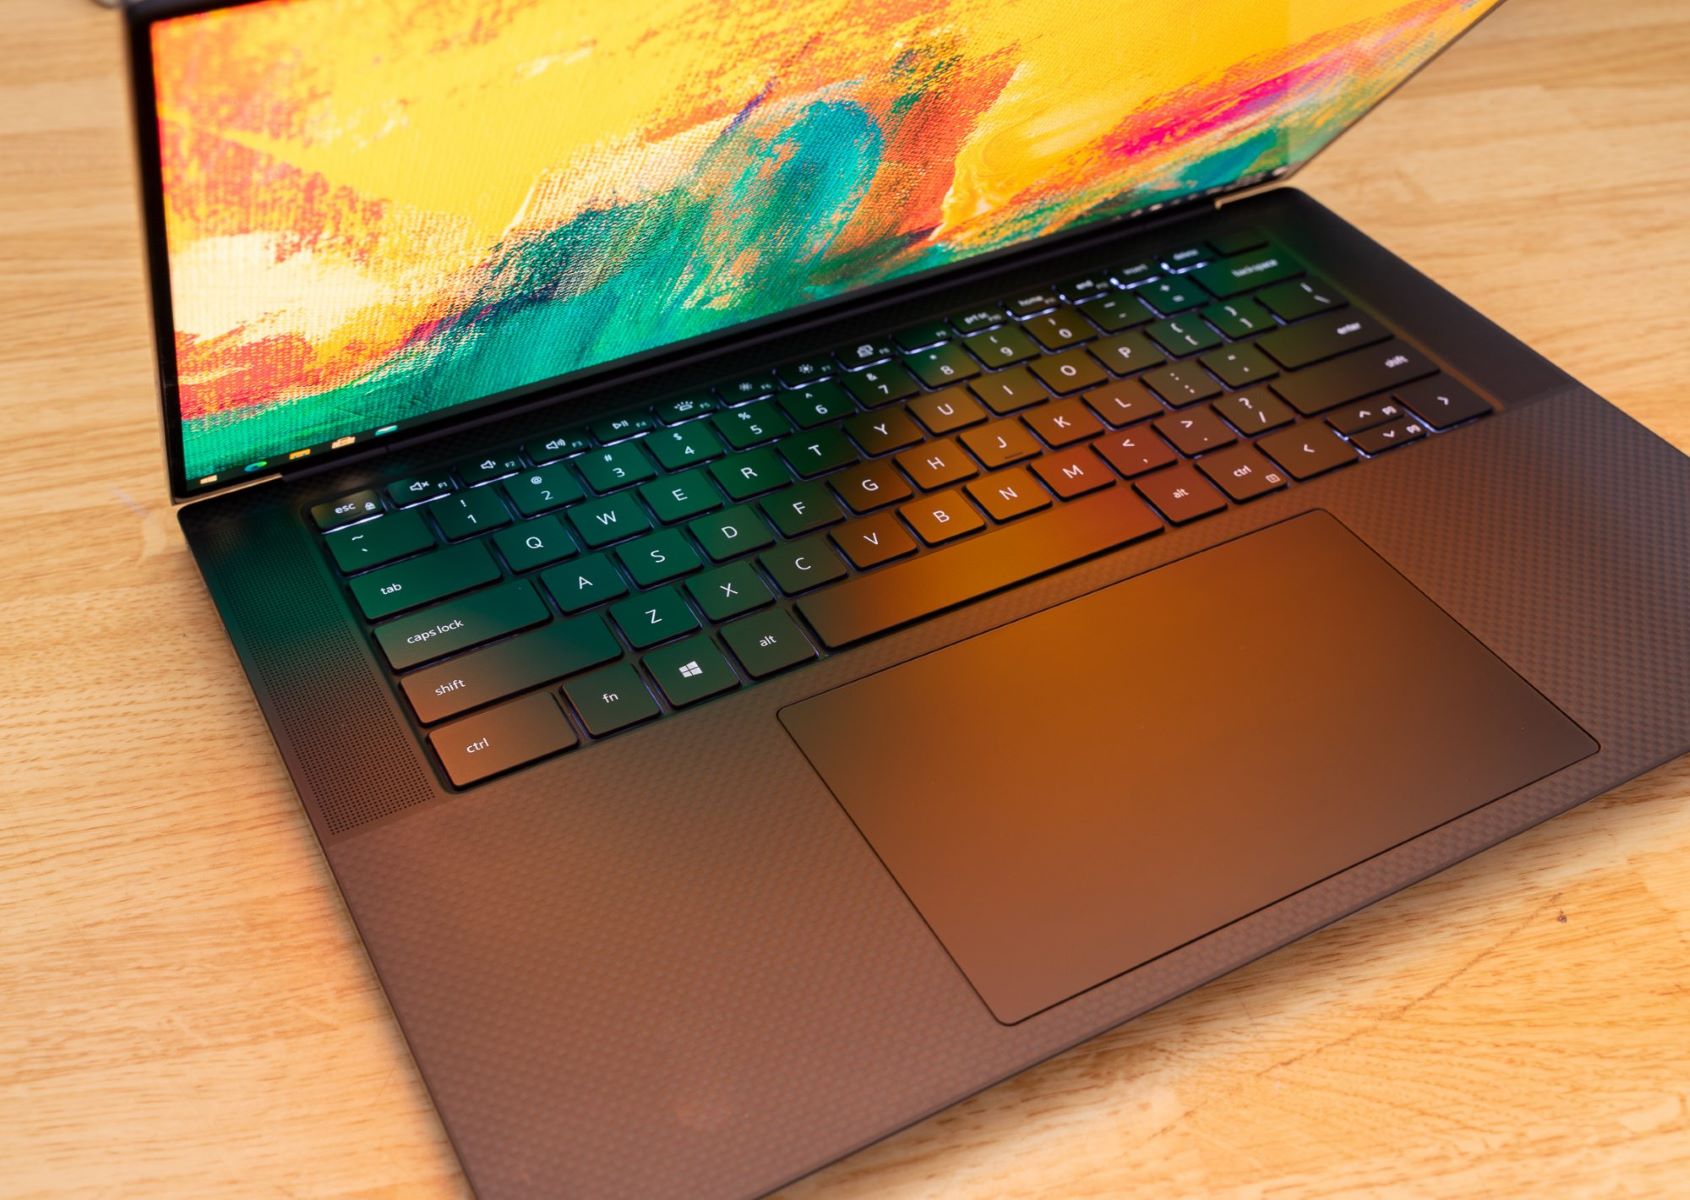
A backlit keyboard is designed with built-in LED lights that illuminate the keys, providing a soft, customizable glow that enhances visibility. Here are some reasons why you might need a backlit keyboard:
- Enhanced Visibility: The primary benefit of a backlit keyboard is improved visibility. Whether you’re in a dimly lit room, a cozy café, or an airplane cabin, the illuminated keys make it easier to see and locate the specific keys you need to press, reducing errors and improving typing speed.
- Work in Low-Light Conditions: If you find yourself frequently working in low-light environments, such as during late-night study sessions or while on a red-eye flight, a backlit keyboard is a must-have accessory. The adjustable backlighting ensures that the keys are clearly visible, allowing you to type comfortably and accurately.
- Gaming Experience: Gamers often spend hours engrossed in their favorite games, and having a backlit keyboard can greatly enhance the gaming experience. The customizable lighting not only adds a touch of style but also helps you locate critical keys in the heat of battle, giving you a competitive edge.
- Aesthetic Appeal: Let’s face it, technology is not just about function but also about style. A backlit keyboard lends a modern and sleek look to your laptop, making it stand out from the crowd. Whether you’re in a meeting, a coffee shop, or simply using your laptop at home, the illuminated keys add a touch of sophistication to your overall setup.
Now that we understand the benefits of a backlit keyboard, let’s explore the different types available to help you choose the one that best suits your needs.
Types of Backlit Keyboards
When it comes to backlit keyboards, there are several options to consider. Let’s explore the different types available and their unique features:
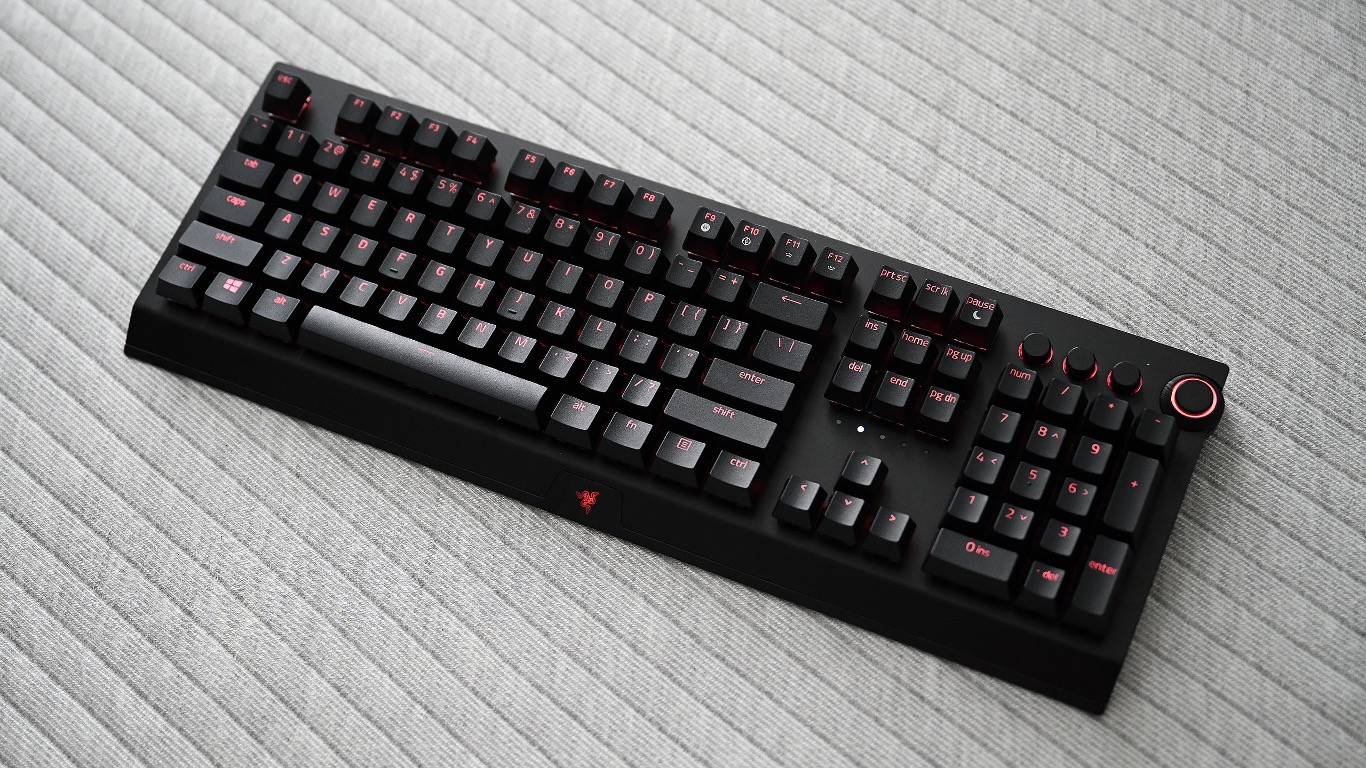
- Single Color Backlighting: This is the most common type of backlit keyboard and features a single color option, typically white or blue. Although it may lack the customization options of multi-color keyboards, single color backlighting still offers improved visibility and a stylish aesthetic.
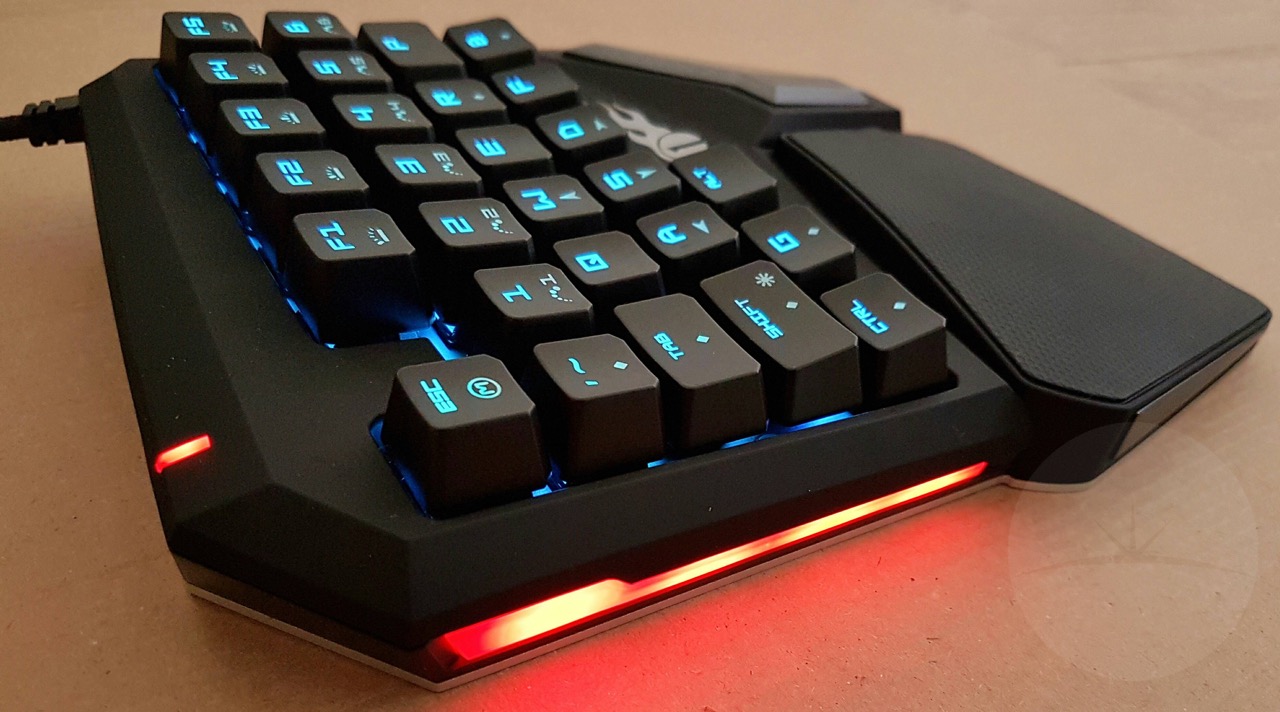
- Multi-Color Backlighting: Multi-color backlit keyboards take the lighting experience to the next level. With the ability to choose from a spectrum of colors, these keyboards offer a high level of customization. You can select different colors for different zones or even individual keys, allowing you to create a visually stunning and personalized keyboard setup.
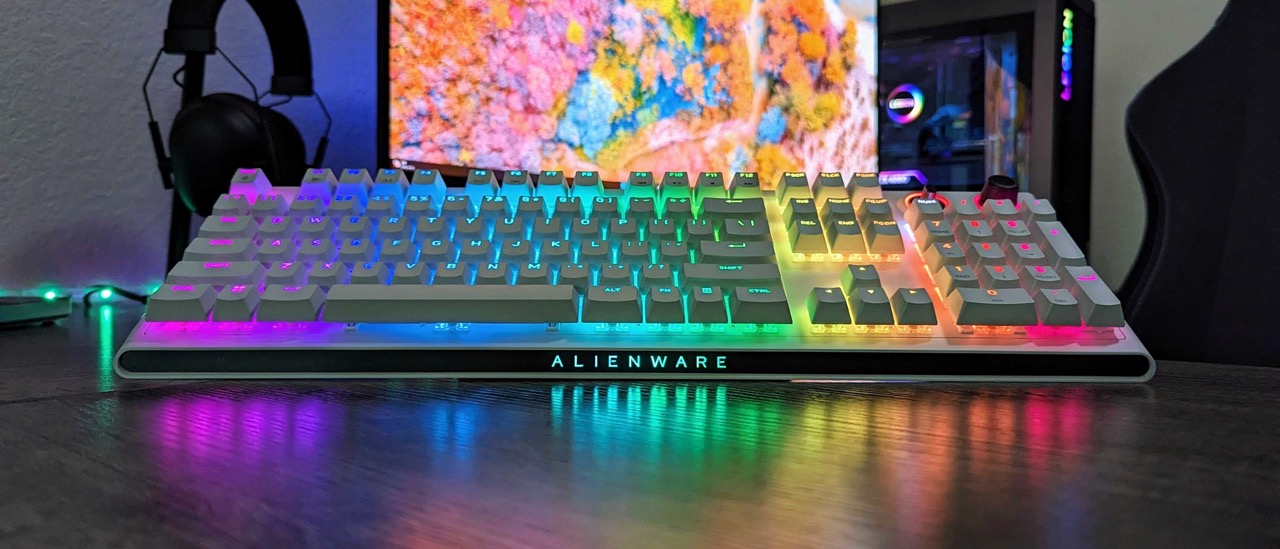
- RGB Backlighting: RGB backlit keyboards are a favorite among gamers and enthusiasts. With Red, Green, and Blue (RGB) LEDs for each key, these keyboards offer virtually unlimited color options. You can create dynamic lighting effects, synchronize the keyboard lighting with in-game actions, and even download pre-programmed lighting profiles. RGB backlit keyboards provide a captivating and immersive experience, elevating your gaming or typing sessions to new heights.
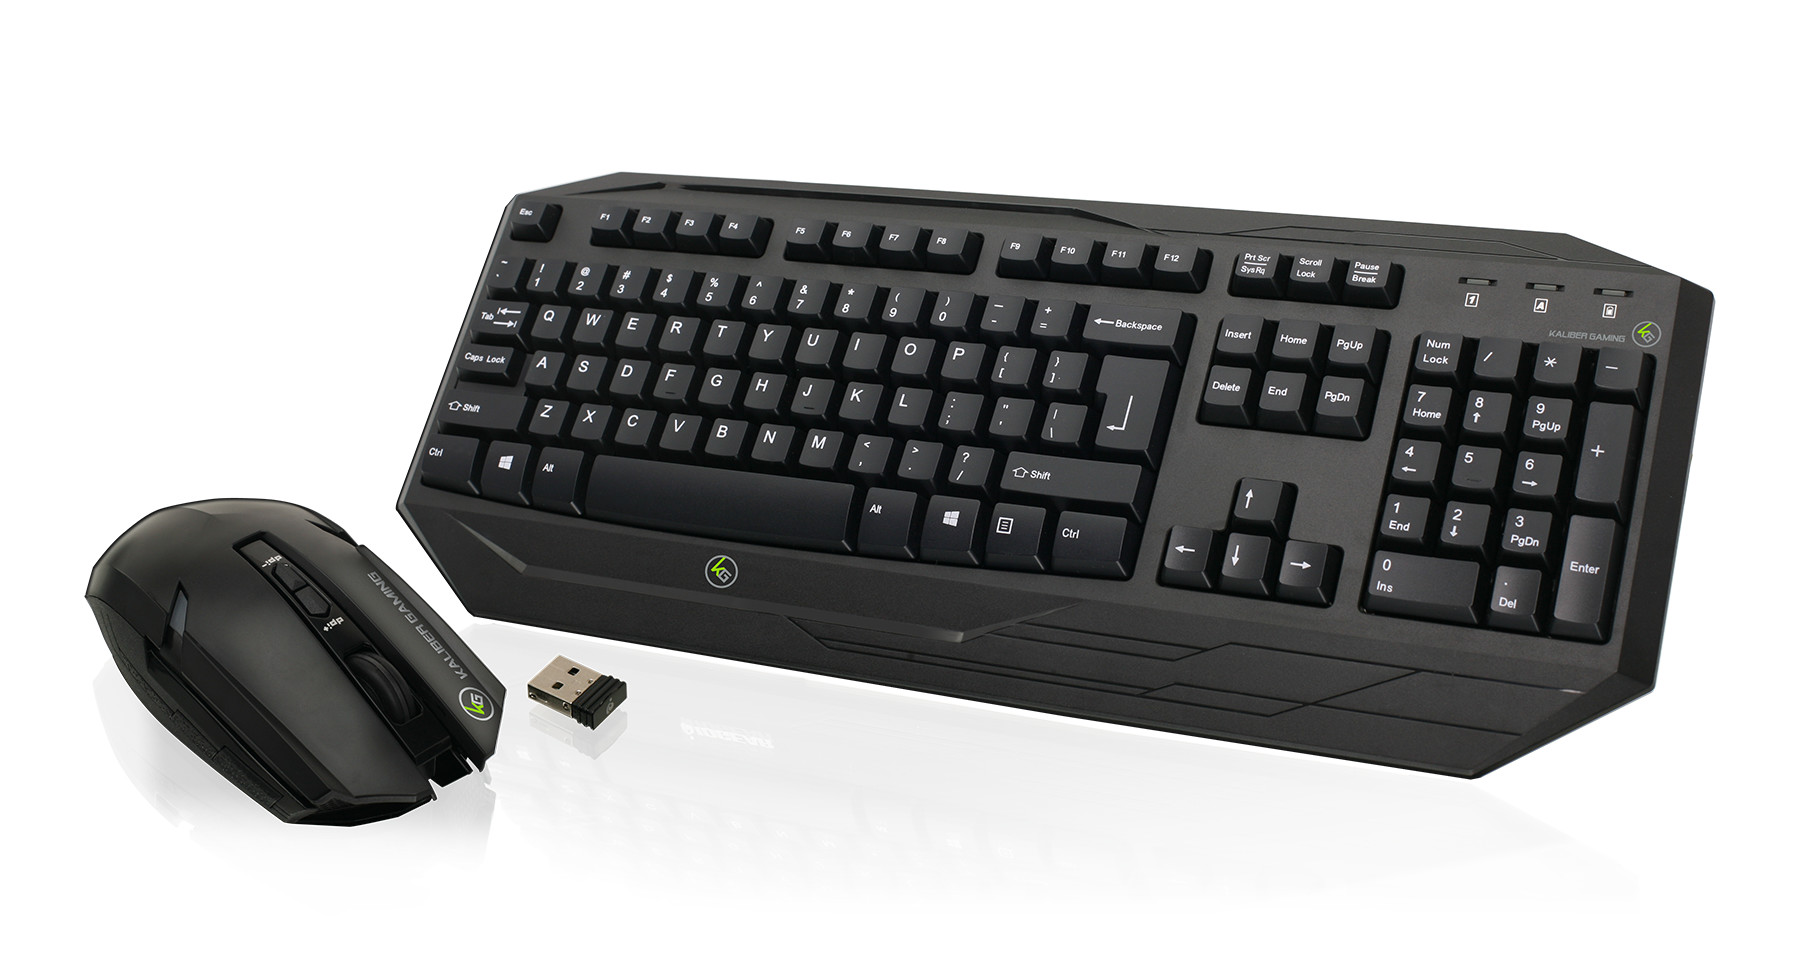
- Wireless Backlit Keyboards: If you prefer a wireless setup or need the flexibility to use your keyboard from a distance, wireless backlit keyboards are the way to go. These keyboards use Bluetooth or other wireless technologies to connect to your laptop or device. With the added benefit of backlighting, you can enjoy the convenience of a wireless keyboard without sacrificing visibility in low-light environments.
When choosing a backlit keyboard, consider your specific needs and preferences. If you prioritize style and customization, opt for a multi-color or RGB backlighting option. If portability and convenience are important, a wireless backlit keyboard might be the right choice for you. Regardless of the type you choose, a backlit keyboard is sure to enhance your typing experience.
Preparing Your Laptop for Backlit Keyboard Installation
Before you can install a backlit keyboard, it’s important to ensure that your laptop is compatible and properly prepared for the installation. Here are the steps to follow:
- Check Compatibility: Not all laptops are capable of supporting a backlit keyboard. Check your laptop’s specifications or consult the manufacturer’s website to verify if your laptop model has the necessary connectors and compatibility for a backlit keyboard installation.
- Backup Your Data: It’s always a good idea to back up your important data before making any hardware changes to your laptop. This ensures that your data remains safe in case anything goes wrong during the installation process.
- Gather Tools: Depending on the type of backlit keyboard installation you plan to perform, you may need some tools. Commonly required tools include a small Phillips screwdriver, a plastic spudger or pry tool, and a pair of tweezers. Refer to the installation instructions provided by the keyboard manufacturer for a comprehensive list of required tools.
- Create a Clean Working Space: Find a clean and well-lit area to work on your laptop. Clear any clutter and lay down a soft, non-static surface, such as an anti-static mat or a clean cloth, to prevent any damage to the laptop or keyboard components.
- Power Off and Unplug: Ensure your laptop is powered off and disconnected from any power sources before proceeding with the installation. This will help prevent any accidental damage to the laptop or yourself during the process.
- Refer to the Manufacturer’s Instructions: Every laptop model has different hardware configurations and installation procedures. Carefully read and follow the installation instructions provided by the backlit keyboard manufacturer. These instructions will guide you through the specific steps required for installing the keyboard on your laptop model.
By preparing your laptop in advance and following the proper installation procedures, you can ensure a smooth and successful installation of your backlit keyboard. Next, we’ll explore the steps for installing an external backlit keyboard, in case you prefer a detachable keyboard option.
Installing an External Backlit Keyboard
If you prefer the flexibility of a detachable keyboard, you can easily install an external backlit keyboard to enhance your typing experience. Here’s a step-by-step guide to help you with the installation:
- Choose the Right Keyboard: Select an external backlit keyboard that matches your preferences in terms of size, layout, and backlighting features. There are various options available, including compact keyboards, full-sized keyboards, and ergonomic keyboards. Pick one that suits your needs and connects to your laptop via USB, Bluetooth, or other compatible interfaces.
- Prepare Your Laptop: Ensure that your laptop is turned off and disconnected from any power sources before proceeding. This helps prevent any electrical damage while connecting the external keyboard.
- Connect the Keyboard: Depending on the type of connection, plug the USB cable into an available USB port on your laptop or pair the keyboard with your laptop via Bluetooth. Follow the specific instructions provided by the keyboard manufacturer to establish the connection.
- Install Any Required Software: Some external backlit keyboards may require the installation of specific software or drivers for advanced features or customization options. Check the manufacturer’s website for any available software downloads and follow the instructions to install them on your laptop.
- Test the Keyboard: Once the keyboard is connected and any required software is installed, test the functionality of the keyboard. Press each key to ensure they are registering properly and check if the backlighting is working as intended. If you encounter any issues, refer to the troubleshooting section in the keyboard’s user manual or contact the manufacturer for assistance.
- Enjoy Your New Keyboard: Congratulations! You have successfully installed an external backlit keyboard. Now you can enjoy improved visibility, comfort, and style while typing on your laptop.
Installing an external backlit keyboard is a simple and convenient way to upgrade your typing experience. However, if you prefer a more integrated solution, you may consider installing a backlit keyboard specifically designed for your laptop model. We’ll explore the installation process for a backlit laptop keyboard in the next section.
Installing a Backlit Laptop Keyboard
If you prefer a more integrated solution and want to replace your laptop’s existing keyboard with a backlit one, here is a step-by-step guide to help you with the installation:
- Purchase a Compatible Backlit Keyboard: Before proceeding, make sure to purchase a backlit keyboard that is compatible with your laptop model. Check the specifications and compatibility information provided by the keyboard manufacturer or consult with a laptop specialist to ensure a proper fit.
- Prepare Your Laptop: Shut down your laptop and unplug it from any power sources. Remove the battery pack if it is removable. This will prevent any electrical damage during the installation process.
- Remove the Old Keyboard: Carefully remove the old keyboard from your laptop. This process may involve unscrewing the keyboard from the laptop chassis and disconnecting the ribbon cable or connector that attaches it to the motherboard. Refer to your laptop’s user manual or the manufacturer’s website for specific instructions on keyboard removal for your laptop model.
- Attach the Backlit Keyboard: Take the new backlit keyboard and connect the ribbon cable or connector to the appropriate port on the motherboard. Ensure that the keyboard is aligned properly with the screw holes in the laptop chassis.
- Secure the Keyboard: Carefully secure the backlit keyboard in place by screwing it into the laptop chassis using the provided screws. Make sure the keyboard is firmly attached and properly aligned.
- Reassemble Your Laptop: Once the backlit keyboard is securely installed, follow the reverse steps of disassembly to reassemble your laptop. Ensure that all components, including the battery pack, are properly reattached.
- Power On and Test: Power on your laptop and test the functionality of the new backlit keyboard. Press each key to ensure they are registering properly and check if the backlighting is working as intended. If any issues arise, consult the troubleshooting section in your laptop’s user manual or contact the keyboard manufacturer for support.
By following these steps, you can successfully install a backlit keyboard in your laptop, enhancing both its functionality and style. However, if you encounter any difficulties during the installation process, it is recommended to seek professional assistance to ensure proper installation and avoid any potential damage to your laptop.
Troubleshooting Backlit Keyboard Installation
While installing a backlit keyboard can greatly enhance your typing experience, you may encounter some issues during the installation process. Here are some common troubleshooting tips to help you resolve any problems you may face:
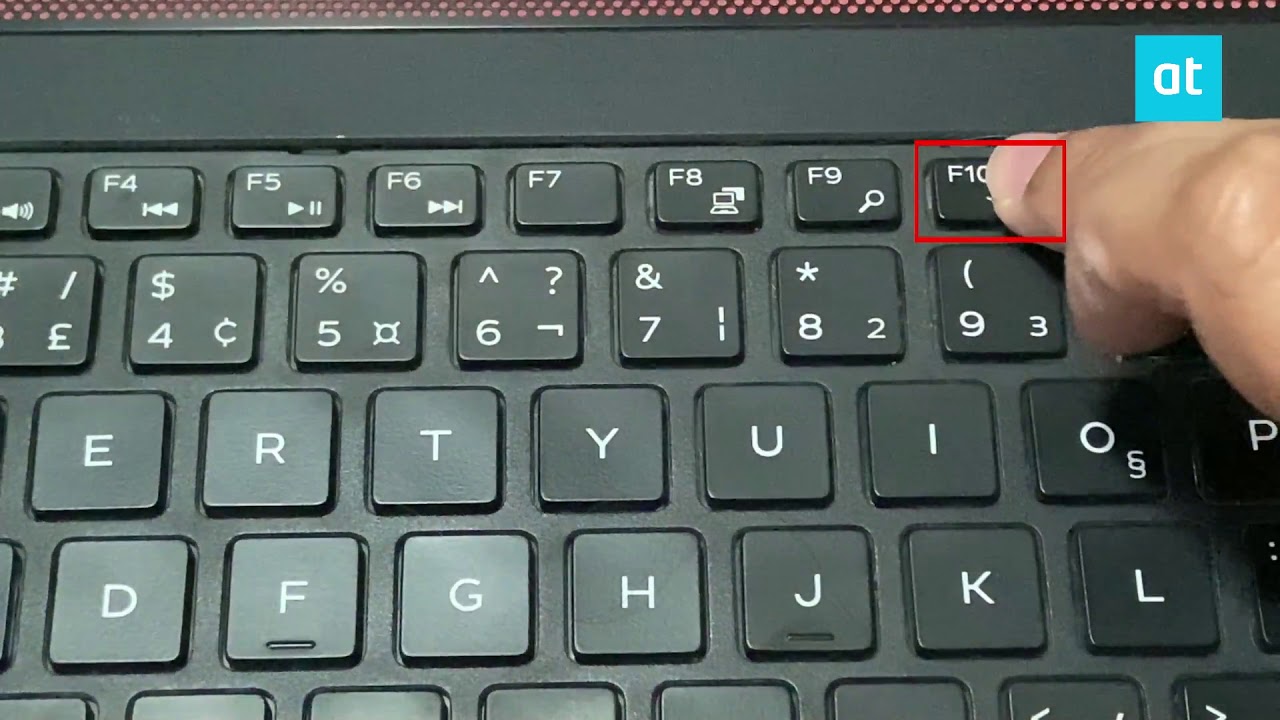
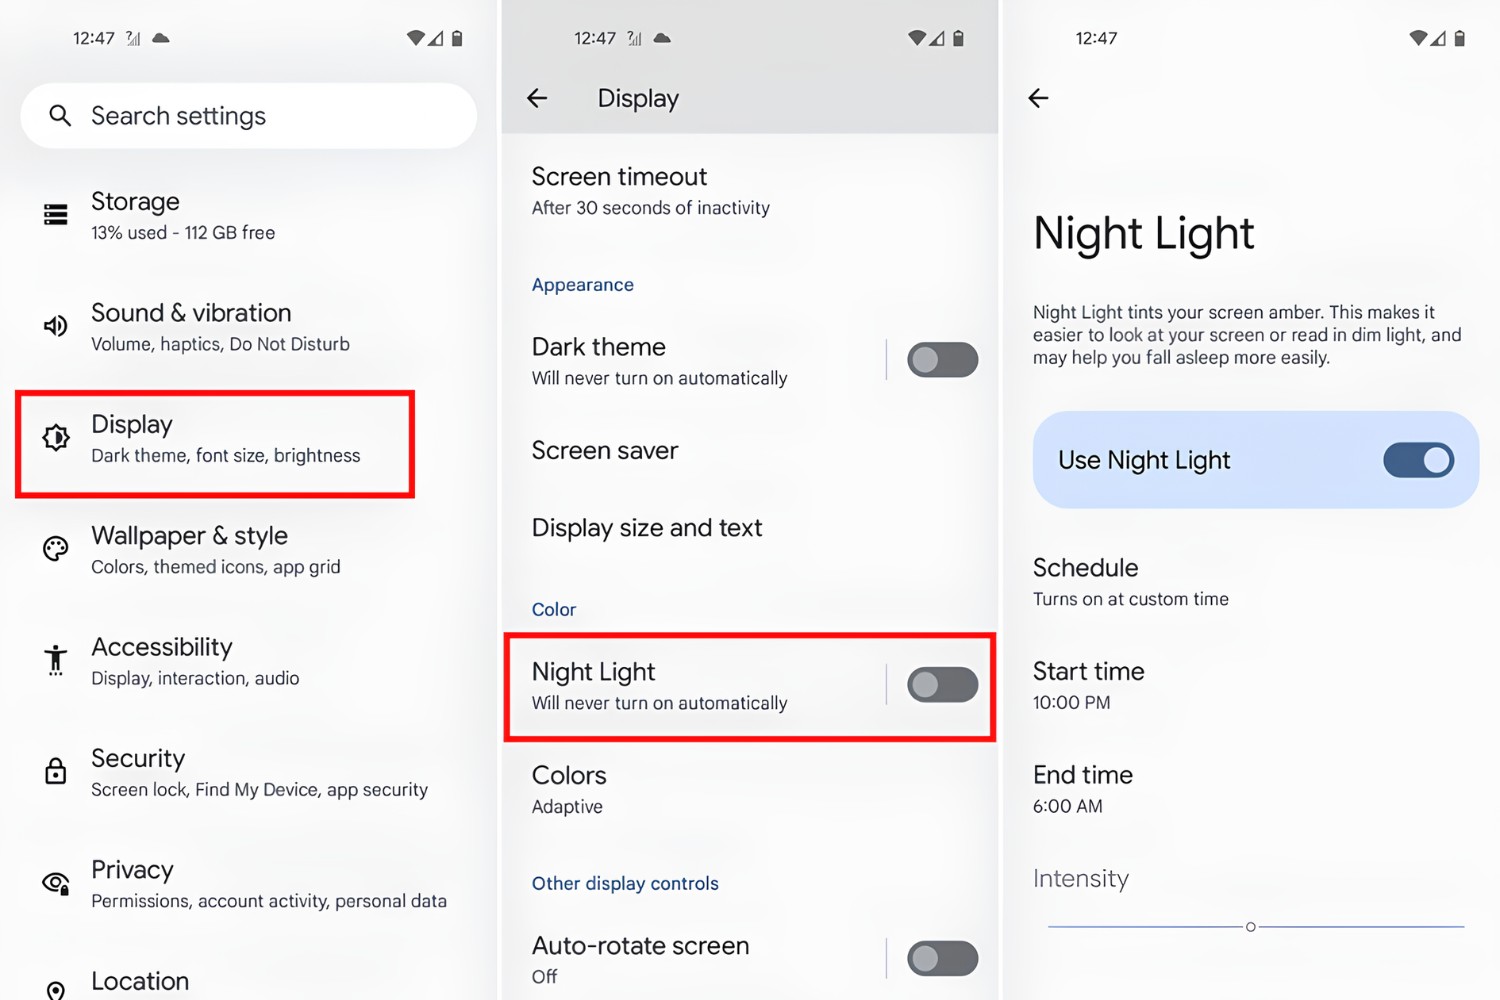
- No Backlighting: If the keyboard is not lighting up, first ensure that the backlight feature is enabled. Some keyboards have dedicated function keys or software settings to control the backlight. Make sure the keyboard is properly connected to your laptop and any required software or drivers are installed. If the issue persists, try restarting your laptop or contacting the keyboard manufacturer for further assistance.
- Malfunctioning Keys: If certain keys are not functioning properly, it could be due to a loose connection or a compatibility issue. Double-check that the ribbon cable or connector is securely attached and that it is compatible with your laptop model. If the problem persists, you may need to contact the keyboard manufacturer or consider seeking professional help.
- Incompatibility: In some cases, a backlit keyboard may not be compatible with your laptop due to hardware or software limitations. Ensure that you have the correct keyboard model for your laptop and that it is supported by your laptop’s specifications. If the keyboard is not compatible, you may need to explore other alternatives or consult with a laptop specialist for further guidance.
- Software Issues: If you are experiencing software-related issues with the backlit keyboard, such as the inability to customize lighting effects or adjust backlight brightness, ensure that you have installed the necessary software or drivers provided by the manufacturer. Check for any available software updates and consult the manufacturer’s support resources for troubleshooting tips specific to your keyboard model.
- Seek Professional Assistance: If you have tried troubleshooting steps and are still unable to resolve the issues with your backlit keyboard installation, it may be best to seek professional assistance. Reach out to a computer technician or contact the support team of the keyboard manufacturer for further guidance and potential solutions.
Remember, each backlit keyboard and laptop combination may have unique troubleshooting requirements. It’s important to consult the specific documentation provided by the manufacturer and utilize any available support resources to address any problems encountered during installation.
Tips for Maintaining Your Backlit Keyboard
To ensure optimal performance and longevity of your backlit keyboard, it’s important to incorporate proper maintenance practices. Here are some tips to help you maintain your backlit keyboard:
- Keep it Clean: Regularly clean your backlit keyboard to prevent dust, dirt, and debris buildup. Use compressed air or a soft brush to remove any particles from between the keys. You can also use a damp cloth or keyboard cleaning solution to wipe the keys and surface. Avoid using excessive moisture and harsh chemicals that may damage the keyboard.
- Be Mindful of Liquids: Take precautions to prevent liquid spills on your backlit keyboard, as this can cause damage to the internal components and lighting system. Avoid eating or drinking near the keyboard, and keep drinks or other liquids at a safe distance. In case of a spill, immediately power off the keyboard, disconnect it from your laptop, and follow appropriate cleaning procedures to minimize potential damage.
- Adjust Backlight Brightness: If your backlit keyboard offers adjustable brightness settings, take advantage of this feature to suit your preference and lighting conditions. High brightness settings may consume more power, so consider adjusting the backlight level as needed to conserve battery life, if applicable.
- Use Keyboard Covers: Consider using a keyboard cover or skin to protect your backlit keyboard from dust, dirt, and spills. This can help prolong the lifespan of the keyboard and make cleaning easier. Ensure that the cover does not interfere with the functionality of the backlit keys.
- Avoid Excessive Pressure: Do not apply excessive force or pressure when typing on your backlit keyboard, as this can damage the keys or the underlying mechanism. Use a light touch and avoid hammering the keys to ensure longevity and optimal performance.
- Store Properly: If you need to store or transport your backlit keyboard, take care to protect it from physical damage. Store it in a clean and dry environment, and consider using a protective carrying case or sleeve to prevent scratches or impact during transport.
- Refer to the Manufacturer’s Guide: Always consult the user manual or instructions provided by the manufacturer for specific maintenance guidelines and recommendations. They may offer additional tips or precautions that are specific to your backlit keyboard model.
By following these maintenance tips, you can ensure that your backlit keyboard remains in good condition and continues to provide an enhanced typing experience for years to come.
Conclusion
A backlit keyboard is not only a stylish addition to your laptop but also a practical and functional tool that enhances your typing experience in various environments. Whether you choose an external backlit keyboard or decide to install a backlit laptop keyboard, the benefits are undeniable.
We explored the types of backlit keyboards available, including single color, multi-color, RGB, and wireless options. Each type offers different levels of customization and features to suit your preferences and needs.
During the installation process, it is crucial to ensure compatibility and follow the specific instructions provided by the manufacturer. Whether you decide to install an external backlit keyboard or replace your laptop’s existing keyboard, proper preparation and attention to detail are essential.
In the event of any issues, troubleshooting steps such as checking the backlighting settings, verifying connections, and seeking professional assistance can help resolve common problems. Maintaining your backlit keyboard through regular cleaning, adjusting backlight brightness, and using protective measures can help prolong its lifespan and maintain its performance.
Remember, a backlit keyboard is not just a functional component; it also adds a touch of style to your laptop setup. Whether you’re a night owl, a professional in low-light workspaces, or a gamer seeking an immersive experience, a backlit keyboard is a valuable addition to your hardware arsenal.
Elevate your typing experience and enjoy the benefits of enhanced visibility, easier navigation, and added aesthetic appeal with a backlit keyboard. So, go ahead, choose the right type of backlit keyboard for your needs, install it following the proper instructions, and start typing in style.


