Introduction
Welcome to the world of wireless convenience and cutting-edge technology with the Wireless Kaliber Gaming Keyboard. This innovative keyboard offers a seamless and hassle-free setup process, allowing you to dive into the realm of wireless computing with ease. Whether you're a seasoned tech enthusiast or a novice user, setting up the Wireless Kaliber Gaming Keyboard is a straightforward process that will elevate your computing experience.
The Wireless Kaliber Gaming Keyboard is designed to provide you with the ultimate combination of functionality, style, and comfort. With its sleek and ergonomic design, this keyboard is crafted to enhance your typing experience while also complementing your workspace. Say goodbye to cumbersome wires and hello to the freedom of wireless connectivity as you embark on the journey of setting up your new keyboard.
In this comprehensive guide, we will walk you through the step-by-step process of unboxing, installing batteries, connecting the USB receiver, turning on the keyboard, pairing it with your computer, and customizing the keyboard settings. By the end of this tutorial, you will be ready to unleash the full potential of your Wireless Kaliber Gaming Keyboard and enjoy a seamless and personalized computing experience.
So, without further ado, let's embark on this exciting journey and unlock the possibilities that await as we set up the Wireless Kaliber Gaming Keyboard. Get ready to elevate your typing experience and embrace the freedom of wireless connectivity as we delve into the simple yet impactful process of setting up this state-of-the-art keyboard.
Step 1: Unboxing the Wireless Kaliber Gaming Keyboard
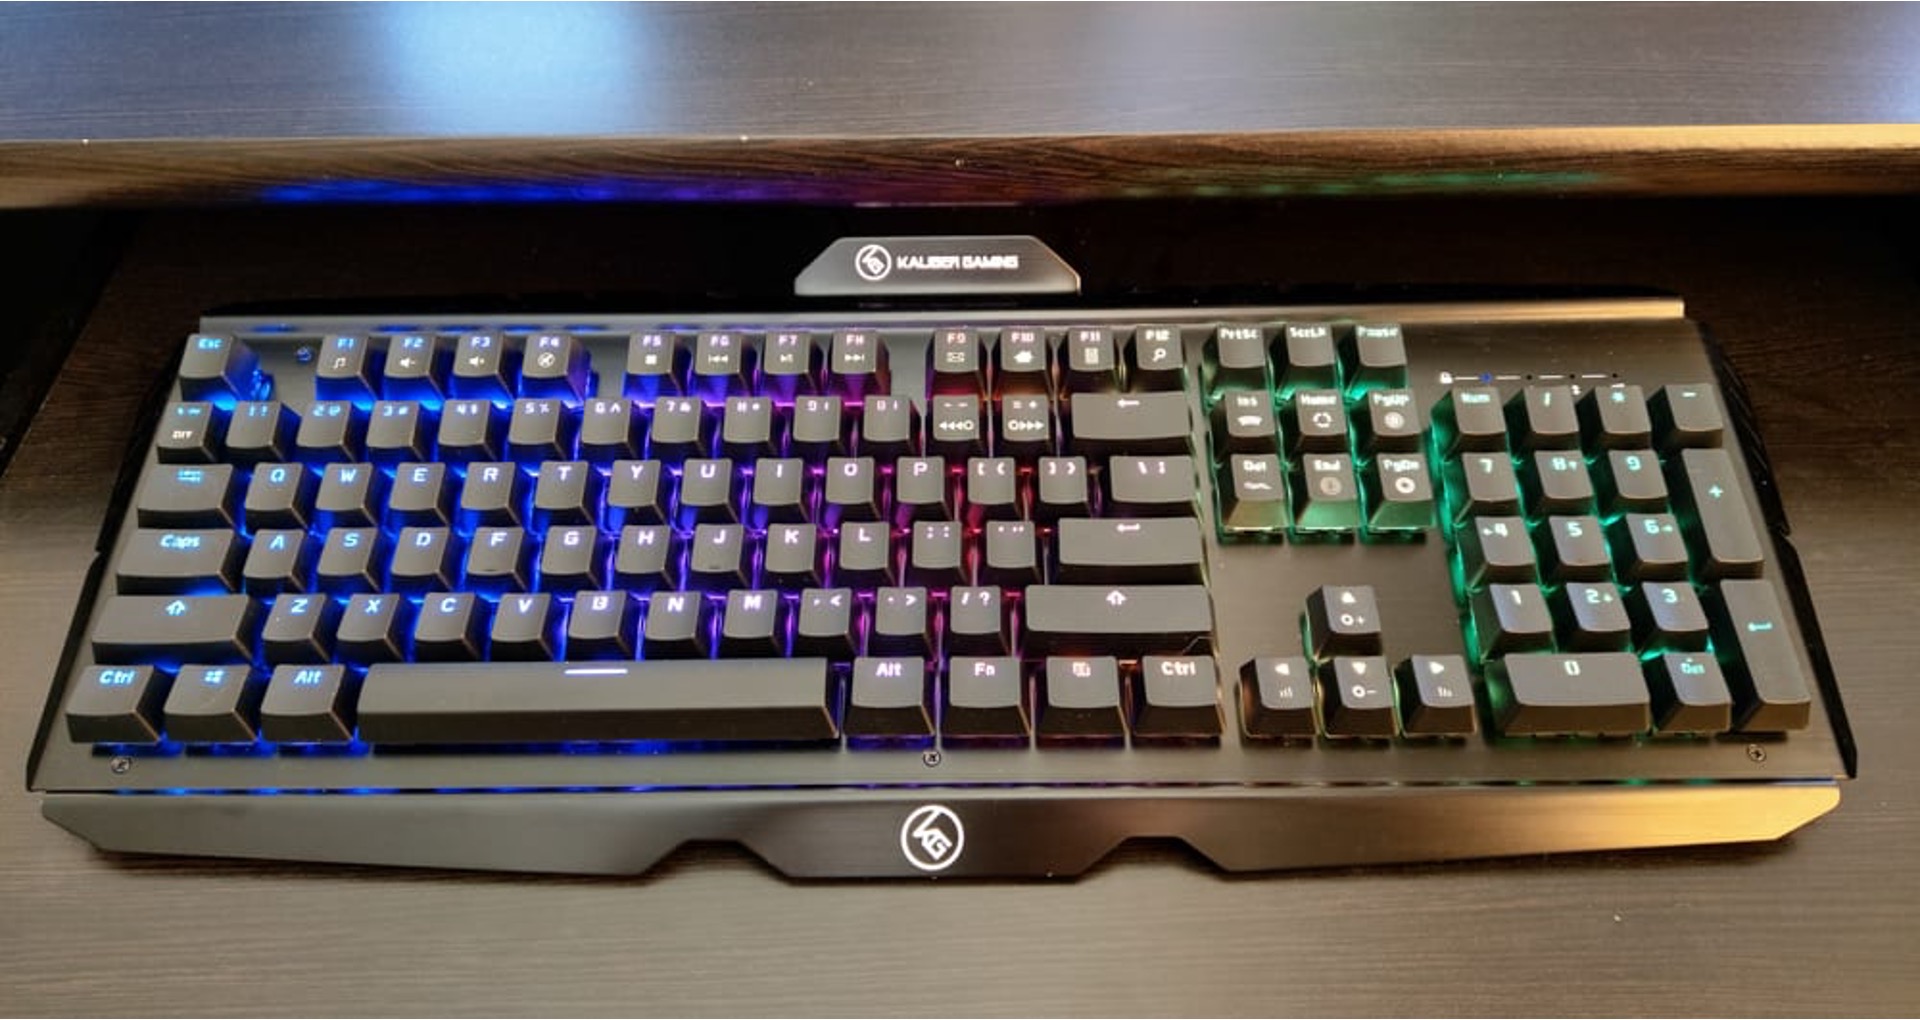
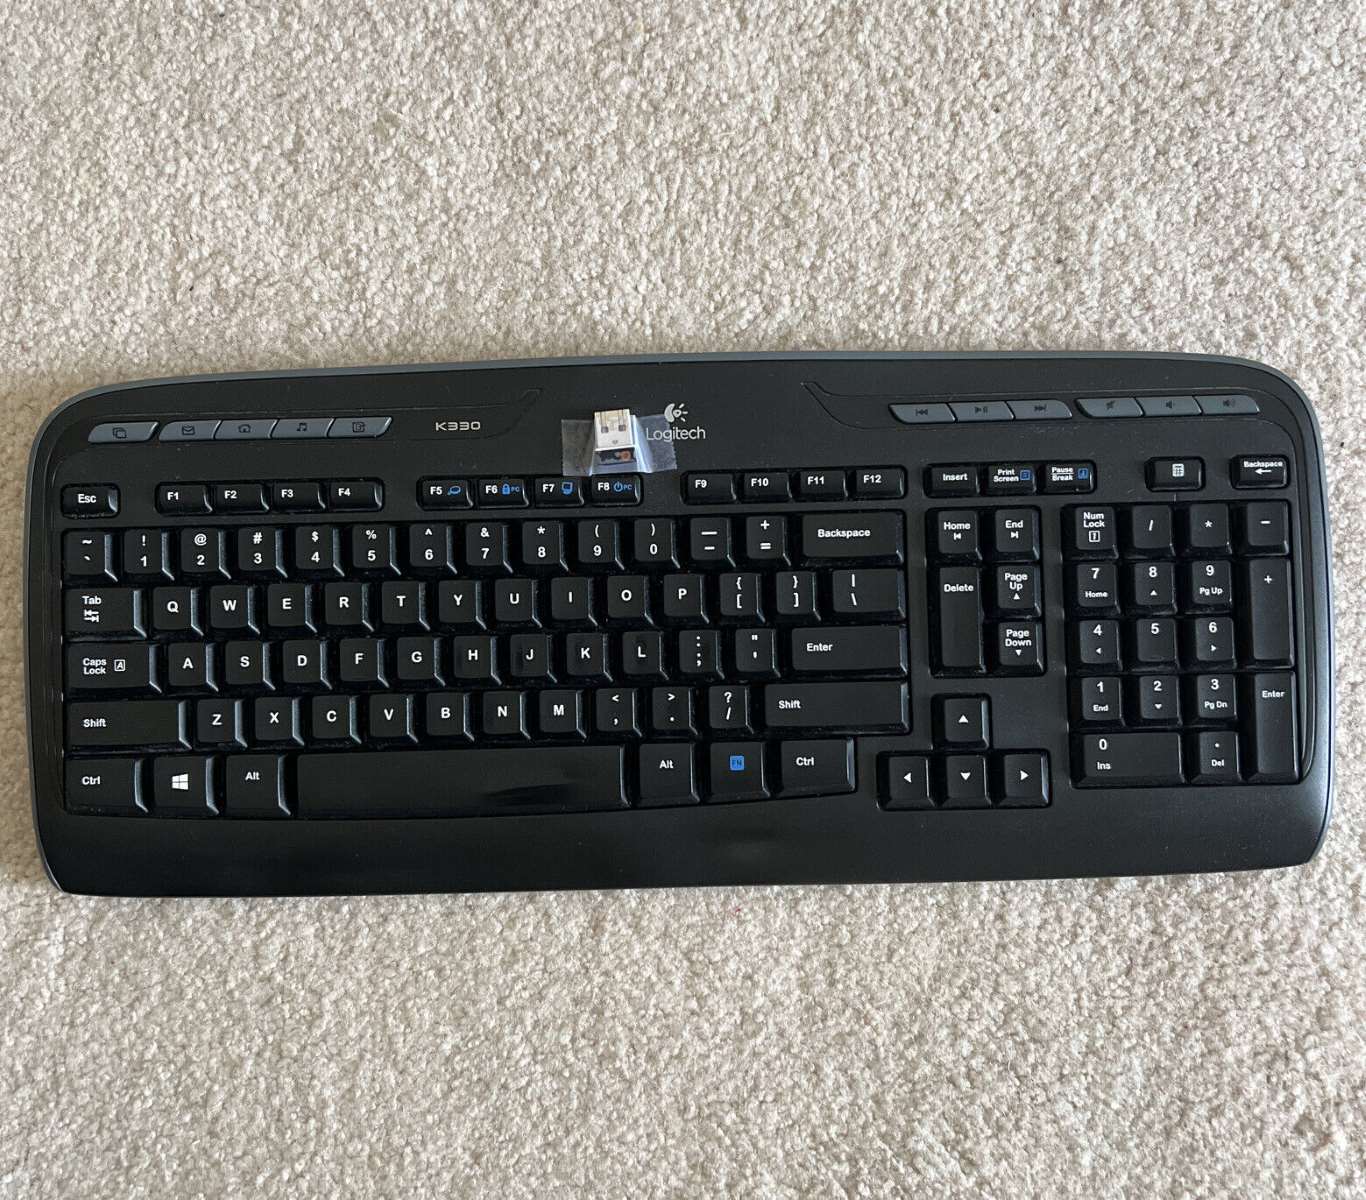
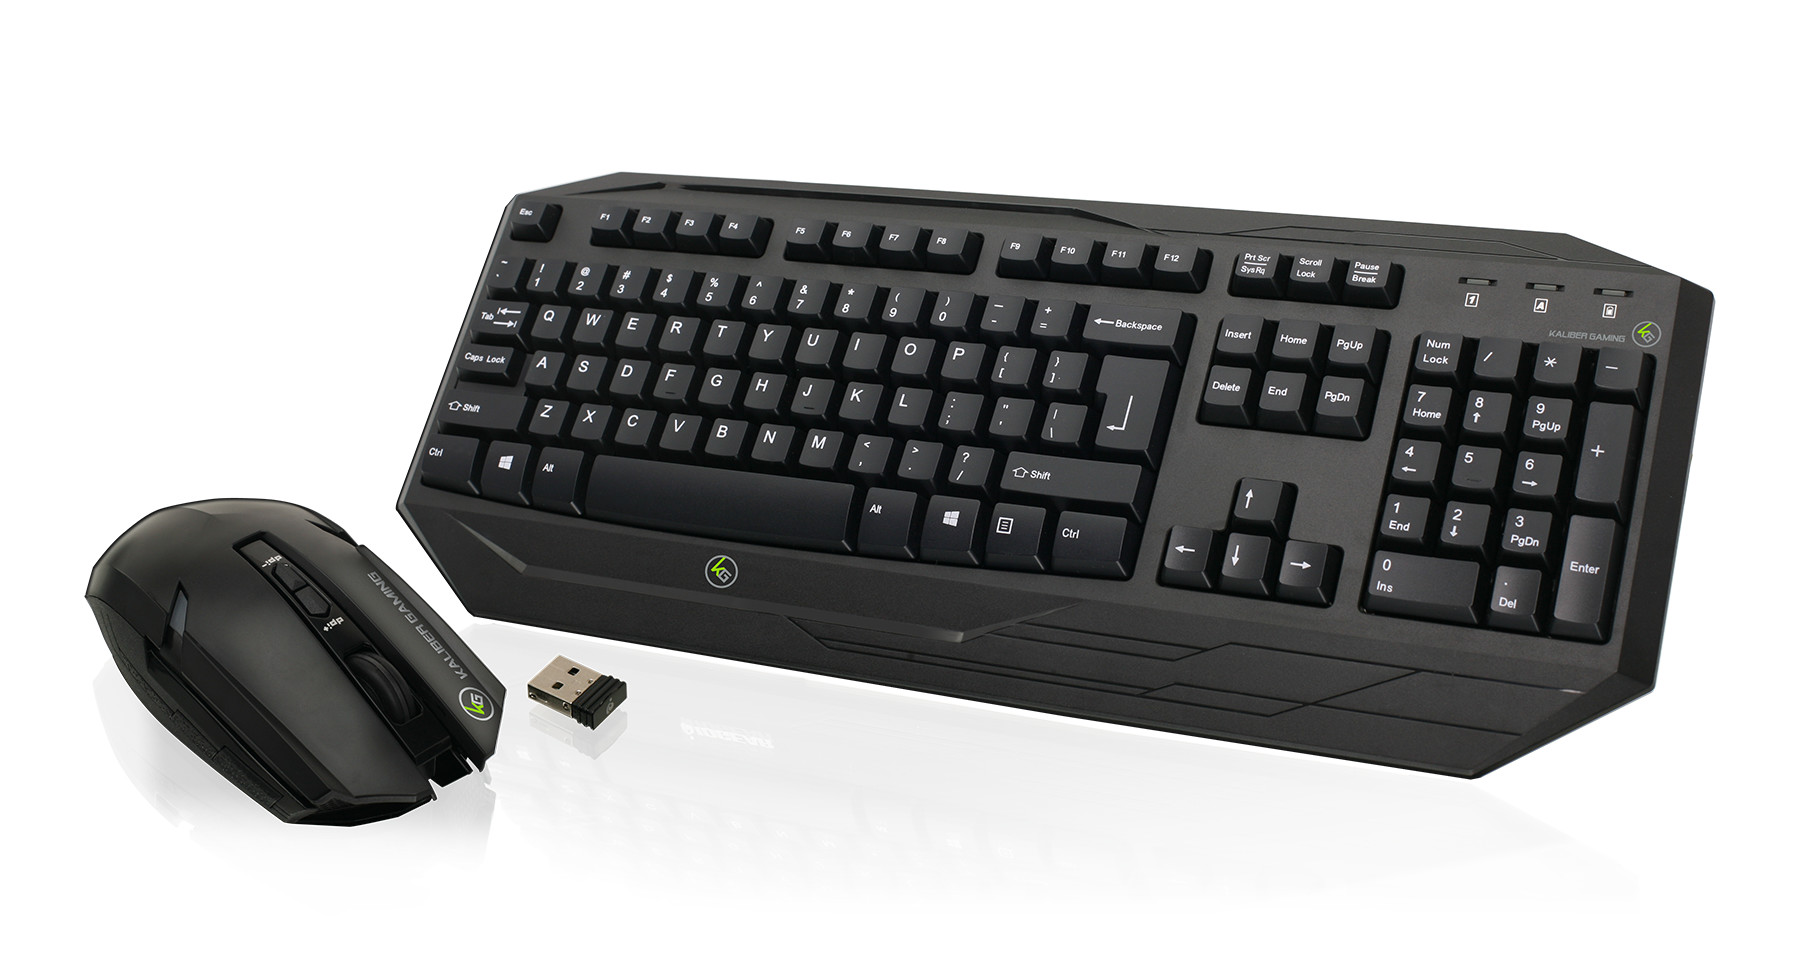
Before delving into the setup process, the first step is to unbox your Wireless Kaliber Gaming Keyboard. As you open the packaging, you’ll be greeted by the sleek and modern design of the keyboard, exuding a sense of sophistication and functionality. The contents of the box typically include the wireless keyboard itself, a USB receiver, and any additional accessories or documentation.
Upon lifting the keyboard from its protective packaging, take a moment to appreciate its ergonomic design and the premium feel of the keys. The Wireless Kaliber Gaming Keyboard is crafted to provide a comfortable and efficient typing experience, making it an ideal choice for both work and leisure.
Inspect the packaging to ensure that all the components are present and in pristine condition. As you unwrap the USB receiver, take note of its compact size, which allows for seamless connectivity without adding bulk to your computer setup. Additionally, any included documentation or user manuals should be reviewed to familiarize yourself with the keyboard’s features and functionalities.
By unboxing the Wireless Kaliber Gaming Keyboard, you’re taking the first step toward embracing the future of wireless computing. The attention to detail in the design and packaging of the keyboard sets the stage for a seamless setup process, ensuring that you can transition effortlessly into the world of wireless connectivity and enhanced productivity.
With the keyboard unboxed and its components laid out before you, you’re now ready to embark on the next steps of installing the batteries, connecting the USB receiver, and ultimately pairing the keyboard with your computer. The unboxing experience serves as an exciting prelude to the seamless setup process that awaits, setting the stage for a smooth transition into the realm of wireless computing with the Wireless Kaliber Gaming Keyboard.
Step 2: Installing Batteries
With the Wireless Kaliber Gaming Keyboard unboxed, the next crucial step in the setup process is to install the batteries. This keyboard typically operates on standard AA or AAA batteries, depending on the specific model. The battery compartment is conveniently located on the underside of the keyboard, ensuring easy access for installation and replacement.
Begin by locating the battery compartment cover on the underside of the keyboard. Depending on the model, the cover may feature a latch or a sliding mechanism for easy removal. Once the cover is removed, you’ll find the designated slots for the batteries. Take a moment to inspect the polarity indicators within the compartment to ensure the correct orientation of the batteries.
Now, it’s time to insert the batteries into their respective slots, aligning them according to the polarity indicators. Ensure a snug fit for each battery, securing them in place to guarantee a reliable power supply for the keyboard. As the batteries are securely in place, replace the battery compartment cover, ensuring that it is firmly sealed to prevent any accidental dislodging during use.
Installing fresh batteries in your Wireless Kaliber Gaming Keyboard is a pivotal step in ensuring uninterrupted wireless functionality. The reliable power supply provided by the batteries is essential for seamless connectivity and sustained performance, allowing you to make the most of the keyboard’s advanced features and ergonomic design.
By completing the battery installation process, you’re one step closer to unleashing the full potential of your Wireless Kaliber Gaming Keyboard. The reliable power source provided by the batteries sets the stage for a seamless and uninterrupted typing experience, ensuring that you can fully immerse yourself in the world of wireless computing with confidence and convenience.
Step 3: Connecting the USB Receiver
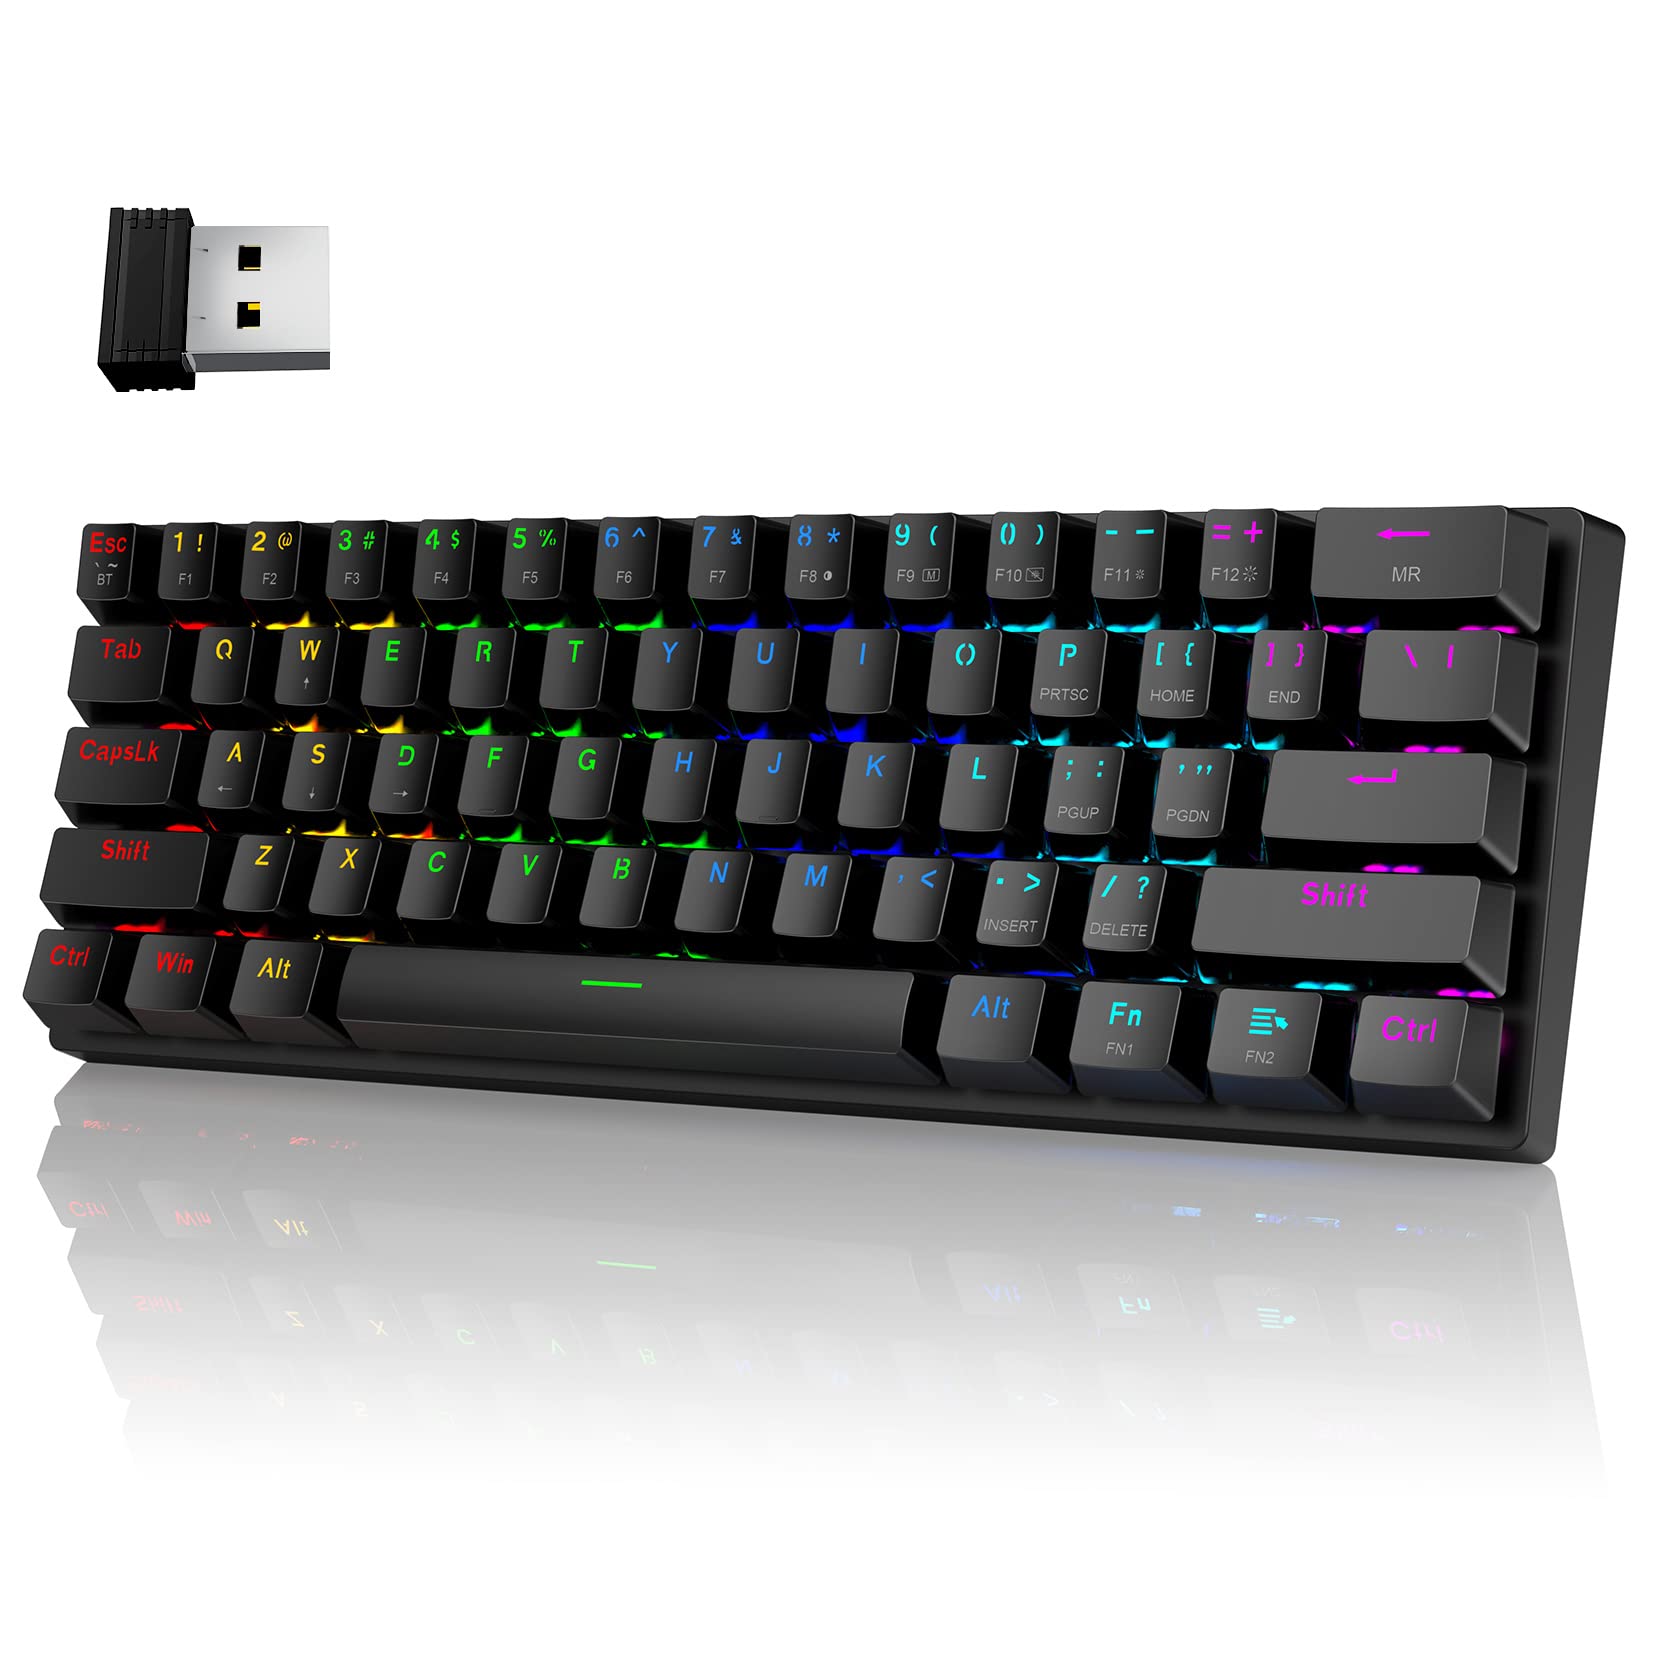
As you progress through the setup of your Wireless Kaliber Gaming Keyboard, the next vital step is to connect the USB receiver to your computer. The USB receiver serves as the bridge between your keyboard and the computer, facilitating seamless wireless communication and ensuring a reliable connection without the need for cumbersome cables.
Locate an available USB port on your computer or laptop where you can insert the USB receiver. The receiver is designed to be compact and unobtrusive, allowing for convenient placement without obstructing neighboring ports. Once you’ve identified the USB port, gently insert the USB receiver, ensuring a secure connection to establish a link with the keyboard.
Upon inserting the USB receiver, your computer will automatically recognize the new device and initiate the installation of any necessary drivers or software. This streamlined process eliminates the need for manual configuration, allowing you to swiftly proceed to the next steps of the setup without encountering any cumbersome technical hurdles.
With the USB receiver successfully connected to your computer, the Wireless Kaliber Gaming Keyboard is now poised to establish a seamless wireless connection, enabling you to experience the freedom of wireless computing without sacrificing performance or reliability. The USB receiver serves as the linchpin of the wireless setup, paving the way for uninterrupted communication between the keyboard and your computer.
By connecting the USB receiver, you’re one step closer to unleashing the full potential of your Wireless Kaliber Gaming Keyboard. The seamless integration of the USB receiver with your computer sets the stage for a hassle-free and efficient setup process, ensuring that you can transition into the realm of wireless computing with confidence and ease.
Step 4: Turning on the Keyboard
With the Wireless Kaliber Gaming Keyboard unboxed and the USB receiver securely connected to your computer, the next pivotal step in the setup process is to power on the keyboard. The power switch or button is typically located on the underside or the side of the keyboard, easily accessible for seamless activation.
Locate the power switch or button on the keyboard and ensure that it is in the “off” position before proceeding. Once you’ve identified the power control, gently toggle or press it to turn on the keyboard. As the keyboard powers on, you may notice indicator lights or a brief illumination to signify that the keyboard is operational and ready to establish a wireless connection.
As the Wireless Kaliber Gaming Keyboard springs to life, take a moment to appreciate the sleek and modern design, which is complemented by the gentle glow of the indicator lights. This signifies that the keyboard is primed for pairing and ready to seamlessly integrate with your computer, paving the way for a fluid and uninterrupted typing experience.
The act of turning on the keyboard marks a significant milestone in the setup process, as it signifies the transition into the realm of wireless connectivity and enhanced productivity. The seamless activation of the keyboard sets the stage for a hassle-free pairing process, ensuring that you can swiftly proceed to the next steps with confidence and ease.
By turning on the Wireless Kaliber Gaming Keyboard, you’re one step closer to immersing yourself in the world of wireless computing. The keyboard’s responsive activation and indicator lights serve as a testament to its advanced functionality, setting the stage for a seamless and intuitive setup process that will elevate your typing experience.
Step 5: Pairing the Keyboard with your Computer
As you venture further into the setup process, the next pivotal step is to pair the Wireless Kaliber Gaming Keyboard with your computer. This seamless pairing process establishes a secure and reliable wireless connection, enabling you to harness the full potential of the keyboard’s advanced features and ergonomic design.
Begin by ensuring that the keyboard is in pairing mode, which is typically indicated by a flashing light or a specific indicator on the keyboard. This mode allows the keyboard to search for and establish a connection with your computer. With the keyboard in pairing mode, proceed to the next steps to initiate the pairing process on your computer.
Access the Bluetooth or wireless settings on your computer to begin the pairing process. Depending on your computer’s operating system, the specific steps to initiate pairing may vary. However, the general process involves searching for available devices and selecting the Wireless Kaliber Gaming Keyboard from the list of detected devices.
Once the keyboard is detected, initiate the pairing process on your computer, following any on-screen prompts to complete the setup. As the pairing is established, you may receive a confirmation message or indicator on your computer, signifying that the Wireless Kaliber Gaming Keyboard is now successfully paired and ready for use.
The successful pairing of the keyboard with your computer marks a significant milestone in the setup process, as it signifies the seamless integration of wireless technology into your computing environment. With the keyboard successfully paired, you can now experience the freedom of wireless connectivity and unleash your productivity with confidence and convenience.
By completing the pairing process, you’ve unlocked the full potential of the Wireless Kaliber Gaming Keyboard, seamlessly integrating it into your computing ecosystem. The successful pairing paves the way for a fluid and uninterrupted typing experience, allowing you to harness the advanced features and ergonomic design of the keyboard with ease.
Step 6: Customizing Keyboard Settings
With the Wireless Kaliber Gaming Keyboard successfully paired with your computer, the final step in the setup process involves customizing the keyboard settings to suit your preferences and enhance your overall typing experience. This step allows you to personalize the keyboard’s functionality, shortcuts, and lighting, ensuring that it aligns seamlessly with your unique computing needs.
Access the keyboard settings or customization options through the dedicated software or system preferences on your computer. Depending on the specific features of the Wireless Kaliber Gaming Keyboard, you may have access to a range of customization options, including programmable keys, backlighting controls, and macro configurations.
Customize the keyboard’s key assignments to tailor the layout to your specific workflow and usage patterns. This may involve reassigning keys for quick access to commonly used functions or applications, optimizing the keyboard’s layout to streamline your productivity and efficiency.
Explore the backlighting controls to adjust the brightness, color, or effects of the keyboard’s illumination. Customizing the backlighting not only adds a touch of personalization to your workspace but also enhances visibility and aesthetics, creating an immersive typing environment tailored to your preferences.
If the keyboard offers macro configuration capabilities, take advantage of this feature to create and assign custom macros to specific keys. This empowers you to streamline complex tasks and execute intricate commands with a single keystroke, amplifying your efficiency and productivity.
By customizing the keyboard settings, you’re elevating your typing experience to new heights, harnessing the full potential of the Wireless Kaliber Gaming Keyboard to align with your unique computing needs and preferences. The personalized settings and configurations empower you to optimize your workflow and immerse yourself in a tailored and intuitive typing environment.
Conclusion
Congratulations! You have successfully navigated the seamless setup process of the Wireless Kaliber Gaming Keyboard, embracing the future of wireless computing with confidence and ease. By following the step-by-step guide, you have unboxed the keyboard, installed batteries, connected the USB receiver, powered on the keyboard, paired it with your computer, and customized the settings to suit your unique preferences.
The Wireless Kaliber Gaming Keyboard represents a fusion of cutting-edge technology, ergonomic design, and personalized functionality, offering a gateway to a fluid and uninterrupted typing experience. The sleek and modern design, coupled with the convenience of wireless connectivity, sets the stage for enhanced productivity and comfort as you immerse yourself in the world of wireless computing.
As you embark on your journey with the Wireless Kaliber Gaming Keyboard, you now have the freedom to unleash your creativity, streamline your workflow, and elevate your typing experience to new heights. The seamless setup process has equipped you with the tools to seamlessly integrate the keyboard into your computing environment, allowing you to harness its advanced features and ergonomic design with confidence and convenience.
With the keyboard seamlessly paired and the settings customized to align with your unique preferences, you are now poised to embrace a world of limitless possibilities, where productivity meets personalization. Whether you’re a professional seeking efficiency or a creative individual striving for seamless expression, the Wireless Kaliber Gaming Keyboard is your gateway to a tailored and intuitive typing experience.
As you embark on your computing endeavors with the Wireless Kaliber Gaming Keyboard at your fingertips, may your journey be defined by seamless connectivity, personalized functionality, and unparalleled comfort. Embrace the freedom of wireless computing and unleash your potential as you navigate the digital landscape with confidence, creativity, and unparalleled convenience.