Introduction
Wireless keyboards offer a convenient and flexible way to work or play on your computer. They eliminate the hassle of tangled cables and provide the freedom to type from a distance. However, if you’re new to using a wireless keyboard or have recently acquired one, you may be wondering how to turn it on.
In this article, we’ll guide you through the steps to turn on a wireless keyboard effortlessly. Whether you’re setting up a new keyboard or troubleshooting an existing one, our handy steps and tips will help you get started in no time.
Before we dive into the details, it’s important to note that wireless keyboards work by establishing a connection with your computer via Bluetooth or a USB receiver. Depending on the model you have, the process of turning it on may vary slightly. However, the basic principles remain the same.
So, whether you have a Bluetooth-enabled wireless keyboard or one that uses a USB receiver, let’s explore the steps to turn it on and start enjoying the freedom of wire-free typing.
Step 1: Check the batteries
The first and most crucial step in turning on a wireless keyboard is to ensure that the batteries are properly inserted and have sufficient power. Most wireless keyboards are powered by AA or AAA batteries, which provide the necessary energy to establish a connection with your computer.
To check the batteries, you’ll typically find a compartment on the underside or back of the keyboard. Slide the battery cover open and inspect the battery slots. Ensure that the batteries are inserted correctly, following the + and – symbols indicated inside the compartment. If the batteries are old or depleted, replace them with fresh ones to ensure reliable performance.
It’s also a good idea to check the battery contacts for any dirt or corrosion. If you notice any buildup, gently clean the contacts with a cotton swab dipped in rubbing alcohol. This will help maintain a strong connection between the batteries and the keyboard, ensuring optimal functionality.
Once you’ve confirmed that the batteries are properly inserted and in good condition, you’re ready to move on to the next step. Keep in mind that battery life can vary depending on factors such as usage, backlighting, and the quality of the batteries used. It’s always a good idea to keep spare batteries on hand to avoid any interruptions in your wireless keyboard experience.
Step 2: Locate the power button
Once you’ve confirmed that the batteries are in place, the next step is to locate the power button on your wireless keyboard. The power button is responsible for turning the keyboard on and off, allowing it to establish a connection with your computer.
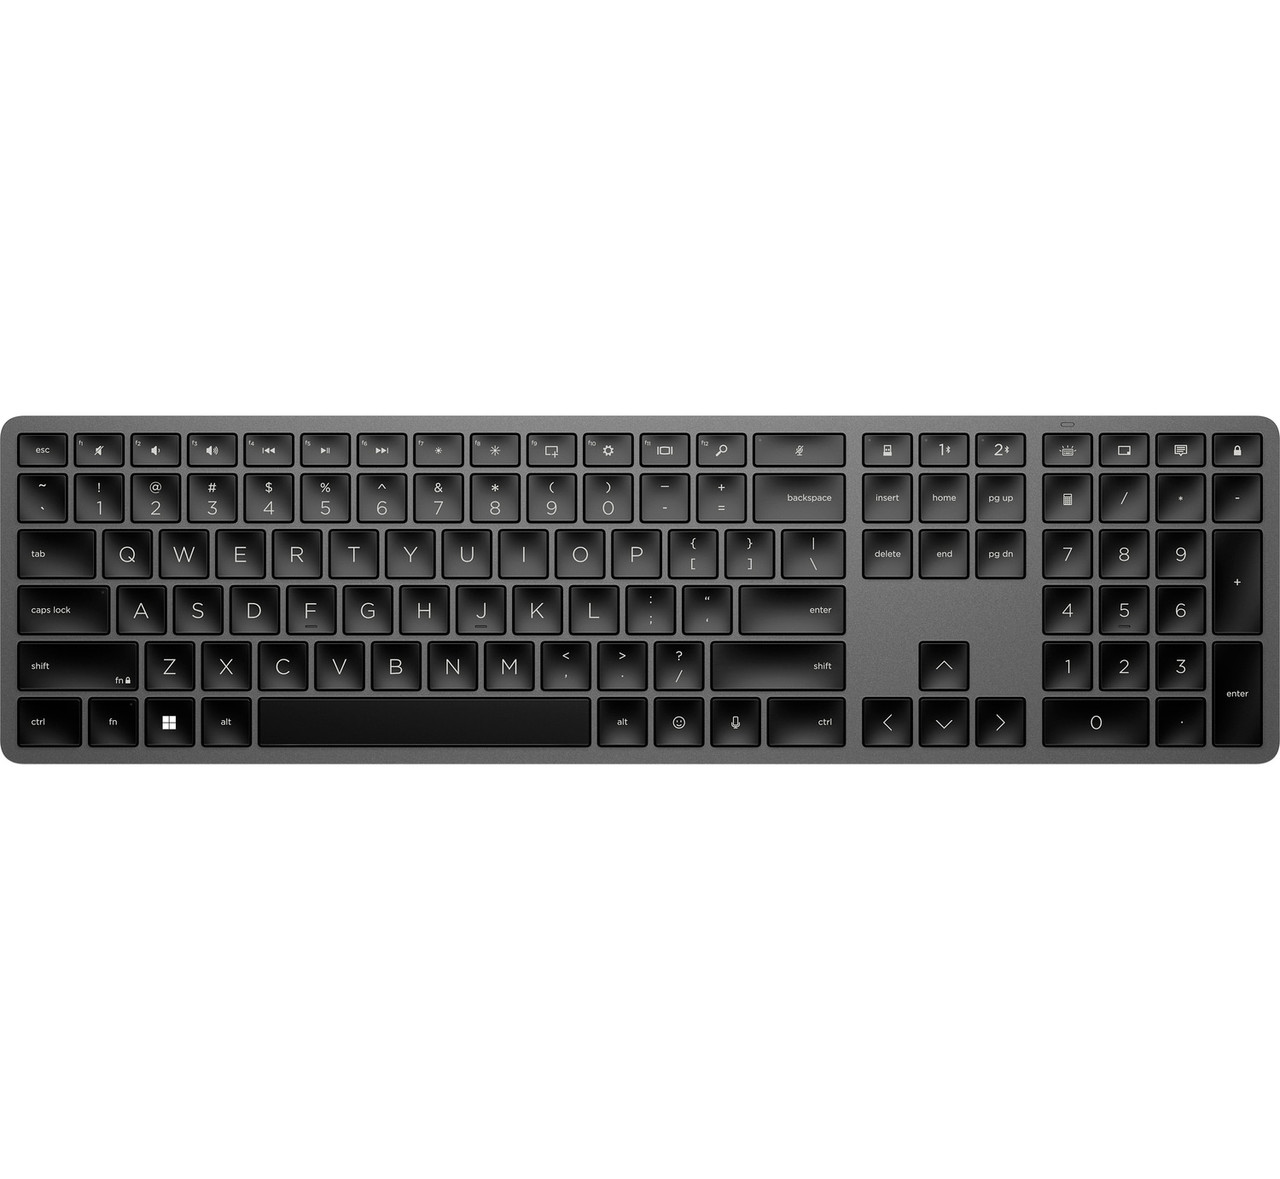
The power button is usually located on the top, side, or bottom of the keyboard. It can be a physical button, a sliding switch, or even a touch-sensitive area. Look for a symbol that resembles a power icon or a toggle switch. Refer to the user manual or manufacturer’s instructions if you’re unsure about the location of the power button on your specific keyboard model.
Some wireless keyboards have an automatic power-saving feature, which means they may go into sleep mode after a period of inactivity. In such cases, a quick tap or press of the power button should awaken the keyboard and allow it to connect with your computer. If the power button has an LED indicator, it may light up to indicate that the keyboard is on and ready for use.
It’s important to note that not all wireless keyboards have a physical power button. Some keyboards turn on automatically when they detect movement or key presses. If your keyboard falls into this category, simply start using it, and it should turn on automatically.
Once you have located and activated the power button, you’re ready to move on to the next step of the setup process.
Step 3: Turn on the keyboard
Now that you’ve located the power button, it’s time to turn on your wireless keyboard. Follow these simple steps to ensure a seamless connection with your computer:
- Press or slide the power button: Depending on the type of power button on your wireless keyboard, either press it firmly or slide it into the “On” position. If there is an LED indicator, it may light up to indicate that the keyboard is powered on.
- Wait for the keyboard to initialize: Once you’ve turned on the keyboard, give it a few seconds to initialize. During this time, the keyboard establishes a connection with your computer and prepares itself for use. You may notice the LED indicators flashing or a brief delay before the keyboard becomes fully responsive.
- Confirm the keyboard’s connectivity: After the initialization process, check if the keyboard is successfully connected to your computer. You can do this by typing a few characters in a text editor or opening a document and verifying that the keyboard input is being registered. If you’re unsure, refer to the keyboard’s user manual for specific instructions on how to confirm the connection.
If the keyboard doesn’t turn on or fails to connect, double-check the batteries and ensure they are properly inserted. You may also need to repeat the previous steps or consult the user manual for troubleshooting guidance.
Once you’ve successfully turned on the keyboard and verified its connectivity, you’re ready to start using it for all your typing needs. Whether you’re working on a document, browsing the web, or playing games, enjoy the convenience and freedom that a wireless keyboard offers.
Step 4: Connection and synchronization
Now that your wireless keyboard is turned on and ready, it’s time to establish a connection and synchronize it with your computer. The process may vary depending on whether your keyboard uses Bluetooth or a USB receiver.
Bluetooth connection
- Ensure Bluetooth is enabled: On your computer, navigate to the Bluetooth settings and make sure that Bluetooth is enabled. The steps to access the Bluetooth settings may vary depending on your operating system.
- Put the keyboard in pairing mode: Consult the user manual for instructions on how to put your specific keyboard model in pairing mode. Typically, this involves pressing a combination of keys or a dedicated pairing button. The keyboard LED indicator may flash to indicate that it is in pairing mode.
- Discover and pair the keyboard: On your computer, search for available Bluetooth devices. When your keyboard appears in the list of devices, select it and initiate the pairing process. Follow any on-screen prompts to complete the pairing. Once the pairing is successful, the LED indicator on the keyboard may stop flashing or display a steady glow.
USB receiver connection
- Insert the USB receiver: If your wireless keyboard uses a USB receiver, insert the receiver into an available USB port on your computer. Ensure a secure and firm connection.
- Allow Windows (or your operating system) to install drivers: In most cases, the operating system will automatically detect the USB receiver and install the necessary drivers. This process may take a few moments, and you may see a notification or system tray icon indicating the progress.
- Wait for the connection: Once the drivers are installed, the wireless keyboard should connect automatically. You will typically see a confirmation notification or hear a sound indicating that the connection is established.
After completing the connection and synchronization process, your wireless keyboard is ready to use. Test the keyboard by typing in a text editor or performing any necessary tasks requiring keyboard input. If the keyboard is not working as expected, refer to the troubleshooting section in the user manual or contact the manufacturer for further assistance.
Troubleshooting common issues
Even with proper setup and configuration, wireless keyboards may encounter occasional issues. Here are some common problems you may encounter and possible troubleshooting steps to resolve them:
1. Keyboard not responding
If your wireless keyboard is not responding at all, try the following:
- Check the batteries: Ensure that the batteries are inserted correctly and have sufficient power. Replace them if necessary.
- Reposition the keyboard: If there are obstacles or interference between the keyboard and the computer, try repositioning the keyboard for a better wireless signal.
- Restart the computer: In some cases, a simple restart of the computer may resolve connectivity issues.
2. Lag or delay in typing
If you notice a lag or delay in keystrokes appearing on the screen, consider the following troubleshooting steps:
- Check for signal interference: Move any electronic devices or wireless devices that may cause interference away from the keyboard.
- Reduce Bluetooth interference: If using a Bluetooth keyboard, make sure there are no other Bluetooth devices interfering with the wireless signal.
- Update drivers: Ensure that the keyboard drivers on your computer are up to date. Visit the manufacturer’s website to download and install any available updates.
3. Erratic cursor movement
If you’re experiencing unexpected cursor movements or erratic behavior, try the following solutions:
- Check for surface interference: Ensure that the keyboard is on a stable and smooth surface that doesn’t interfere with the mouse sensor.
- Remove obstructions: Clear any debris or dust that may be obstructing the optical sensor of the mouse.
- Update mouse drivers: Visit the manufacturer’s website to download and install the latest mouse drivers for optimal performance.
If the above troubleshooting steps don’t resolve the issue, consult the user manual or contact the manufacturer’s support for further guidance. They may provide specific instructions or offer additional solutions tailored to your keyboard model.
Conclusion
Turning on a wireless keyboard may seem like a daunting task, but with the right steps and knowledge, it can be a straightforward process. By checking the batteries, locating the power button, and turning on the keyboard, you ensure that it is ready for use. Connection and synchronization, whether via Bluetooth or a USB receiver, allow the keyboard to establish a seamless connection with your computer.
If you encounter any issues along the way, troubleshooting common problems such as unresponsiveness, lag, or erratic cursor movement can help identify and resolve the issues. By following the troubleshooting steps and seeking assistance from the manufacturer if necessary, you can ensure the optimal performance of your wireless keyboard.
Remember to consult the user manual or manufacturer’s instructions specific to your keyboard model for detailed guidance. With the right setup and troubleshooting techniques, you can enjoy the convenience and freedom of a wireless keyboard for all your typing needs.
So, don’t let the wires hold you back. Take the leap and embrace the wireless revolution with a wireless keyboard that fits your needs!