Introduction
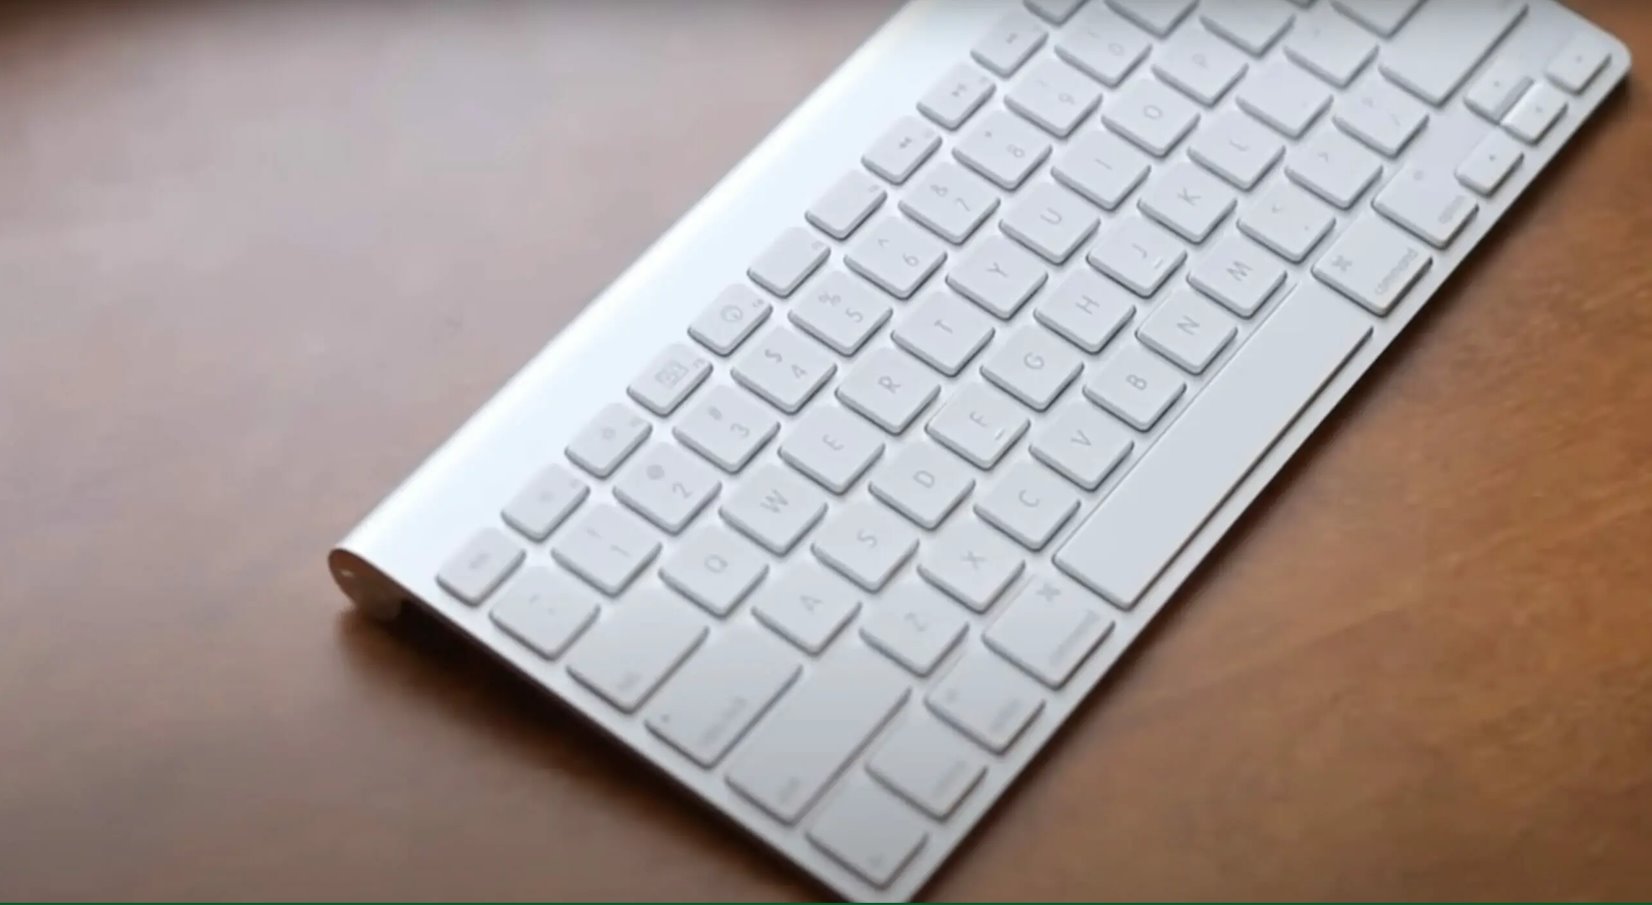
Welcome to this guide on how to make your Apple Wireless Keyboard discoverable. The Apple Wireless Keyboard is a popular accessory for Mac users, offering a sleek and compact design with wireless connectivity. Whether you’re setting up a new keyboard or reconnecting an existing one, making it discoverable is the first step towards establishing a connection with your Mac. In this article, we’ll walk you through the process step by step, so you can get your Apple Wireless Keyboard ready for use in no time.
The Apple Wireless Keyboard is compatible with a wide range of Mac devices, including iMac, MacBook, and Mac mini. Its wireless functionality allows you the freedom to type from a comfortable distance, eliminating the clutter of wires and enhancing your overall productivity. By following the steps outlined in this guide, you can pair your keyboard with your Mac seamlessly, optimizing your typing experience.
Whether you’re a seasoned Mac user or new to the Apple ecosystem, setting up your Apple Wireless Keyboard doesn’t have to be a complicated task. We’ve simplified the process into easy-to-follow steps, ensuring that you can get your keyboard up and running in no time. So, without further ado, let’s jump right into it and make your Apple Wireless Keyboard discoverable.
Step 1: Turn on the Apple Wireless Keyboard
The first step in making your Apple Wireless Keyboard discoverable is to ensure that it is turned on. To do this, locate the power button on the right side of the keyboard. It is usually located at the top-right corner or near the battery compartment.
Press and hold the power button for a few seconds until the green LED indicator light starts blinking. This blinking light indicates that the keyboard is powered on and ready to be connected to your Mac.
If you have a newer model of the Apple Wireless Keyboard, it may not have a physical power button. In this case, simply flipping the keyboard switch to the “On” position will power it up. Look for the switch on the back or bottom of the keyboard.
Now that your Apple Wireless Keyboard is turned on, let’s move on to the next step, where we’ll access the Bluetooth settings on your Mac.
Step 2: Go to Bluetooth Settings on your Mac
Once you have turned on your Apple Wireless Keyboard, the next step is to navigate to the Bluetooth settings on your Mac. These settings will allow you to initiate the pairing process and establish a connection between your keyboard and Mac. Follow the steps below:
- Click on the Apple menu icon located in the top-left corner of your screen. A drop-down menu will appear.
- Select “System Preferences” from the menu. This will open the System Preferences window.
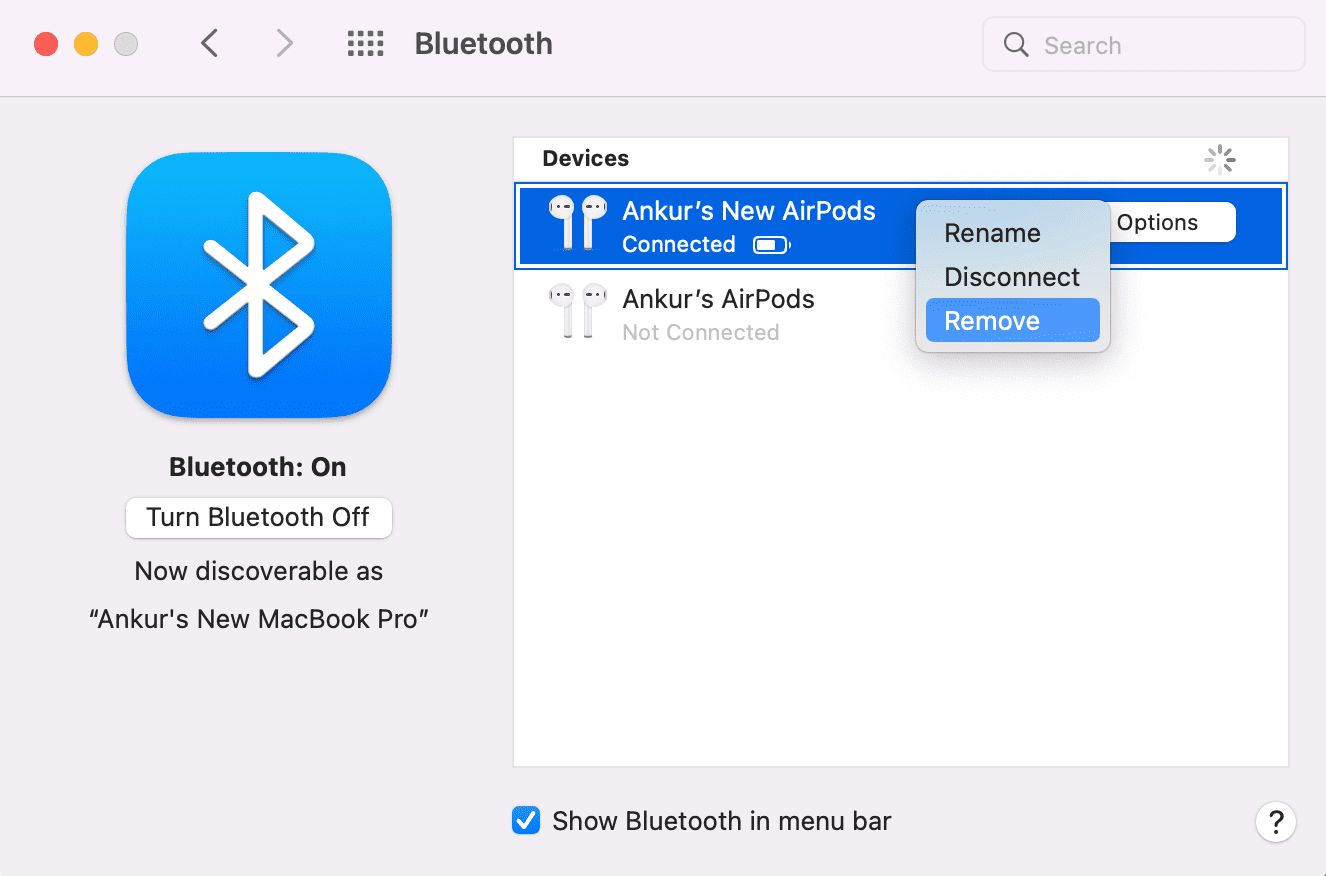
- In the System Preferences window, locate and click on the “Bluetooth” icon. This will open the Bluetooth settings.
Alternatively, you can access the Bluetooth settings by clicking on the Bluetooth icon in the menu bar at the top-right corner of your screen, if it is already visible. If the icon is not visible, you can enable it by going to System Preferences > Bluetooth and checking the box that says “Show Bluetooth in menu bar.”
Once you have opened the Bluetooth settings on your Mac, you are ready to put your Apple Wireless Keyboard in discovery mode, which we will cover in the next step.
Step 3: Put the Keyboard in Discovery Mode
Putting your Apple Wireless Keyboard in discovery mode allows your Mac to detect and establish a connection with the keyboard. Follow the steps below to put your keyboard in discovery mode:
- Make sure that your keyboard is turned on and in close proximity to your Mac.
- On your keyboard, locate the Bluetooth button. This button is usually located on the right side, near the power button.
- Press and hold the Bluetooth button until the LED indicator light starts flashing. This indicates that your keyboard is now in discovery mode.
It’s important to note that the duration for which you need to hold the Bluetooth button may vary depending on the model of your Apple Wireless Keyboard. Refer to the user manual or documentation provided with your keyboard for specific instructions.
By putting your keyboard in discovery mode, you are enabling your Mac to search and connect to available devices. Now that your Apple Wireless Keyboard is in discovery mode, let’s move on to the next step and pair it with your Mac.
Step 4: Pair the Keyboard with your Mac
Now that your Apple Wireless Keyboard is in discovery mode, it’s time to pair it with your Mac. Follow the steps below to establish a connection:
- In the Bluetooth settings on your Mac, you should see a list of available devices.
- Locate your Apple Wireless Keyboard in the list of devices and click on it to select it.
- Click on the “Pair” or “Connect” button next to the keyboard name.
- If prompted, enter the 6-digit pairing code displayed on your Mac using the Apple Wireless Keyboard. Press the Enter key on the keyboard to confirm.
After entering the pairing code, your Mac will establish a connection with the Apple Wireless Keyboard. Once the connection is successfully established, the LED indicator light on the keyboard will stop flashing and remain lit.
Once the pairing process is complete, you can start using your Apple Wireless Keyboard with your Mac. It is now successfully connected and ready for use.
Keep in mind that if you encounter any issues during the pairing process, make sure that your keyboard and Mac are within range of each other and that Bluetooth is enabled on your Mac. You may also try restarting your Mac and repeating the steps outlined above.
Congratulations, you have successfully paired your Apple Wireless Keyboard with your Mac. Enjoy the freedom and convenience of typing wirelessly, enhancing your productivity and overall typing experience.
Conclusion
In this guide, we have walked you through the process of making your Apple Wireless Keyboard discoverable and pairing it with your Mac. By following the steps outlined in this article, you can establish a seamless wireless connection and enjoy the convenience of using your keyboard without the constraints of wires.
Remember, the first step is to turn on the Apple Wireless Keyboard and ensure that it is ready for pairing. Then, navigate to the Bluetooth settings on your Mac to initiate the connection process. Put the keyboard in discovery mode by pressing and holding the Bluetooth button, and your Mac will detect the keyboard. Finally, select the keyboard from the list of available devices and complete the pairing process by entering the pairing code on your keyboard.
With your Apple Wireless Keyboard successfully paired, you can now experience an enhanced typing experience on your Mac. The wireless functionality allows you to type from a comfortable distance and eliminates the hassle of tangled wires on your desk. Whether you’re working on a project, writing an email, or simply browsing the web, your Apple Wireless Keyboard will be your trusty companion.
Should you ever need to disconnect the keyboard or connect it to a different device, you can access the Bluetooth settings on your Mac and remove or pair with other devices as needed.
We hope this guide has been helpful in getting your Apple Wireless Keyboard up and running. Enjoy the convenience and freedom it provides as you navigate through your Mac tasks with ease.