Introduction
Welcome to this guide on how to insert batteries in your Apple wireless keyboard. The Apple wireless keyboard is a sleek and compact device that offers convenience and freedom of movement for users. To ensure that your keyboard functions optimally, it is important to correctly insert the batteries. In this guide, we will walk you through the step-by-step process of inserting the batteries, ensuring that your keyboard is powered up and ready to use.
Whether you are setting up a new Apple wireless keyboard or replacing the batteries in your existing one, this guide will provide you with the necessary instructions and tips to complete the task successfully. It is a fairly simple process that can be completed in just a few minutes.
Before we dive into the steps, let’s take a moment to gather the materials you will need. You will, of course, need the Apple wireless keyboard itself. Additionally, you will need two AA batteries. It is recommended to use high-quality alkaline batteries for optimal performance.
Now that you have everything you need, let’s get started with the first step of the process: turning the keyboard upside down. This will give you access to the battery compartment and allow you to insert the batteries easily. Follow along to learn how to do it correctly!
Step 1: Gather the materials needed
Before we begin the process of inserting batteries into your Apple wireless keyboard, let’s ensure that we have all the necessary materials at hand. Having everything prepared will make the task quicker and more straightforward.
The primary material you will need is, of course, the Apple wireless keyboard itself. Make sure you have it on hand before proceeding with the battery insertion process. If you don’t have the keyboard yet, you can purchase one online or from an Apple store.
In addition to the keyboard, you will require two AA batteries. It’s important to use good quality batteries to ensure long-lasting power and optimal keyboard performance. Alkaline batteries are highly recommended for use with the Apple wireless keyboard. You can find these batteries at most stores that sell electronics or stationery items.
Once you have your Apple wireless keyboard and two AA batteries ready, you can move on to the next step in the process.
In summary:
- Apple wireless keyboard
- Two AA batteries
Having these materials prepared will help facilitate a smooth and hassle-free battery insertion process for your Apple wireless keyboard. With everything in order, we can now proceed to the next step: turning the keyboard upside down to access the battery compartment.
Step 2: Turn the keyboard upside down
Now that you have gathered the necessary materials, it’s time to start preparing the Apple wireless keyboard for battery insertion. The first step in this process is to turn the keyboard upside down.
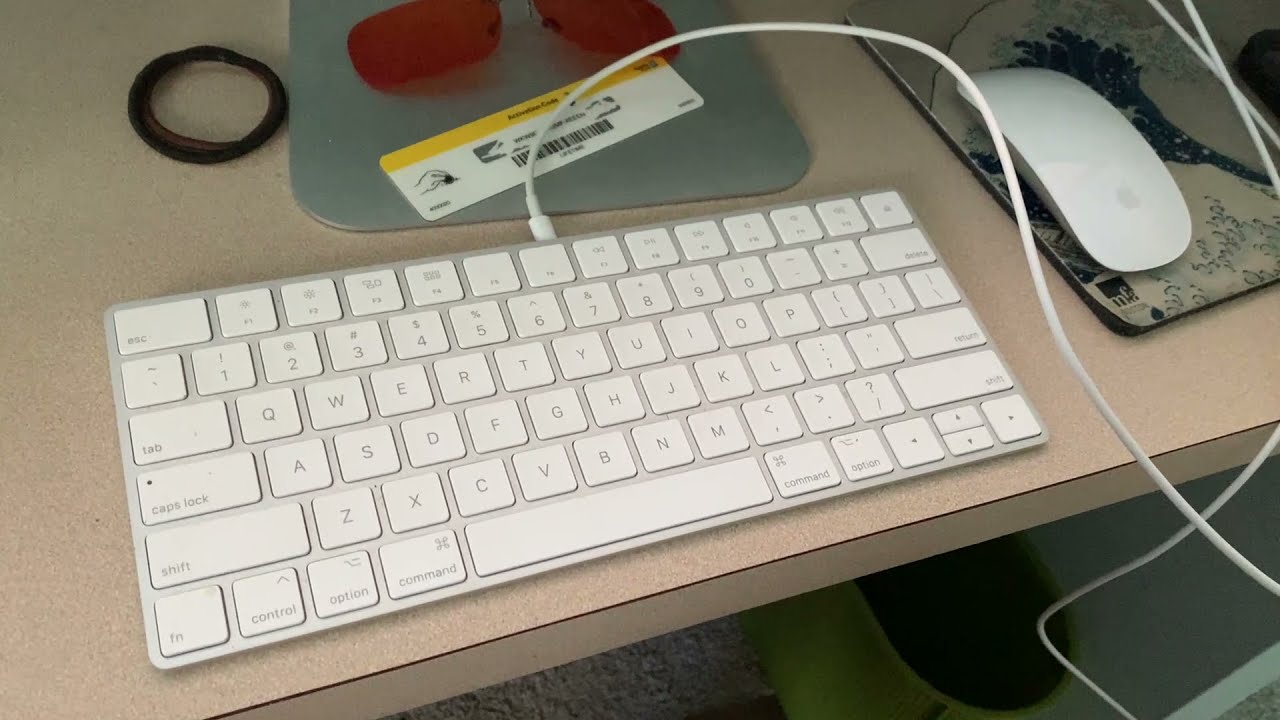
Find a flat and stable surface to work on, such as a table or desk. Hold the keyboard gently, making sure to support it with your hands to avoid any accidental drops or damage. Carefully turn the keyboard over so that the keys are facing downward and the backside is facing upward.
This step is crucial as it allows you to access the battery compartment, which is located on the backside of the keyboard. By turning the keyboard upside down, you can conveniently insert the batteries without any obstructions.
Take a moment to ensure that the keyboard is securely positioned in place before you proceed to the next step. This will help prevent any accidental movements or slips while handling the device.
Once you have successfully turned the keyboard upside down and confirmed its stability, you are ready to move on to the next step: locating the battery compartment.
In summary:
- Find a flat and stable surface
- Hold the keyboard gently and turn it upside down
By following these simple guidelines, you can safely and effectively turn your Apple wireless keyboard upside down to prepare for the battery insertion process. With the keyboard now in the correct position, let’s proceed to the next step and locate the battery compartment.
Step 3: Locate the battery compartment
With the keyboard turned upside down, the next step is to locate the battery compartment. The battery compartment is where the batteries will be inserted to power the Apple wireless keyboard.
On the backside of the keyboard, you will find a rectangular-shaped compartment. This compartment is specifically designed to house the batteries. It is usually located near the top edge or in the center of the keyboard’s backside.
Take a moment to visually inspect the backside of the keyboard. Look for any markings or symbols that indicate the location of the battery compartment. These markings may include icons of batteries or a small door-like symbol.
Some Apple wireless keyboards have a small latch or release button that needs to be pressed or slid to open the battery compartment. If your keyboard has such a mechanism, familiarize yourself with its operation. This will make it easier for you to open the compartment in the next step.
If you are having trouble locating the battery compartment or are unsure about its location, consult the user manual or documentation that came with your keyboard. The manual will provide you with detailed information and diagrams to help you locate the battery compartment accurately.
In summary:
- Look for a rectangular-shaped compartment on the backside of the keyboard
- Check for any markings or symbols indicating the location of the battery compartment
- Familiarize yourself with any latch or release mechanism, if applicable
By following these guidelines, you can easily locate the battery compartment on your Apple wireless keyboard. Once you have identified the compartment, you are ready to move on to the next step of opening the battery compartment door.
Step 4: Open the battery compartment door
Now that you have located the battery compartment on your Apple wireless keyboard, it’s time to open the battery compartment door. Opening the door will provide you with direct access to insert the batteries.
Take a close look at the battery compartment and inspect it for any signs of a locking mechanism or a small latch. If you find a latch, press it or slide it in the designated direction to unlock the compartment door. This will allow you to easily open the door and access the battery compartment.
If your keyboard does not have a latch or locking mechanism, the battery compartment door may simply be a cover that can be easily lifted or slid open. In this case, gently apply pressure to the door, keeping in mind that it is designed to be opened with ease.
As you open the battery compartment door, take note of any hinges or tabs that may be present. These features help keep the door securely in place when closed and can assist you in smoothly opening and closing the compartment.
Ensure that you open the door fully and hold it in position to prevent it from snapping shut accidentally. Keep a firm grip on the door as you proceed to the next step of inserting the batteries.
In summary:
- If there is a latch or locking mechanism, press or slide it to unlock the compartment door
- If there is no latch, gently lift or slide the battery compartment door open
- Take note of any hinges or tabs that assist in opening and closing the compartment
Following these guidelines will help you open the battery compartment door on your Apple wireless keyboard. With the compartment door open, you are now ready to proceed to the next step of inserting the batteries.
Step 5: Insert the batteries
With the battery compartment door open, it’s time to insert the batteries into your Apple wireless keyboard. Properly inserting the batteries is essential to ensure that your keyboard receives power and functions optimally.
Take the two AA batteries that you gathered earlier and hold them in your hand. Take note of the positive (+) and negative (-) symbols or markings on the batteries. It is important to align the batteries correctly to ensure proper functionality.
Inside the battery compartment, you will see two slots or compartments with corresponding symbols or markings. Align the positive end of each battery with the positive symbol or marking in the compartment. Similarly, align the negative end of each battery with the negative symbol or marking in the compartment.
Hold the batteries firmly and insert them into their respective compartments in the battery compartment. Push them gently until they are fully seated and securely in place.
Make sure not to force the batteries into the slots and avoid damaging them or the compartment. If you are having difficulty inserting the batteries, double-check the alignment and try again using gentle pressure.
Once both batteries are inserted, take a moment to ensure they are positioned correctly and securely within the compartment. Improperly inserted batteries may cause connectivity issues or prevent the keyboard from functioning correctly.
In summary:
- Hold the batteries with the proper alignment of positive (+) and negative (-)
- Align the positive and negative ends of the batteries with the corresponding symbols or markings in the battery compartment
- Gently push the batteries into their respective compartments until fully seated
By following these instructions, you can successfully insert the batteries into your Apple wireless keyboard. Once the batteries are securely in place, you are ready to move on to the next step of ensuring proper battery alignment.
Step 6: Ensure proper battery alignment
After inserting the batteries into your Apple wireless keyboard, it is crucial to ensure proper alignment to promote efficient usage and avoid any potential issues. Proper alignment ensures that the batteries make reliable contact with the keyboard’s internal connections.
Take a moment to inspect the batteries and verify their alignment within the battery compartment. Ensure that the positive (+) ends of the batteries are facing the positive symbol or marking in the compartment, and the negative (-) ends are aligned with the negative symbol or marking.
If you notice that the batteries are not aligned correctly, gently adjust their position within the compartment. Correct alignment is vital for establishing a solid electrical connection between the batteries and the keyboard.
Proper alignment also applies to the insertion of the batteries into their respective slots or compartments within the battery compartment. If necessary, carefully reseat the batteries to ensure they are firmly and securely in place.
Double-checking the alignment of the batteries beforehand will help prevent any power-related issues or disruptions in the functionality of your Apple wireless keyboard.
In summary:
- Inspect the alignment of the batteries within the battery compartment
- Ensure positive (+) ends are aligned with the positive symbol or marking, and negative (-) ends are aligned with the negative symbol or marking
- Adjust the position of the batteries if necessary for proper alignment
By following these guidelines and verifying the proper alignment of the batteries, you can ensure a stable power connection and optimal performance of your Apple wireless keyboard. With the batteries properly aligned, we can now proceed to the next step of closing the battery compartment door.
Step 7: Close the battery compartment door
Now that the batteries are correctly inserted and aligned in the battery compartment of your Apple wireless keyboard, it’s time to close the battery compartment door. Closing the door will secure the batteries in place and provide a neat and tidy appearance.
Ensure that the battery compartment door is open and held in position. Gently guide the door back into place, aligning it with the edges of the keyboard. Take care not to pinch or trap any wires or cables that may be connected to the keyboard.
If your keyboard has a latch or locking mechanism, make sure it engages properly when closing the battery compartment door. You should hear a gentle click or feel the latch secure the door in place.
Check the door to ensure that it is evenly closed and properly aligned with the keyboard. It should be flush with the back of the keyboard without any gaps or obstructions. This ensures that the batteries are securely enclosed and protected.
If you encounter any difficulty closing the battery compartment door, double-check the alignment of the batteries and adjust as needed. It is important to avoid applying excessive force that could damage the door or the keyboard.
In summary:
- Gently guide the battery compartment door back into place
- Ensure proper alignment with the edges of the keyboard
- Verify that the latch or locking mechanism securely engages, if applicable
- Check for even closure and alignment of the door without gaps or obstructions
Following these steps will allow you to successfully close the battery compartment door of your Apple wireless keyboard. With the door securely closed, you can now move on to the next and final step: testing the functionality of the keyboard.
Step 8: Test the keyboard functionality
Now that you have successfully inserted the batteries and closed the battery compartment door of your Apple wireless keyboard, it’s time to test its functionality. Testing the keyboard will ensure that it is properly powered and ready to use.
Turn the keyboard right-side up and place it on a flat surface within range of your computer or device. Ensure that the keyboard is within the recommended distance for wireless connectivity, typically around 30 feet (9 meters).
Press any key on the keyboard and observe the response. The keys should register and display the corresponding characters or actions on your screen. Test multiple keys to ensure that they are all functioning correctly.
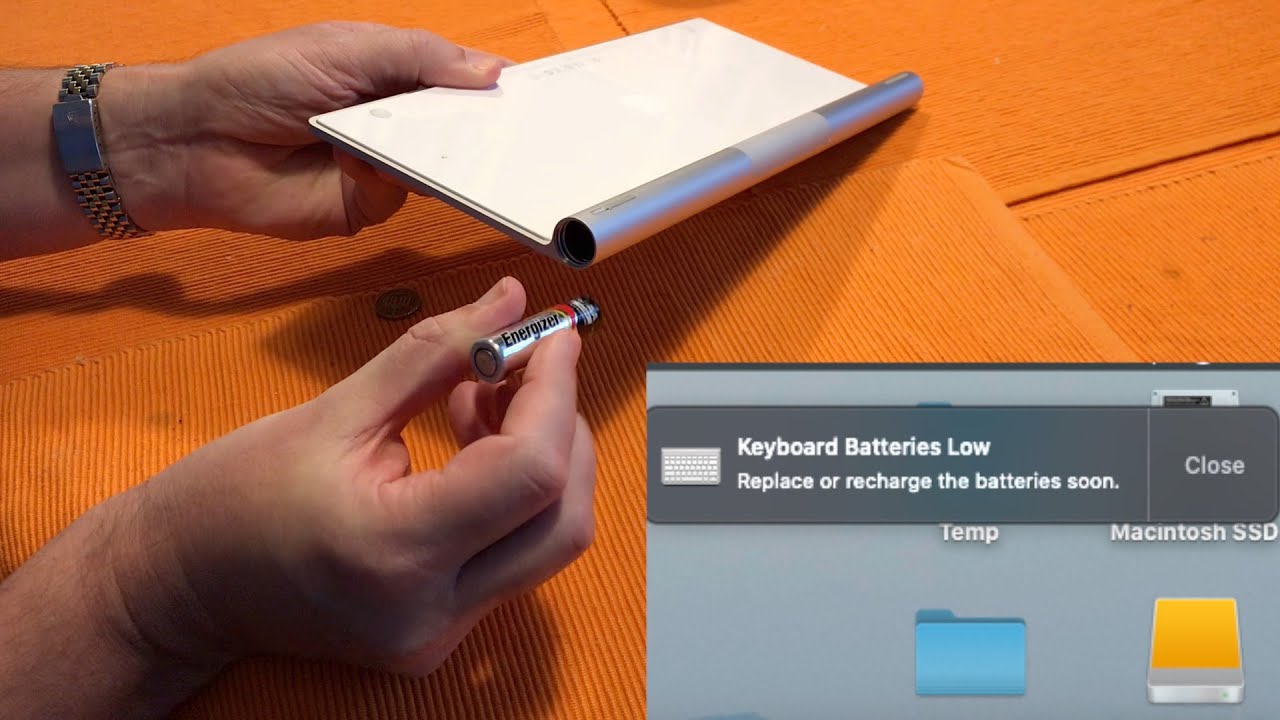
If you encounter any issues with key response or connectivity, first, check that the keyboard is turned on. Most Apple wireless keyboards have an on/off switch located on the side or back. Ensure that the switch is in the “on” position.
If the keyboard is turned on but still not functioning properly, check the battery alignment and ensure that the batteries have sufficient power. If needed, replace the batteries with fresh ones, making sure to follow the proper alignment and insertion steps outlined earlier.
If the keyboard continues to have issues, consult the troubleshooting section of the Apple wireless keyboard manual or visit the Apple Support website for further assistance.
In summary:
- Place the keyboard on a flat surface within range of your computer or device
- Press keys and observe their response on your screen
- Check that the keyboard is turned on and the batteries are properly aligned
- If issues persist, consult the manual or contact Apple Support for assistance
By testing the functionality of your Apple wireless keyboard, you can confirm that it is working as intended. Enjoy the convenience and freedom of a wireless keyboard for your Apple devices!
Conclusion
Congratulations! You have successfully learned how to insert batteries into your Apple wireless keyboard. By following the step-by-step instructions in this guide, you have ensured that your keyboard is properly powered and ready to use.
Throughout the process, we covered the essentials, including gathering the necessary materials, turning the keyboard upside down, locating the battery compartment, opening the battery compartment door, inserting the batteries, ensuring proper battery alignment, closing the battery compartment door, and finally, testing the keyboard functionality.
Remember, it’s important to use high-quality alkaline batteries and align them correctly to ensure optimal performance. By following these guidelines, you can enjoy a seamless and hassle-free experience with your Apple wireless keyboard.
If you encounter any issues along the way, don’t hesitate to consult the user manual or contact Apple Support for further assistance. They are there to help you troubleshoot any problems you may encounter.
Now that you have successfully completed the battery insertion process, you can fully enjoy the convenience and portability of your Apple wireless keyboard. Whether you use it for work, gaming, or everyday tasks, the wireless functionality allows you to comfortably control your Apple devices without the constraints of cords.
Thank you for using this guide, and we hope you find it helpful. Happy typing!