Introduction
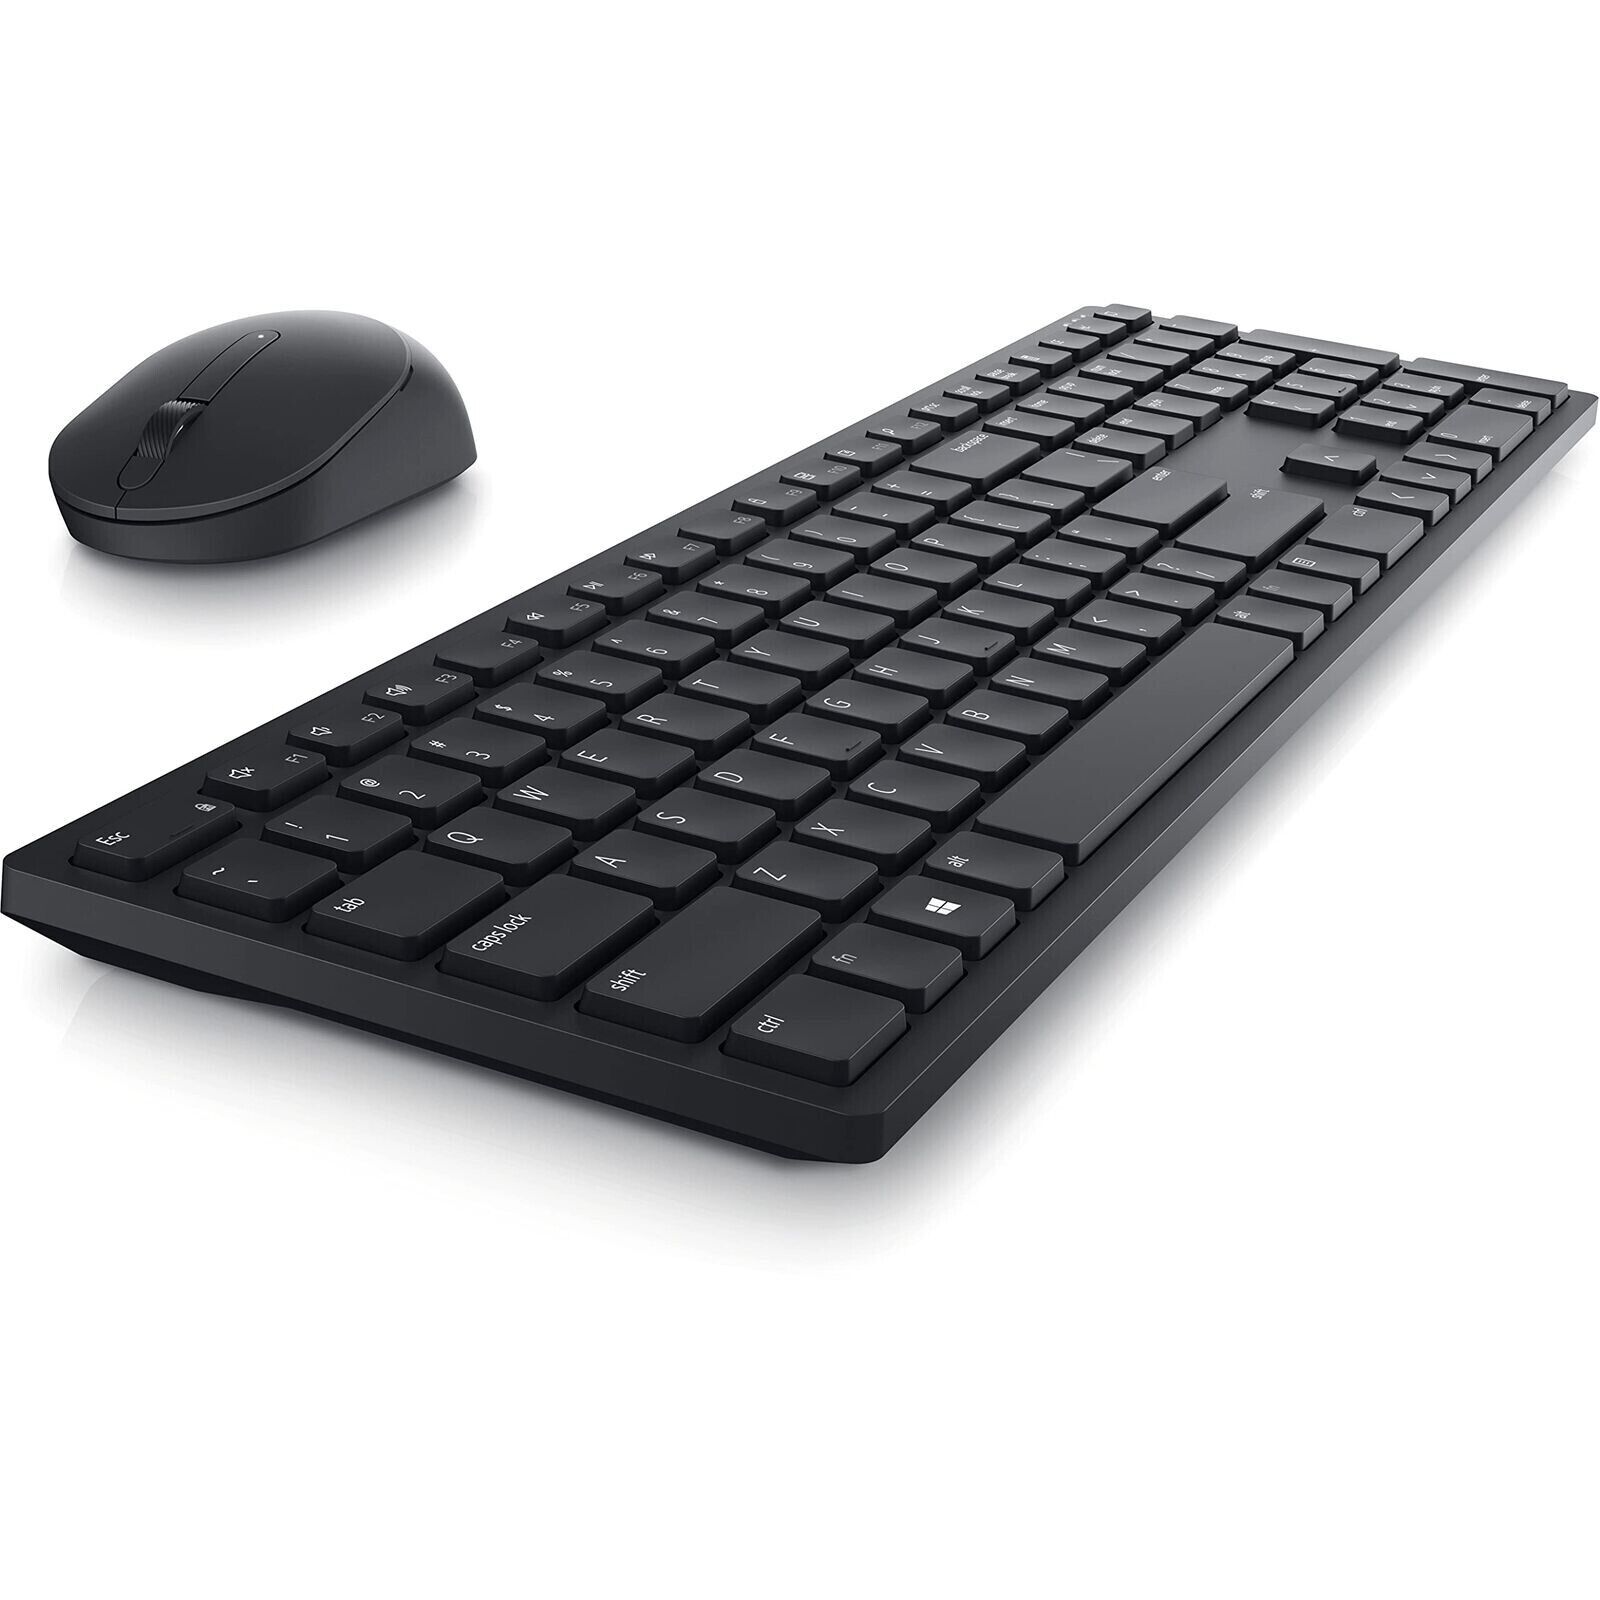
Welcome to our guide on how to pair a Dell wireless keyboard! A wireless keyboard offers flexibility and convenience, allowing you to type from a comfortable distance without the hassle of tangled cables. Whether you’re using a Dell wireless keyboard for work or leisure, learning how to pair it with your device is essential.
Dell wireless keyboards come in various models, each with its own unique pairing process. In this guide, we’ll provide you with a comprehensive overview of the steps involved in pairing a Dell wireless keyboard. Whether you’re connecting it to a Dell laptop, desktop, or any other device, these steps will help you establish a seamless connection in no time.
Before we get started, it’s important to note that the specific instructions may vary slightly depending on the model of your Dell wireless keyboard. However, the general pairing process remains consistent across most Dell wireless keyboards, and we’ll provide you with the necessary guidelines to ensure a successful connection.
So, if you’re ready to unlock the full potential of your Dell wireless keyboard, let’s dive into the step-by-step instructions. Whether you’re a tech-savvy individual or someone new to wireless devices, rest assured that this guide will walk you through the pairing process in a clear and concise manner.
Step 1: Check the Compatibility
First and foremost, it’s crucial to ensure that your Dell wireless keyboard is compatible with the device you want to connect it to. While most Dell wireless keyboards are designed to work seamlessly with Dell laptops and desktops, they can also be used with other devices such as tablets, smartphones, or even smart TVs. However, it’s important to verify the compatibility before proceeding with the pairing process.
To check the compatibility, refer to the user manual or the product specifications of your Dell wireless keyboard. Look for information regarding the supported operating systems and compatible devices. If your device matches the requirements stated in the manual, you can proceed with the pairing process without any concerns. However, if there are any compatibility issues, you may need to consider alternative solutions or seek a different wireless keyboard that is compatible with your device.
Furthermore, it’s worth noting that some Dell wireless keyboards may require additional drivers or software to function properly with certain devices. In such cases, ensure that you have the necessary drivers or software installed on your device before attempting to pair the keyboard. You can usually find these drivers or software on the Dell support website or the product page of your wireless keyboard.
By confirming the compatibility of your Dell wireless keyboard with your device and ensuring that any required drivers or software are installed, you’ll be ready to proceed with the pairing process. This step helps to prevent any potential issues or frustrations that may arise from attempting to pair an incompatible keyboard with your device. So, double-check the compatibility, gather the necessary drivers or software if needed, and let’s move on to the next step.
Step 2: Prepare the Keyboard
Before diving into the pairing process, it’s essential to prepare your Dell wireless keyboard for a successful connection. This step involves a few simple tasks to ensure that the keyboard is in optimum condition and ready to be paired with your device.
Firstly, check if the keyboard has batteries and if they are properly installed. Most Dell wireless keyboards are powered by AA or AAA batteries, which can be easily inserted into the designated battery compartment. Make sure to follow the correct polarity markings (+ and -) when inserting the batteries to avoid any issues with power supply.
Next, ensure that the keyboard is in good physical condition. Check for any dust, debris, or sticky keys that may hinder its performance. Use a soft, lint-free cloth to gently clean the surface of the keyboard and remove any dirt or grime. If necessary, you can also use compressed air to remove debris from between the keys, ensuring smooth and uninterrupted typing experience.
Moreover, if your Dell wireless keyboard has any special keys or multimedia functions, familiarize yourself with their location and functions. These additional features can enhance your typing experience and productivity. Take a moment to read the user manual or refer to the documentation provided with the keyboard to understand the various functions and shortcuts available.
Lastly, make sure that the keyboard is within the range of your device’s Bluetooth connectivity. Most Dell wireless keyboards have a maximum range of around 30 feet (9 meters) from the connected device. Position the keyboard within this range to ensure a strong and stable connection during the pairing process.
By taking the time to prepare your Dell wireless keyboard, you’ll ensure that it is in optimal condition and ready to be paired successfully. Checking the batteries, cleaning the keyboard, familiarizing yourself with the special keys, and positioning the keyboard within range are all essential steps in preparing for the pairing process. So, with your keyboard primed and ready, let’s move on to the next step.
Step 3: Turn on the Keyboard
In this step, we’ll focus on turning on your Dell wireless keyboard. Before attempting to pair the keyboard with your device, it’s essential to ensure that it is powered on and ready to establish a connection.
To turn on your Dell wireless keyboard, locate the power button or switch. Depending on the model of your keyboard, the power button may be located on the top-right corner, the side, or even on the back. Look for a small switch or button with a power symbol (often depicted as a circle with a vertical line) or the word “POWER” written next to it.
Once you’ve located the power button, press it to turn on the keyboard. In most cases, you’ll notice a small indicator light on the keyboard that will illuminate, indicating that the keyboard is now powered on and ready for pairing. The indicator light may be located near the power button or at the top of the keyboard, depending on the model.
If the indicator light doesn’t turn on, it could indicate that the batteries are either depleted or not properly inserted. In such cases, double-check the battery installation and replace them if necessary. Ensure that the batteries have sufficient charge and try turning on the keyboard again.
Once the keyboard is powered on and the indicator light is illuminated, it’s time to proceed to the next step and put the keyboard in pairing mode. Turning on the keyboard is an essential prerequisite for the pairing process, as it allows your device to detect and establish a connection with the keyboard. So, make sure your keyboard is powered on, and let’s move forward to the next step.
Step 4: Put the Keyboard in Pairing Mode
Putting your Dell wireless keyboard in pairing mode is a crucial step in establishing a connection with your device. Pairing mode allows your keyboard to broadcast its presence and enables your device to detect and connect to it. The process of putting the keyboard in pairing mode may vary slightly depending on the model, but the general steps are outlined below.
Typically, to put your Dell wireless keyboard in pairing mode, you will need to press and hold a specific button or combination of keys. Look for a button or keys marked with a Bluetooth symbol (often depicted as a stylized “B” or the word “BT”) or the word “PAIR” next to it. This button or key combination is usually located on the bottom or back of the keyboard.
Once you’ve located the pairing button or key combination, press and hold it for a few seconds. You may notice an indicator light flashing or changing color to indicate that the keyboard is now in pairing mode. This flashing or changing light signifies that the keyboard is actively seeking a device to connect to.
Keep in mind that the keyboard will typically remain in pairing mode for a limited time, usually around one to two minutes. If you’re unable to successfully pair your keyboard within this timeframe, you may need to repeat the process and put the keyboard back into pairing mode.
It’s important to note that some Dell wireless keyboards may enter pairing mode automatically when powered on, without the need to press a specific button. In such cases, refer to the user manual or product documentation for instructions on how to activate the automatic pairing mode.
With your Dell wireless keyboard in pairing mode, it’s now ready to establish a connection with your device. The flashing or changing indicator light indicates that the keyboard is actively searching for a device to pair with. Now, let’s proceed to the next step and connect your device to the keyboard.
Step 5: Connect the Keyboard to Your Device
Now that your Dell wireless keyboard is in pairing mode, it’s time to connect it to your device. The process of connecting the keyboard may vary slightly depending on the operating system of your device, but the general steps are outlined below.
On your device, navigate to the Bluetooth settings menu. This can typically be found in the settings or control panel. Once you’ve accessed the Bluetooth settings, ensure that Bluetooth is enabled, allowing your device to discover and connect with nearby devices.
Within the Bluetooth settings, your device should display a list of available devices to pair with. Look for the name or model number of your Dell wireless keyboard in the list. If you don’t see your keyboard listed, try refreshing the device list or ensuring that the keyboard is still in pairing mode.
Once you’ve located your Dell wireless keyboard in the device list, select it to initiate the pairing process. Your device will then attempt to establish a connection with the keyboard. During this process, you may be prompted to enter a passkey or PIN code. If prompted, refer to the documentation that came with your keyboard to obtain the correct passkey or PIN code, and enter it on your device.
After entering the passkey or PIN code, your device will continue the pairing process and connect to the Dell wireless keyboard. You may notice a notification or indicator on your device that confirms the successful connection. Additionally, the indicator light on the keyboard may also change or stop flashing, indicating a solid connection has been established.
Once the connection is established, you can begin using your Dell wireless keyboard with your device. Test out the keys to ensure that they respond correctly and that the keyboard is functioning as expected. If you encounter any issues, check the user manual or visit the Dell support website for troubleshooting steps specific to your keyboard model.
Congratulations! You have successfully connected your Dell wireless keyboard to your device. Now, you can enjoy the freedom and convenience of wireless typing. In the next step, we’ll briefly discuss how to test the connection to ensure everything is working smoothly.
Step 6: Test the Connection
After connecting your Dell wireless keyboard to your device, it’s important to test the connection to ensure that everything is working smoothly. This step allows you to verify that the keyboard is functioning correctly and that there are no issues with the connection or responsiveness.
Begin by opening a text editor or any application that allows you to type. Test out the keys on your Dell wireless keyboard, making sure that each key registers and inputs the corresponding character on the screen. Pay close attention to the responsiveness of the keys and ensure there are no delays or missed inputs.
Try typing a few sentences to get a sense of the typing experience and how comfortable it is for you. Test out any special keys or functions on the keyboard, such as multimedia controls or shortcut keys, to ensure they perform as expected. This step helps ensure that all the features of your Dell wireless keyboard are fully functional.
In addition to testing the typing experience, you can also test the range of your wireless keyboard. Move a few feet away from your device and try typing to see if the connection remains stable. Most Dell wireless keyboards have a range of around 30 feet (9 meters), but it’s a good idea to test it within your typical usage environment to ensure it meets your needs.
If you encounter any issues during the testing phase, such as unresponsive keys or inconsistent connectivity, try the following troubleshooting steps:
- Ensure that the keyboard is within range of your device and that there are no obstructions interfering with the wireless signal.
- Check the battery level of your Dell wireless keyboard and replace the batteries if necessary.
- If you’re using a USB receiver, make sure it is properly connected to your device and not being blocked by any objects.
- Restart your device and attempt to reconnect the keyboard to see if that resolves any connectivity issues.
By testing the connection and addressing any potential issues that arise, you can ensure that your Dell wireless keyboard is fully functional and provides a seamless typing experience. Enjoy the freedom of wireless typing and the convenience it brings to your daily tasks.
Conclusion
Congratulations! You have successfully learned how to pair your Dell wireless keyboard with your device. Following the steps outlined in this guide, you were able to check the compatibility, prepare the keyboard, turn it on, put it in pairing mode, connect it to your device, and test the connection. Now, you can enjoy the convenience and freedom of wirelessly typing without the limitations of cables.
Remember, the specific steps may vary slightly depending on the model of your Dell wireless keyboard and the operating system of your device. Always refer to the user manual or product documentation for your specific model for detailed instructions tailored to your keyboard.
If you encountered any issues during the pairing process or while testing the connection, don’t hesitate to consult the help resources provided by Dell or reach out to their customer support for additional assistance. They will be able to offer specific troubleshooting steps or further guidance to resolve any lingering issues.
Whether you’re using your Dell wireless keyboard for work, gaming, or leisure, its wireless capabilities provide flexibility and convenience. You can now type comfortably without the hassle of tangled cables, allowing you to focus on your tasks with ease.
We hope this guide has been helpful in assisting you with pairing your Dell wireless keyboard. Enjoy the seamless and productive typing experience that your wireless keyboard offers. Happy typing!