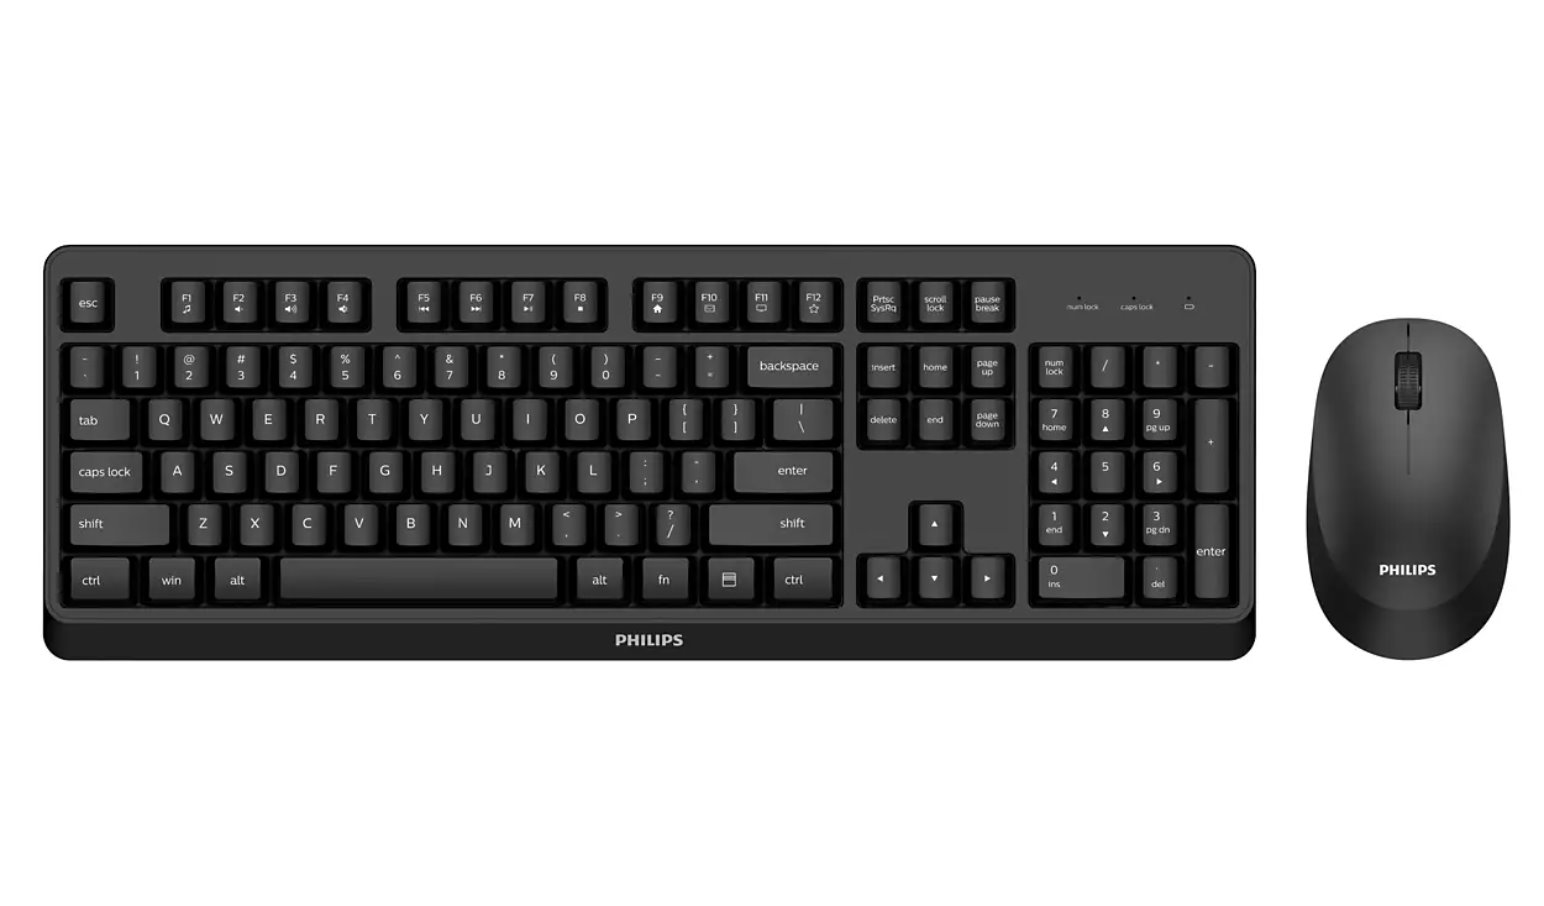
Introduction
A wireless keyboard and mouse provide the convenience and freedom of movement that traditional wired peripherals lack. Whether you’re using a desktop computer, laptop, or even a smart TV, connecting a wireless keyboard and mouse is a simple process that can elevate your computing experience. With a wireless setup, you can say goodbye to tangled cords and enjoy the flexibility to work or play from a distance.
In this guide, we will walk you through the step-by-step process of connecting a wireless keyboard and mouse to your device. We will cover the necessary compatibility checks, battery installation, and the activation of pairing mode. We’ll also show you how to activate Bluetooth on your computer and connect your wireless peripherals to it. Finally, we’ll provide troubleshooting tips for common issues you may encounter.
Whether you’re a tech-savvy individual or a beginner, this guide is designed to help you easily set up your wireless keyboard and mouse, so you can start enjoying the benefits of a wire-free experience. So, let’s dive in and get your wireless peripherals up and running in no time!
Step 1: Check the compatibility of your keyboard and mouse
Before embarking on the process of connecting your wireless keyboard and mouse, it’s essential to ensure that they are compatible with your device. Compatibility can vary based on the operating system and Bluetooth version supported by your computer, so it’s crucial to verify these key details.
First, check the system requirements provided by the manufacturer of your wireless keyboard and mouse. Look for any specific operating system requirements, such as Windows, macOS, or Linux. Make sure that your device meets these requirements to ensure seamless functionality.
Next, verify the Bluetooth version of your computer. Most modern devices support Bluetooth 4.0 or higher, which provides improved connectivity and reduced latency. However, if you’re using an older device or a non-standard operating system, it’s possible that your Bluetooth version may be lower. Consult your device’s specifications or contact the manufacturer to determine your Bluetooth version.
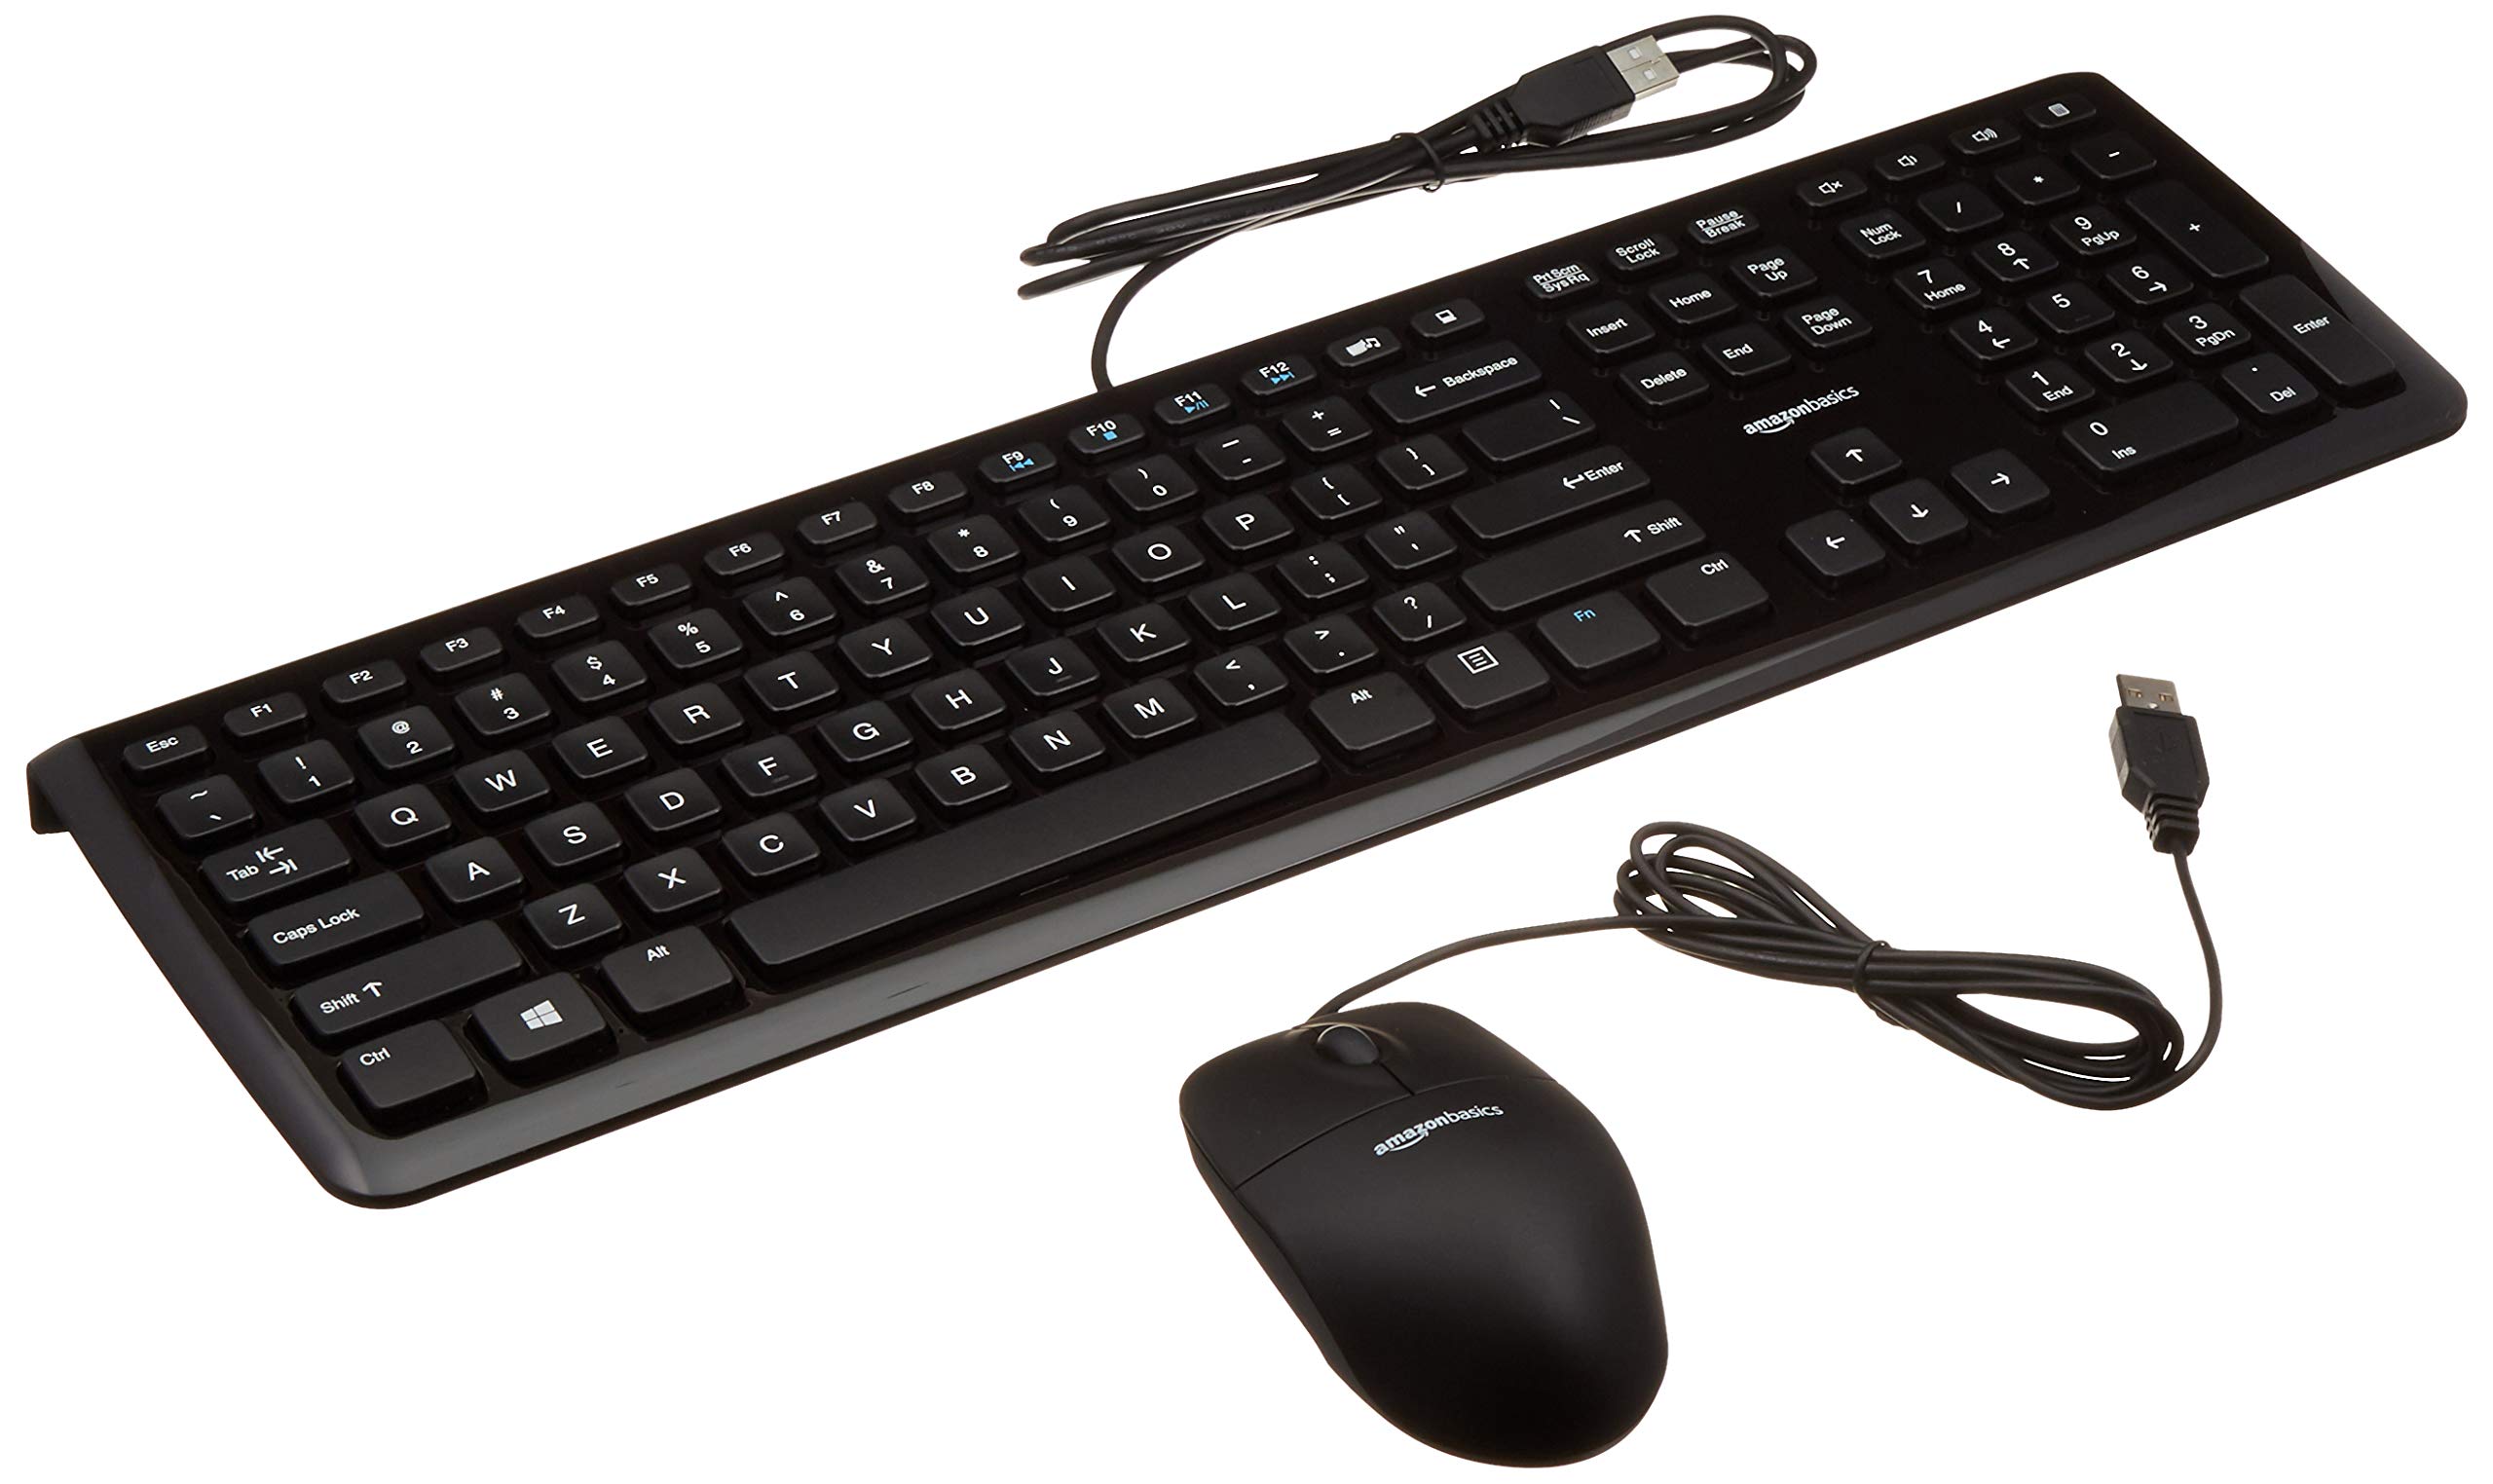
If your keyboard and mouse require a USB receiver to connect wirelessly, ensure that your computer has an available USB port. Without a USB port, you won’t be able to connect the peripherals using the USB receiver method.
By verifying the compatibility of your keyboard and mouse, you can avoid frustrations and ensure a successful connection process. Now that you’ve confirmed the compatibility, let’s move on to the next step: installing batteries in your wireless keyboard and mouse.
Step 2: Install batteries in your wireless keyboard and mouse
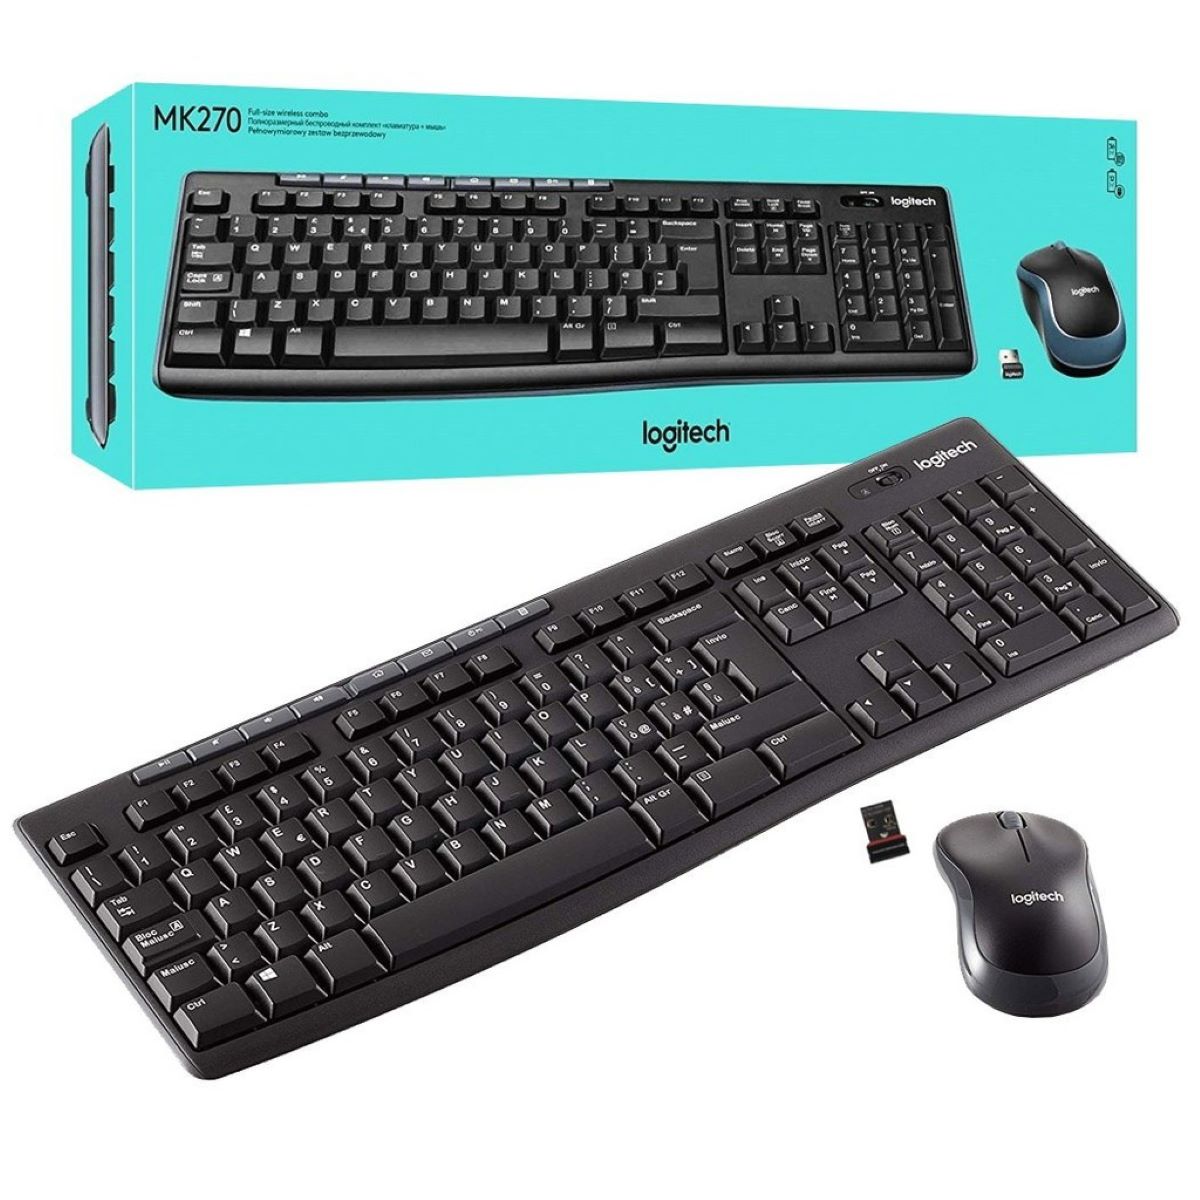
Before you can begin using your wireless keyboard and mouse, you’ll need to power them up by installing batteries. Most wireless keyboards and mice use standard AAA or AA batteries, but it’s essential to refer to the manufacturer’s instructions for the specific battery requirements of your devices.
To install the batteries, locate the battery compartments on both the keyboard and the mouse. These compartments are typically on the underside of the peripherals. Use the appropriate method to open the compartments, which may involve sliding or pressing a button.
Insert the batteries into their respective compartments, ensuring that you align the positive and negative ends correctly. Follow the markings or diagrams inside the compartments for guidance. Once the batteries are inserted, securely close the battery compartments to prevent them from falling out during use.
It is worth noting that some wireless keyboards and mice come with rechargeable batteries. In such cases, you may need to connect the peripherals to a power source using the provided USB cable to charge them fully before use. The manufacturer’s instructions will provide clear guidance on how to charge your devices if they include rechargeable batteries.
Now that you have successfully installed the batteries, your wireless keyboard and mouse are ready for the next step: activating pairing mode. We’ll cover this in detail in the following step.
Step 3: Activate pairing mode on your wireless keyboard and mouse
In order to establish a connection between your keyboard, mouse, and your device, you’ll need to activate the pairing mode on your wireless peripherals. This mode allows them to be discovered and recognized by your computer or other compatible device.
The process for activating pairing mode varies depending on the make and model of your keyboard and mouse. Typically, you’ll need to locate and press a button or combination of keys on the peripherals. This button is often labeled with a Bluetooth symbol or the word “Pairing.” Refer to the manufacturer’s instructions for the specific steps to activate pairing mode.
Once you’ve entered pairing mode, a light on the keyboard or mouse may start flashing to indicate that they are ready to be paired. This light may be located on the device itself or on the USB receiver if your peripherals use one.
Keep in mind that some wireless keyboards and mice have a dedicated USB receiver that needs to be plugged into your computer’s USB port for the pairing process. In this case, insert the USB receiver into an available USB port and ensure that it is securely connected.
Activating pairing mode typically only needs to be done once during the initial setup. However, if you find that your keyboard or mouse is not connecting to your device, you may need to repeat this step to ensure a successful connection.
Now that you have activated pairing mode on your wireless keyboard and mouse, the next step is to activate Bluetooth on your computer. This will allow your computer to discover and connect to the peripherals. We’ll cover this in detail in the following step.
Step 4: Activate Bluetooth on your computer
In order to connect your wireless keyboard and mouse to your computer, you’ll need to activate the Bluetooth feature on your computer. This will allow your computer to search and discover nearby Bluetooth devices, including your peripherals.
The process for activating Bluetooth can vary depending on your computer’s operating system. Here’s a general guide to activating Bluetooth on some popular operating systems:
- Windows: Click on the Start menu and open the Settings app. From there, navigate to the “Devices” section and select “Bluetooth & other devices.” Toggle the Bluetooth switch to the “On” position.
- macOS: Click on the Apple menu and open System Preferences. Select “Bluetooth” from the preferences window, and ensure that the Bluetooth option is turned on.
- Linux: The steps may vary depending on the Linux distribution you are using. Generally, you can find the Bluetooth settings in the system settings or the taskbar area. Look for the Bluetooth icon and enable it if it is not already on.
Once Bluetooth is activated on your computer, it will start scanning for nearby devices. Make sure that your wireless keyboard and mouse are still in pairing mode. Your computer should detect and display the name or model of your peripherals in the list of available Bluetooth devices.
Select your wireless keyboard and mouse from the list of available devices. If prompted, enter the provided passcode or PIN to establish a secure connection between your computer and the peripherals. The passcode may be displayed on your computer or provided in the manufacturer’s instructions.
Once your computer successfully pairs with the wireless keyboard and mouse, you’re one step closer to enjoying the freedom of wire-free computing. The next step is to connect your wireless keyboard and mouse to your computer, which we’ll cover in detail in the following step.
Step 5: Connect your wireless keyboard and mouse to your computer
Now that you have activated Bluetooth on your computer and your wireless keyboard and mouse are in pairing mode, it’s time to establish the connection between the devices.
If your computer detected and displayed the name or model of your keyboard and mouse in the list of available Bluetooth devices, click on their respective names to initiate the connection. Your computer will send a pairing request to the peripherals, and once accepted, they will be connected.
If your computer did not automatically detect the peripherals, look for a “Search” or “Add device” button within the Bluetooth settings. Click on that button, and your computer should initiate a search for nearby Bluetooth devices. Select your wireless keyboard and mouse from the search results to connect them to your computer.
Once the connection is established, you may see a notification or confirmation message on your computer indicating the successful pairing of your wireless keyboard and mouse. At this point, you should be able to use your wireless peripherals with your computer.
It’s important to note that the specific steps and interface of the connection process can vary depending on your computer’s operating system and Bluetooth settings. Refer to the manufacturer’s instructions for any troubleshooting steps or additional information specific to your devices.
Now that you have successfully connected your wireless keyboard and mouse to your computer, it’s time to test the connection and ensure everything is working as expected. The next step will guide you on how to do this effectively.
Step 6: Test the connection of your wireless keyboard and mouse
After connecting your wireless keyboard and mouse to your computer, it’s important to test the connection to ensure that the devices are functioning correctly. By running a quick test, you can verify that both the keyboard and mouse are responding accurately to your inputs.
Open a text document or any application where you can enter text, such as a word processor or web browser. Start typing on your wireless keyboard to see if the keystrokes register on the screen. Check for any delays or missed keystrokes, as this may indicate a connectivity issue.
Next, move your wireless mouse around to see if the cursor on the screen follows your movements smoothly. Ensure that all mouse buttons are working as intended. If your mouse has additional buttons or features, test those as well to confirm their functionality.
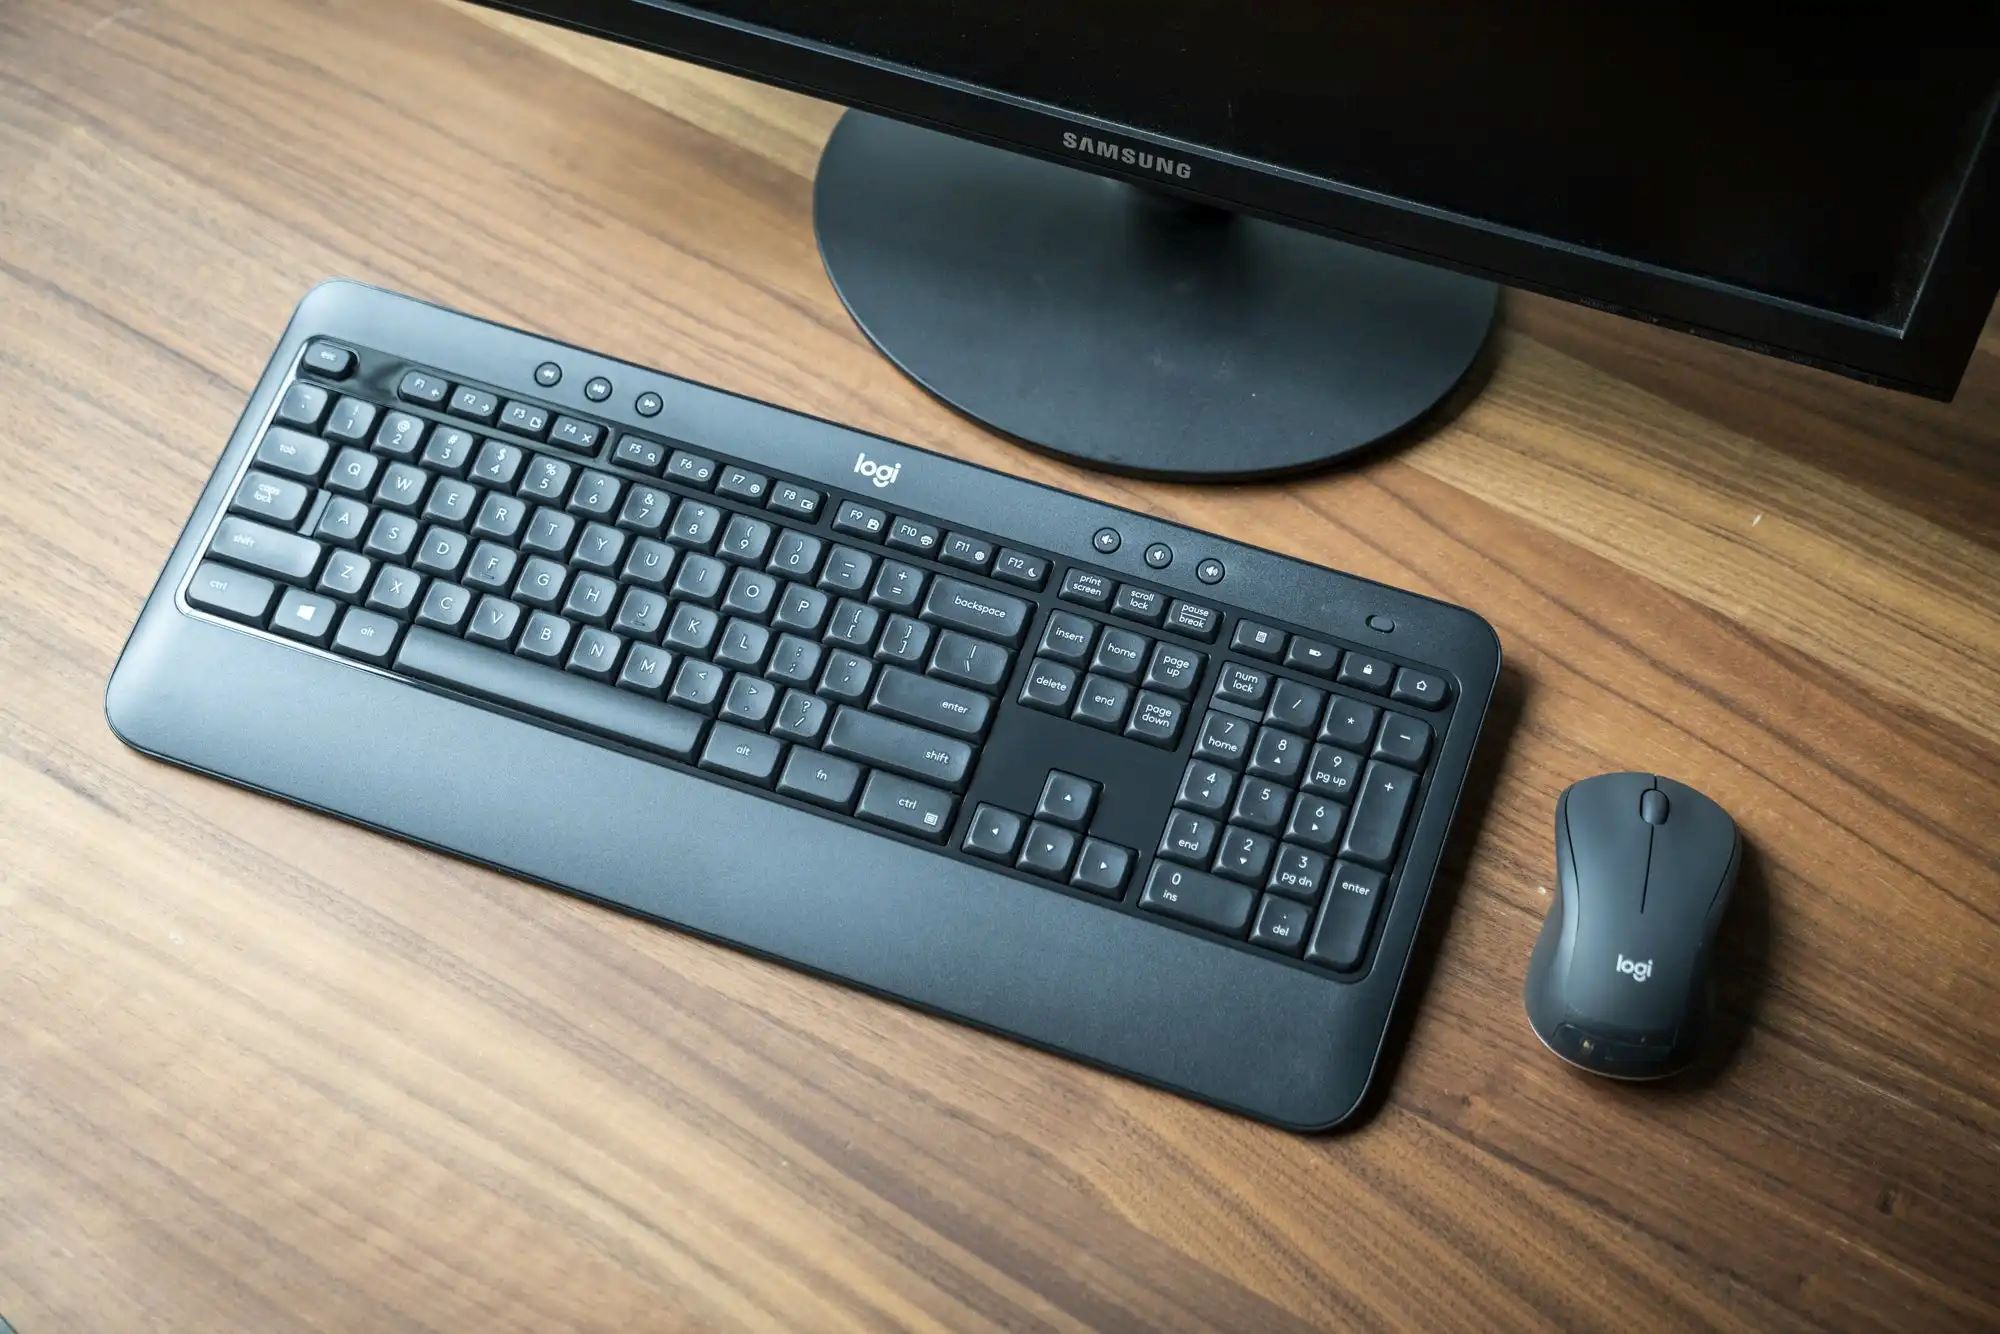
While testing, pay attention to the range of your wireless keyboard and mouse. Move a few steps away from your computer to determine if the peripherals continue to function reliably. If the connection weakens or becomes inconsistent at a certain distance, try moving closer to your computer or removing any potential sources of interference between the peripherals and the computer.
If you encounter any issues during the test, such as unresponsive keys or erratic cursor movements, try restarting your computer and repeating the connection process. If the problem persists, consult the troubleshooting section in the manufacturer’s instructions or contact their customer support for assistance.
Once you’ve confirmed that both the keyboard and mouse are working properly, congratulations! You have successfully connected and tested your wireless keyboard and mouse.
Now you can fully enjoy the freedom and convenience that wireless peripherals bring to your computing experience. Whether you’re working, gaming, or simply browsing the web, the wire-free setup will provide you with the flexibility and comfort you desire.
Lastly, don’t forget to keep the batteries in your wireless keyboard and mouse charged or replenished as needed. Regularly check their power levels to avoid any interruptions in functionality.
Troubleshooting common issues with wireless keyboard and mouse connections
While connecting wireless keyboards and mice is usually a straightforward process, occasionally issues may arise. Here are some common problems you might encounter and troubleshooting steps you can take:
- Interference: If you experience signal interference or a weak connection, try moving closer to your computer or removing any nearby sources of interference, such as large metal objects or other electronic devices.
- Low battery: If your wireless keyboard or mouse stops responding or behaves erratically, check the battery levels. Replace the batteries with fresh ones if needed.
- Re-pairing: If your devices were previously connected but no longer work, try re-pairing them with your computer. Activate pairing mode on the peripherals and initiate the connection through your computer’s Bluetooth settings.
- Outdated drivers: Ensure that you have the latest drivers installed for your wireless keyboard and mouse. Visit the manufacturer’s website and download any available updates to ensure optimal performance.
- USB receiver interference: If you’re using a USB receiver for your peripherals, make sure it is securely plugged into a USB port and not blocked by any objects. Try using a different USB port if the connection issues persist.
- Compatibility issues: Double-check the compatibility of your wireless keyboard and mouse with your computer’s operating system. Ensure that you’re using the correct drivers and that your computer meets all the necessary system requirements.
- Device conflicts: If you have multiple Bluetooth devices connected to your computer, there may be conflicts. Disconnect any unnecessary devices or try connecting your wireless keyboard and mouse when other Bluetooth devices are not in use.
- Restarting your devices: Sometimes a simple restart can solve connectivity issues. Restart both your computer and your wireless keyboard and mouse, then attempt to reconnect them.
If you have exhausted all troubleshooting options and are still experiencing issues, refer to the manufacturer’s documentation, user manuals, or contact their customer support for further assistance. They may be able to provide specialized troubleshooting steps or suggest additional solutions to resolve the problem.
By following these troubleshooting tips, you can overcome common connectivity issues and ensure a seamless experience with your wireless keyboard and mouse.
Conclusion
Connecting a wireless keyboard and mouse to your computer can greatly enhance your computing experience by providing convenience and flexibility. By following the step-by-step process outlined in this guide, you can successfully connect your wireless peripherals and enjoy a wire-free setup.
We began by emphasizing the importance of checking the compatibility of your keyboard and mouse with your computer. Ensuring that your devices meet the necessary requirements will save you time and frustration during the connection process.
We then covered the steps to install batteries in your wireless keyboard and mouse, activate pairing mode, and enable Bluetooth on your computer. These steps are essential to establish the initial connection between your peripherals and your computer.
After connecting your wireless keyboard and mouse, it is crucial to test the connection to ensure that everything is functioning properly. Checking for responsiveness and range will give you confidence that your peripherals are working as expected.
In the event that you encounter any issues, we provided troubleshooting tips to help you troubleshoot common connectivity problems. These steps will help you overcome obstacles and ensure a reliable connection between your peripherals and your computer.
Remember to keep your wireless keyboard and mouse batteries charged or replaced as needed to maintain optimal performance.
With a successfully connected wireless keyboard and mouse, you can enjoy the freedom of movement, increased productivity, and a more organized workspace. Whether you’re working on an important project, gaming, or simply browsing the web, a wire-free setup will provide you with a seamless and enjoyable computing experience.
Thank you for following this guide, and we hope you find it helpful in connecting your wireless keyboard and mouse!