Introduction
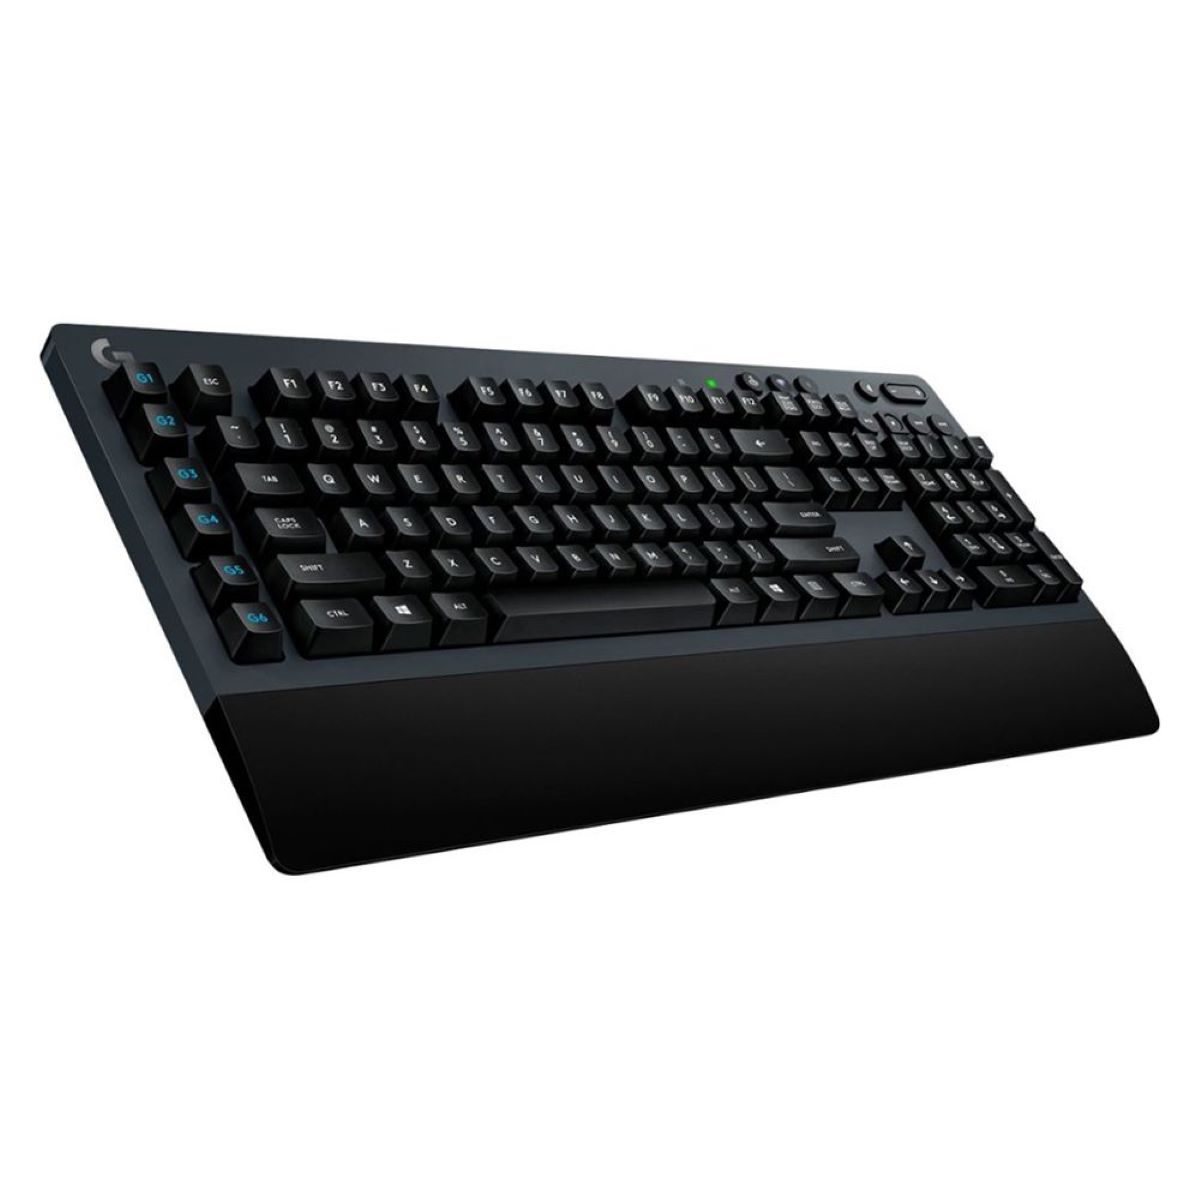
Logitech wireless mice and keyboards are popular choices for users who prefer a clutter-free workspace and the convenience of wireless connectivity. These peripherals offer freedom of movement and flexibility without sacrificing functionality and performance. Whether you’re a gamer, a professional, or a casual user, setting up and connecting your Logitech wireless mouse and keyboard is a straightforward process.
In this guide, we will walk you through the steps to connect your Logitech wireless mouse and keyboard. From preparing the devices to troubleshooting common issues, you’ll be ready to enjoy a seamless and hassle-free experience in no time.
Before we dive into the process, it’s worth noting that Logitech offers various models of wireless mice and keyboards, each with its own unique features and specifications. However, the general process of connecting them remains relatively consistent. We’ll provide you with a general overview that should apply to most Logitech wireless devices. If you have a specific Logitech model, it’s always a good idea to consult the user manual for any additional instructions or specifications.
Now, without further ado, let’s get started on the journey to connect your Logitech wireless mouse and keyboard!
Step 1: Prepare your Logitech wireless mouse and keyboard
Before you begin the process of connecting your Logitech wireless mouse and keyboard, make sure you have all the necessary components and prepare them for setup. This step will ensure a smooth and successful connection.
First, check if your Logitech wireless mouse and keyboard require batteries. Most Logitech devices operate on either AA or AAA batteries, but be sure to consult the user manual or product packaging for the specific battery requirements of your devices.
If necessary, insert fresh batteries into your mouse and keyboard. Ensure that you follow the correct polarity indicated by the battery compartment markings. This will ensure optimal performance and prevent any connectivity issues due to weak batteries.
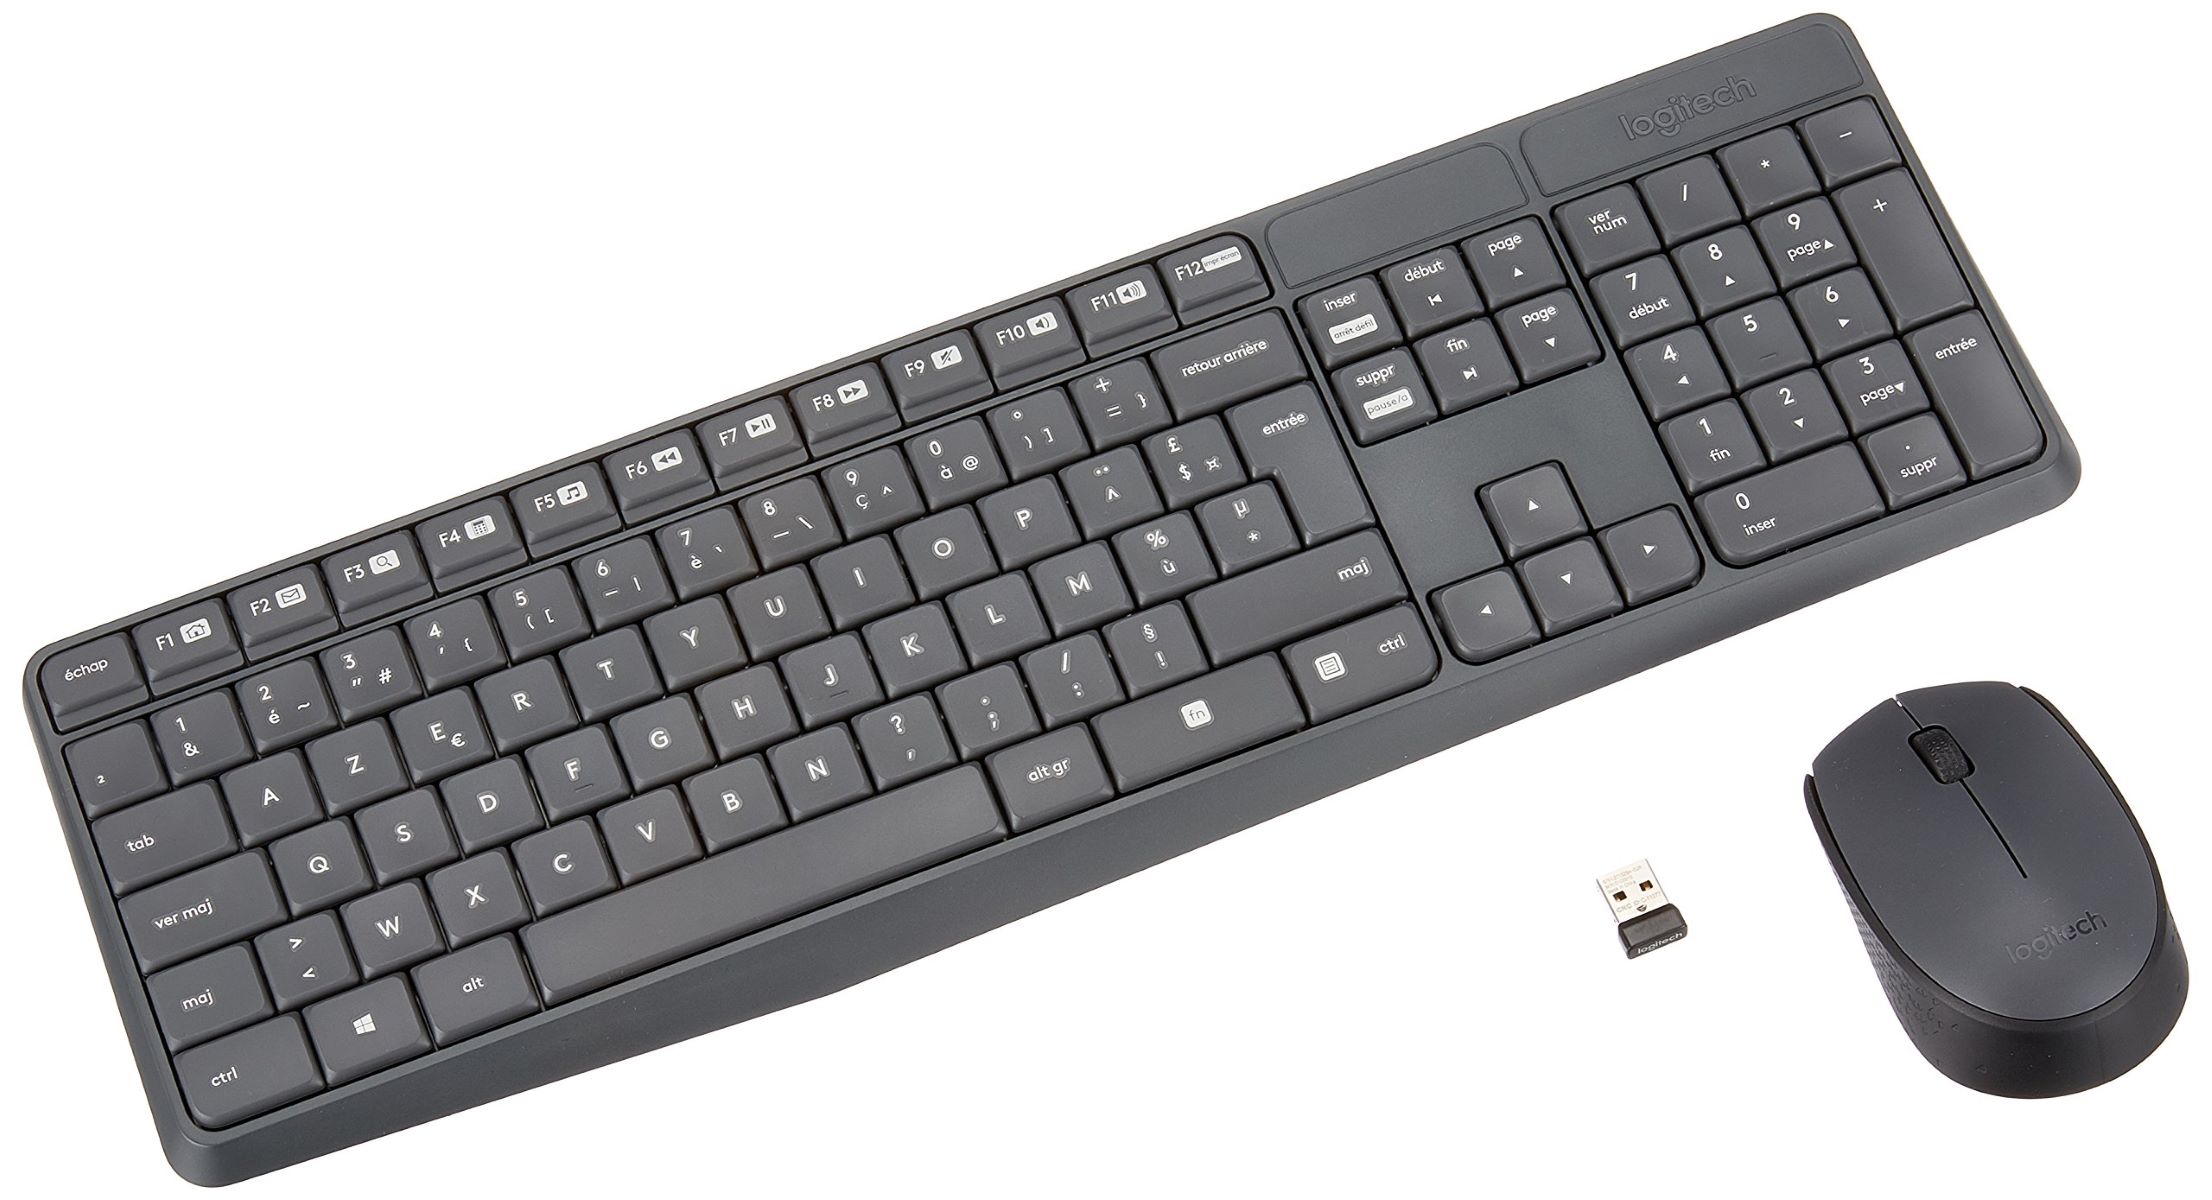
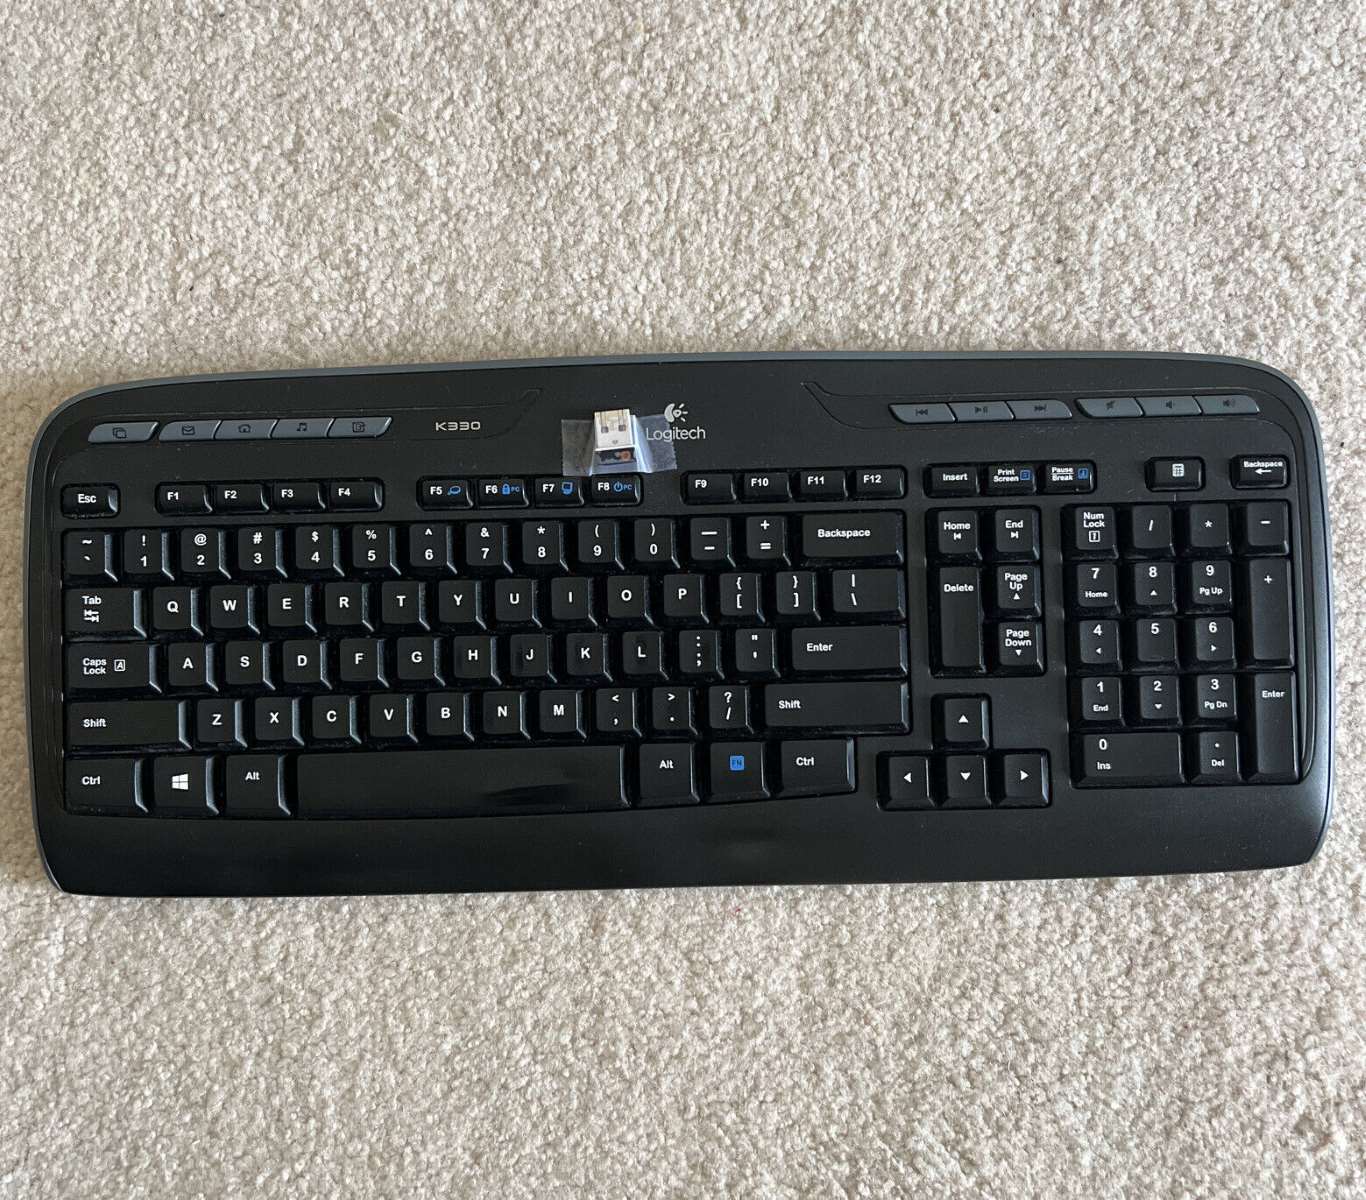
Next, find a suitable location for your wireless receiver. The receiver is a small USB dongle that is responsible for connecting your Logitech wireless devices to your computer. It should be placed in a USB port on your computer that is easily accessible and unobstructed to ensure a strong and reliable connection.
If your Logitech devices come with a Unifying receiver, which allows you to connect multiple Logitech devices to a single receiver, make sure to locate it as well. The Unifying receiver is a small USB receiver that can connect up to six compatible Logitech devices simultaneously.
It’s also important to remove any protective packaging or covers from your Logitech wireless mouse and keyboard. Ensure that there are no obstructions, such as plastic tabs or stickers, blocking the sensors or buttons.
Once you have prepared your Logitech wireless mouse and keyboard by inserting batteries, finding a suitable location for the receiver, and removing any protective packaging, you’re ready to move on to the next step.
Step 2: Insert batteries
One of the essential steps in setting up your Logitech wireless mouse and keyboard is inserting the batteries. Most Logitech devices operate on either AA or AAA batteries, but it’s important to refer to the user manual or product packaging for the specific battery requirements of your devices.
To insert the batteries, locate the battery compartment on your Logitech wireless mouse and keyboard. This is usually located on the underside of the device.
Open the battery compartment cover by sliding it or pressing the release button, depending on the model. Insert the batteries into the compartment, making sure to follow the correct polarity as indicated by the markings inside. Typically, a small diagram or plus (+) and minus (-) signs indicate the proper orientation of the batteries.
Once you have inserted the batteries, close the battery compartment cover securely to ensure proper contact and prevent the batteries from accidentally falling out.
If you’re using rechargeable batteries, ensure they are fully charged before inserting them into the device. It’s recommended to use high-quality batteries or rechargeable batteries from reputable brands to ensure optimal performance and longer battery life.
Keep in mind that the battery life of your Logitech wireless mouse and keyboard will vary depending on various factors such as usage, battery type, and power-saving features. It’s a good practice to replace the batteries when they start to lose their charge or when the device shows signs of reduced performance.
With the batteries inserted, your Logitech wireless mouse and keyboard are powered up and ready for the next step in the setup process. Let’s move on to turning on the devices.
Step 3: Turn on the devices
Now that you have inserted the batteries into your Logitech wireless mouse and keyboard, it’s time to turn on the devices. Turning on the devices will activate their wireless connectivity and allow them to communicate with the receiver.
Locate the power switch or button on your Logitech wireless mouse. It is usually located on the underside of the mouse or along the sides. Slide the switch or press the button to the “On” position to power on the mouse.
For the Logitech wireless keyboard, the power button is typically located on the top or side of the keyboard. Press the power button to turn on the keyboard. Some models may not have a power button, and the keyboard will automatically power on when the batteries are inserted.
After turning on both the mouse and keyboard, you may notice an indicator light or LED on each device. This light indicates that the devices are powered on and ready to be connected.
It’s important to note that some Logitech wireless mice and keyboards have an automatic power-saving feature. This means that if the devices are not in use for a certain period, they may go into a sleep mode to conserve battery power. To wake up the devices from sleep mode, simply move the mouse or press any key on the keyboard.
With your Logitech wireless mouse and keyboard turned on, they are now ready to be connected to the receiver. In the next step, we will discuss how to connect the USB receiver to your computer.
Step 4: Connect the USB receiver
With your Logitech wireless mouse and keyboard powered on, it’s time to connect the USB receiver to your computer. The USB receiver is a small dongle that enables the wireless connection between your Logitech devices and your computer.
Locate an available USB port on your computer. The USB port is usually located on the front or back of the computer tower, or on the side of a laptop. Ensure that the USB port is easily accessible and not obstructed by any objects.
Take the USB receiver and insert it into the USB port. Make sure to push it in firmly until it is securely seated in the port. The receiver should fit snugly and not have any wobbling or loose connections.
Once the USB receiver is connected to your computer, it will automatically detect and establish a connection with your Logitech wireless mouse and keyboard. The receiver and devices will communicate via wireless signals, allowing you to use the mouse and keyboard without any additional setup.
Some Logitech wireless devices come with a Unifying receiver, which allows you to connect multiple Logitech devices to a single receiver. If you have a Unifying receiver, you can connect additional compatible Logitech devices by following the instructions provided in the user manual or Logitech software.
It’s important to note that the range of the wireless signal may vary depending on your Logitech device. In general, the range is usually around a few meters. However, factors such as obstacles, interference, and other wireless devices in the vicinity may affect the signal strength and range.
With the USB receiver successfully connected to your computer, your Logitech wireless mouse and keyboard are now ready to be paired. In the next step, we will discuss how to install the Logitech Options software, which provides additional customization and functionality for your Logitech devices.
Step 5: Install Logitech Options software (optional)
While it is not mandatory, installing the Logitech Options software can enhance your Logitech wireless mouse and keyboard experience. The Logitech Options software offers additional features, customization options, and advanced functionality for your devices.
To install the Logitech Options software, visit the Logitech website and navigate to the support section. Look for the software downloads page or search for your specific Logitech device model. Download the Logitech Options software compatible with your operating system, whether it’s Windows or macOS.
Once the software has finished downloading, locate the installation file and double-click it to start the installation process. Follow the on-screen prompts and instructions to complete the installation. Typically, you will need to agree to the terms and conditions, select the installation location, and choose any additional settings or options you prefer.
After the installation is complete, launch the Logitech Options software. The software will automatically detect and recognize your Logitech wireless mouse and keyboard. It will provide you with a user-friendly interface where you can access various customization options and settings.
Depending on your Logitech devices, the Logitech Options software may offer features such as customizing button assignments, adjusting scroll speed, configuring gesture controls, creating application-specific profiles, and more. Explore the software to discover the full range of features and customization options available for your devices.
It’s worth noting that not all Logitech devices are compatible with the Logitech Options software. Some older models may require different software or may not offer extensive customization options. If you’re unsure about the compatibility of your device or the availability of the Logitech Options software, refer to the user manual or consult the Logitech support resources.
With the Logitech Options software installed and configured, you have the freedom to personalize your Logitech wireless mouse and keyboard to suit your preferences and needs. However, if you prefer not to install the software, your Logitech devices will still function normally without any loss of functionality.
Now that your Logitech wireless mouse and keyboard are connected and optionally configured with the Logitech Options software, it’s time to move on to the next step: pairing your devices.
Step 6: Pair your Logitech wireless mouse and keyboard
Now that your Logitech wireless mouse and keyboard are connected to your computer, it’s time to pair them. Pairing allows your Logitech devices to establish a secure and reliable communication with the receiver, ensuring proper functionality.
The pairing process may vary slightly depending on the model of your Logitech devices. However, the general steps are as follows:
- Locate the connect button on the USB receiver. It is typically a small button located on the receiver itself or on the bottom of the device. Press and hold the connect button until the LED starts to blink. This indicates that the receiver is in pairing mode.
- Next, find the connect button on your Logitech wireless mouse. It is usually located on the underside of the mouse. Press and hold the connect button until the LED on the mouse starts to blink. This indicates that the mouse is in pairing mode.
- Now, locate the connect button on your Logitech wireless keyboard. It is generally located on the back or bottom of the keyboard. Press and hold the connect button until the LED on the keyboard starts to blink. This indicates that the keyboard is in pairing mode.
Once all the devices are in pairing mode, they will search for and establish a connection with the USB receiver. The blinking LEDs will stop flashing and become steady, indicating a successful pairing.
It’s important to note that the pairing process may take a few moments, so be patient. If the devices do not pair successfully on the first attempt, try again by repeating the steps mentioned above.
Once the devices are properly paired, you can start using your Logitech wireless mouse and keyboard. Move the mouse and press keys on the keyboard to ensure that they are responding correctly on your computer screen.
If you have multiple Logitech devices connected through a Unifying receiver, you can repeat the above steps for each additional device. Each device will have its own connect button to initiate the pairing process.
Congratulations! You have successfully paired your Logitech wireless mouse and keyboard. You can now enjoy seamless and wireless control over your computer.
In the next step, we will discuss common troubleshooting tips to help you resolve any issues you might encounter with your Logitech wireless devices.
Step 7: Troubleshooting common issues
While setting up and connecting your Logitech wireless mouse and keyboard is usually a straightforward process, you may encounter some common issues. Here are a few troubleshooting tips to help you resolve them:
- No response: If your Logitech devices are not responding, first check the batteries to ensure they are properly inserted and have sufficient charge. Additionally, make sure that the devices are within the wireless range of the receiver.
- Poor connectivity: If you experience intermittent connectivity or lag, try moving the receiver to a different USB port, preferably one that is closer to the devices. You can also try removing any obstacles or sources of potential interference, such as other wireless devices or metal objects.
- Unresponsive cursor or keystrokes: If the cursor movement is jerky or the keystrokes are delayed, make sure the receiver is not placed near any sources of interference, such as wireless routers or microwave ovens. Also, check if there are any driver updates available for your Logitech devices.
- Unifying receiver issues: If you have multiple Logitech devices connected to a Unifying receiver and one device is not working, try removing and reinserting the receiver. You can also try repairing the device by following the pairing process mentioned in Step 6.
- Software-related problems: If you have installed the Logitech Options software and encounter issues, try restarting the software or reinstalling it. Make sure you have the latest version of the software compatible with your operating system.
- Compatibility issues: Some Logitech devices may have specific system requirements or may not be compatible with certain operating systems or devices. Make sure to check the product specifications and compatibility information before purchasing or installing Logitech devices.
If you have tried the troubleshooting tips mentioned above and are still experiencing issues with your Logitech wireless mouse and keyboard, it may be helpful to refer to the user manual, visit the Logitech support website, or contact Logitech customer support for further assistance.
Remember that technology can sometimes be unpredictable, but with a little patience and troubleshooting, you can overcome any hurdles and enjoy the convenience and freedom of your Logitech wireless devices.
Conclusion
Setting up and connecting your Logitech wireless mouse and keyboard is a straightforward process that can greatly enhance your computing experience. By following the steps outlined in this guide, you can enjoy the convenience and flexibility of wireless peripherals without sacrificing functionality or performance.
Remember to prepare your Logitech wireless mouse and keyboard by inserting the appropriate batteries and finding a suitable location for the USB receiver. Turn on the devices and ensure they are powered up and ready for connection.
Connect the USB receiver to your computer, and if desired, install the Logitech Options software for additional customization options. Pair your Logitech devices with the receiver to establish a secure and reliable wireless connection.
If you encounter any issues along the way, refer to the troubleshooting tips provided to help you resolve common problems. If necessary, consult the user manual or reach out to Logitech customer support for further assistance.
With your Logitech wireless mouse and keyboard successfully connected, you can enjoy the freedom of movement and a clutter-free workspace. Take advantage of the advanced features and customization options available through the Logitech Options software to personalize your devices to suit your needs.
Remember to keep your Logitech devices and receiver up to date with the latest software and firmware updates to ensure optimal performance.
Now that you’re all set up, it’s time to navigate through your digital tasks with precision and ease using your Logitech wireless mouse and keyboard.


