Introduction:
Having a wireless mouse offers the convenience of being able to move freely without the restrictions of a cord. Logitech is a well-known brand that produces high-quality wireless mice, known for their reliable performance and ergonomic design. If you have recently purchased a Logitech wireless mouse or are experiencing connectivity issues with your current one, you may need to pair it properly to ensure a seamless connection.
In this guide, we will walk you through the step-by-step process of pairing your Logitech wireless mouse. Whether you are a tech-savvy individual or new to using wireless peripherals, this tutorial will provide clear instructions to help you get your mouse up and running in no time.
Before we dive into the pairing process, it’s important to note that the specific steps may vary slightly depending on the model of your Logitech mouse. However, the basic principles remain the same for most Logitech wireless mice. For maximum compatibility, we recommend referring to the user manual or online resources specific to your mouse model.
Now, let’s get started with the first step of pairing your Logitech wireless mouse!
Step 1: Check the Batteries:
The first thing you should do before attempting to pair your Logitech wireless mouse is to check the batteries. A weak or depleted battery can cause connectivity issues, and ensuring that your mouse has sufficient power is crucial for a successful pairing process.
Start by locating the battery compartment on your Logitech wireless mouse. The exact placement may vary depending on the model, but it is typically located on the underside of the mouse. Once you’ve found the battery compartment, open it using the designated release latch or button.
Take a moment to inspect the batteries and make sure they are properly inserted. If they appear corroded or damaged, replace them with fresh batteries. It is also a good idea to use high-quality batteries to ensure optimal performance and battery life.
If your Logitech wireless mouse features rechargeable batteries, place them in the charging dock or connect the USB cable to charge the mouse before proceeding with the pairing process.
Once you have confirmed that the batteries are installed correctly and have enough charge, close the battery compartment securely.
Checking the batteries is an essential first step as it eliminates any potential issues related to power supply. By ensuring that your Logitech wireless mouse has functioning batteries, you can proceed with the pairing process confidently.
Step 2: Turn On the Mouse:
After ensuring that your Logitech wireless mouse has sufficient battery power, the next step is to turn it on. Most Logitech mice feature a power button located either on the top surface or on the underside of the device.
Locate the power button on your Logitech wireless mouse and press it to turn the mouse on. You may need to hold the button for a few seconds until you see an indicator light or LED illuminate. The exact nature of the indicator light may vary depending on the mouse model.
If your Logitech wireless mouse has been turned on before and is already paired with another device, you may need to reset the connection. Look for a small reset button either on the underside or inside the battery compartment, and use a tiny pointed object like a pen tip or paperclip to press and hold the reset button for a few seconds until the indicator light starts blinking. This will reset the mouse and clear the previous pairing settings.
Once the mouse is turned on and ready to pair, you should see the indicator light blinking or a Bluetooth symbol indicating that the mouse is in Bluetooth pairing mode. Now that the mouse is powered on, it’s time to move on to the next step of the pairing process.
By ensuring that your Logitech wireless mouse is turned on and in the correct pairing mode, you are ready to establish a connection with your computer or other compatible devices. Let’s proceed to the next step to continue the pairing process.
Step 3: Put the Receiver into Pairing Mode:
In order for your Logitech wireless mouse to communicate with your computer or device, you need to ensure that the receiver is in pairing mode.
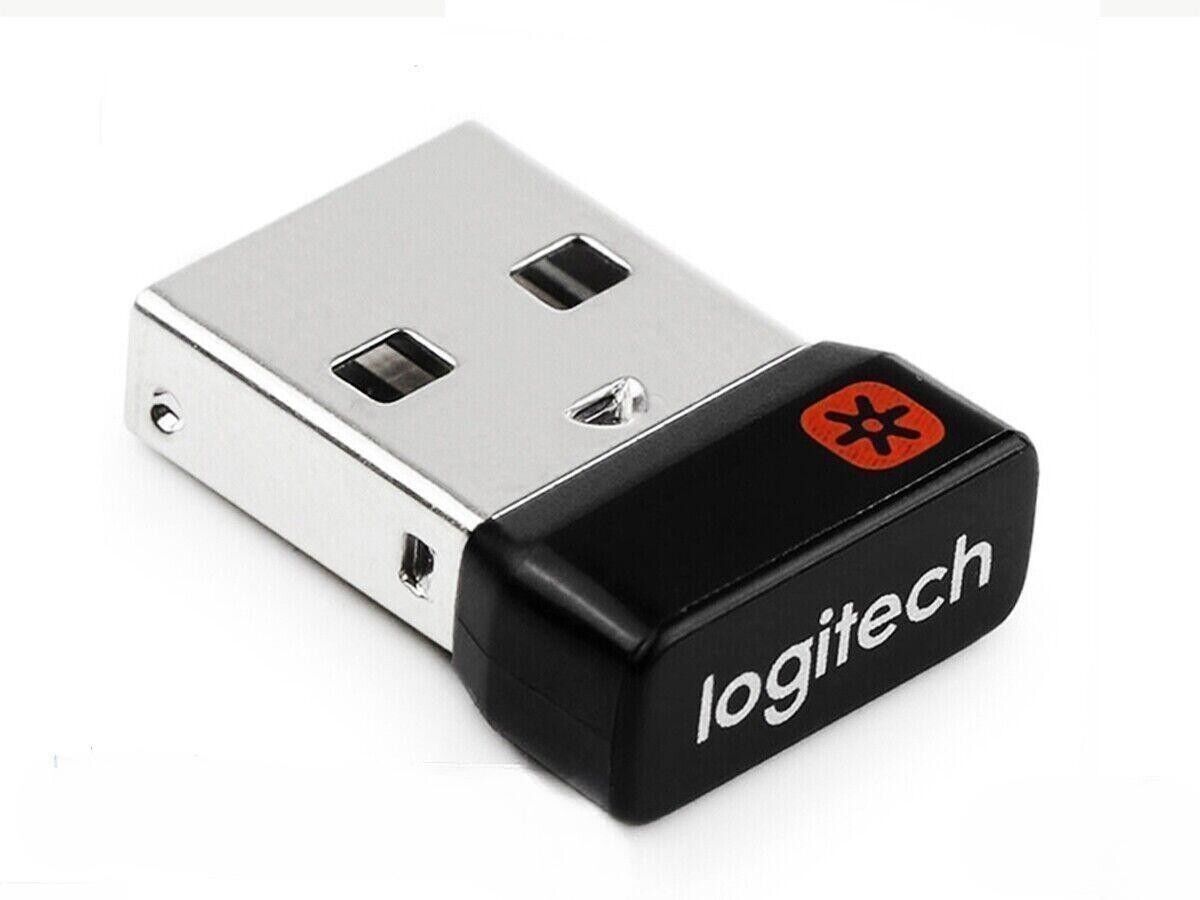
If your Logitech mouse uses a USB receiver, locate the receiver and plug it into an available USB port on your computer. Make sure to insert the receiver firmly to ensure a stable connection.
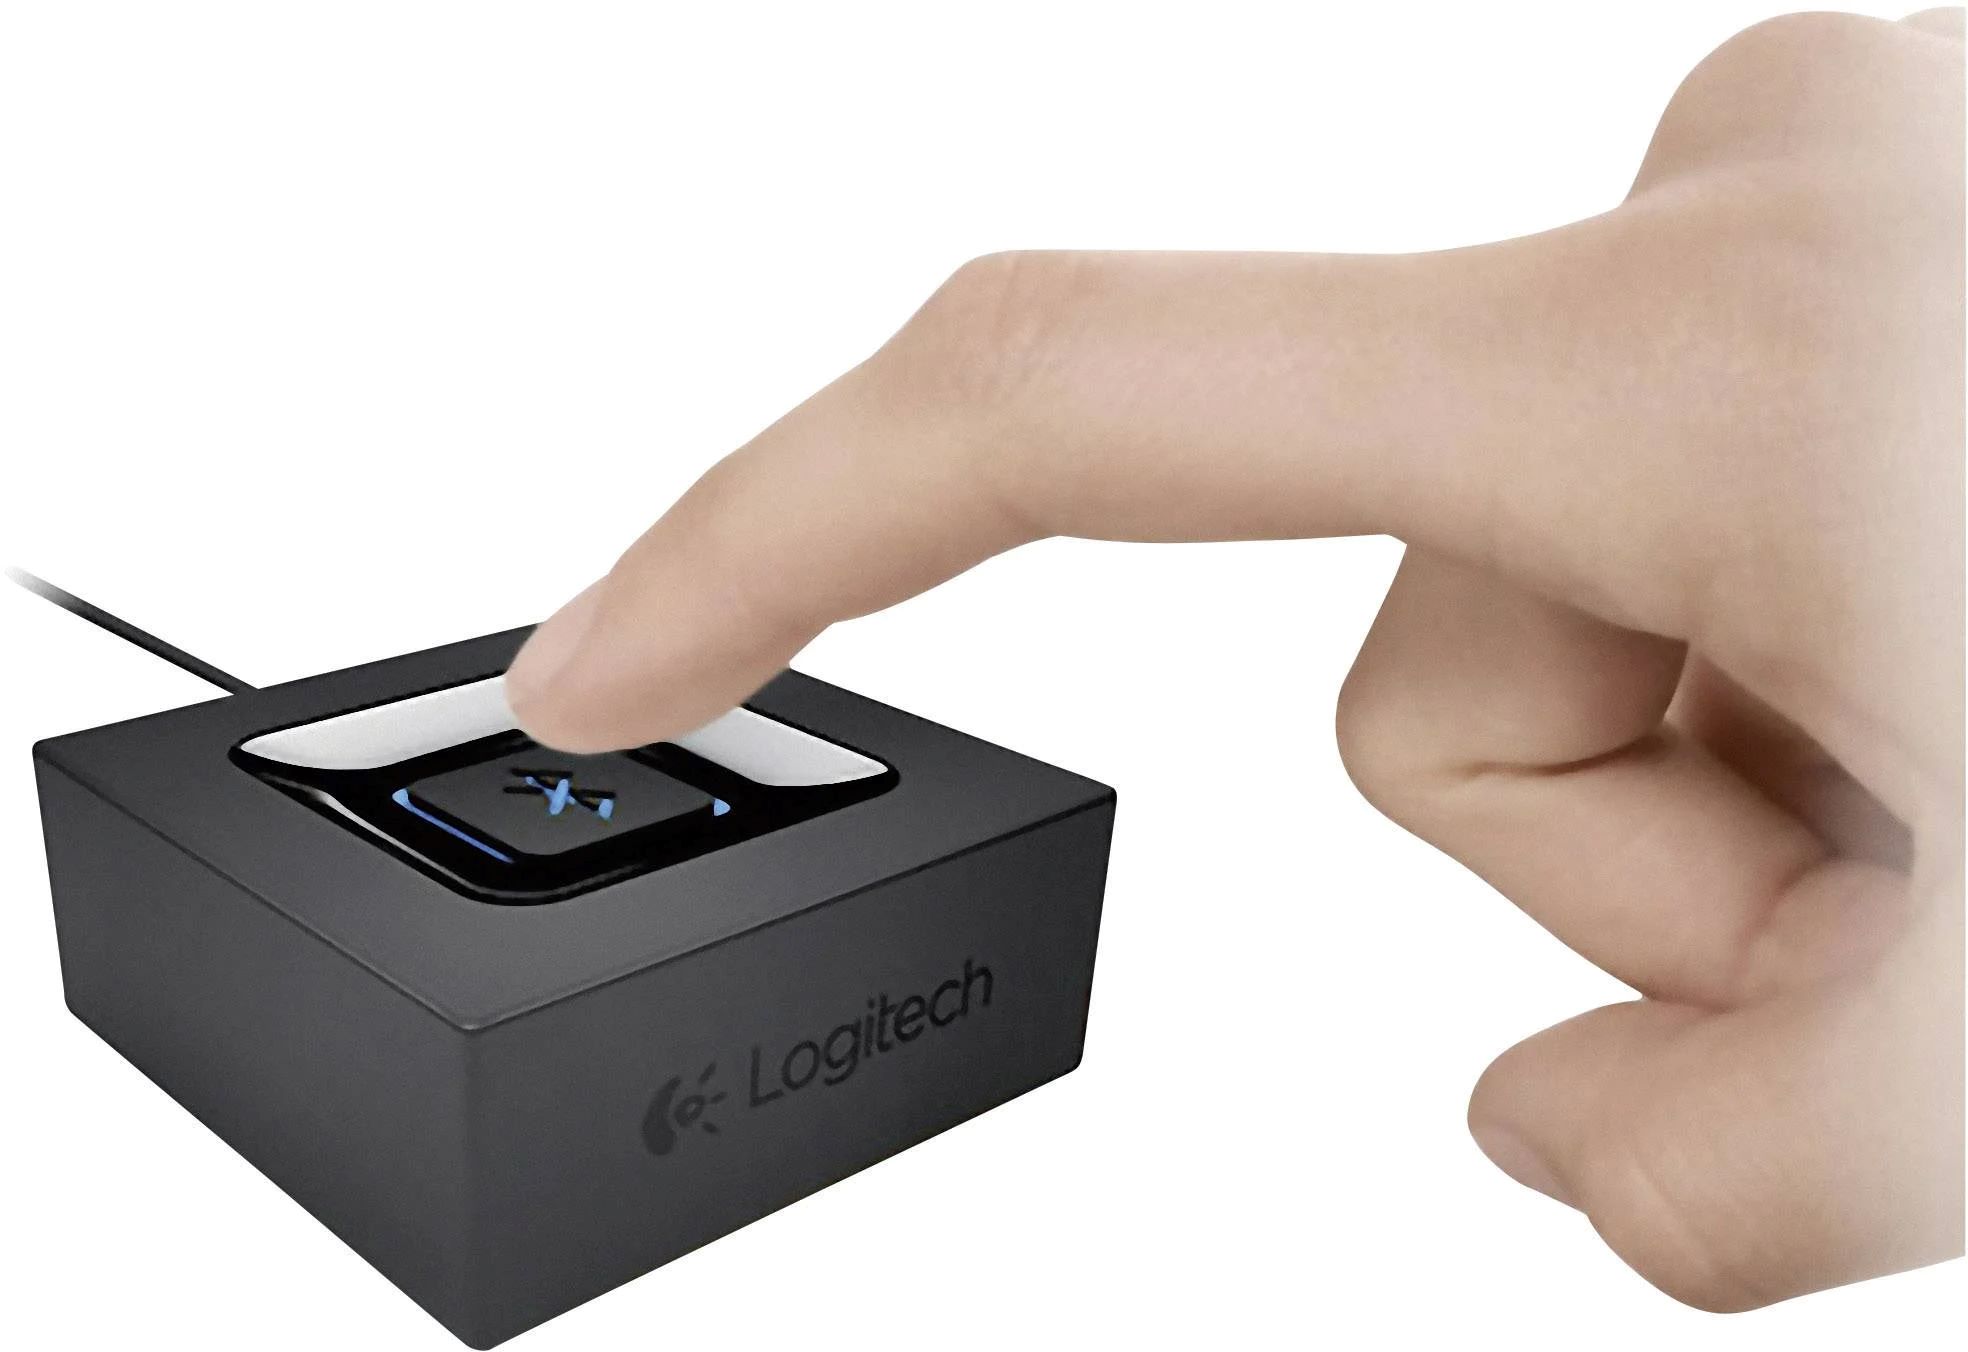
Once the receiver is connected, you may need to put it into pairing mode. Look for a button or switch on the receiver or the mouse itself labeled “Connect” or “Pair”. Press this button to activate the pairing mode for the receiver.
When the receiver enters pairing mode, an indicator light may start blinking or change color to indicate that it is ready to establish a connection with the mouse. Refer to the user manual or online resources specific to your mouse model to find the precise instructions for activating pairing mode for the receiver.
For Logitech mice that employ Bluetooth connectivity, the pairing process might differ. Check the user manual or online resources specific to your mouse model for instructions on how to initiate pairing mode for Bluetooth connectivity.
Putting the receiver into pairing mode is a crucial step in establishing a connection between your Logitech wireless mouse and your computer or device. Once the receiver is in pairing mode, you’re ready to move on to the next step in the process.
Step 4: Press the Connect Button on the Mouse:
Now that the receiver is in pairing mode, it’s time to initiate the connection from the Logitech wireless mouse itself.
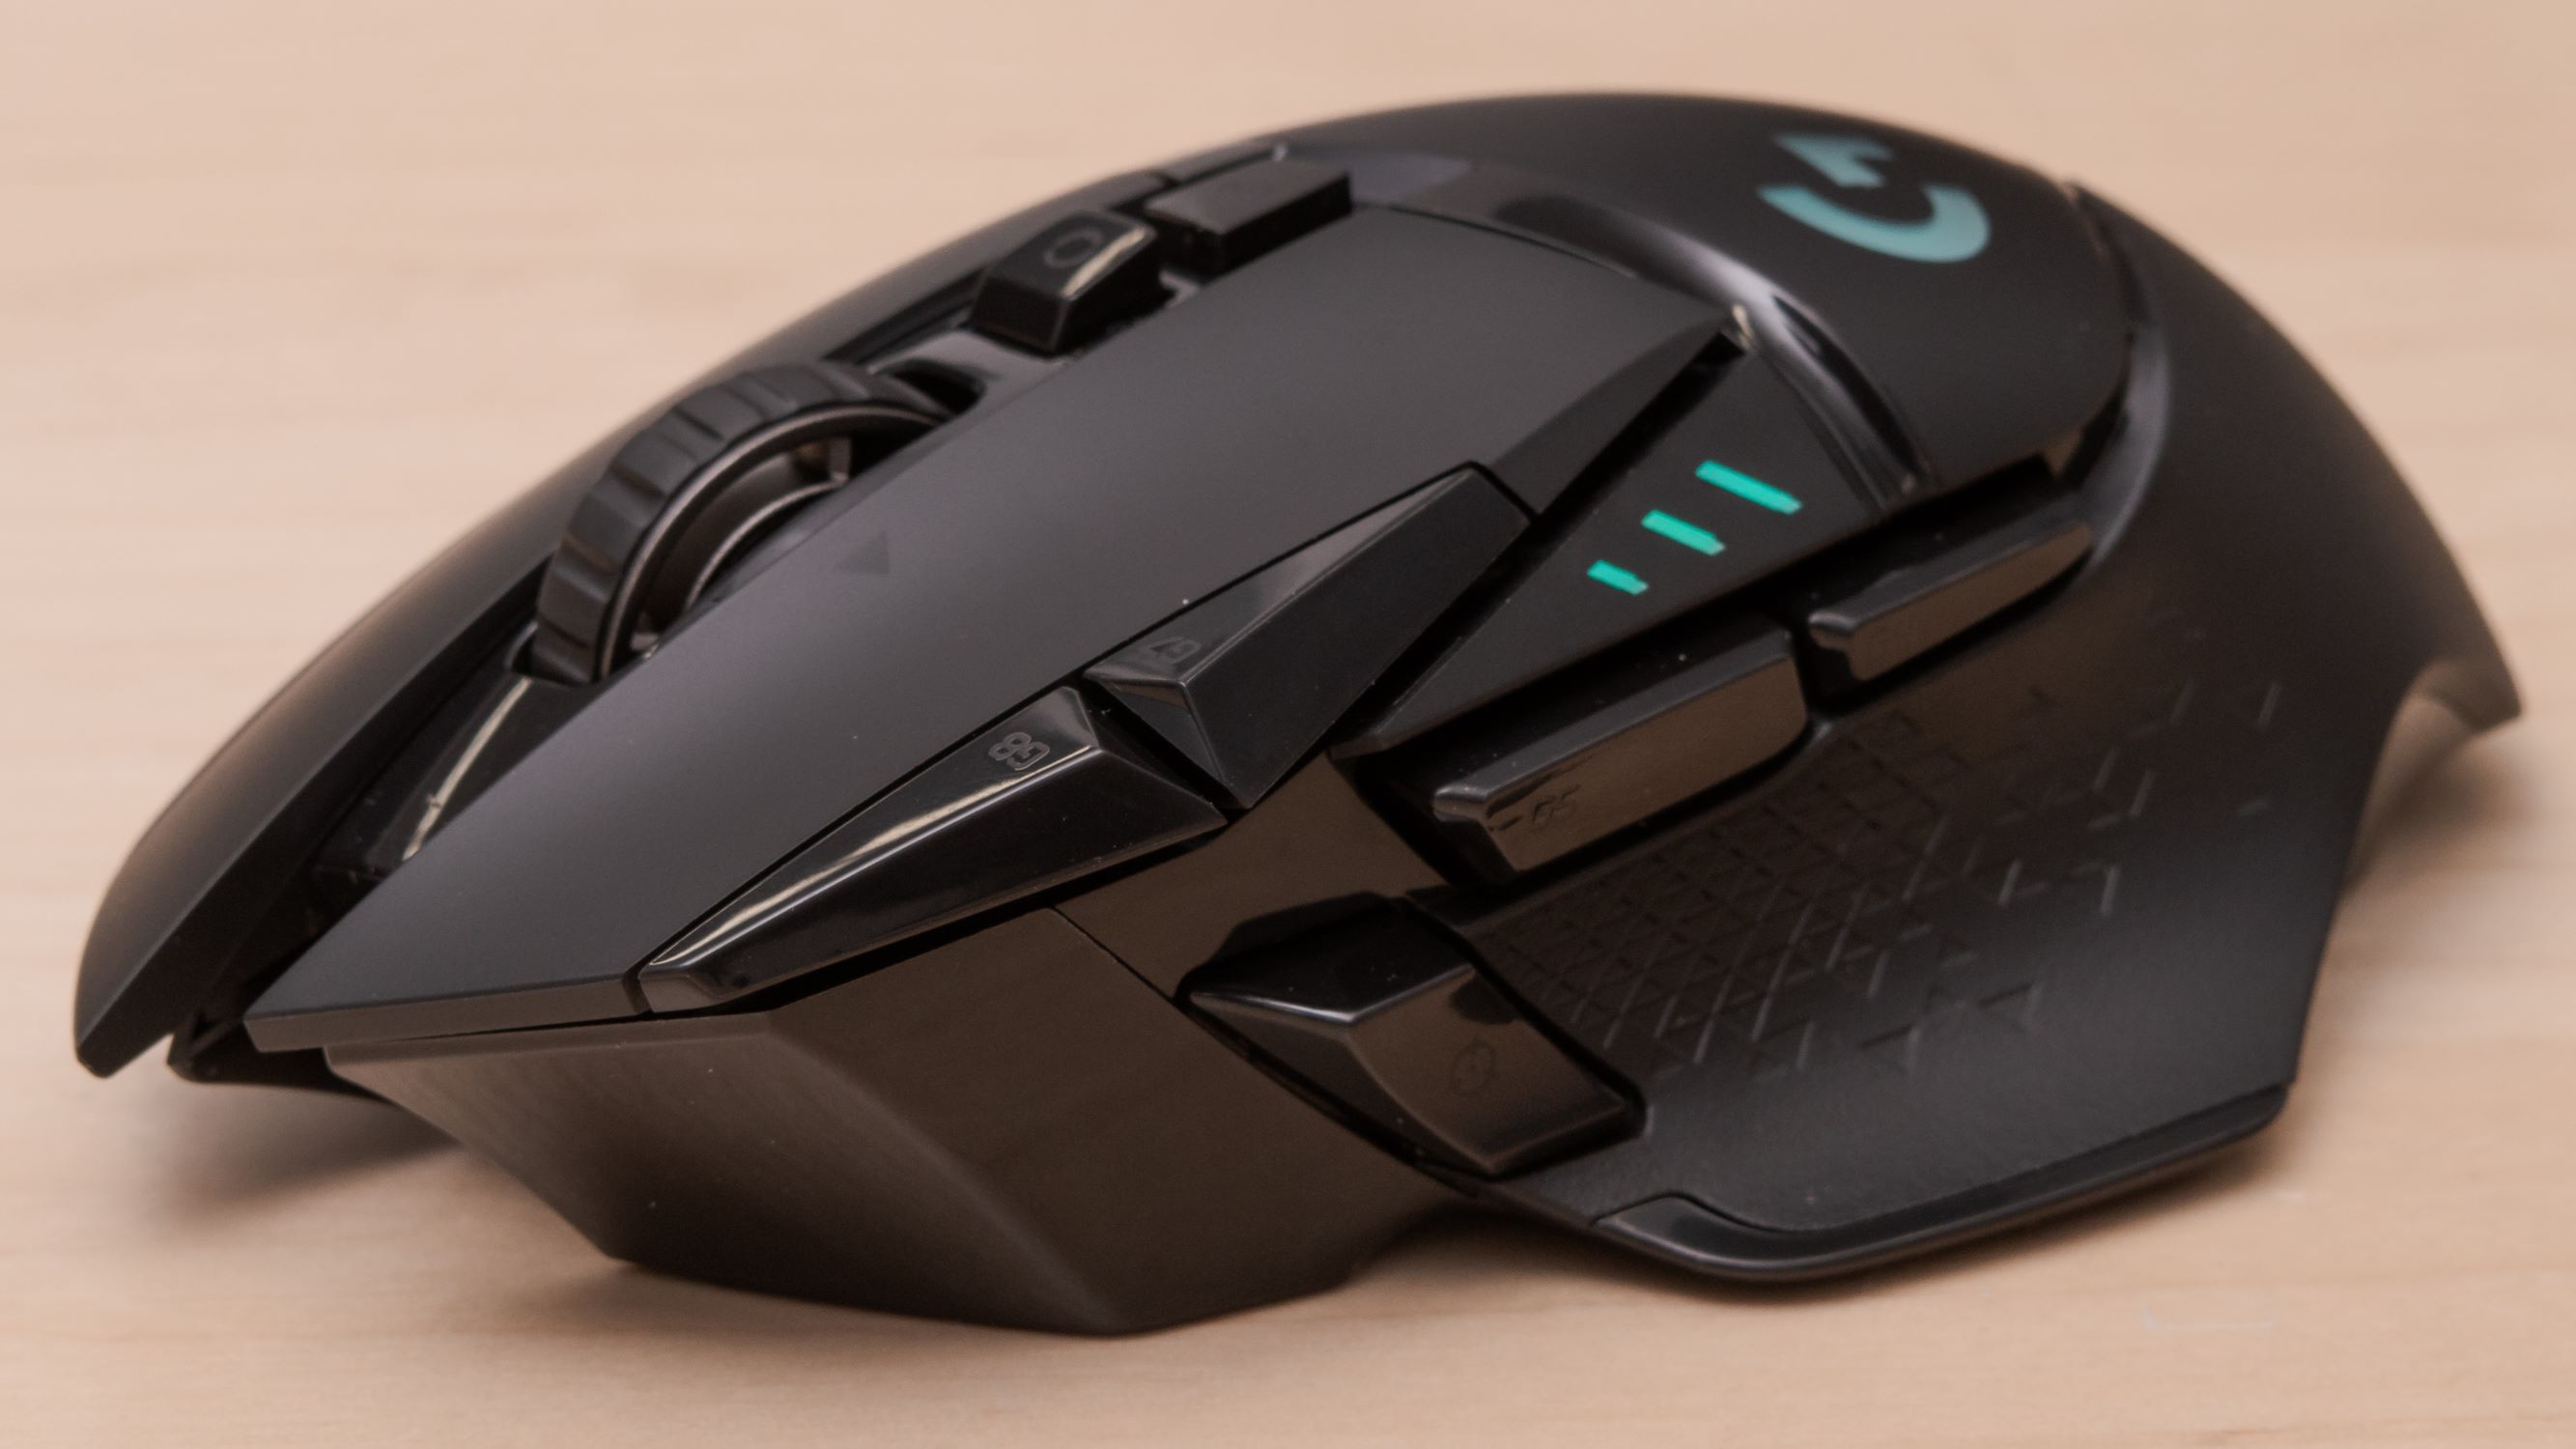
Look for a button or switch on your Logitech wireless mouse labeled “Connect” or “Pair”. Press this button to activate the pairing mode on the mouse.
After pressing the connect button, the indicator light on the mouse may start blinking or change color, indicating that it is in pairing mode and attempting to establish a connection with the receiver.
Keep in mind that the location of the connect button may vary depending on your Logitech mouse model. Refer to the user manual or online resources specific to your mouse for accurate instructions on locating and pressing the connect button.
If you have multiple Logitech wireless devices in close proximity, there might be a specialized button or method to select the specific mouse you want to pair with. Again, consult the user manual or online resources specific to your mouse model for detailed instructions.
By pressing the connect button on your Logitech wireless mouse, you are enabling the device to search for the nearby receiver and establish a connection. Once the mouse successfully connects to the receiver, you can move on to the next step in the pairing process.
Step 5: Wait for the Connection to be Established:
After pressing the connect button on your Logitech wireless mouse, you need to wait for the connection to be established between the mouse and the receiver.
During this time, you may notice that the indicator light on the mouse or the receiver changes. It might stop blinking, change color, or remain solid to indicate a successful connection.
Depending on the model of your Logitech mouse and the computer or device you are pairing it with, the connection process can take a few seconds to a minute. It’s important to remain patient and avoid interrupting the pairing process.
While waiting for the connection to be established, it’s a good idea to place the mouse and the receiver within a reasonable proximity of each other to ensure a strong and stable connection.
Once the connection is established, you might hear a sound notification or see a notification on your computer screen confirming the successful pairing of your Logitech wireless mouse.
If, after waiting for a reasonable amount of time, the connection is not established, you may need to repeat the previous steps or consult the troubleshooting section in your user manual or online resources specific to your Logitech mouse model.
Remember, the key is to allow enough time for the pairing process to complete. Once the connection has been established, you can move on to the final step of the pairing process.
Step 6: Test the Mouse:
After the successful pairing of your Logitech wireless mouse, it’s important to test the functionality to ensure that it is working properly.
Move the mouse cursor on your computer screen to verify that the mouse movements are smooth and responsive. Try clicking the mouse buttons to ensure that they register accurately without any delay.
If your Logitech wireless mouse is equipped with additional features or buttons, such as scroll wheels or side buttons, test them as well to ensure they are functioning as intended.
Some Logitech mice also come with customizable options or software that allows you to personalize your mouse settings. Take a moment to explore and configure any additional settings or features to optimize your mouse experience.
If you encounter any issues during the testing phase, such as unresponsive buttons or cursor movements, try restarting your computer or re-establishing the connection by repeating the previous steps.
If the problems persist, consult the troubleshooting section in your user manual or visit the Logitech support website for further assistance. They will be able to provide you with specific guidance tailored to your mouse model.
Once you are satisfied that your Logitech wireless mouse is functioning properly, you can start enjoying the freedom and convenience it offers without the hassle of wires.
Remember to keep the batteries or rechargeable components of your mouse charged to ensure continued performance. Regularly clean the mouse to maintain its optimal functionality.
Congratulations! You have successfully paired and tested your Logitech wireless mouse, and it is now ready to use for all your computing needs.
Conclusion:
Pairing a Logitech wireless mouse is a straightforward process that allows you to enjoy the freedom of cordless navigation while using your computer or device. By following the steps outlined in this guide, you can easily establish a stable and reliable connection between your Logitech wireless mouse and the receiver.
Remember to check the batteries and ensure they are properly inserted before starting the pairing process. Turn on the mouse and put the receiver into pairing mode. Press the connect button on the mouse and wait for the connection to be established. Finally, test the mouse to ensure that all functions are working as expected.
If you encounter any difficulties during the pairing process or experience any issues with your Logitech wireless mouse, consult the user manual or visit the Logitech support website for troubleshooting guidance specific to your mouse model.
Enjoy the convenience and flexibility that a Logitech wireless mouse offers, enhancing your productivity and comfort while using your computer or device. With a reliable and well-paired mouse, you can navigate with ease and precision, making your computing experience more enjoyable.
Now that you have successfully paired your Logitech wireless mouse, you are ready to dive into your work, projects, or leisure activities with seamless control and freedom of movement.
Happy computing!