Introduction
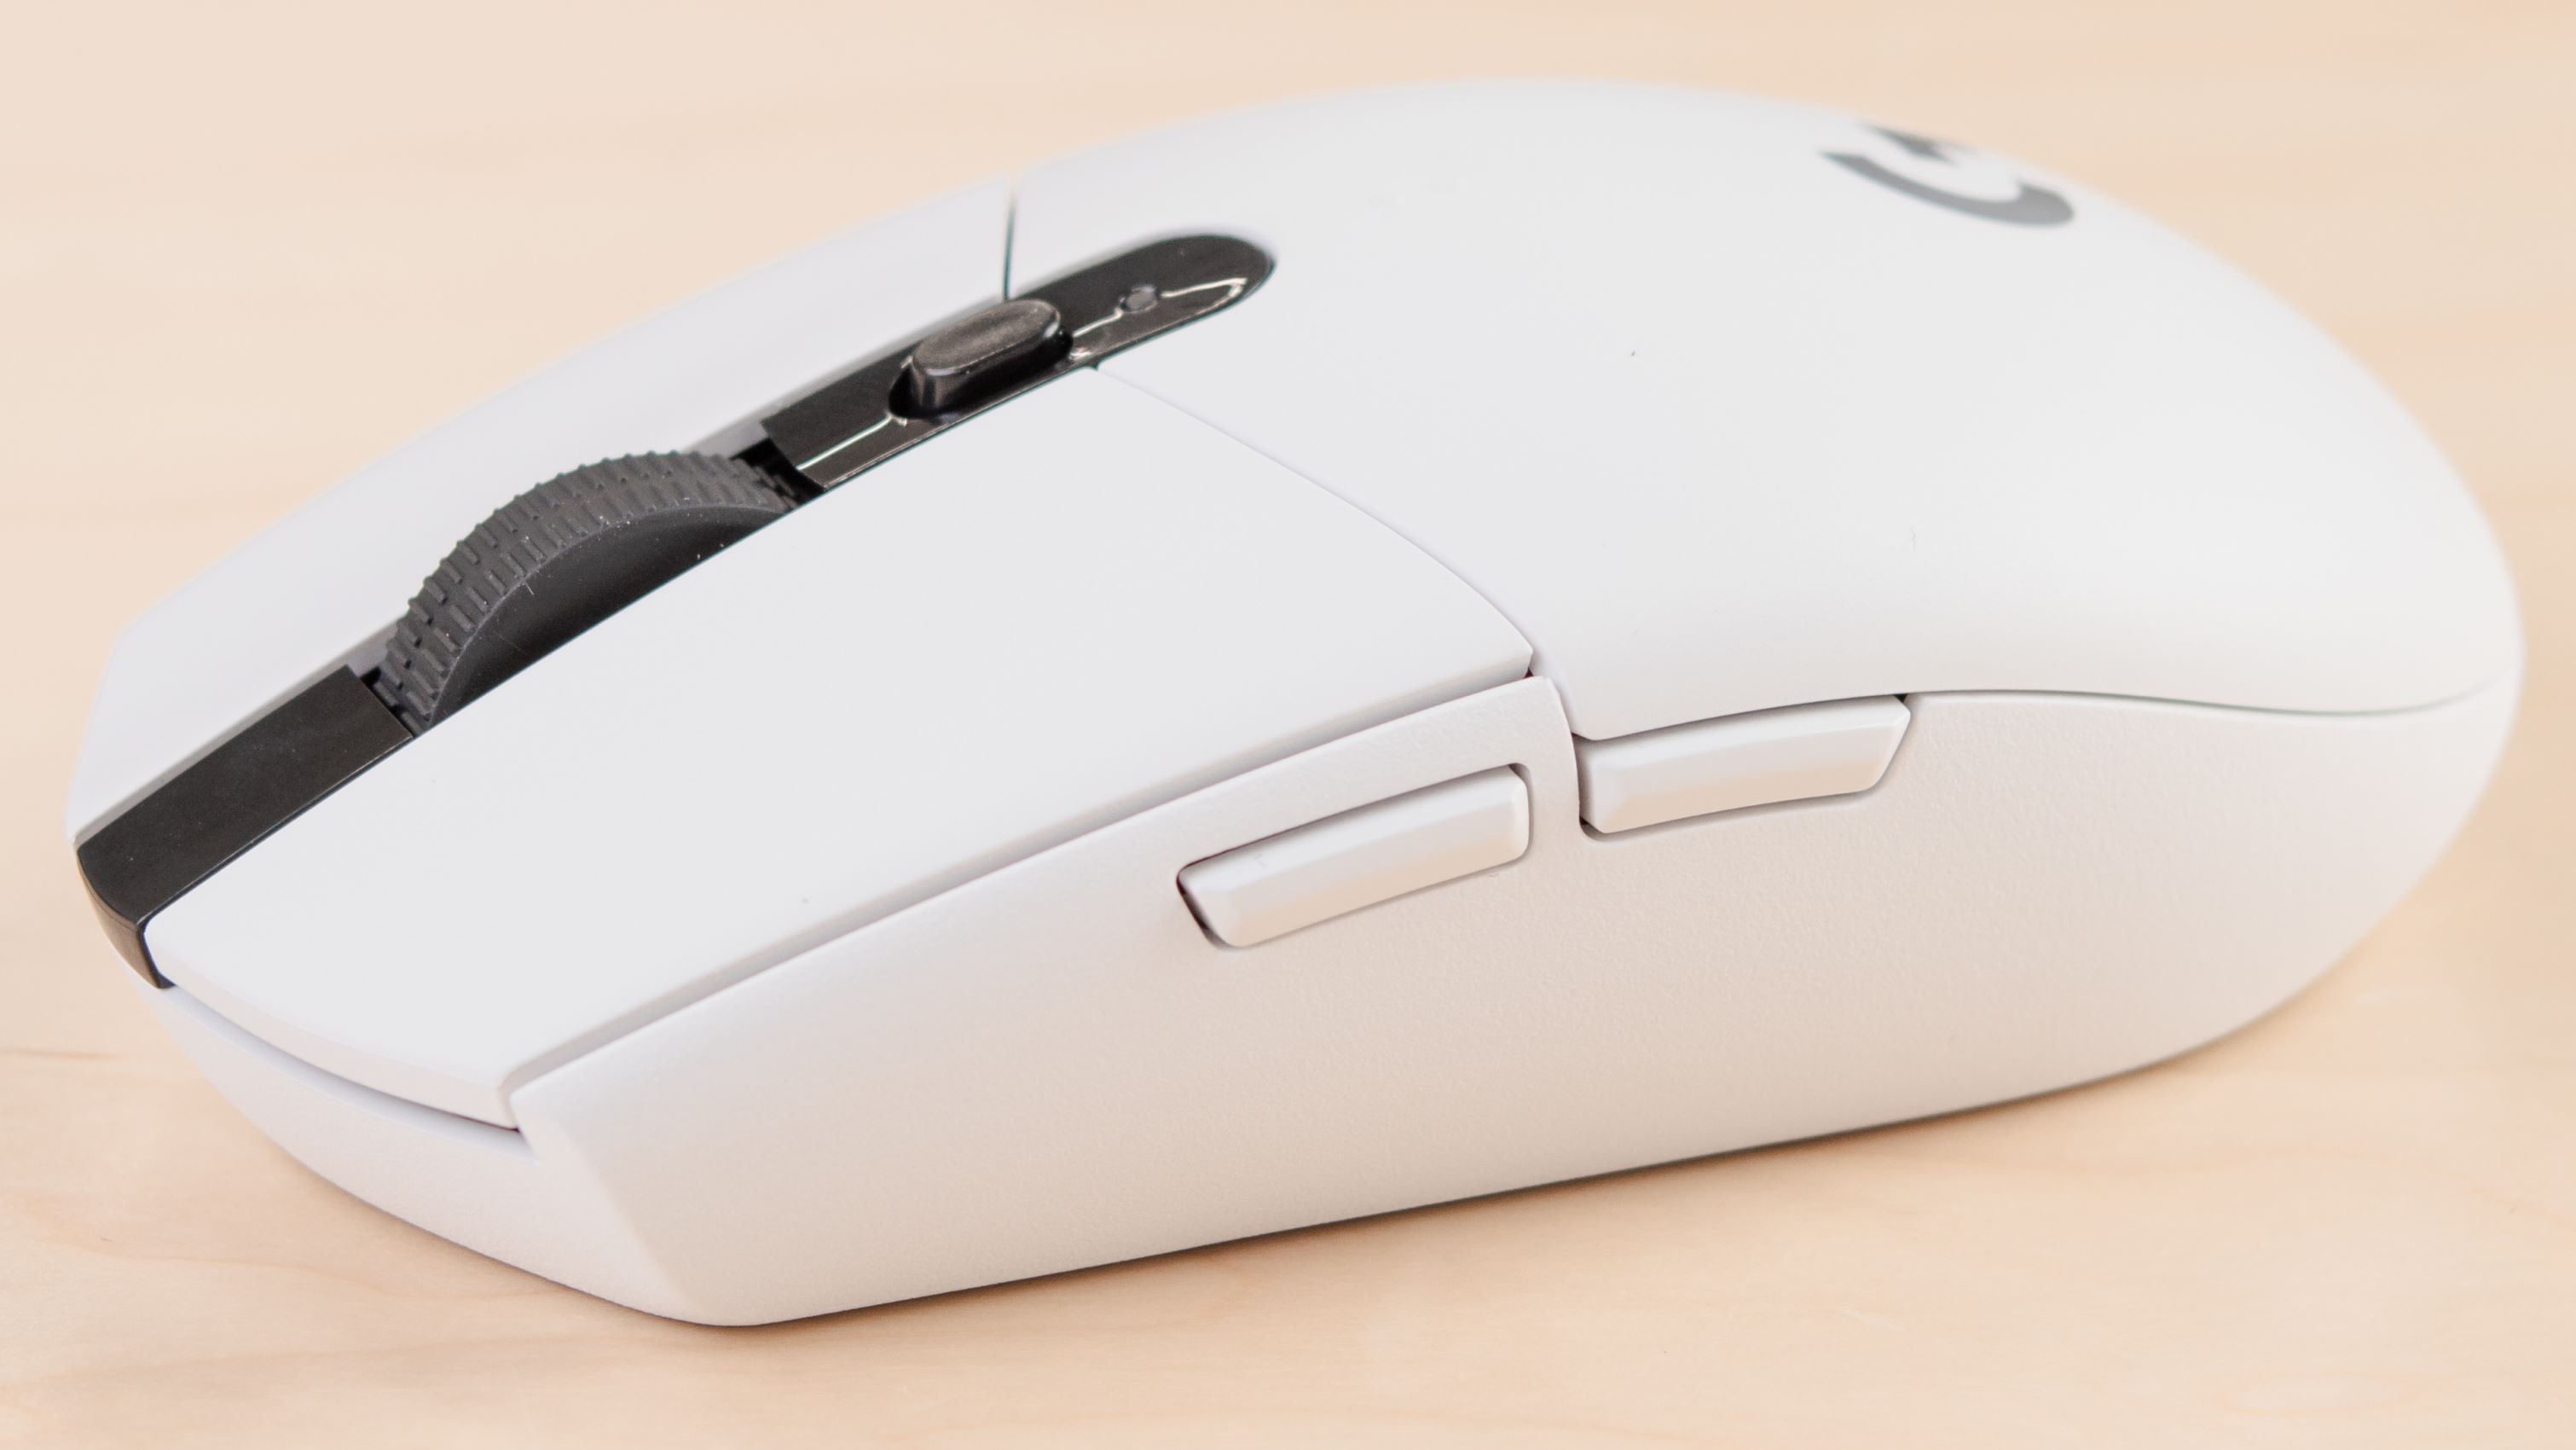
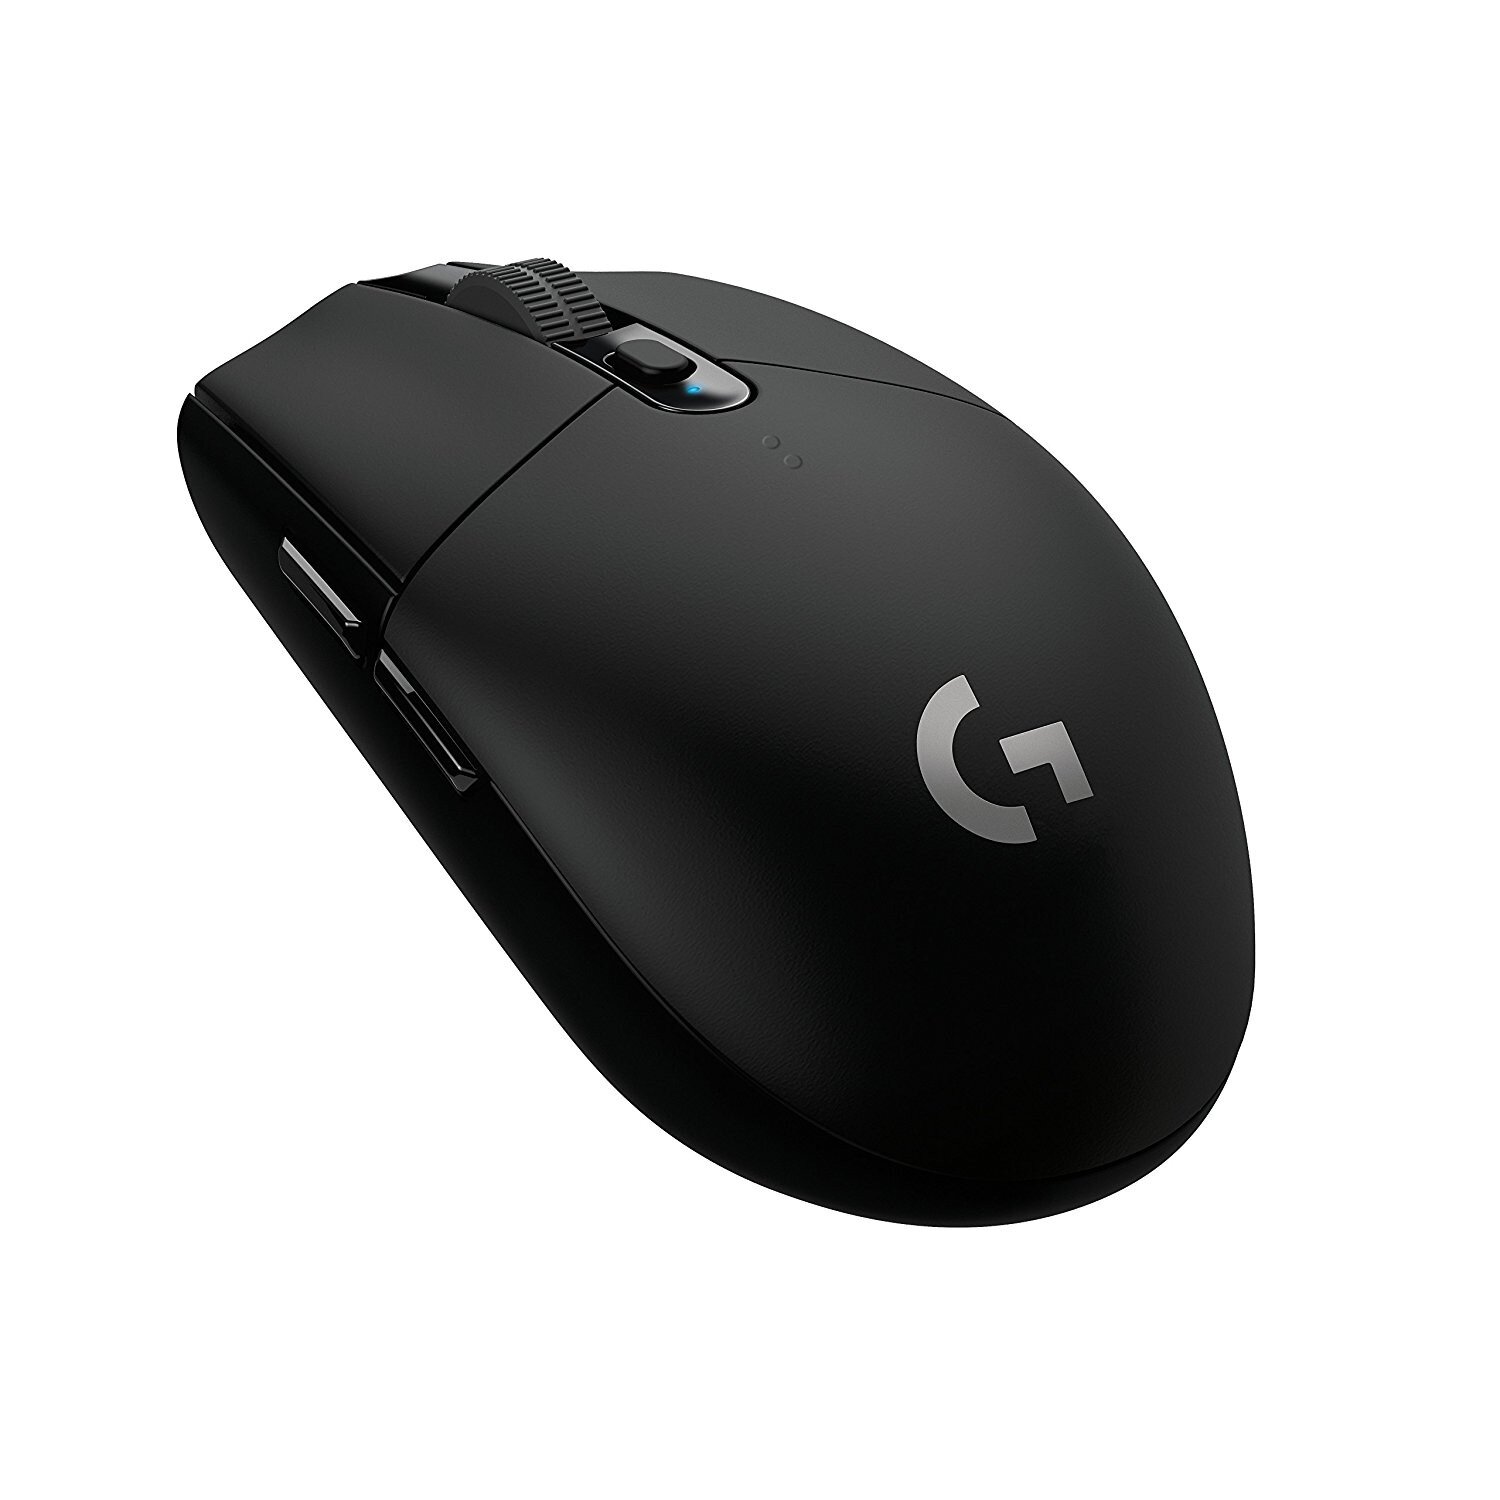
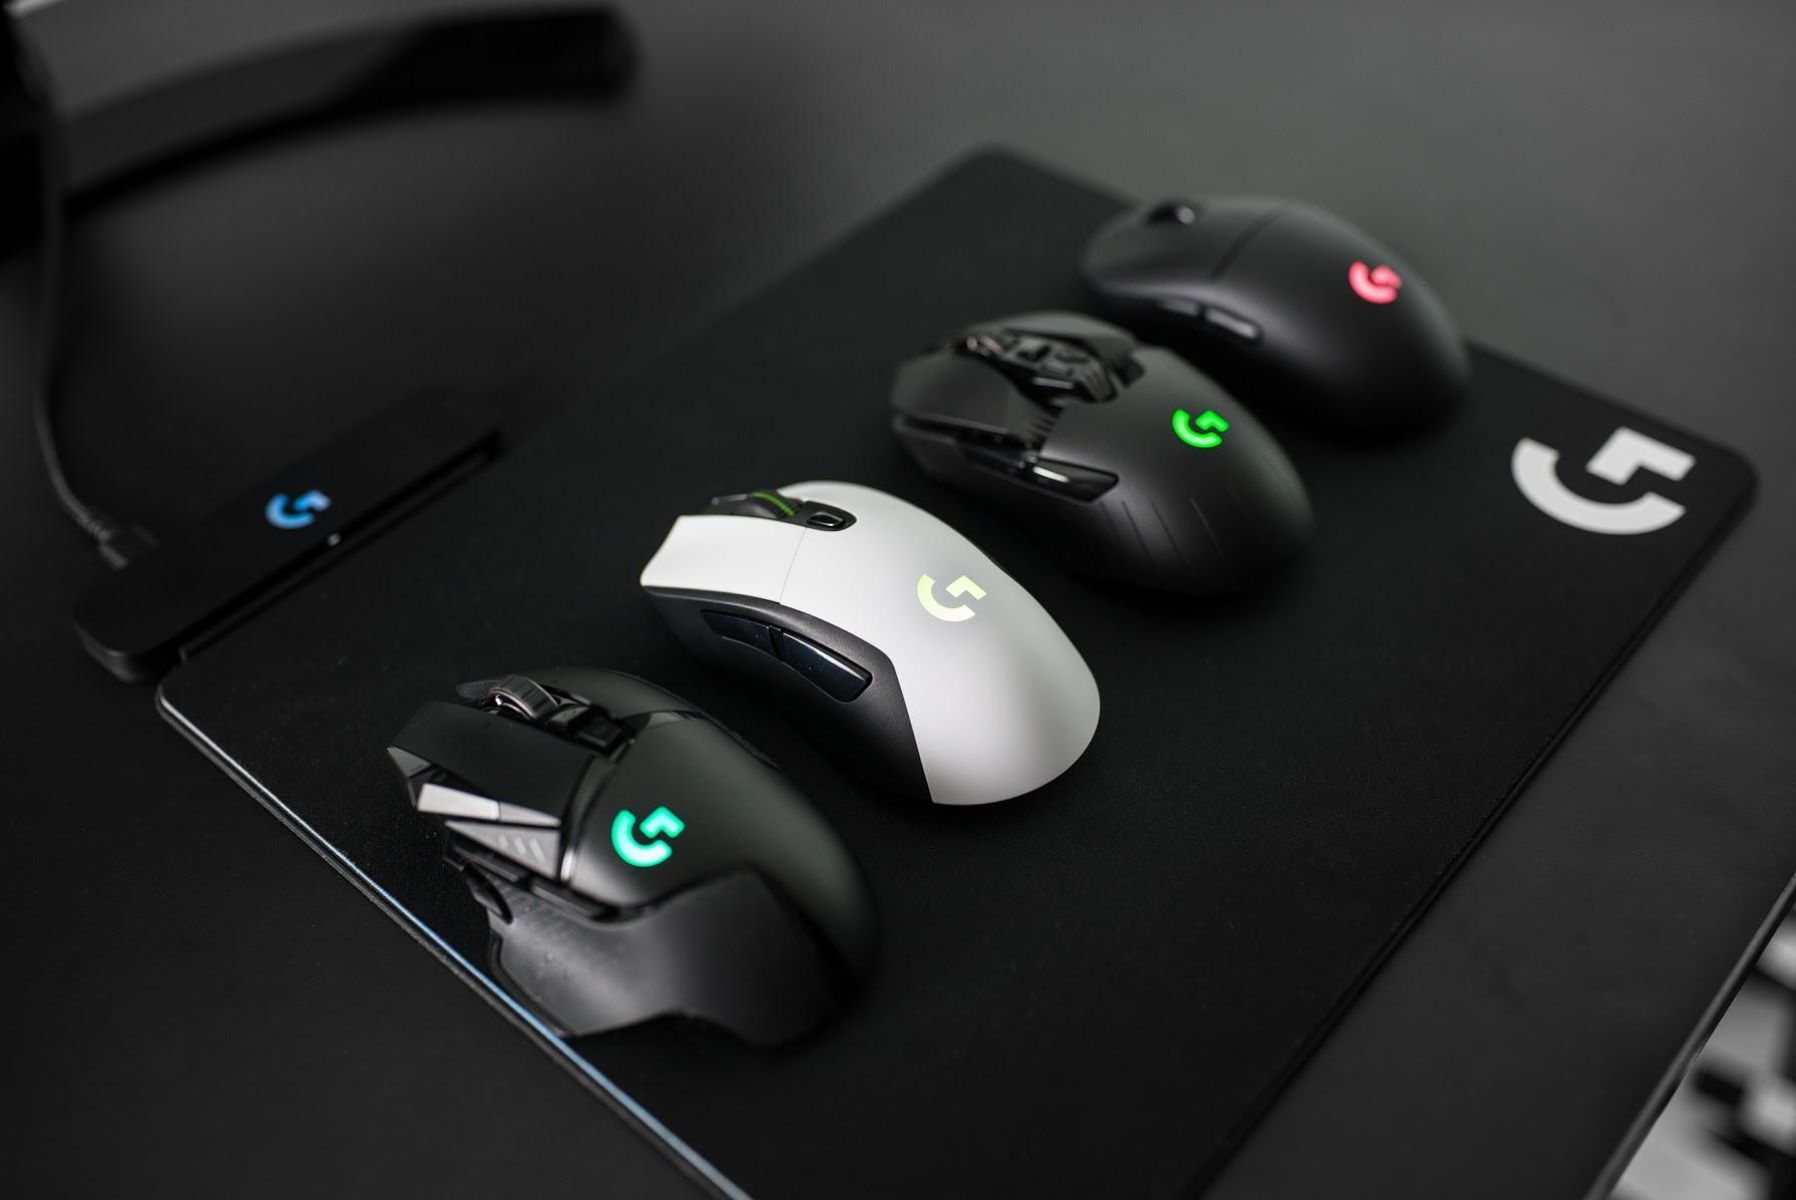
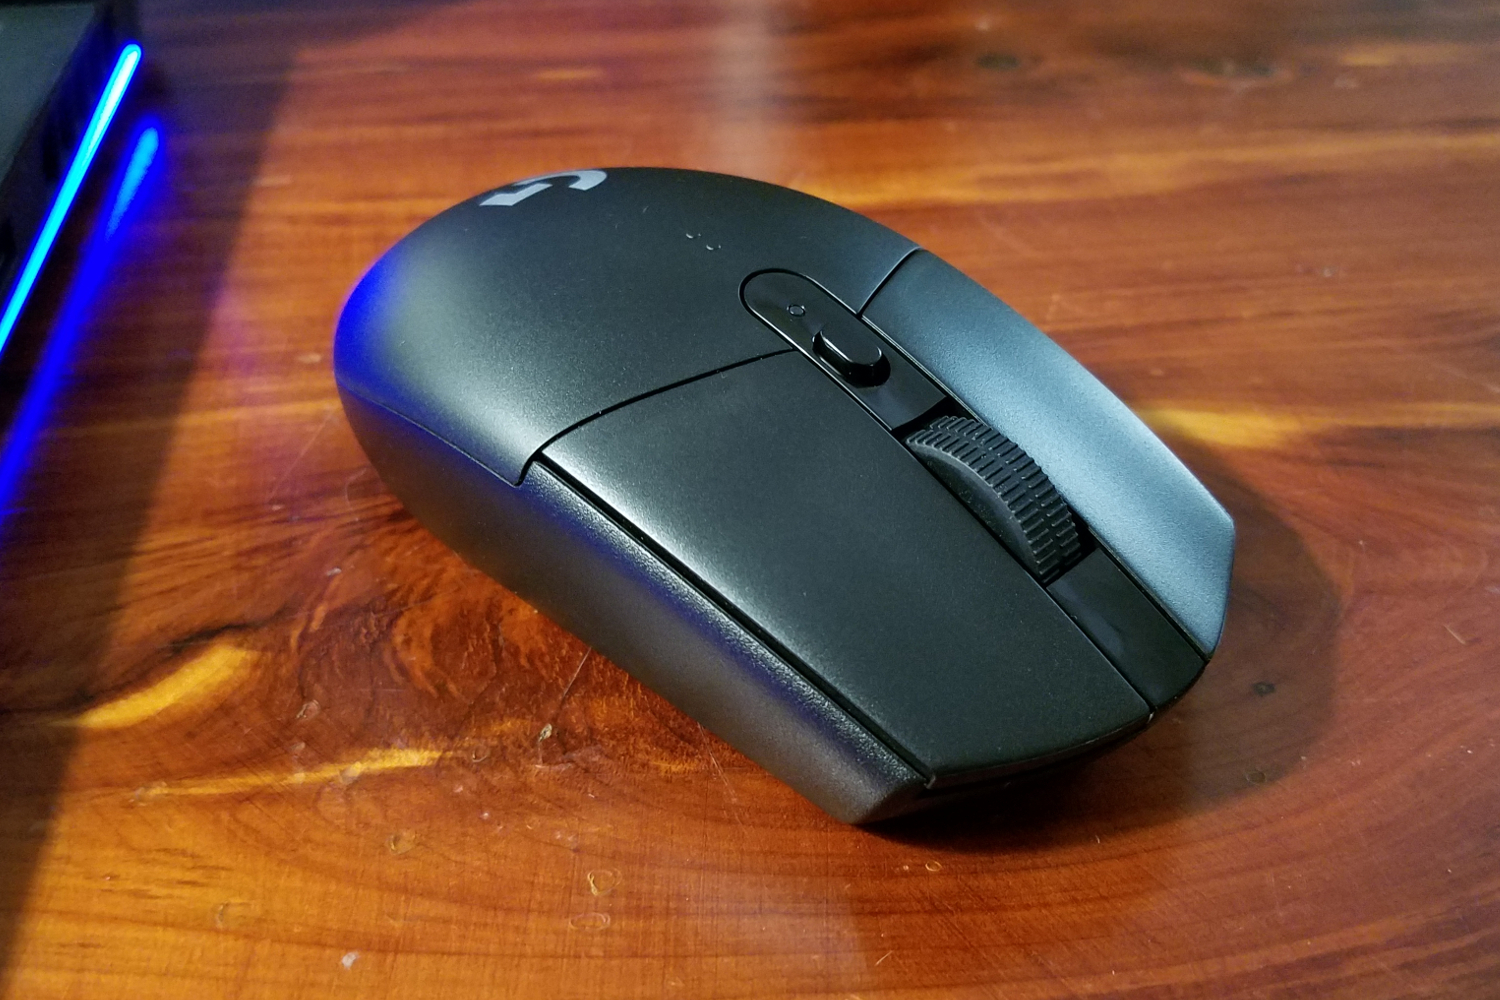
The Logitech G305 is a high-performance wireless mouse known for its precision and responsiveness. If you’re a Mac user, you may be wondering how to connect your Logitech G305 mouse to your device. In this article, we will guide you through the process step by step, so you can enjoy the seamless experience of using the Logitech G305 on your Mac.
Whether you’re a gamer or a professional, having a reliable and comfortable mouse is crucial for productivity and precision. The Logitech G305 mouse provides a wireless connection, allowing you to move freely without the hassle of tangled cables. It offers advanced features and customizable settings, making it a popular choice among Mac users.
Before we dive into the process of connecting the Logitech G305 to your Mac, it’s important to ensure compatibility. The Logitech G305 is compatible with Mac devices, but it’s always a good idea to double-check. Now, let’s get started and learn how to connect your Logitech G305 mouse to your Mac!
Step 1: Check Compatibility
Before you begin the process of connecting your Logitech G305 mouse to your Mac, it’s important to check if your device is compatible. While the Logitech G305 is designed to work with Mac devices, it’s still a good idea to ensure compatibility to avoid any potential issues.
Start by checking the system requirements for the Logitech G HUB software, which is necessary for customizing your mouse settings. The Logitech G HUB software is compatible with macOS version 10.11 or later. To check your macOS version, click on the Apple menu in the top-left corner of your screen, then select “About This Mac.” Here, you’ll find information about your macOS version.
Additionally, ensure that your Mac has an available USB port for connecting the wireless dongle that comes with the Logitech G305 mouse. You’ll need this dongle to establish a wireless connection between your Mac and the mouse. Most Mac devices have USB-A ports, but if you have a newer Mac with USB-C ports, you may need a USB-C to USB-A adapter to connect the dongle.
By confirming compatibility and ensuring that your Mac meets the system requirements, you can proceed with confidence to the next steps of the process. Now that you’ve checked compatibility, let’s move on to the installation of the Logitech G HUB software.
Step 2: Install Logitech G HUB Software
Before connecting your Logitech G305 mouse to your Mac, you’ll need to install the Logitech G HUB software. This software allows you to customize the mouse settings and take full advantage of its features.
To begin, visit the Logitech website and navigate to the G305 mouse product page. Look for the “Downloads” section and locate the Logitech G HUB software for Mac. Click on the download link to start the download process.
Once the download is complete, locate the installation file and double-click on it to start the installation process. Follow the on-screen instructions to install the Logitech G HUB software on your Mac. During the installation, you may be prompted to grant permission for the software to make changes to your system. Accept the prompts to proceed with the installation.
After the installation is complete, launch the Logitech G HUB software. You can find it in your Applications folder or by using Spotlight search. Upon launching the software, you may be prompted to update it to the latest version. It’s recommended to update to ensure compatibility and access to the latest features.
Now that you have the Logitech G HUB software installed on your Mac, you’re one step closer to connecting your Logitech G305 mouse. In the next step, we’ll guide you through the process of connecting the wireless dongle to your Mac.
Step 3: Connect the Wireless Dongle
Now that you have the Logitech G HUB software installed on your Mac, it’s time to connect the wireless dongle that comes with your Logitech G305 mouse. The dongle establishes a wireless connection between your mouse and your Mac.
Locate an available USB port on your Mac. If you have a newer Mac with USB-C ports, you may need a USB-C to USB-A adapter to connect the dongle. Insert the dongle into the USB port firmly. Your Mac will automatically detect the dongle and establish a connection.
To verify the connection, you can check the Logitech G HUB software. Open the software and navigate to the “Devices” section. If the dongle is successfully connected, you should see your Logitech G305 mouse listed under the devices.
If the dongle fails to connect, try unplugging and reinserting it into the USB port. Additionally, make sure your mouse is turned on by sliding the power switch located on the underside of the mouse.
Once the dongle is successfully connected, you’re almost ready to use your Logitech G305 mouse on your Mac. However, before you can start using it, you need to pair the mouse with the dongle. We’ll cover that in the next step.
Step 4: Pair the Mouse with the Dongle
After connecting the wireless dongle to your Mac, it’s time to pair your Logitech G305 mouse with the dongle. This ensures that the mouse and dongle communicate seamlessly and allows you to use the mouse effectively.
To pair the mouse, make sure it is turned on by sliding the power switch located on the underside of the mouse. Once the mouse is powered on, it will enter pairing mode automatically. You’ll notice the LED indicator on the mouse blinking rapidly.
Now, locate the small connect button on the wireless dongle. It is usually located on the side or bottom of the dongle. Press and hold this button until the LED indicator on the dongle starts blinking.
Next, bring your mouse close to the dongle, within a few inches. The mouse will detect the dongle and establish a connection. Once the connection is established, the LED indicator on both the mouse and dongle will stop blinking and remain steady, indicating a successful pairing.
To ensure that the pairing was successful, move your mouse and verify that the cursor on your Mac screen responds accordingly. If the cursor moves as you move the mouse, it means the pairing was successful.
If the pairing fails or the mouse is not responding, try repeating the steps above. Make sure to hold down the connect button on the dongle until the LED starts blinking before bringing the mouse close to it. You can also try reinserting the dongle into a different USB port and repeating the pairing process.
Once your Logitech G305 mouse is successfully paired with the dongle, you’re now ready to customize the mouse settings to your preferences.
Step 5: Customize your Mouse Settings
Now that your Logitech G305 mouse is connected to your Mac, you can customize its settings to optimize your gaming or productivity experience. The Logitech G HUB software makes it easy to personalize your mouse according to your preferences.
Open the Logitech G HUB software on your Mac. In the software’s interface, you’ll find various options for customization. These options include DPI settings, button assignments, lighting effects, and more.
The DPI (dots per inch) setting controls the sensitivity of your mouse. You can adjust it to your desired level depending on your preference and the task at hand. For example, lower DPI settings are ideal for precise movements, while higher DPI settings allow for quicker cursor movements.
Assigning buttons to specific functions can significantly enhance your gaming or productivity workflow. In the Logitech G HUB software, you can map specific actions or macros to different mouse buttons. This allows for quick and easy access to frequently used commands or shortcuts.
If your Logitech G305 mouse has customizable lighting effects, you can also use the software to choose the colors and patterns that suit your style. Personalize your mouse with vibrant colors or create a unique lighting profile to stand out.
Explore the different settings and options available in the Logitech G HUB software to customize your mouse to your liking. You can save different profiles and switch between them based on your needs and preferences.
Remember to save your settings once you’ve customized your Logitech G305 mouse. This ensures that your preferences are retained even if you disconnect the mouse or use it on a different device.
By customizing your mouse settings, you can optimize your Logitech G305 mouse to enhance your gaming performance or productivity. Experiment with different settings and find the configuration that works best for you.
Conclusion
Connecting your Logitech G305 mouse to your Mac is a straightforward process that allows you to enjoy the precision and responsiveness of this high-performance wireless mouse. By following the steps outlined in this guide, you can seamlessly connect your mouse and customize its settings to suit your preferences.
We started by checking the compatibility of your Mac with the Logitech G305 mouse and ensuring that your system meets the necessary requirements. Next, we installed the Logitech G HUB software, which provides access to a range of customization options.
After installing the software, we connected the wireless dongle to your Mac, establishing a wireless connection between your Logitech G305 mouse and your device. We then paired the mouse with the dongle, ensuring a stable and responsive connection.
Finally, we explored the customization options available in the Logitech G HUB software, allowing you to personalize settings such as DPI, button assignments, and lighting effects to enhance your gaming or productivity experience.
Remember to save your customized settings in the Logitech G HUB software to retain your preferences even when using the mouse on different devices. Experiment with different configurations to find the setup that works best for you.
Now that you have successfully connected and customized your Logitech G305 mouse, unleash its full potential on your Mac and enjoy a seamless and responsive user experience. Increase your productivity or level up your gaming skills with the precision and comfort of the Logitech G305 mouse.