Introduction
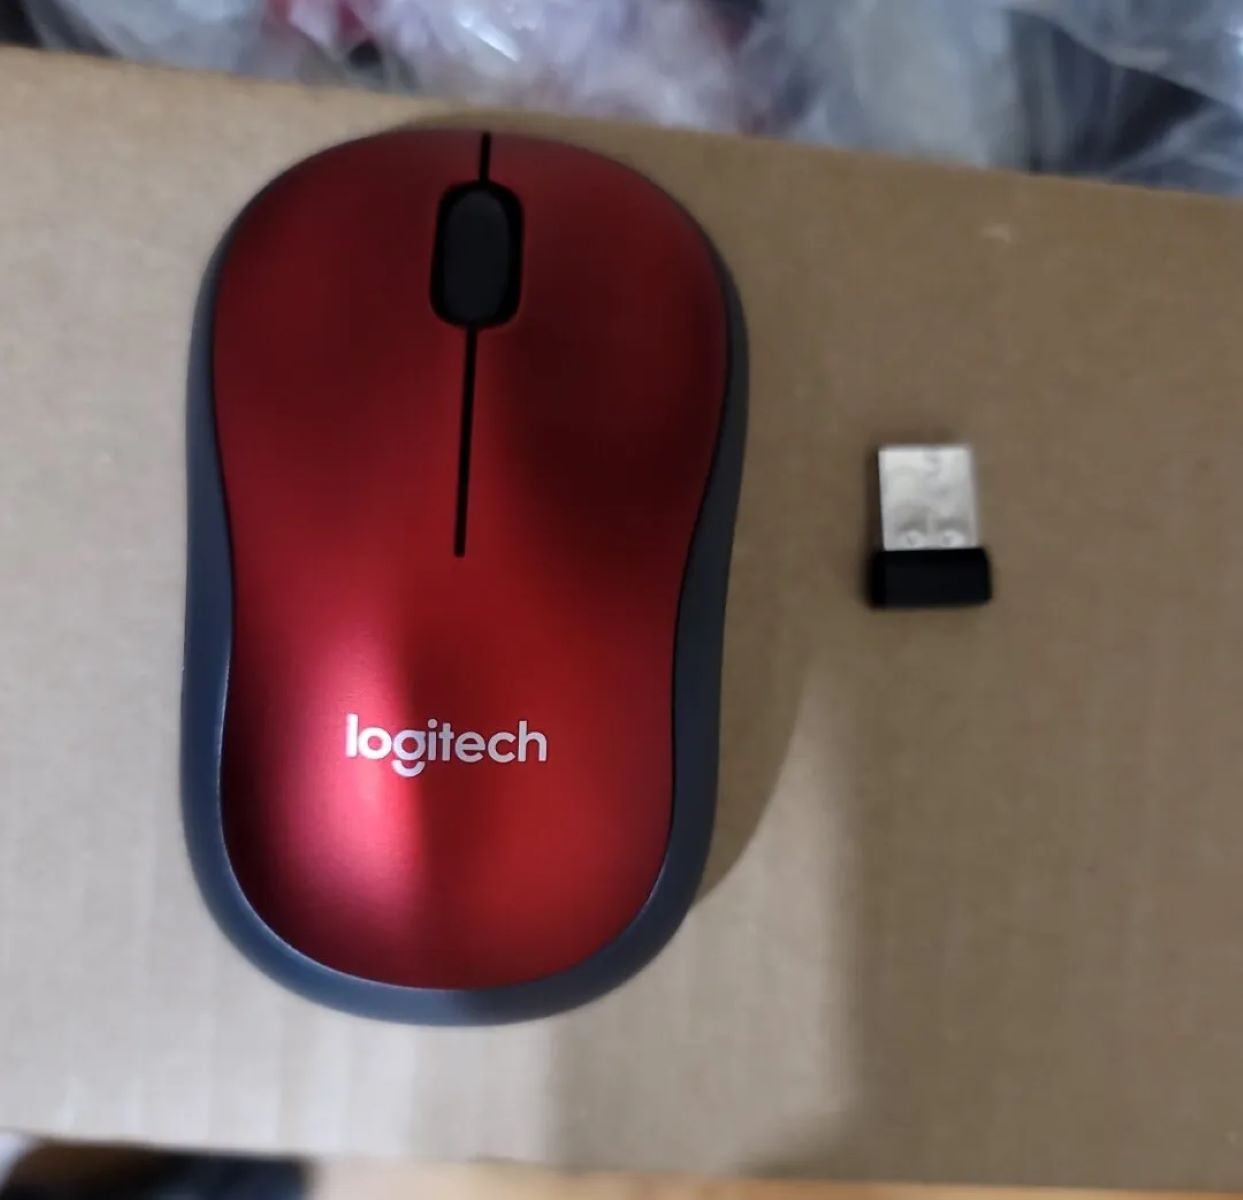
Welcome to this guide on how to connect the Logitech M310 Wireless Mouse. The Logitech M310 is a reliable and efficient wireless mouse that provides a convenient and hassle-free user experience. Whether you’re a professional who needs a precise mouse for work or a casual user who wants a comfortable option for browsing the web, the Logitech M310 is a great choice.
Setting up the Logitech M310 wireless mouse is a straightforward process that even beginners can easily accomplish. In this step-by-step guide, we will walk you through each stage of the setup process, from unpacking the mouse to pairing it with your computer. By following these instructions, you’ll be able to start using your Logitech M310 wireless mouse in no time.
Before we proceed, it’s worth mentioning that the Logitech M310 wireless mouse is compatible with various operating systems, including Windows, macOS, and Linux. So regardless of your device, you can rest assured that this guide will assist you in connecting your Logitech M310 mouse.
Now, without further ado, let’s dive into the setup process and get your Logitech M310 wireless mouse up and running!
Step 1: Unpacking the Logitech M310 Wireless Mouse
The first step of setting up your Logitech M310 Wireless Mouse is unpacking it from the box. Here’s what you need to do:
- Locate the box containing your Logitech M310 Wireless Mouse. It should have the Logitech logo and the model name clearly displayed.
- Gently open the box by removing any tape or seals.
- Inside the box, you will find your Logitech M310 Wireless Mouse nestled securely in a protective plastic cover.
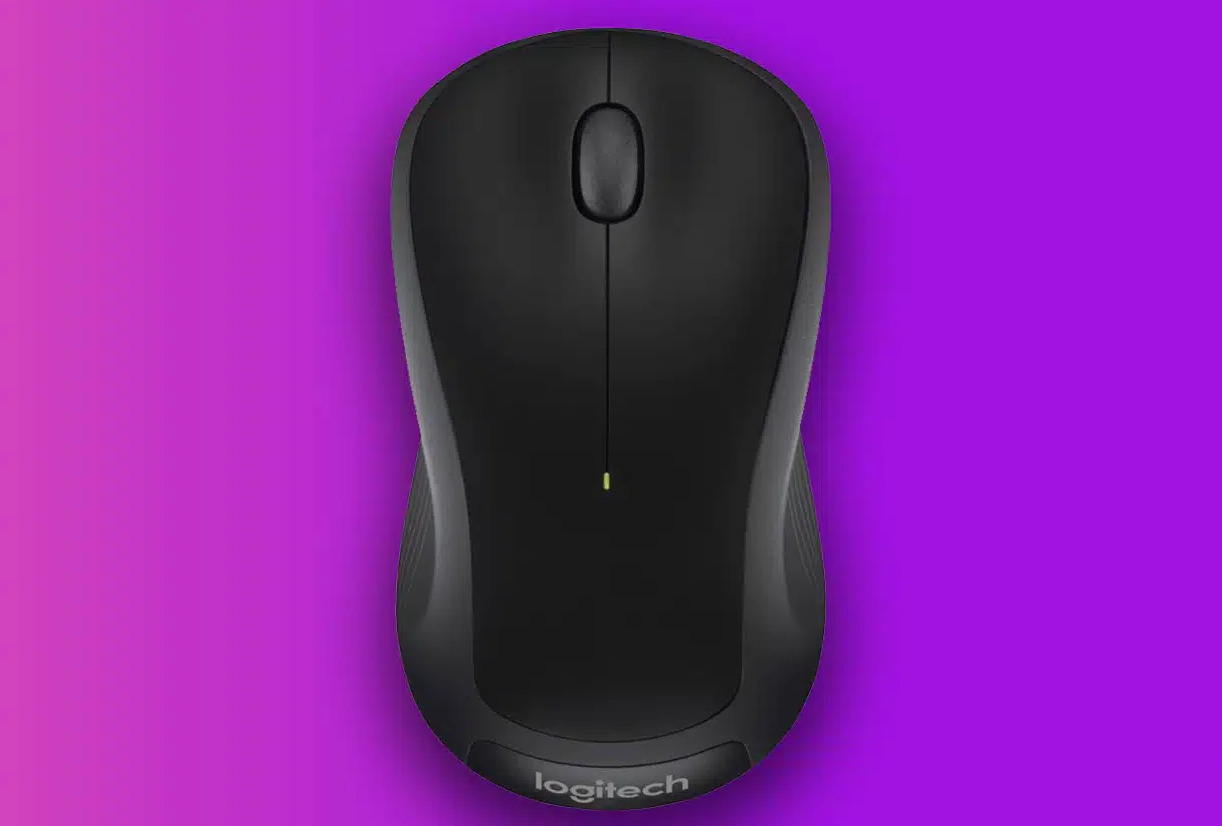
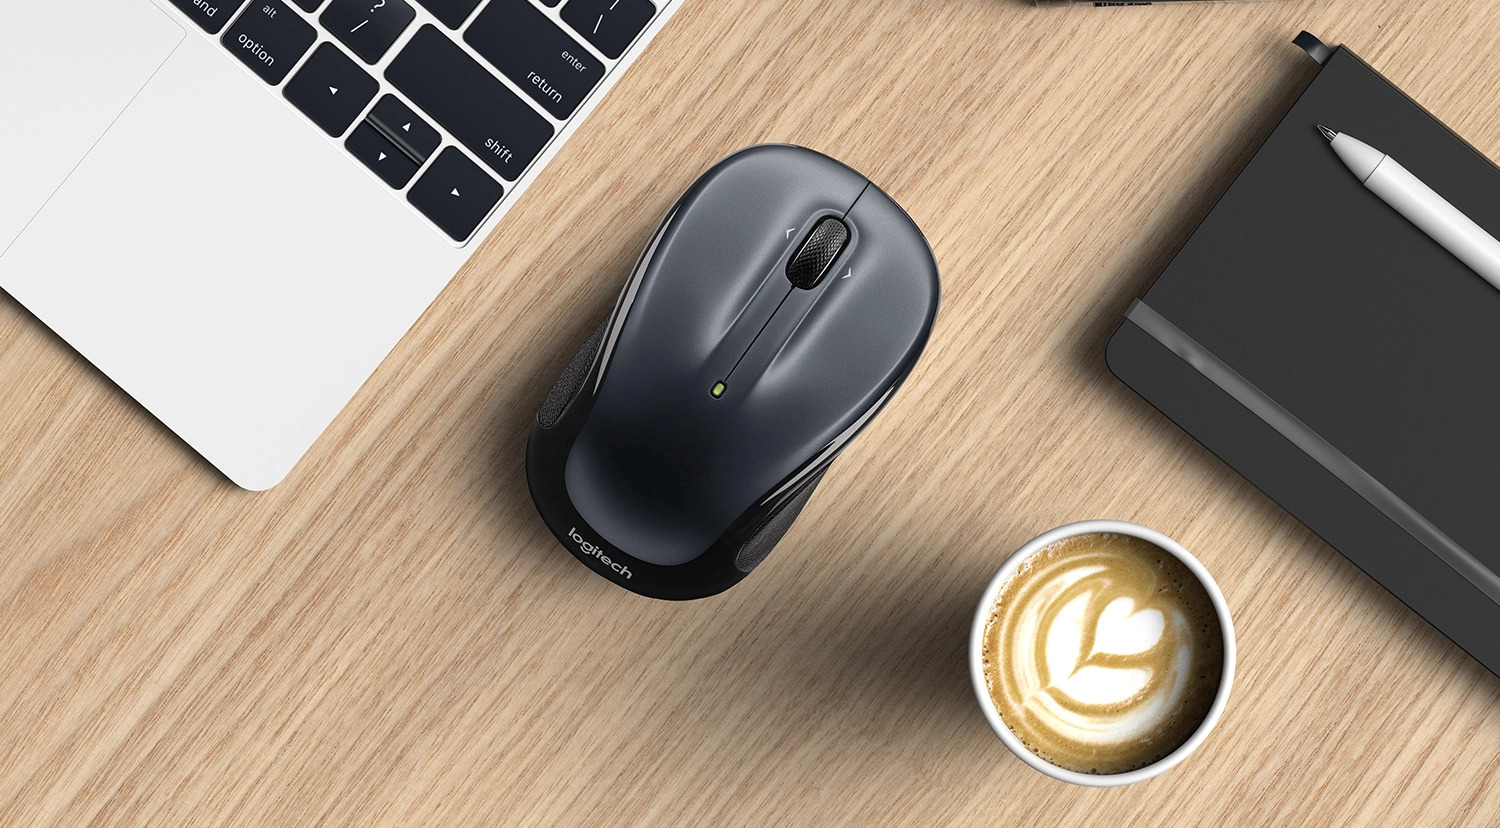
- Remove the plastic cover and take a moment to appreciate the sleek and ergonomic design of the mouse. The Logitech M310 is known for its comfortable and ambidextrous shape, making it suitable for both left and right-handed users.
- Inspect the mouse for any visible damage or manufacturing defects. Logitech products are known for their high quality, but it’s always a good idea to verify that everything looks perfect.
- Once you are satisfied with the condition of your Logitech M310 Wireless Mouse, discard the packaging materials responsibly.
Congratulations! You have successfully unpacked your Logitech M310 Wireless Mouse, and now you’re ready to move on to the next step in the setup process.
Step 2: Installing the Batteries
Now that you have unpacked your Logitech M310 Wireless Mouse, it’s time to install the batteries. The Logitech M310 mouse requires two AA batteries for operation. Here’s how to install them:
- Turn the Logitech M310 mouse upside down, so the bottom side is facing up.
- Locate the battery compartment door on the bottom of the mouse. It is usually marked with a battery icon.
- Slide the battery compartment door in the direction indicated by the arrow or the unlock symbol. This will release the latch and open the compartment.
- Insert the two AA batteries into the compartment, making sure to align the positive (+) and negative (-) ends according to the markings inside.
- Close the battery compartment door by sliding it back into place until it locks securely. You may hear a click sound indicating that it is properly closed.
That’s it! You have successfully installed the batteries in your Logitech M310 Wireless Mouse. It’s important to use high-quality batteries to ensure optimal performance and battery life. With fresh batteries in place, your mouse is now ready for the next step in the setup process.
Step 3: Connecting the USB Receiver
In order for your Logitech M310 Wireless Mouse to communicate with your computer, you need to connect the USB receiver. The USB receiver is a small device that allows wireless communication between the mouse and your computer. Follow these steps to connect the USB receiver:
- Locate the USB receiver included with your Logitech M310 Wireless Mouse. It is a small, rectangular device that plugs into an available USB port on your computer.
- If you have a USB extension cable included with your Logitech M310, you can connect the USB receiver to the extension cable for better flexibility in positioning.
- Gently insert the USB receiver into an available USB port on your computer. Ensure that it is plugged in securely.
- Once the USB receiver is plugged in, your computer will automatically detect it and start installing any necessary drivers. This process may take a few moments.
- Once the installation is complete, your Logitech M310 Wireless Mouse and the USB receiver are now paired. You may notice a small LED light on the USB receiver indicating that it is connected.
Great! You have successfully connected the USB receiver for your Logitech M310 Wireless Mouse. Your mouse is now ready to be turned on and paired with your computer. Let’s move on to the next step.
Step 4: Turning On the Mouse
With the USB receiver plugged in, it’s time to turn on your Logitech M310 Wireless Mouse. Follow these simple steps:
- Locate the power switch on the bottom of the Logitech M310 Wireless Mouse. It is usually labeled with the power symbol (a circle with a line).
- Slide the power switch to the ON position. You may feel a slight resistance as the switch moves.
- Once the mouse is powered on, you may notice a small LED light on the top of the mouse. This light indicates that the mouse is receiving power and is ready to connect to the USB receiver.
That’s it! You have successfully turned on your Logitech M310 Wireless Mouse. Now, it’s time to pair it with the USB receiver. Move on to the next step to complete the setup process.
Step 5: Pairing the Mouse
Now that your Logitech M310 Wireless Mouse is powered on, it’s time to pair it with the USB receiver. Pairing allows the mouse to establish a secure wireless connection with your computer. Follow these steps to successfully pair your mouse:
- Ensure that your computer is turned on and within range of the Logitech M310 Wireless Mouse.
- Move the mouse around on a flat surface to activate it and establish a connection with the USB receiver.
- After a few seconds, you should see your mouse cursor moving on the computer screen, indicating that the pairing process is successful.
- If the mouse cursor doesn’t move, try repositioning the mouse or adjusting your computer’s position to ensure a clear line of sight between the mouse and the USB receiver.
- Once the pairing is complete, you’re all set to use your Logitech M310 Wireless Mouse. Take a moment to test the mouse’s buttons and scroll wheel to ensure that everything is functioning as expected.
Congratulations! You have successfully paired your Logitech M310 Wireless Mouse with the USB receiver. Now you can enjoy the freedom of wireless navigation and control on your computer.
Step 6: Testing the Mouse
After completing the pairing process, it’s important to test your Logitech M310 Wireless Mouse to ensure that all its features are working correctly. Here’s how you can test the mouse:
- Move the mouse cursor across the computer screen and observe the movement. The cursor should respond smoothly and accurately to the movements of the mouse.
- Click the left and right mouse buttons to verify that they are working as expected. You should hear and feel a distinct click when pressing the buttons.
- If the Logitech M310 Wireless Mouse has additional buttons, such as forward and backward buttons, test these buttons to ensure they perform their designated functions (e.g., navigating web pages or documents).
- Scroll the mouse wheel up and down to confirm that it scrolls smoothly and without any issues.
- If your Logitech M310 Wireless Mouse has customizable buttons or additional features, consult the user manual or Logitech software to configure and test these features as desired.
By testing the Logitech M310 Wireless Mouse, you can ensure that it is functioning correctly and meeting your needs. If you encounter any issues during the testing process, refer to the troubleshooting section in the user manual or reach out to Logitech customer support for assistance.
Once you are satisfied with the performance of your Logitech M310 Wireless Mouse, you can start using it for everyday tasks, work, or leisure activities. Enjoy the convenience and freedom that wireless mouse navigation brings to your computing experience!
Conclusion
Congratulations on successfully setting up and connecting your Logitech M310 Wireless Mouse! You have now gained the convenience and freedom of a wireless mouse for your computer tasks. Throughout this guide, we have provided you with step-by-step instructions on how to unpack the mouse, install the batteries, connect the USB receiver, turn on the mouse, pair it with the receiver, and test its functionality.
The Logitech M310 Wireless Mouse offers a comfortable ergonomic design that suits both left and right-handed users. Its reliable wireless connection ensures smooth and precise cursor movements, allowing for enhanced productivity and effortless navigation. With its customizable buttons and additional features, you have the flexibility to personalize your mouse settings to meet your specific needs.
Remember, should you ever encounter any issues or have further questions regarding your Logitech M310 Wireless Mouse, consult the user manual or reach out to Logitech’s dedicated customer support team. They are always ready to assist you and provide solutions to any concerns you may have.
Now that you have completed the setup process and tested your Logitech M310 Wireless Mouse, you can fully enjoy the benefits of a wireless mouse for your computer tasks. Say goodbye to tangled wires and embrace the convenience and freedom of wireless navigation.
We hope this guide has been helpful in assisting you with connecting your Logitech M310 Wireless Mouse. Thank you for choosing Logitech, and we wish you a seamless and enjoyable experience with your new wireless mouse!


