Introduction
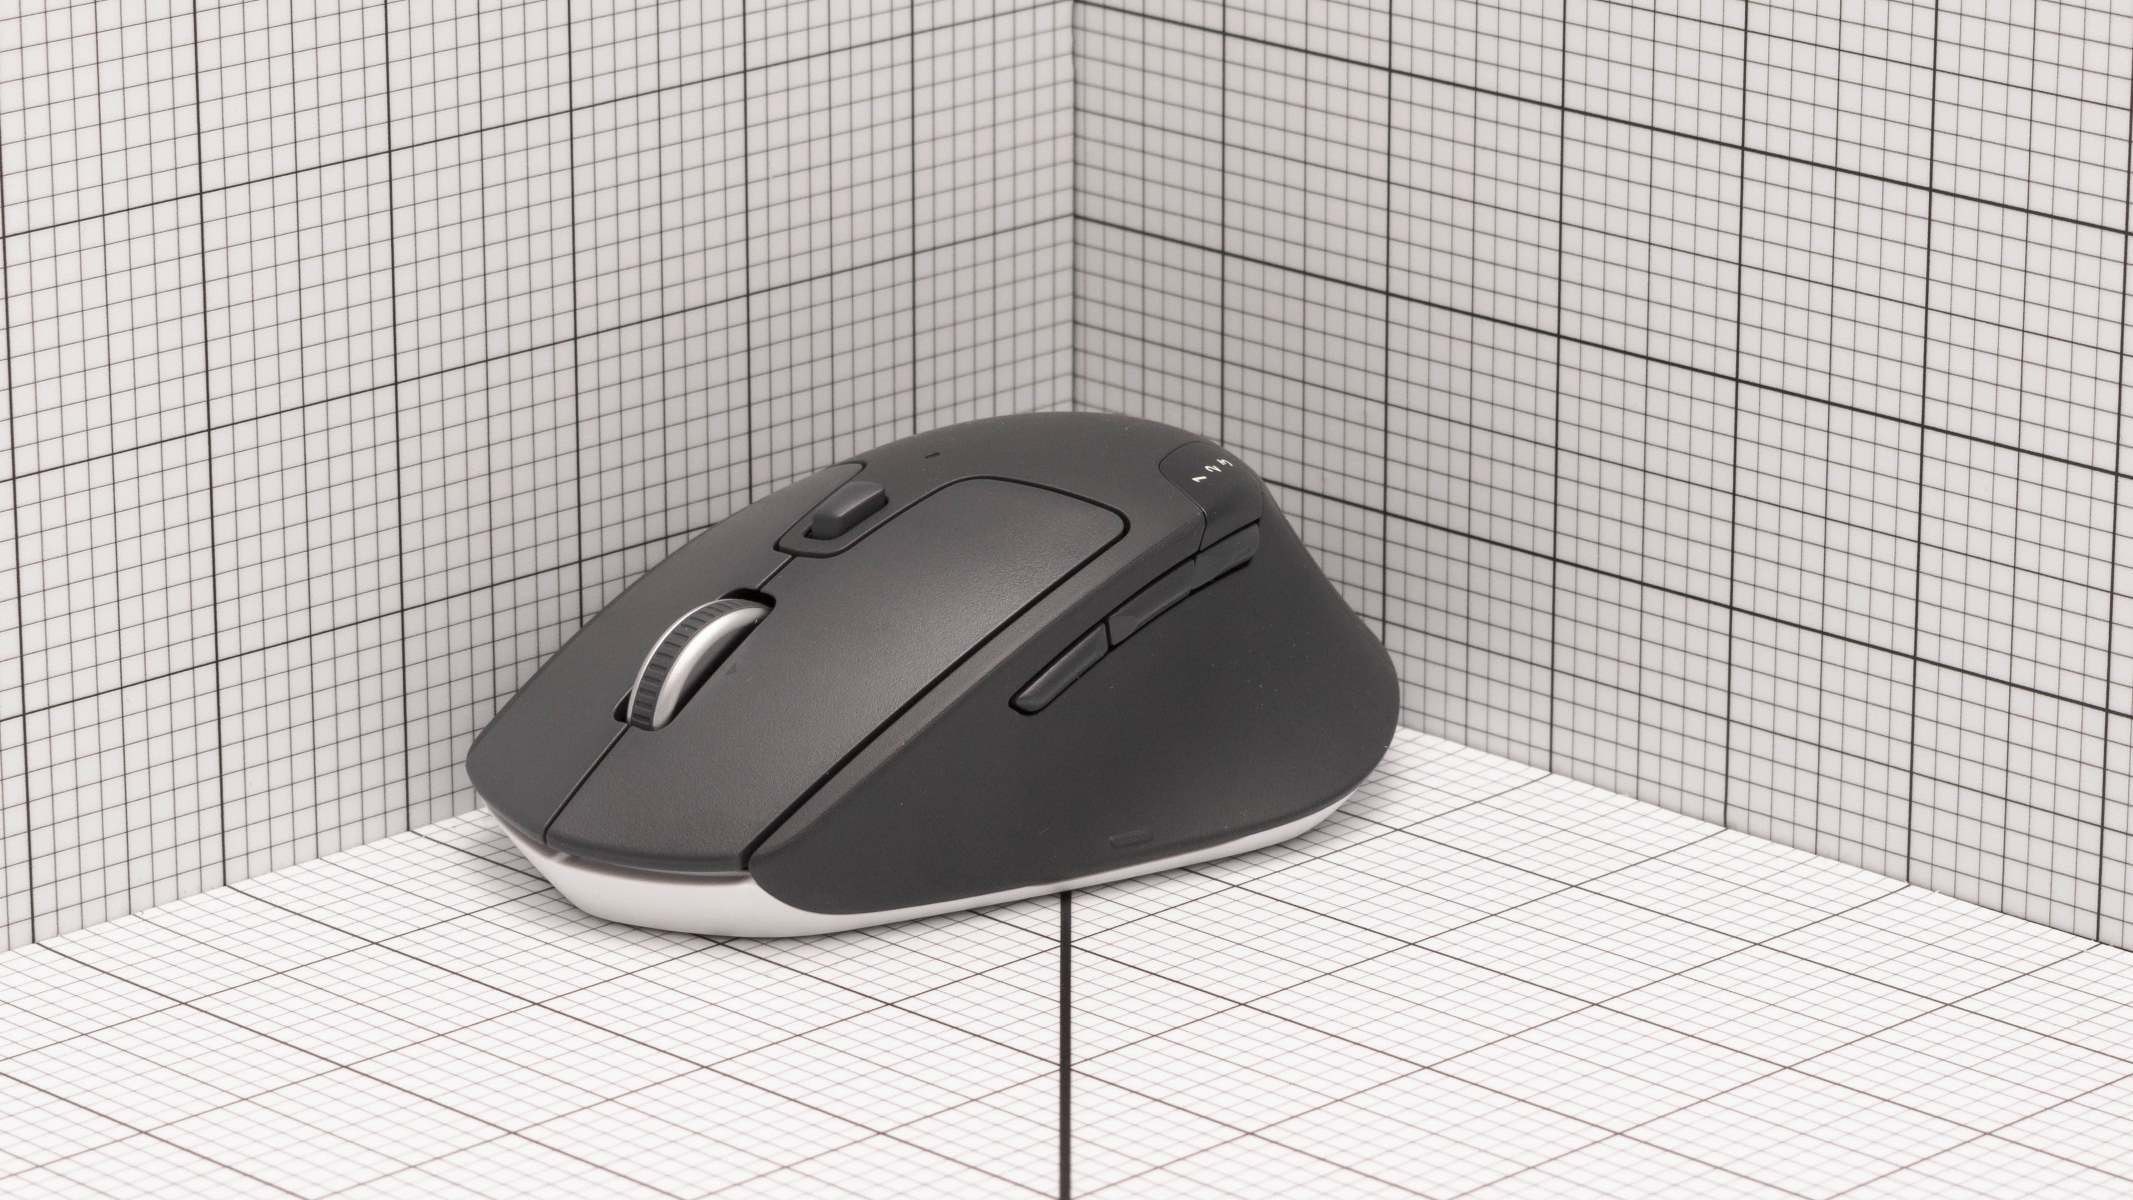
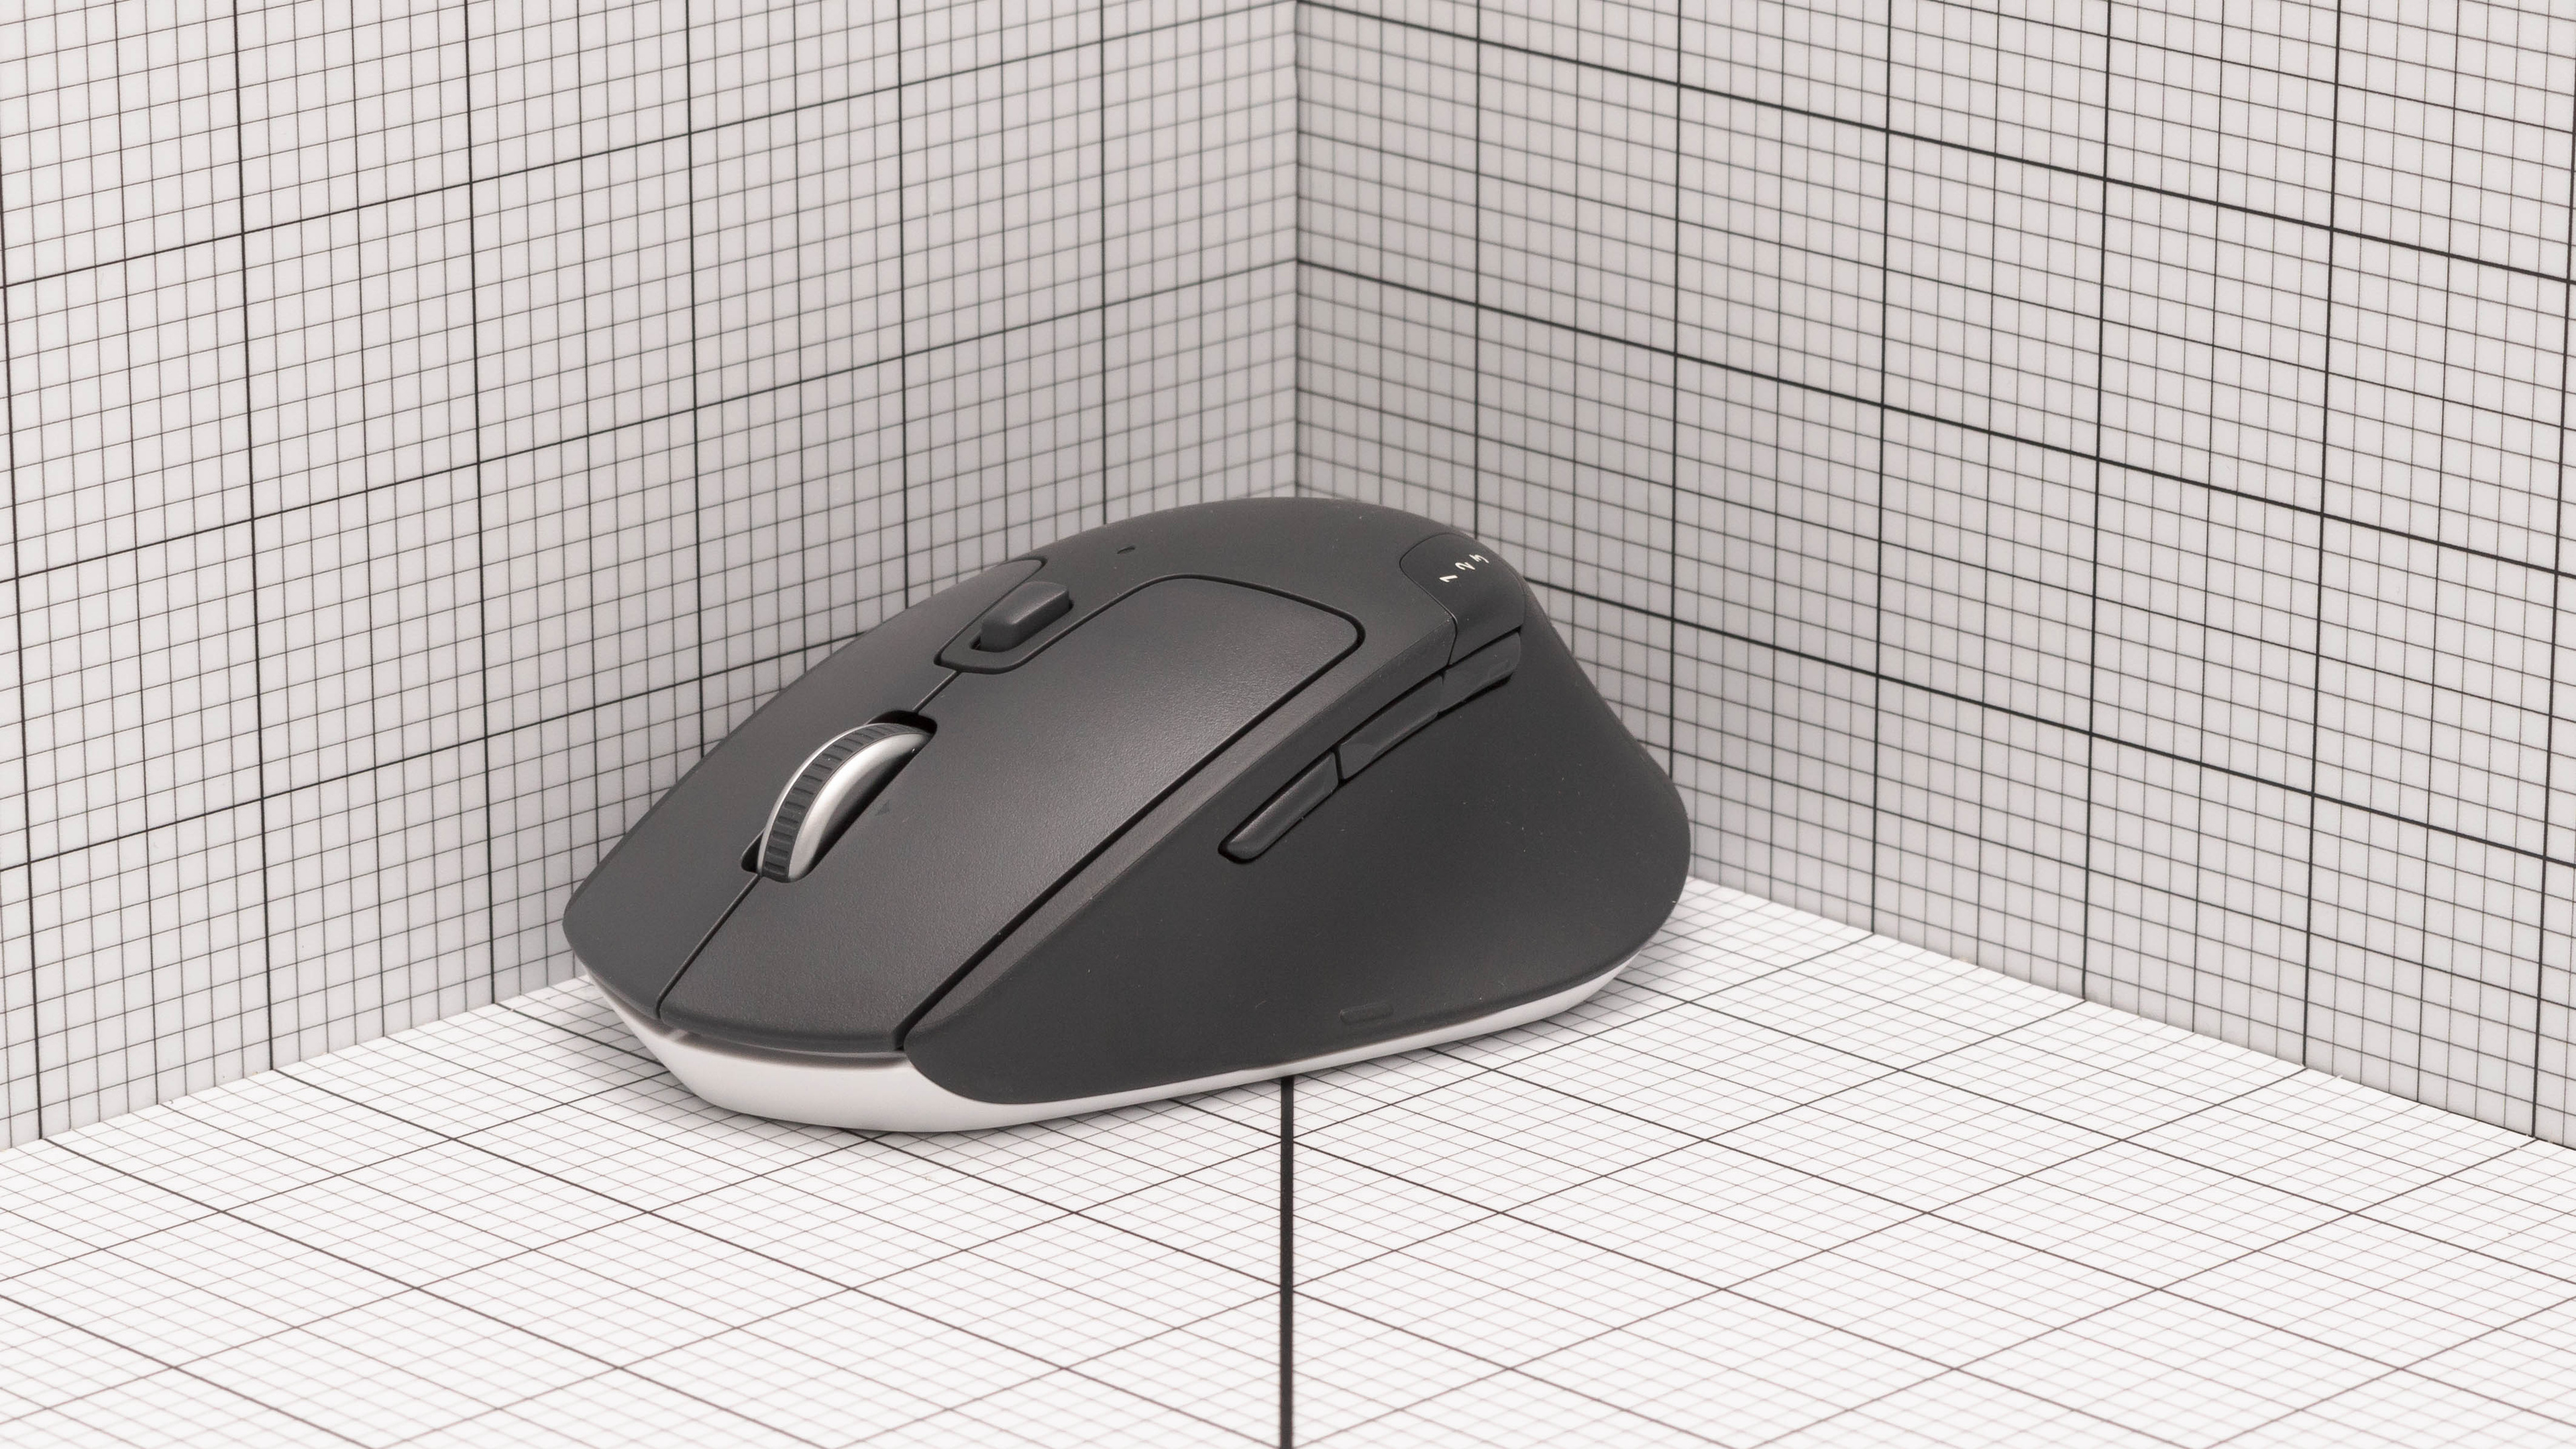
Welcome to our guide on how to connect your Logitech M720 mouse. The Logitech M720 is a versatile and reliable wireless mouse that offers a seamless connection experience. Whether you are using it for work, gaming, or everyday computing, it’s essential to know how to connect it properly to get the most out of your device.
Having a well-functioning mouse is crucial for productivity and overall user experience. The Logitech M720 offers excellent precision, comfort, and customizable features, making it a popular choice for many users. In this guide, we will walk you through the step-by-step process of connecting and setting up your Logitech M720 mouse.
Before we dive into the connection process, let’s take a quick look at what you will need to get started. Gathering the necessary materials beforehand will ensure a smooth and hassle-free setup. Here’s what you will need:
- A Logitech M720 mouse
- A computer or device with Bluetooth capability
- The Logitech Options software (available for download on the Logitech website)
Now that you have everything you need, let’s proceed to the next step: installing the Logitech Options software. This software is essential for customizing your mouse settings and getting the most out of your Logitech M720.
Step 1: Gathering the necessary materials
Before you begin connecting your Logitech M720 mouse, it’s important to ensure that you have all the necessary materials ready. This will help streamline the setup process and ensure a smooth transition. Here’s what you will need:
- Logitech M720 mouse: Make sure you have your Logitech M720 mouse on hand. This wireless mouse offers a comfortable and ergonomic design, making it perfect for extended use.
- A computer or device with Bluetooth capability: To connect the Logitech M720, you will need a computer or device that supports Bluetooth connectivity. This includes laptops, desktop computers, and certain tablets.
- The Logitech Options software: The Logitech Options software is essential for customizing your mouse settings and accessing advanced features. You can download the software from the Logitech website. Make sure you have it downloaded and installed on your device before proceeding.
Once you have gathered all the necessary materials, you are ready to move on to the next step: installing the Logitech Options software.
Step 2: Installing Logitech Options software
To fully optimize the functionality of your Logitech M720 mouse, it is essential to install the Logitech Options software. This software allows you to customize the mouse settings, assign different functions to the buttons, and access advanced features. Here’s how you can install it:
- Visit the Logitech website: Go to the official Logitech website and navigate to the Support section.
- Locate the Logitech M720 product page: Use the search function or browse through the product categories to find the Logitech M720 mouse.
- Download Logitech Options: On the Logitech M720 product page, you will find the option to download the Logitech Options software. Click on the download button to initiate the download.
- Run the installer: Once the download is complete, locate the installer file and double-click on it to run the installation process.
- Follow the on-screen instructions: The installation wizard will guide you through the installation process. Follow the prompts and select your preferred settings.
- Complete the installation: After the installation process is complete, the Logitech Options software will be ready to use.
Now that you have installed the Logitech Options software, you can move on to the next step: turning on your Logitech M720 mouse.
Step 3: Turning on the Logitech M720
Now that you have the Logitech Options software installed on your device, it’s time to turn on your Logitech M720 mouse. Follow these steps:
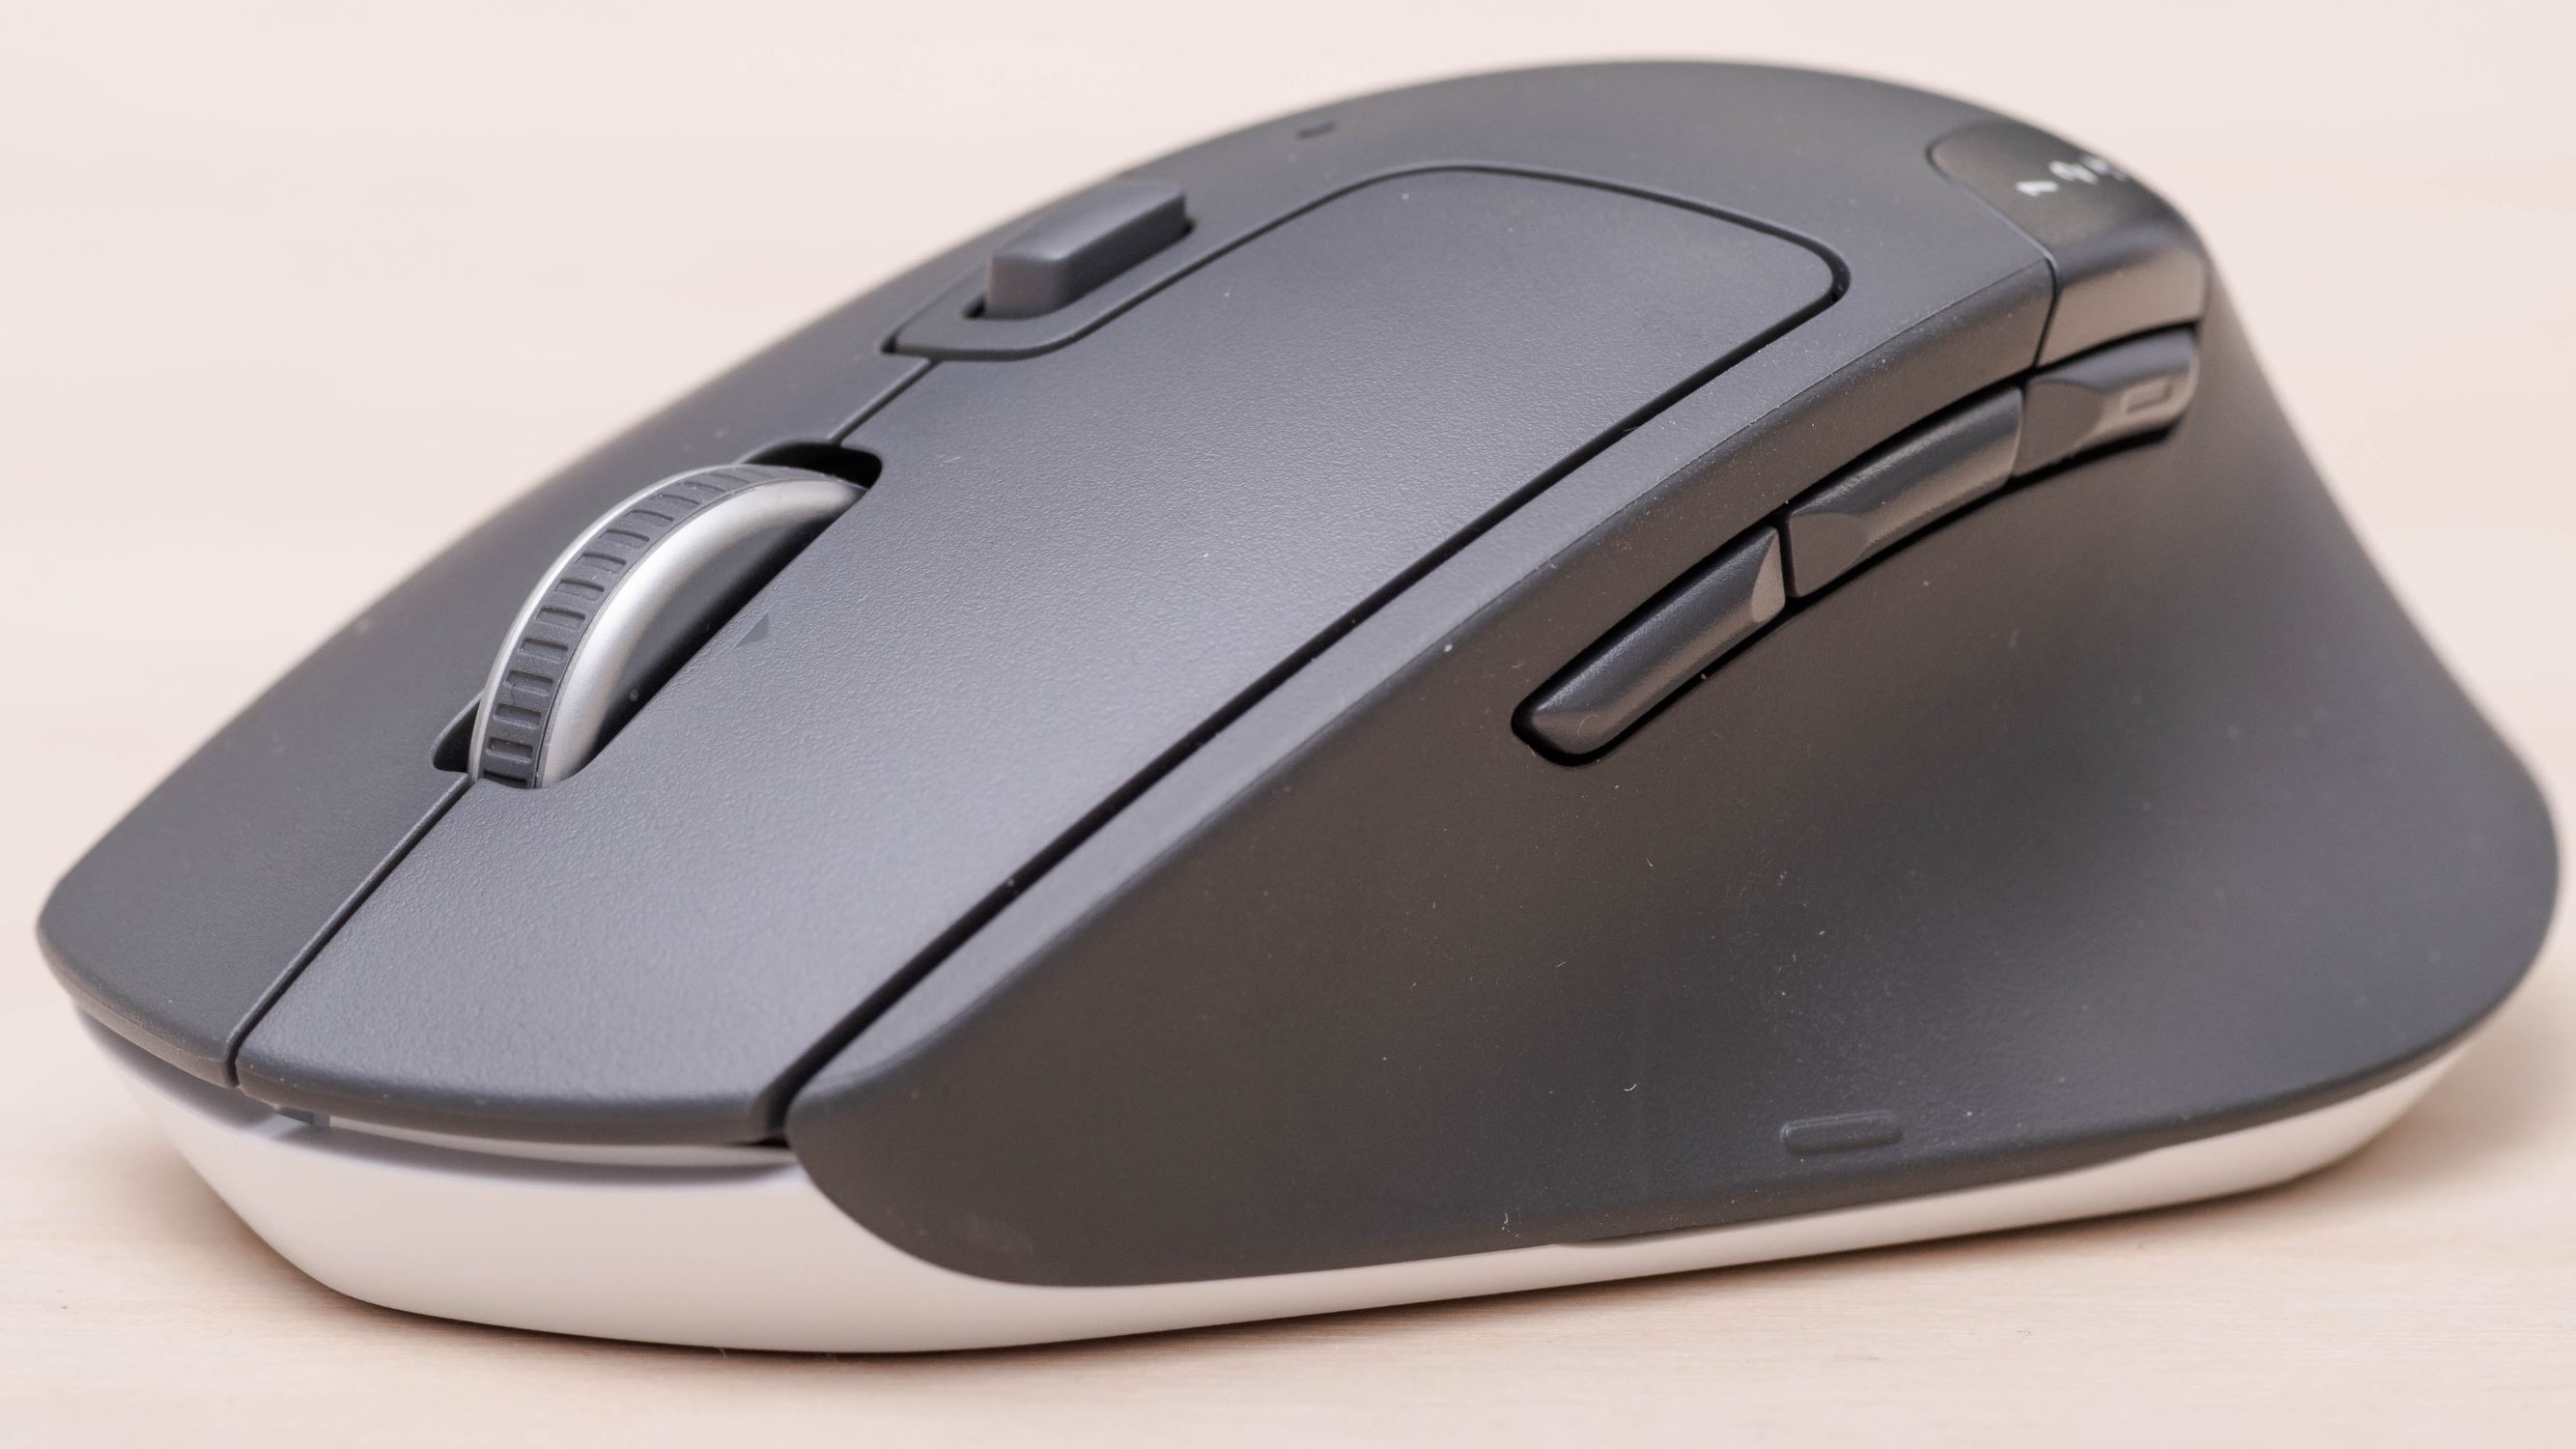
- Locate the power switch: On the underside of the Logitech M720 mouse, you will find a small power switch. Slide it to the ON position.
- Check the LED indicator: Once the mouse is turned on, the LED indicator on the mouse will start blinking.
- Ensure Bluetooth is enabled on your device: On your computer or device, make sure that Bluetooth is enabled. You can usually find this option in the system settings or the taskbar.
- Put the mouse in pairing mode: To pair your Logitech M720 mouse with your device, press and hold down the Easy-Switch button located on the bottom of the mouse until the LED light starts flashing rapidly.
Once the LED light on the Logitech M720 is flashing rapidly, it means that the mouse is in pairing mode and ready to connect to your device. Now let’s move on to the next step: pairing the Logitech M720 with your device.
Step 4: Pairing the Logitech M720 with your device
After turning on your Logitech M720 mouse, it’s time to pair it with your device. Follow these steps to establish a wireless connection:
- Open the Bluetooth settings on your device: Navigate to the Bluetooth settings on your computer or device. This can usually be found in the system settings or the taskbar.
- Enable Bluetooth pairing mode: Look for an option to enable Bluetooth pairing mode on your device. Activate this mode to allow the device to search for nearby devices for pairing.
- Find the Logitech M720 in the list of available devices: Once your device is in pairing mode, it will search for nearby devices. Locate and select the Logitech M720 from the list of available devices.
- Complete the pairing process: Follow any on-screen prompts to complete the pairing process. The Logitech M720 and your device will establish a connection.
Once the Logitech M720 is successfully paired with your device, the LED indicator on the mouse will stop flashing and remain solid. This indicates that the connection is established, and you are ready to use your Logitech M720 mouse.
Now that your Logitech M720 is paired with your device, let’s proceed to the next step: customizing the Logitech M720 settings to suit your preferences.
Step 5: Customizing the Logitech M720 settings
Now that your Logitech M720 mouse is connected to your device, it’s time to customize its settings to enhance your user experience. The Logitech Options software provides a wide range of customization options. Here’s how you can customize your Logitech M720 settings:
- Open the Logitech Options software: Launch the Logitech Options software on your device.
- Select your Logitech M720 mouse: From the main screen of the software, select your Logitech M720 mouse. This will allow you to access the specific settings for your mouse model.
- Explore the customization options: The Logitech Options software offers various customization options, such as button mapping, sensitivity adjustment, scrolling preferences, and more. Take some time to explore these options and select the settings that suit your preferences.
- Assign functions to the buttons: You can assign specific functions to the buttons on your Logitech M720 mouse. For example, you can set one of the buttons to act as a shortcut for copy-paste or change the scrolling behavior. Experiment with different button assignments to optimize your workflow.
- Save your settings: Once you have customized your Logitech M720 settings, make sure to save the changes in the Logitech Options software.
By customizing your mouse settings, you can tailor the Logitech M720 to your unique needs and preferences. Experiment with different options and fine-tune the settings until you find the perfect configuration. Enjoy the personalized experience provided by your Logitech M720 mouse!
If you encounter any issues or have further questions about customizing your Logitech M720 settings, refer to the Logitech support resources or visit their website for additional guidance.
Step 6: Troubleshooting common connection issues
While connecting and setting up your Logitech M720 mouse is generally a straightforward process, you may encounter some common connection issues. Here are some troubleshooting steps you can take to resolve these issues:
- Restart your device: Sometimes, a simple restart can resolve connection problems. Try restarting your computer or device and see if that solves the issue.
- Ensure Bluetooth is enabled: Double-check that Bluetooth is enabled on your device. It should be turned on before attempting to connect the Logitech M720.
- Move closer to the device: If you are experiencing connectivity issues, try moving closer to the device you are connecting the Logitech M720 to. Sometimes, distance can affect Bluetooth signal strength.
- Check the battery level: If your Logitech M720 mouse has low battery power, this can affect its connectivity. Replace the batteries or charge the mouse’s battery if necessary.
- Reset the connection: If the connection is still not working, try resetting the connection between your Logitech M720 and the device. Turn off the mouse, then turn it back on and follow the pairing process again.
- Update your Logitech Options software: Outdated Logitech Options software may cause connection issues. Check for any available updates for the software and install them if needed.
- Try pairing with a different device: If you have access to another device with Bluetooth capability, try pairing your Logitech M720 with that device. This can help determine if the issue lies with your original device or the mouse itself.
- Contact Logitech support: If you have tried the above troubleshooting steps and are still experiencing connection issues, it may be helpful to reach out to Logitech customer support for further assistance. They can provide specific guidance based on your situation.
By following these troubleshooting steps, you should be able to resolve common connection issues with your Logitech M720 mouse. Remember to refer to the Logitech support resources or contact their customer support if you need additional help.
Conclusion
Congratulations! You have successfully connected and set up your Logitech M720 mouse. By following the step-by-step guide and customizing the settings to your liking, you can now enjoy a seamless and personalized user experience.
Remember, the Logitech M720 offers a range of features and customization options that enhance productivity and comfort. Take advantage of the Logitech Options software to assign functions to the buttons, adjust sensitivity, and tailor the mouse to your specific needs.
If you encounter any issues along the way, refer to the troubleshooting section for common connection problems and their solutions. Restarting your device, ensuring Bluetooth is enabled, and resetting the connection are some of the steps you can take to resolve any connectivity issues.
We hope this guide has been helpful in assisting you with connecting and setting up your Logitech M720 mouse. Enjoy the freedom and convenience of using your Logitech M720 for work, gaming, or everyday computing tasks.
Thank you for choosing Logitech and happy computing!