Introduction
Wireless keyboards have become increasingly popular due to their convenience and flexibility. They provide freedom of movement and eliminate the clutter of wires on your desk. If you’re looking to link a wireless keyboard to your computer, you’ve come to the right place. In this article, we will guide you through the step-by-step process to successfully connect your wireless keyboard to your computer.
Whether you’re using a laptop, desktop, or even a tablet, connecting a wireless keyboard is a fairly straightforward process. It allows you to type comfortably from a distance and gives you the flexibility to use your computer in different positions. Before we dive into the steps, it’s essential to check the compatibility of your wireless keyboard with your computer.
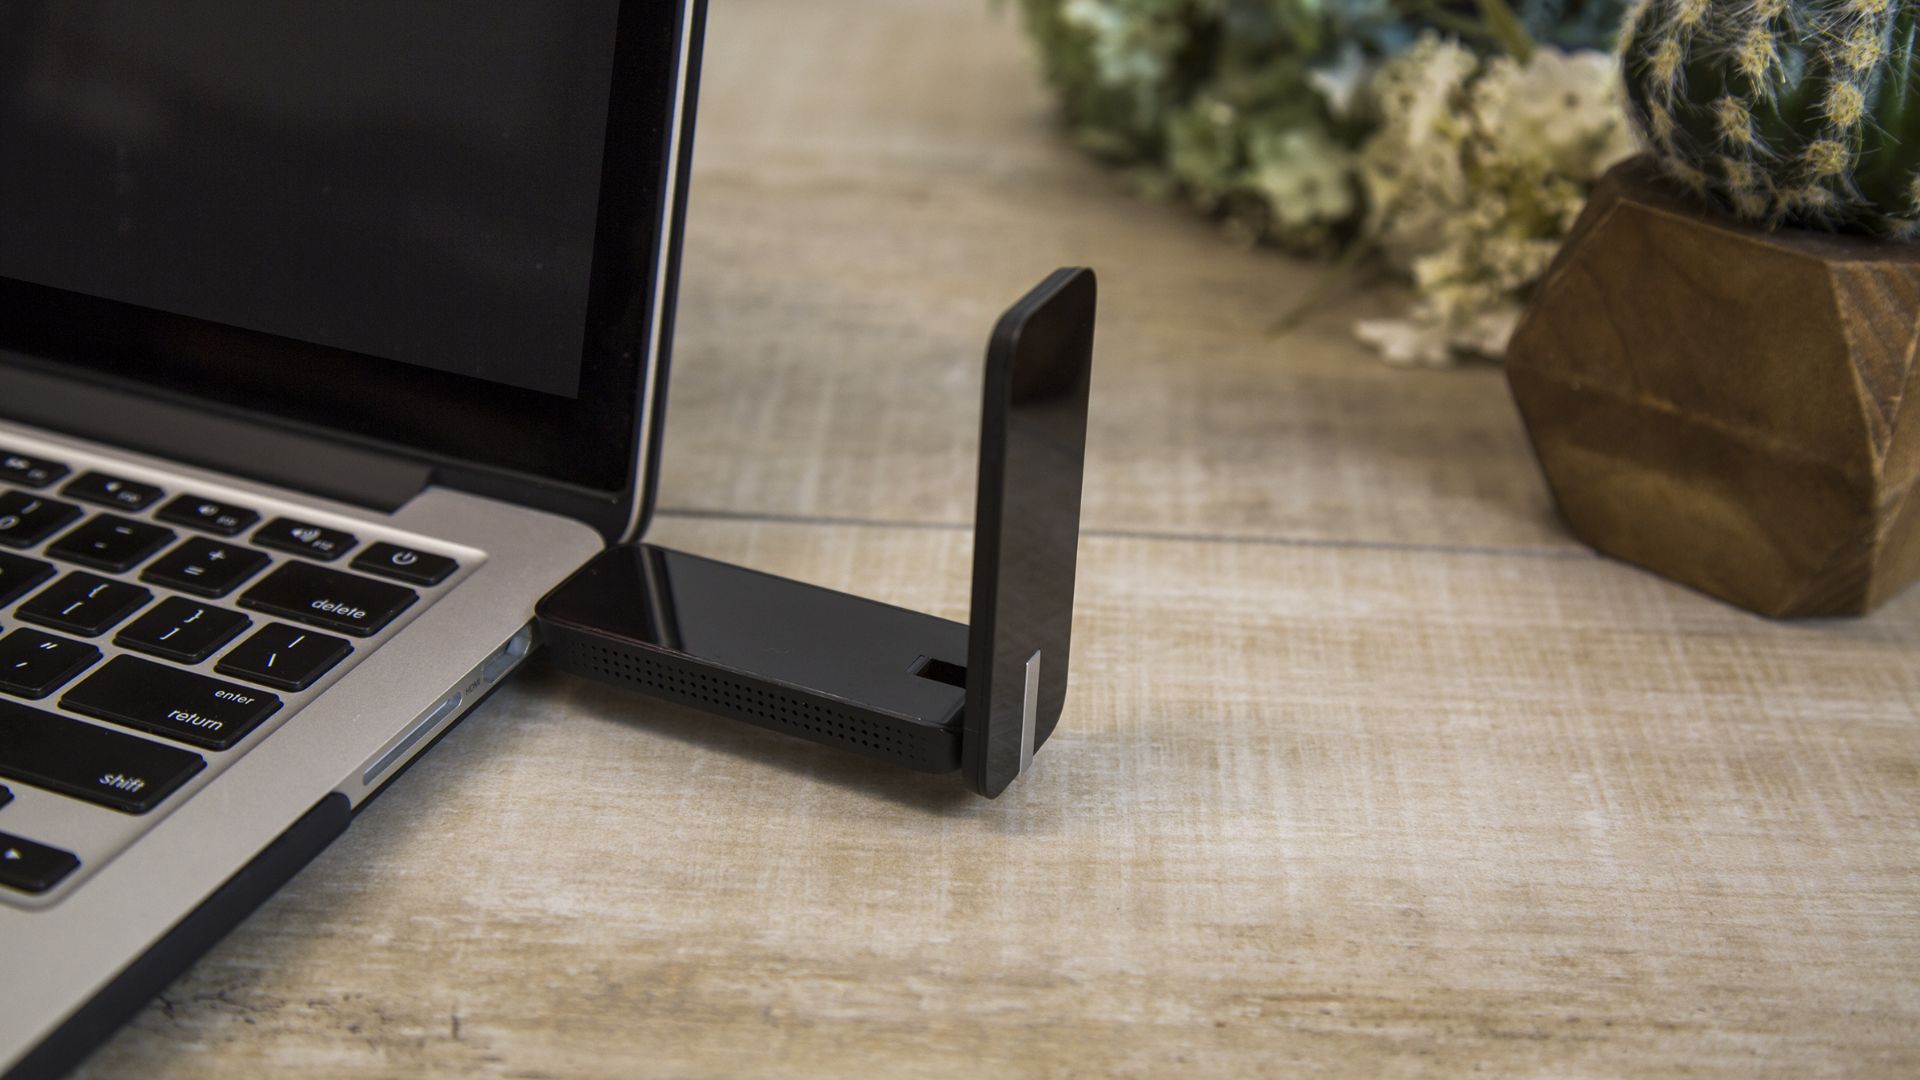
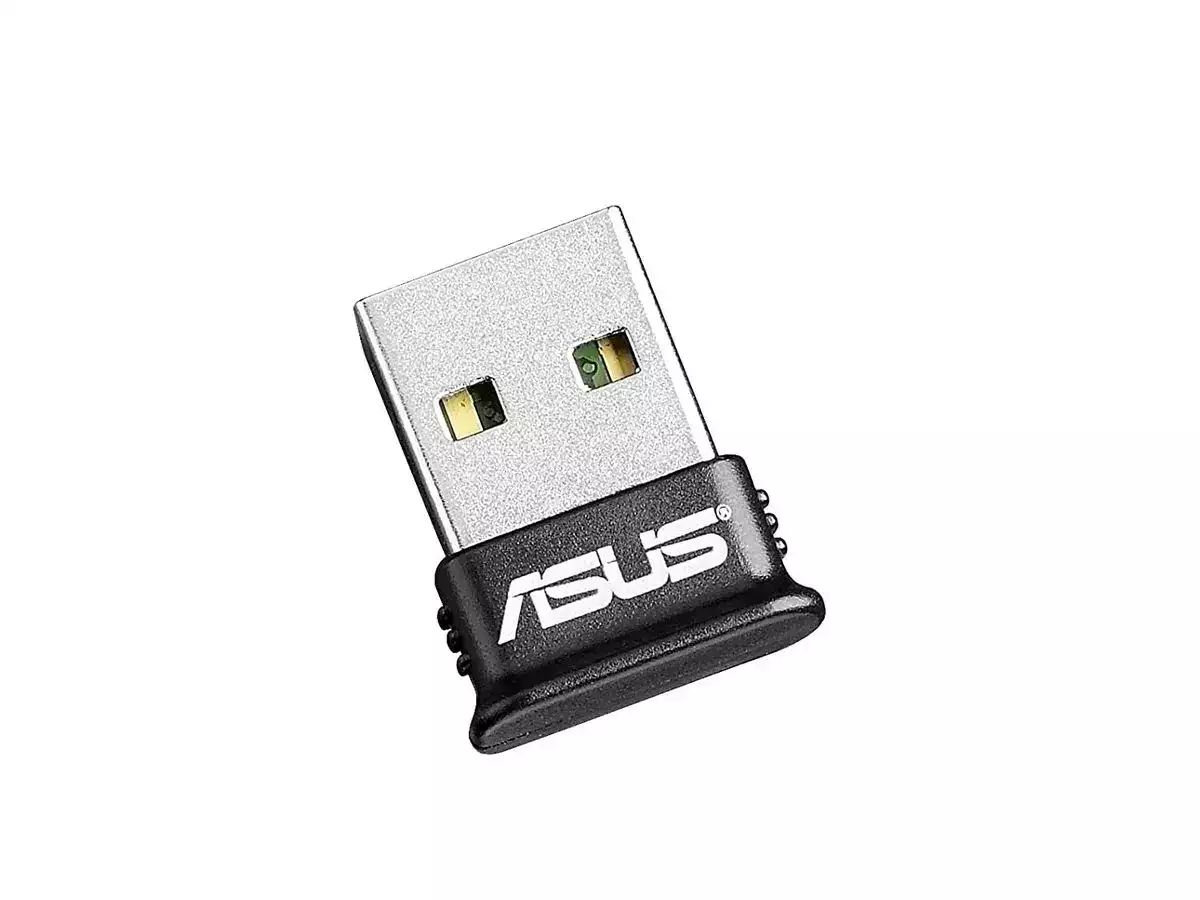
Wireless keyboards generally use Bluetooth technology to establish a connection with your computer. It’s important to ensure that your computer has built-in Bluetooth capabilities or has a compatible Bluetooth adapter. Most modern computers come equipped with Bluetooth, but if yours doesn’t, you may need to purchase an external Bluetooth adapter.
Now that you’ve confirmed the compatibility between your wireless keyboard and computer let’s proceed to the next steps. Specifically, we’ll cover the process of inserting batteries into the keyboard, activating pairing mode, enabling Bluetooth on your computer, pairing the keyboard, and testing the connection. By following these steps, you’ll be able to link your wireless keyboard to your computer effortlessly.
Keep in mind that the specific instructions may vary slightly depending on the brand and model of your wireless keyboard and computer. However, the general process remains the same. So, let’s get started with the first step: checking compatibility and inserting batteries into your wireless keyboard.
Step 1: Check Compatibility
Before you begin the process of linking your wireless keyboard to your computer, it’s important to ensure compatibility between the two devices. Take the following steps to do so:
- Check if your computer has built-in Bluetooth capabilities: Most modern laptops and desktops come equipped with built-in Bluetooth technology. You can usually identify it by checking your computer’s specifications or looking for the Bluetooth symbol in the taskbar or system settings. If your computer doesn’t have built-in Bluetooth, you may need to purchase a Bluetooth adapter separately.
- Ensure your wireless keyboard is compatible: Different wireless keyboards have varying degrees of compatibility with different operating systems. Check the manufacturer’s website or the product packaging to confirm that your wireless keyboard is compatible with your specific operating system (e.g., Windows, macOS, Linux).
- Check for any additional requirements: Some wireless keyboards may require specific software or drivers to be installed on your computer. Check the manufacturer’s instructions or website to see if any additional requirements are necessary and ensure you have the necessary tools or software available.
By performing these compatibility checks, you can ensure that both your wireless keyboard and computer are capable of establishing a successful connection. Once you’ve confirmed compatibility, you can proceed with the next steps to set up your wireless keyboard.
Step 2: Insert Batteries
Now that you have confirmed compatibility, it’s time to prepare your wireless keyboard by inserting batteries. Here’s how you can do it:
- Locate the battery compartment: Look for a small tray or compartment on the underside of your wireless keyboard. This is where the batteries will be inserted.
- Open the battery compartment: Depending on the model of your wireless keyboard, you may need to slide a latch, press a button, or use a coin to twist and open the compartment.
- Insert the batteries: Take the appropriate number of batteries (usually AA or AAA) as specified by the manufacturer and insert them into the battery compartment, following the polarity markings (+/-) indicated. Make sure to properly align the batteries to ensure a secure fit.
- Close the battery compartment: Once the batteries are inserted, close the compartment securely, ensuring that it clicks into place or locks properly.
It’s essential to use fresh batteries or fully charged rechargeable batteries to ensure optimal performance. Weak batteries may cause connectivity issues or result in intermittent operation of your wireless keyboard.
Once you have inserted the batteries and closed the compartment, your wireless keyboard is now ready to be paired with your computer. In the next steps, we will guide you through the process of activating pairing mode on the keyboard and enabling Bluetooth on your computer to establish a connection between the two devices.
Step 3: Activate Pairing Mode on the Keyboard
To establish a connection between your wireless keyboard and computer, you need to activate the pairing mode on the keyboard. This process may vary slightly depending on the brand and model of your wireless keyboard. Here are the general steps to activate the pairing mode:
- Make sure your wireless keyboard is turned on: Check if there is a power switch on your keyboard and ensure it is in the “On” position. Some keyboards may have an LED indicator that lights up when the keyboard is powered on.
- Locate the pairing button or switch: Look for a button or switch on your wireless keyboard that is specifically designated for pairing or connecting to a device. This button is usually located on the bottom, side, or back of the keyboard.
- Activate the pairing mode: Press and hold the pairing button or switch for a few seconds until the LED indicator on the keyboard starts flashing or blinking. This indicates that the keyboard is now in pairing mode and actively searching for a connection.
Note that some wireless keyboards may enter pairing mode automatically when they are turned on or when no connection has been established for a certain period. Consult the user manual or manufacturer’s website for specific instructions on activating pairing mode for your wireless keyboard model.
With the pairing mode activated, you have set the stage for establishing a connection between your wireless keyboard and your computer. In the next steps, we will guide you through enabling Bluetooth on your computer and pairing the keyboard, allowing the devices to communicate wirelessly.
Step 4: Enable Bluetooth on your Computer
In order to connect your wireless keyboard to your computer, you need to enable Bluetooth on your computer. Follow these steps to do so:
- Open the Bluetooth settings: Depending on your operating system, the steps to access the Bluetooth settings may vary.
- For Windows: Click on the Start menu, then go to Settings > Devices > Bluetooth & other devices.
- For macOS: Click on the Apple menu, then go to System Preferences > Bluetooth.
- For Linux: The process may vary depending on the distribution you are using. Generally, you can find Bluetooth settings in the system settings or control panel.
- Turn on Bluetooth: In the Bluetooth settings panel, locate the toggle or switch to turn on Bluetooth. Click on it to enable Bluetooth connectivity on your computer.
- Wait for the computer to find devices: After turning on Bluetooth, your computer will start scanning for nearby Bluetooth devices, including your wireless keyboard.
It may take a few seconds for your computer to detect the wireless keyboard. Once it appears in the list of available devices, you are ready to proceed to the next step and establish a connection between your computer and the keyboard.
If your computer does not have built-in Bluetooth capabilities, consider using an external Bluetooth adapter. These adapters can be connected to a USB port on your computer to enable Bluetooth functionality.
Now that Bluetooth is enabled on your computer, it is time to move on to the next step and pair your wireless keyboard with the computer. This will allow the two devices to communicate and function seamlessly.
Step 5: Pair the Keyboard with the Computer
Now that Bluetooth is enabled on your computer, it’s time to pair your wireless keyboard with the computer. Follow these steps to establish a connection:
- On your computer, locate your wireless keyboard in the list of available devices in the Bluetooth settings panel.
- Select your wireless keyboard: Click on the name or icon of your wireless keyboard in the list of available devices. This will initiate the pairing process.
- Enter the pairing code (if required): Some wireless keyboards may require a pairing code to be entered on your computer. If prompted, check the user manual or the keyboard manufacturer’s website for the specific code.
- Complete the pairing process: Once you’ve entered the pairing code (if required), click on the “Pair” or “Connect” button on your computer. The computer will then establish a connection with your wireless keyboard.
After a successful pairing, your computer should display a confirmation message indicating that the wireless keyboard is connected. At this point, you should be able to start using your wireless keyboard to type and control your computer.
If the pairing process fails or the keyboard doesn’t connect, make sure that the keyboard is in pairing mode and the batteries are inserted correctly. Additionally, you may need to repeat the process or consult the user manual for troubleshooting guidance specific to your wireless keyboard model.
Once your wireless keyboard is successfully paired with your computer, it’s time to move on to the final step and test the connection to ensure everything is functioning as expected.
Step 6: Test the Connection
After pairing your wireless keyboard with your computer, it’s essential to test the connection to ensure a successful setup. Here’s how you can test the connection:
- Open a text editor or a word-processing application on your computer.
- Start typing on your wireless keyboard: Begin typing on your wireless keyboard to check if the keystrokes are being registered on your computer. Verify that the characters appear correctly on the screen as you type.
- Check for responsiveness: Test the responsiveness of your wireless keyboard by typing at a normal speed and checking for any delays or missed keystrokes. Ensure that the keyboard is responsive to all your inputs.
- Test additional functions: If your wireless keyboard has additional functions such as multimedia keys or shortcut keys, try using them to verify their functionality. For example, test the volume control keys, play/pause button, or any other special buttons on the keyboard.
If you notice any issues during the testing process, such as unresponsive keys or delayed input, you may need to troubleshoot the connection. Double-check the battery level of your wireless keyboard and ensure that there are no obstructions between the keyboard and the computer that may interfere with the signal.
If problems persist, try restarting your computer and repeating the pairing process. It may also be helpful to consult the user manual or the manufacturer’s website for troubleshooting steps specific to your wireless keyboard model.
Once you have verified that the wireless keyboard is functioning properly and the connection is stable, congratulations! You have successfully linked your wireless keyboard to your computer. Enjoy the flexibility and convenience of typing and controlling your computer without the constraints of wires.
Troubleshooting Tips
While connecting a wireless keyboard to your computer is generally a smooth process, you may encounter some common issues along the way. Here are a few troubleshooting tips to help you overcome any potential challenges:
- Check battery levels: Ensure that the batteries in your wireless keyboard are fully charged or new. Weak batteries can cause connectivity issues or a loss of responsiveness.
- Reposition your keyboard: If you’re experiencing a weak or inconsistent connection, try repositioning your wireless keyboard closer to your computer. This can help improve the signal strength and stability.
- Verify Bluetooth compatibility: Double-check that your computer has Bluetooth capabilities or a compatible Bluetooth adapter. In some cases, outdated or incompatible Bluetooth adapters may cause connection problems.
- Update drivers: If you’re using an external Bluetooth adapter, make sure you have the latest drivers installed. Visit the manufacturer’s website and download the appropriate drivers for optimal performance.
- Restart devices: Try restarting both your computer and wireless keyboard. This can help clear any temporary glitches or conflicts that may be affecting the connection.
- Unpair and reconnect: If the pairing process fails or you’re experiencing connectivity issues, try unpairing your wireless keyboard from your computer and then re-pairing it. This can refresh the connection and resolve any communication problems.
- Remove interference: Keep your wireless keyboard away from other electronic devices that may cause interference, such as Wi-Fi routers, cordless phones, or other Bluetooth devices. These devices can disrupt the signal and affect the performance of your keyboard.
- Replace batteries: If you notice that the battery life of your wireless keyboard is consistently short or if the keyboard intermittently disconnects, it may be time to replace the batteries with fresh ones.
If you encounter persistent issues that you’re unable to resolve, it may be beneficial to consult the user manual for your wireless keyboard or contact the manufacturer’s customer support for further assistance.
By following these troubleshooting tips, you can troubleshoot common problems and ensure a smooth and consistent connection between your wireless keyboard and your computer.