Introduction
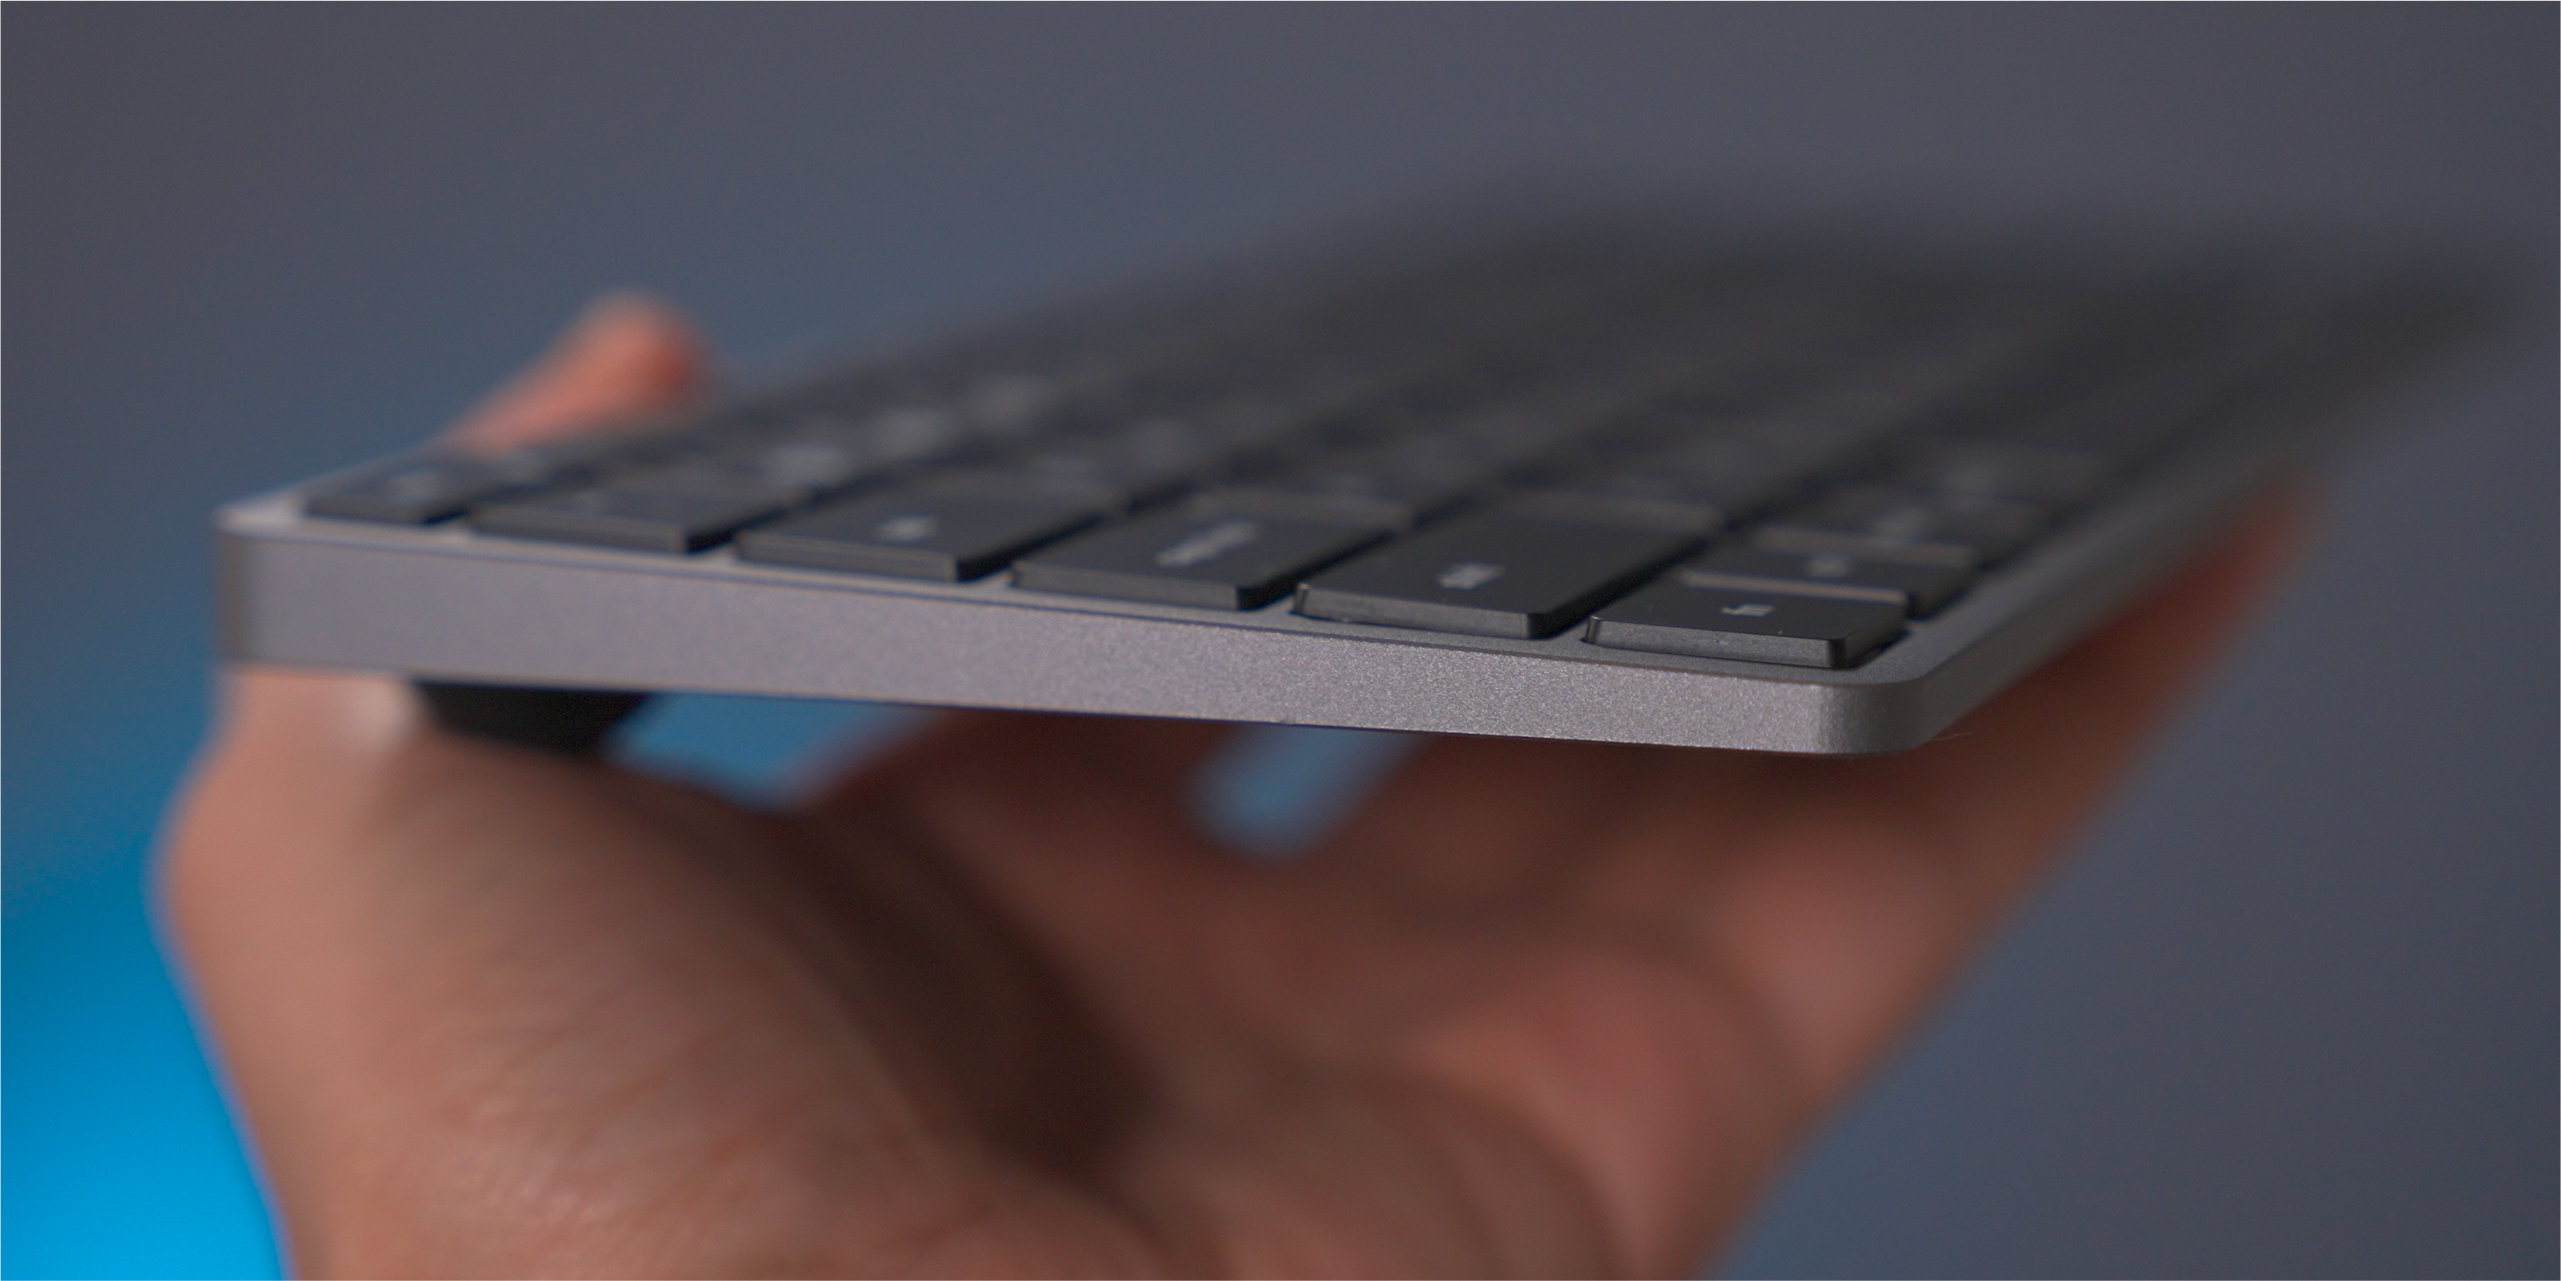
Welcome to this guide on how to connect your Kensington wireless keyboard to your computer. Kensington is known for producing high-quality keyboards that offer a seamless typing experience. Whether you’re a professional who needs a reliable keyboard for work or a casual user who wants to enhance their typing efficiency, connecting your Kensington wireless keyboard to your computer is a simple process that can significantly improve your computing experience.
A wireless keyboard offers several advantages over its wired counterparts. It eliminates the need for tangled cords, allowing for a clutter-free workspace. Additionally, it provides the freedom to move around and type from a distance, enhancing convenience and comfort. Rest assured, connecting your Kensington wireless keyboard to your computer is a hassle-free endeavor, especially when following the step-by-step instructions outlined in this guide.
In the following sections, we will walk you through the process of connecting your Kensington wireless keyboard to your computer. We will cover all the necessary steps, from checking compatibility to testing the keyboard functionality. By the end of this guide, you will have a fully functioning Kensington wireless keyboard integrated with your computer, ready for all your typing needs.
So, without further ado, let’s dive into the steps required for connecting your Kensington wireless keyboard to your computer!
Step 1: Check the Compatibility
Before starting the process of connecting your Kensington wireless keyboard to your computer, it is essential to ensure compatibility between the two devices. Compatibility ensures that your keyboard will work seamlessly with your computer’s operating system and avoids any frustrating compatibility issues later on.
Begin by checking the system requirements provided by Kensington for your wireless keyboard model. These specifications will outline the minimum operating system requirements, such as Windows, macOS, or Linux versions, needed for the keyboard to function correctly. Make sure your computer meets these requirements before proceeding.
Next, verify whether your computer has built-in Bluetooth functionality or requires an external Bluetooth adapter. Most modern computers come with integrated Bluetooth capabilities, while older models may require the use of a USB Bluetooth adapter to establish a wireless connection with the keyboard.
If your computer does not have Bluetooth capabilities, you can purchase a USB Bluetooth adapter from reputable retailers or online stores. Ensure that the adapter is compatible with your computer’s operating system and follow the manufacturer’s instructions for installation.
Additionally, it is essential to check the distance range supported by your Kensington wireless keyboard. Different models have varying ranges, typically between 30 to 50 feet, beyond which the keyboard’s signal may weaken or disconnect. Consider your specific needs and ensure that the wireless range provided by your keyboard covers the necessary distance.
By confirming the compatibility between your Kensington wireless keyboard and your computer, you lay the groundwork for a successful connection. This step helps prevent any potential compatibility issues and ensures a smooth and uninterrupted typing experience.
Step 2: Install Batteries
Once you have established the compatibility between your Kensington wireless keyboard and your computer, it’s time to install the required batteries into the keyboard. Most Kensington wireless keyboards operate on battery power, so it’s essential to have fresh batteries ready before proceeding.
Start by locating the battery compartment on the back of your Kensington wireless keyboard. The exact location may vary depending on the model, but it is typically situated near the top or bottom of the keyboard.
Open the battery compartment by using the appropriate mechanism, such as a sliding latch or twisting cover. Inside, you will find slots where the batteries need to be inserted. Refer to your keyboard’s user manual or the markings inside the battery compartment to determine the correct orientation for inserting the batteries.
Obtain the required batteries as specified by your keyboard’s user manual. Kensington wireless keyboards often use either AA or AAA batteries. Make sure to use new or fully charged batteries to ensure optimal performance from the keyboard.
Carefully insert the batteries into the designated slots, ensuring that they fit securely. Double-check that you have inserted the batteries following the correct polarity indicated by the markings inside the battery compartment. Improperly inserted batteries can prevent the keyboard from functioning correctly.
Once the batteries are securely installed, close the battery compartment cover or slide the latch back into place, ensuring that it is secure. This ensures that the batteries are safely enclosed and eliminates the risk of them falling out during use.
With the batteries properly installed, your Kensington wireless keyboard is now ready to be powered on and connected to your computer.
Step 3: Turn on the Keyboard
After installing the batteries in your Kensington wireless keyboard, the next step is to turn it on. This simple step will activate the keyboard and make it discoverable for connection to your computer.
Locate the power switch on your Kensington wireless keyboard. The power switch is typically found on the side or the back of the keyboard. It may be labeled with the power symbol or a similar indicator.
Slide or toggle the power switch to the “On” position. You may hear a beep or see a light indicator on the keyboard, indicating that it has successfully powered on.
Wait for a few seconds to allow the keyboard to initialize and establish a connection with the computer. During this time, the keyboard is preparing to enter pairing mode, where it will be discoverable by your computer’s Bluetooth settings.
It’s important to note that some Kensington wireless keyboards have an auto-sleep mode to conserve battery life. If your keyboard does not respond immediately after being turned on, press any key, and it should wake up from sleep mode.
Once the keyboard is turned on and awake, it is ready to be paired with your computer. Proceed to the next step to put the keyboard in pairing mode and establish a connection using your computer’s Bluetooth settings.
Step 4: Put the Keyboard in Pairing Mode
In order to connect your Kensington wireless keyboard to your computer, you need to put the keyboard in pairing mode. Pairing mode enables the keyboard to be discovered by your computer’s Bluetooth settings, allowing for a secure and stable connection.
The process of entering pairing mode may vary depending on the model of your Kensington wireless keyboard. Here are some common methods to activate pairing mode:
- Method 1: Look for a dedicated pairing or connect button on the keyboard. Press and hold this button for a few seconds until the keyboard enters pairing mode. Some keyboards may have an LED indicator that blinks when in pairing mode.
- Method 2: Check if there is a specific key combination to activate pairing mode. This is typically a combination of keys, such as the Fn key and a designated pairing key. Consult your keyboard’s user manual for the correct key combination.
- Method 3: For keyboards without explicit pairing buttons or key combinations, simply turning the keyboard on may automatically put it in pairing mode. Check the keyboard’s user manual or the manufacturer’s website for more information.
Once you have successfully put your Kensington wireless keyboard in pairing mode, it is now discoverable by your computer’s Bluetooth settings. The next step is to access the Bluetooth settings on your computer and initiate the pairing process.
Keep in mind that keyboards usually remain in pairing mode for a limited amount of time, typically a few minutes. If you don’t connect the keyboard within this window, it may exit pairing mode and require you to repeat Step 4.
With the keyboard now in pairing mode, you are ready to proceed to the next step and establish the connection between your Kensington wireless keyboard and your computer.
Step 5: Open Bluetooth Settings on the Computer
With your Kensington wireless keyboard in pairing mode, it’s time to open the Bluetooth settings on your computer. This step allows your computer to discover and establish a connection with the keyboard.
The process of accessing Bluetooth settings may vary slightly depending on your computer’s operating system. Here are the general steps to open Bluetooth settings on different systems:
- Windows: Click on the “Start” menu and go to “Settings.” From there, select “Devices” and then click on “Bluetooth & other devices.” This will open the Bluetooth settings window.
- macOS: Click on the Apple menu in the top-left corner of the screen and select “System Preferences.” In the System Preferences window, click on “Bluetooth” to open the Bluetooth settings.
- Linux: The process may vary depending on the Linux distribution you are using. Look for a Bluetooth icon in the system tray or navigate to the system settings and locate the Bluetooth section.
Once you have opened the Bluetooth settings, your computer will start searching for available devices. The Kensington wireless keyboard should appear in the list of nearby devices. It may be identified by the keyboard’s model name or a generic name such as “Wireless Keyboard” or “Bluetooth Keyboard.”
If you don’t see the keyboard in the list of available devices, ensure that the keyboard is in pairing mode and that Bluetooth is enabled on your computer. You may need to refer to the keyboard’s user manual or the computer’s documentation for specific troubleshooting steps.
Once you have successfully located the Kensington wireless keyboard in the Bluetooth settings, you are ready to proceed to the next step and establish the connection between the keyboard and your computer.
Step 6: Connect the Keyboard
Now that you have opened the Bluetooth settings on your computer and located the Kensington wireless keyboard, it’s time to establish the connection between the two devices.
Follow these steps to connect the keyboard to your computer:
- Select the Kensington wireless keyboard from the list of available devices in the Bluetooth settings. Click on its name to initiate the pairing process.
- If prompted, enter the passkey or PIN displayed on your computer into the Kensington wireless keyboard. Some keyboards may automatically generate and display a passkey on the keyboard itself.
- Click “Connect” or a similar button to initiate the connection between the keyboard and your computer. The computer will then communicate with the keyboard to establish a secure connection.
- Wait for a moment as the computer finalizes the connection. Once the connection is established, you will see a confirmation message indicating that the keyboard is connected and ready to use.
After following these steps, your Kensington wireless keyboard is now connected to your computer via Bluetooth. You can start using the keyboard for typing and other functions immediately.
It’s worth noting that some computers may require you to enter a confirmation code, even if you entered the passkey on the keyboard. Follow any additional on-screen instructions to complete the connection.
If the connection fails or encounters any issues, ensure that both the keyboard and computer are within range of each other and that there are no obstructions interfering with the Bluetooth signal.
Now, with the keyboard successfully connected to your computer, you can move on to the final step to test the keyboard and ensure that it’s working as expected.
Step 7: Test the Keyboard
After connecting the Kensington wireless keyboard to your computer, it’s crucial to test its functionality to ensure that everything is working correctly. Testing the keyboard allows you to verify that keystrokes are registering, the keys are responsive, and any additional features or special functions are working as intended.
To test the keyboard:
- Open a text editor or any program where you can enter text, such as a word processor or a web browser’s search bar.
- Type a few words or sentences using the Kensington wireless keyboard. Pay attention to any delays or missed keystrokes, as these could indicate a connection or responsiveness issue.
- Verify that the keyboard’s special function keys, such as volume control or media playback keys, are functioning correctly. Test each special function key individually to ensure they perform the intended action.
- Check if any additional features specific to your Kensington wireless keyboard, such as customizable macros or backlighting, are working as expected. Refer to the keyboard’s user manual or manufacturer’s documentation for instructions on accessing and utilizing these features.
- Ensure that the keyboard remains connected and responsive even after a period of inactivity. If the connection drops or the keyboard becomes unresponsive, try repositioning the keyboard or troubleshooting any potential interference issues.
If you encounter any issues during the testing phase, consider removing the keyboard from your computer’s Bluetooth settings and repeating the connection process. In some cases, restarting your computer may also help resolve any connectivity or functionality issues.
By thoroughly testing the keyboard, you can ensure that it is fully functional and ready to enhance your typing experience. Enjoy the convenience and comfort of using your Kensington wireless keyboard with confidence!
Conclusion
Connecting your Kensington wireless keyboard to your computer is a straightforward process that can greatly improve your typing experience. By following the seven steps outlined in this guide, you can seamlessly connect your Kensington wireless keyboard and enjoy the benefits of a clutter-free workspace and enhanced convenience.
Throughout this guide, we covered the essential steps, from checking compatibility to testing the keyboard’s functionality. By ensuring compatibility, installing batteries, turning on the keyboard, putting it in pairing mode, opening Bluetooth settings on your computer, connecting the keyboard, and testing its functionality, you can establish a reliable and efficient connection.
Remember to consult your keyboard’s user manual or the manufacturer’s documentation for specific instructions and troubleshooting information for your particular model. Additionally, different operating systems may have slight variations in the steps and interface for connecting a Bluetooth keyboard, so refer to the relevant instructions for your specific system.
Once your Kensington wireless keyboard is successfully connected, take some time to adjust to its layout and enjoy the freedom it provides. Whether you’re working on a project, typing emails, or simply browsing the web, the seamless connection between your keyboard and computer will enhance your productivity and make everyday tasks a breeze.
Should you encounter any issues during the connection process or experience connectivity problems afterward, refer to the troubleshooting resources provided by Kensington or contact their customer support for assistance.
Now that you have successfully connected your Kensington wireless keyboard to your computer, it’s time to enjoy the benefits of a clutter-free workspace and a smooth typing experience. Embrace the convenience and flexibility of wireless technology and elevate your computer usage to a whole new level!