Introduction
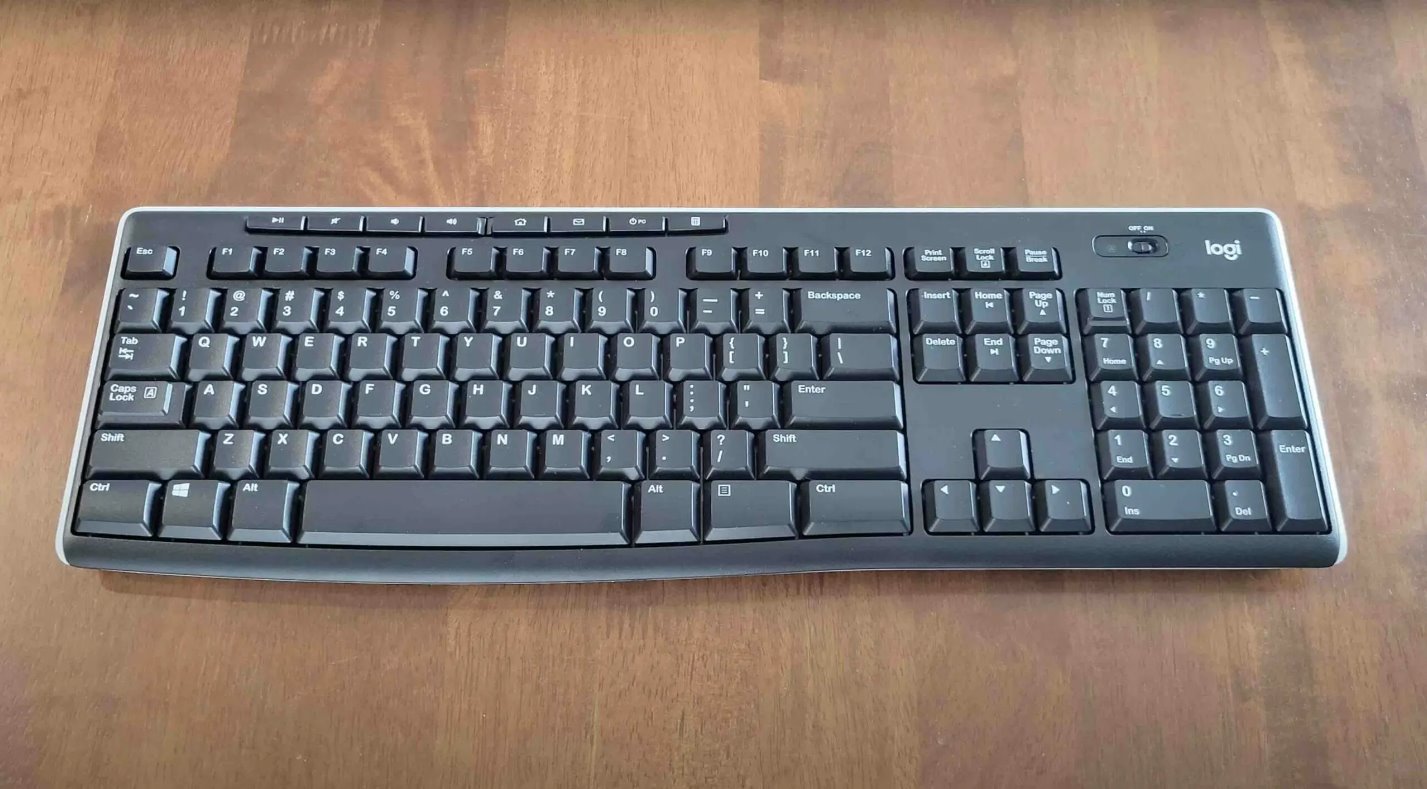
Welcome to our guide on how to connect a wireless keyboard! Wireless keyboards have become increasingly popular due to their convenience and flexibility. They allow you to type and navigate from a distance without the hassle of tangled wires. Whether you want to connect a wireless keyboard to your computer, laptop, or mobile device, this step-by-step tutorial will walk you through the process.
With the advent of Bluetooth technology, connecting a wireless keyboard has become easier than ever. Gone are the days of complicated setup processes. Now, with just a few simple steps, you can establish a wireless connection and enjoy the freedom of typing without restrictions.
Before we dive into the step-by-step instructions, it’s essential to ensure that your keyboard and device are compatible. While most modern devices support wireless keyboards, it’s always a good idea to double-check the specifications to avoid any compatibility issues.
In this guide, we will cover the necessary steps to connect your wireless keyboard to a computer or laptop. Keep in mind that the specific steps may vary depending on the brand and model of your keyboard and computer. However, the general process remains the same across most devices.
So, if you’re ready to eliminate the cords and experience the joy of a wireless typing experience, let’s get started!
Step 1: Check Compatibility
Before attempting to connect your wireless keyboard, it’s crucial to ensure that it is compatible with your device. While most wireless keyboards are designed to work with a variety of devices, it’s always good to double-check to avoid any potential issues.
Start by checking the manufacturer’s specifications or user manual for your wireless keyboard. Look for compatibility information that indicates which devices it can connect to. Pay attention to the operating system requirements as well, as certain keyboards may only work with specific operating systems like Windows, macOS, or Linux.
If you’re uncertain about the compatibility of your wireless keyboard, a quick internet search with the keyboard model and device type should provide you with the necessary information. You can also visit the manufacturer’s website for official compatibility details.
Additionally, some wireless keyboards use specific wireless technologies, such as Bluetooth or RF (Radio Frequency). Ensure that your device supports the wireless technology used by your keyboard. Most modern devices have built-in Bluetooth capabilities, but if not, you may consider purchasing a USB dongle that adds Bluetooth functionality.
Checking the compatibility beforehand will save you time and frustration in the long run. Once you have confirmed that your wireless keyboard is compatible with your device, you’re ready to move on to the next steps to establish the connection.
Step 2: Prepare the Keyboard and Computer
Before connecting your wireless keyboard, it’s important to ensure that both the keyboard and the computer are ready for the pairing process. Follow these steps to prepare your devices:
- Check the battery: Ensure that your wireless keyboard has sufficient battery power. If it uses replaceable batteries, make sure they are correctly inserted. For rechargeable keyboards, ensure that they are fully charged before proceeding.
- Turn off other Bluetooth devices: If you have any other Bluetooth devices connected to your computer, such as headphones or mice, consider turning them off to avoid interference during the pairing process.
- Place the keyboard within range: Position your wireless keyboard within the recommended range of your computer or device. Typically, this is around 30 feet or 10 meters, but refer to the manufacturer’s instructions for specific recommendations.
- Clean the keyboard: It’s a good practice to clean your keyboard before connecting it. Use a soft, lint-free cloth and a mild cleaning solution to gently wipe the keys and surfaces. This will ensure a smooth and seamless typing experience.
- Turn on the keyboard: Most wireless keyboards have a power switch or button. Locate it and turn on the keyboard. Some keyboards may have a pairing mode that needs to be activated by pressing a specific key combination. Refer to the user manual for instructions if needed.
- Prepare the computer: On your computer or device, ensure that Bluetooth is enabled. Go to the settings or control panel and look for the Bluetooth settings. Depending on the operating system, you may find a toggle switch or a checkbox to enable Bluetooth. Turn it on.
- Keep your computer discoverable: In the Bluetooth settings on your computer, enable the “discoverable” or “visible” mode. This will allow the keyboard to detect and establish a connection with your device.
Once you have completed these steps, your wireless keyboard and computer are ready to be paired. In the next step, we will guide you through the process of connecting them.
Step 3: Turn on the Keyboard
Now that you have prepared your wireless keyboard and computer, it’s time to turn on the keyboard to initiate the pairing process. Follow these steps:
- Locate the power switch: Depending on the keyboard model, the power switch may be located on the side, bottom, or back of the keyboard. Look for a small switch or button labeled “Power” or with a power symbol.
- Turn on the keyboard: Toggle the power switch or press the power button to turn on the keyboard. You may see a power indicator light illuminate to indicate that the keyboard is now active.
- Enter pairing mode (if required): Some wireless keyboards have a pairing mode that needs to be activated manually. This typically involves pressing and holding a specific key combination for a few seconds. Refer to the keyboard’s user manual to identify the pairing mode activation procedure, if applicable.
- Observe the keyboard’s LED indicators: Many wireless keyboards have LED indicators that provide status information. These indicators may show when the keyboard is turned on, in pairing mode, or when it is connected to a device. Pay attention to these LED indicators to ensure that the keyboard is functioning correctly.
Once the keyboard is turned on and in the appropriate mode, it is ready to be paired with your computer. In the next step, we will guide you through the process of enabling Bluetooth on your computer to establish a connection.
Step 4: Enable Bluetooth on the Computer
In order to connect your wireless keyboard to your computer, you need to enable Bluetooth. Enabling Bluetooth allows your computer to detect and establish a connection with the keyboard. Follow these steps to enable Bluetooth on your computer:
- Open Bluetooth settings: Depending on your operating system, the process of accessing the Bluetooth settings may vary. However, you can usually find it in the system tray or the system settings. Look for the Bluetooth icon or navigate to the “Bluetooth & other devices” section in the settings.
- Turn on Bluetooth: In the Bluetooth settings, locate the toggle switch or checkbox to enable Bluetooth. Click or tap on it to turn Bluetooth on. Once enabled, your computer will start searching for nearby Bluetooth devices.
- Make your computer discoverable: In the Bluetooth settings, there is an option to make your computer discoverable or visible to other devices. Enable this option so that your wireless keyboard can detect your computer and establish a connection. Keep in mind that the duration of discoverability may vary depending on your computer’s settings.
- Wait for the computer to detect the keyboard: After turning on Bluetooth and making your computer discoverable, it may take a few moments for the computer to detect your wireless keyboard. Be patient as your computer scans for nearby devices.
- Select your wireless keyboard: Once your computer detects the wireless keyboard, it will appear in the list of available Bluetooth devices. Click or tap on the name or icon of your keyboard to select it. If prompted, enter any passcode or pairing code provided by the keyboard manufacturer.
- Confirm the pairing: After selecting your wireless keyboard, your computer will initiate the pairing process. It may display a confirmation prompt or ask you to confirm the pairing code. Follow the on-screen instructions to complete the pairing process.
Once completed, your wireless keyboard and computer will be successfully connected via Bluetooth. In the next step, we will guide you through testing the connection to ensure everything is functioning properly.
Step 5: Pair the Keyboard with the Computer
Now that you have enabled Bluetooth on your computer, it’s time to pair your wireless keyboard with your computer. Pairing establishes a secure connection between the keyboard and the computer, allowing you to use the keyboard for typing and navigation. Follow these steps to pair your keyboard with the computer:
- Verify keyboard detection: Ensure that your wireless keyboard is in pairing mode and that it is within range of your computer. Your computer should detect the keyboard automatically and display it in the list of available Bluetooth devices.
- Select the keyboard: In the Bluetooth settings on your computer, click or tap on the name or icon of your wireless keyboard to select it. Make sure it is the correct keyboard that you want to pair with your computer.
- Initiate the pairing process: Once you’ve selected the keyboard, your computer will start the pairing process. Depending on your operating system, you may need to enter a pairing code or simply confirm the connection. Follow the on-screen instructions to proceed.
- Enter the pairing code (if required): Some wireless keyboards require a pairing code to establish a connection. If prompted, refer to the keyboard’s user manual for the specific pairing code. Enter the code on your computer to complete the pairing process.
- Wait for the pairing to complete: The pairing process may take a few moments to complete. During this time, your computer and the keyboard exchange information and establish a secure connection.
- Confirm successful pairing: Once the pairing process is complete, your computer will display a notification or indicator confirming the successful connection with your wireless keyboard. You should be able to start using the keyboard immediately for typing and navigating on your computer.
With the keyboard successfully paired and connected to your computer, you can now enjoy the freedom of wireless typing. In the next step, we will guide you through testing the connection to ensure that everything is functioning correctly.
Step 6: Test the Connection
After pairing your wireless keyboard with your computer, it’s important to test the connection to ensure that everything is working properly. Follow these steps to test the connection between your keyboard and computer:
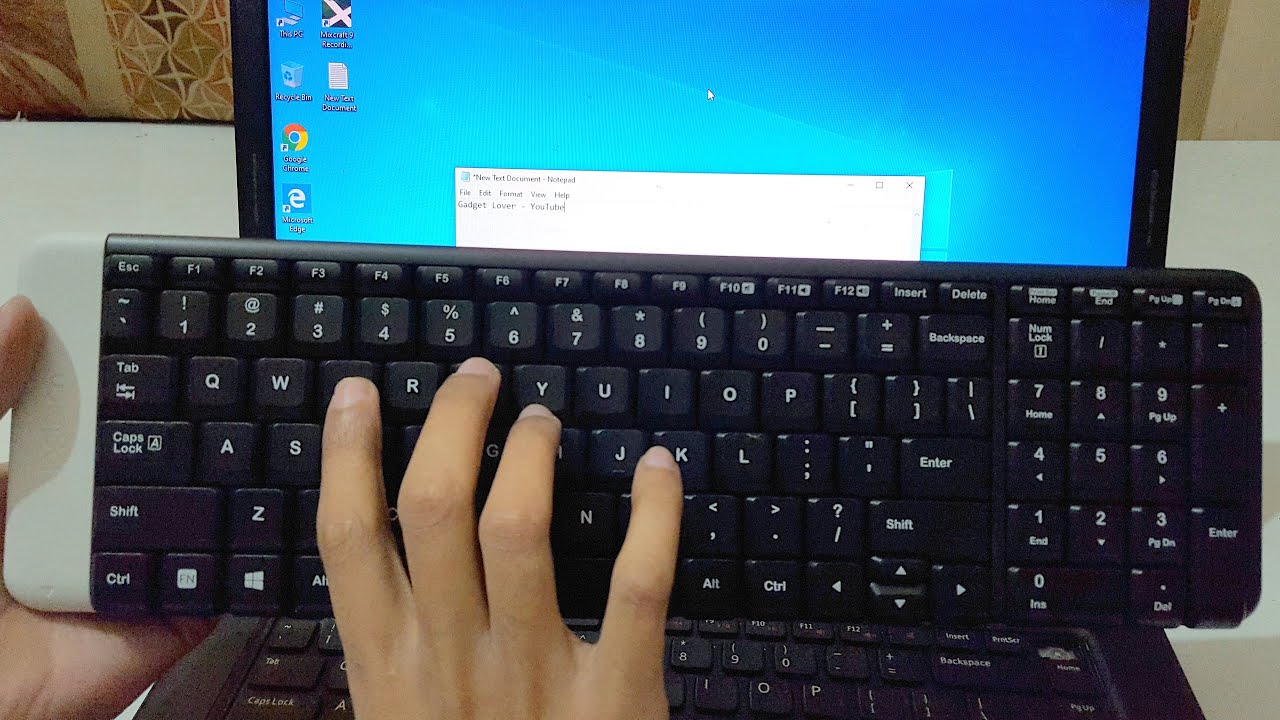
- Open a text editor or document: Open a text editor program or a document such as Microsoft Word or Google Docs on your computer.
- Type a few characters: Start typing on your wireless keyboard and observe if the characters appear on the screen. Verify that the keyboard inputs are registered correctly and that the keys are responsive.
- Test multimedia keys (if applicable): If your wireless keyboard has multimedia keys or function keys, test their functionality. Try adjusting the volume, playing/pausing media, or launching specific applications using the designated keys.
- Check navigation keys: Use the navigation keys on your wireless keyboard, such as the arrow keys, Home, End, Page Up, and Page Down, to navigate through a document or webpage. Ensure that the navigation keys are working as intended.
- Test special keys: If your wireless keyboard has special keys, such as media control keys, macros, or programmable keys, test their functionality according to the keyboard’s user manual.
- Verify wireless range: Move a few feet away from your computer while typing on the wireless keyboard to verify its range. Ensure that the connection remains stable and that the keystrokes are still registered correctly.
If you encounter any issues during the testing phase, such as unresponsive keys or a weak connection, consider repeating the pairing process or troubleshooting any potential connectivity problems. Consult the user manual for your wireless keyboard or seek support from the manufacturer if necessary.
Once you confirm that the connection is reliable and all the keys are functioning correctly, you can start enjoying the convenience of your wireless keyboard for all your typing needs!
Conclusion
Congratulations! You have successfully learned how to connect a wireless keyboard to your computer. By following the step-by-step instructions in this guide, you have eliminated the need for tangled cords and can now enjoy the convenience of typing without restrictions.
We began by checking the compatibility of your wireless keyboard with your device to ensure a seamless connection. Then, we prepared both the keyboard and computer by checking the battery, enabling Bluetooth, and positioning the keyboard within range.
Next, we walked through the process of turning on the keyboard and entering pairing mode if required. We also enabled Bluetooth on the computer, made it discoverable, and waited for the computer to detect the keyboard.
Once the keyboard and computer were ready, we successfully paired the keyboard with the computer, entering any necessary pairing codes. Finally, we tested the connection by typing, checking multimedia and navigation keys, and verifying the wireless range.
Remember, the specific steps may vary depending on the brand and model of your wireless keyboard and computer. Always refer to the user manual provided by the manufacturer for any specific instructions or troubleshooting assistance.
Now that you have completed the connection process, you can enjoy the convenience and flexibility of a wireless keyboard. Whether you use it for work, gaming, or leisurely browsing, a wireless keyboard offers a more comfortable and clutter-free typing experience.
Thank you for following our guide. We hope it helped you successfully connect your wireless keyboard, and we wish you many enjoyable and productive hours of wireless typing!


